A square video maker for Instagram can help you turn a rough idea into a feed-ready clip, but the tools take different routes. Some generate footage with AI; others help you shape clips on your phone. If you’re weighing AI options, this comparison of AI video generators for Instagram can help you compare approaches. Here are five picks, starting with Seedance Studio, and what each one suits best.
1. Seedance Studio
Seedance Studio is a browser-based AI video and image generator for making short clips from text prompts or reference media. It’s a strong fit if you want to build a fresh scene instead of editing only footage you’ve already shot.
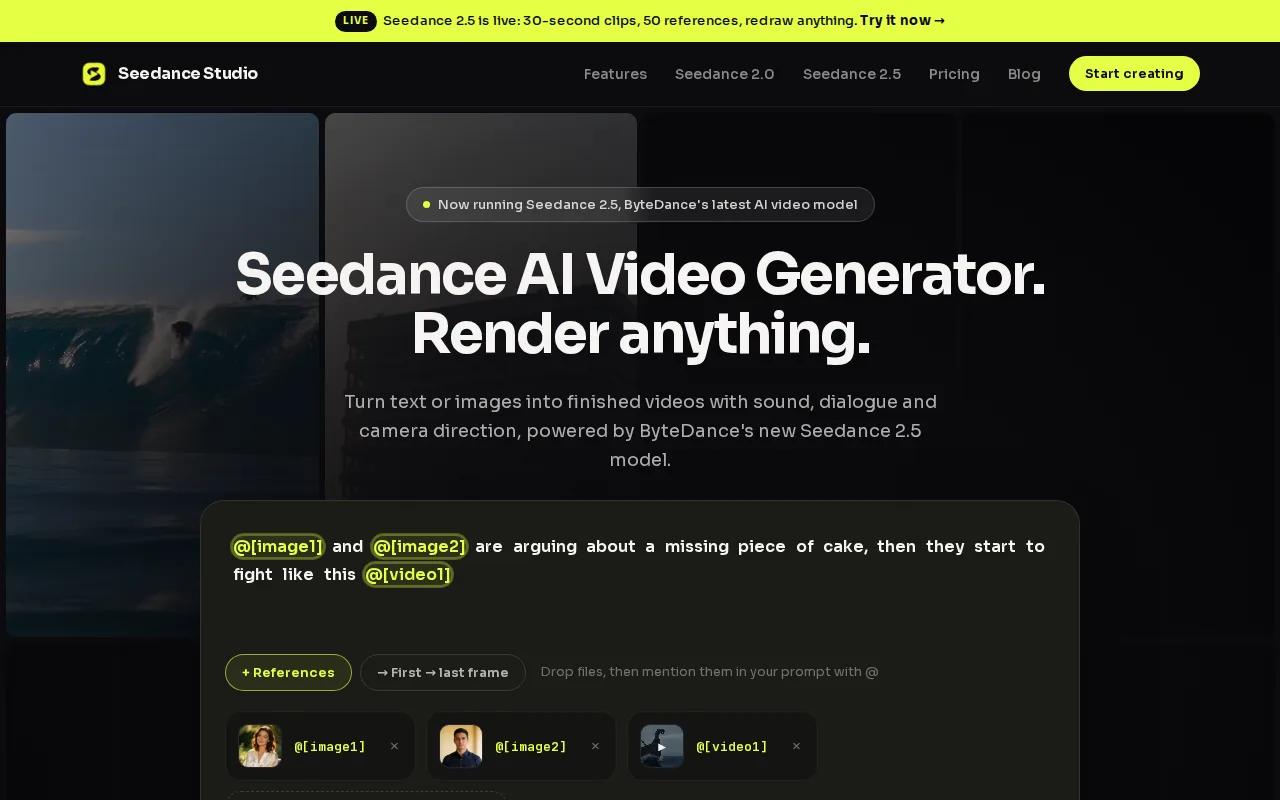
Type a prompt or upload reference images, video clips, or audio. Seedance Studio generates a video with camera direction, consistent characters, and native sound. Plain language works. You don’t need to write a technical prompt to describe the scene you want.
That makes it useful for a product teaser, a mood-setting scene, or a quick visual hook for a square feed post. It can also help when you have a still image but want to add motion. For a workflow built around a single photo, our guide to square video makers from images covers that angle.
Square output is one of the formats creators use for Instagram feed content. Plan the frame around the subject: a centered product or face is easier to keep visible when the video is cropped to 1:1. A finished clip still needs a quick human check. Make sure the main action reads clearly at feed size before you post.
Seedance Studio runs in a browser, so you can start without a download or waitlist. Its current free plan includes a couple of videos a month, with a watermark and no card required. Paid plans start at $14 per month and include more video capacity. The free plan is a way to test whether prompt-led video fits your content workflow before paying.
There’s a useful distinction here: Seedance Studio generates the scene, while you decide how it works in the post. Add a short caption or a call to action in your editing workflow if the clip needs context. For a broader look at making AI-led Instagram clips, see how to make AI videos for Instagram.
Pick Seedance Studio when you need new visual material or want to explore a scene before filming it. If you already have finished footage and only need to trim it, a timeline editor may be a better fit.
2. Canva: A usable pick for template-based videos
Canva is a template-driven design and video editor with square video support. It’s a useful fit if your team already makes social graphics there and wants video to follow the same visual style.
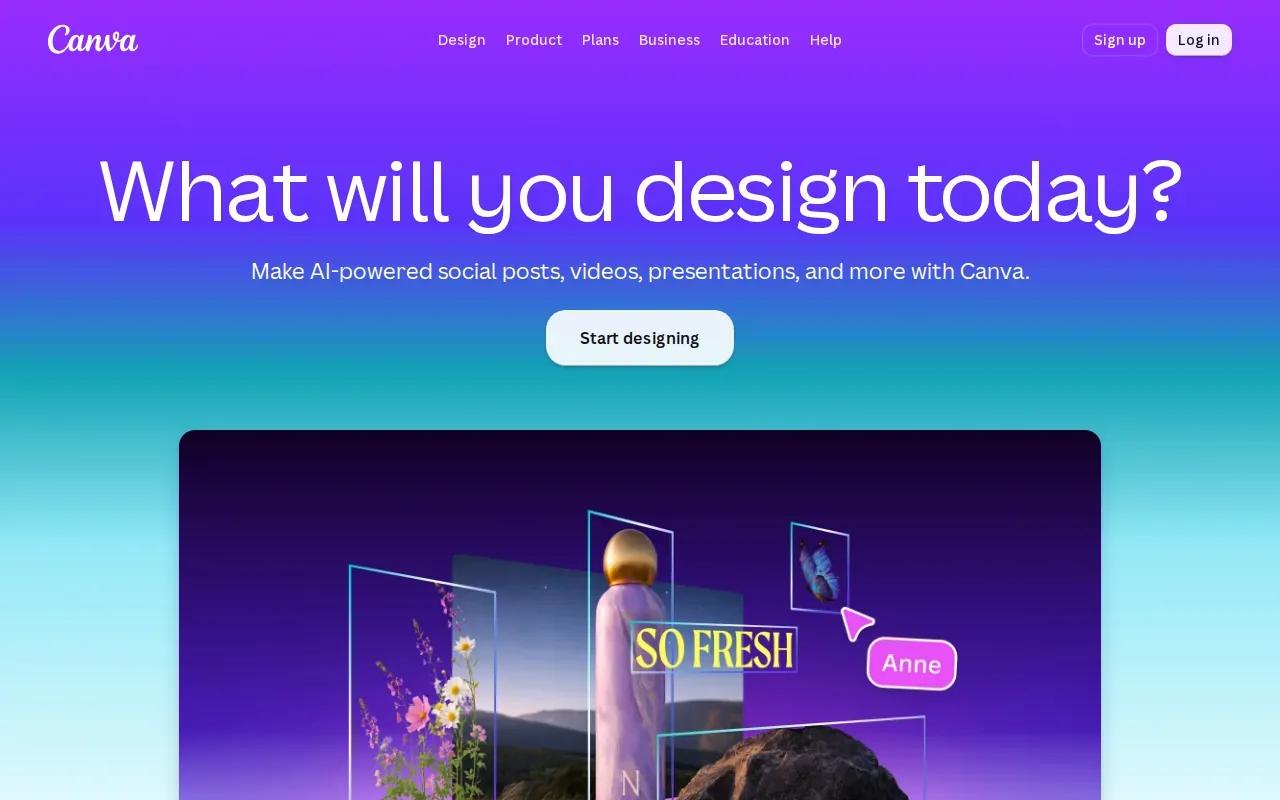
Start with a square video template or put your own clip on a square canvas. Then crop or scale the footage until the important part sits inside the frame. Canva’s editor also lets you trim clips and add visual or audio elements, so you can shape a simple feed post without starting from a blank timeline.
Templates help when you need a repeatable layout. For example, a small shop could keep the product shot in the same place while changing the headline and footage for each post. A brand kit can help keep the look consistent across designs, while Canva’s AI tools include template-driven video generation and Magic Studio clip creation.
Use the square canvas as a framing check, not just an export setting. A portrait clip may need a tighter crop, while a wide clip could lose details near the edges. Move the footage within the canvas and watch the preview before you add text. That keeps captions from landing over the item you’re trying to show.
Canva’s free plan covers video creation, so it can be a sensible starting point if you already use the editor. A square video can be cropped and scaled to fit a 1:1 canvas, with options to add text and music.
The tradeoff is creative control. Templates speed up repeat work, but a highly specific AI-generated scene may call for a generator instead. Choose Canva when brand consistency and familiar design tools matter more than generating a whole new shot.
3. Creatify: For product videos with generated scripts and voiceovers
Creatify is an AI video tool built around product-focused ads. It’s a fit for sellers and marketers who want a product URL or description to help shape a square video concept.

Its product URL workflow can pull product details and images into a storyboard. Creatify can then generate a script and voiceover, while avatar selection gives the video a speaking presenter. You can edit the generated copy, which matters when a product claim needs careful wording or a brand has a set tone.
Batch video generation is useful when you’re testing more than one message. Make variations with different hooks or scripts, then review each one before it goes out. Don’t treat the first generated version as approved ad copy. Check the details against the product page and remove any claim that you can’t support.
This workflow is most useful when your post needs a direct product pitch. A short square ad can introduce a feature or explain why a product solves a specific problem. If you’re making a more personal story or an abstract visual, an avatar-and-script setup may add steps you don’t need.
Creatify has a free tier. Paid plans start at about $39 per month, though you should check current pricing before you choose a plan. That gives you a way to try the product workflow first and decide whether generated scripts and voiceovers suit your campaign.
Creatify is the pick here for repeatable product ads, especially when you want the script and presenter to begin inside the same workflow. Keep a person in the review loop. The tool can draft the message, but you’re still responsible for accuracy and tone.
4. Pika: For iterating on generated shots and motion
Pika is an AI video generator with prompt-to-video creation and square-format support. It’s best for creators who want to try a visual idea, then adjust the prompt to get closer to the shot they have in mind.
Its shot-oriented approach makes iteration the main task. Start with a short description of the scene and the motion you want. Review the result, then change one part of the prompt at a time. If the subject is right but the movement feels off, keep the subject description and adjust the action or camera direction.
Square framing needs the same attention as the motion. Keep the subject and key action near the center, especially if the clip may also be reused in another layout. An edge detail that looks clear in a wide preview can disappear in a square crop. Check the full frame before you spend time refining small visual details.
Pika’s main strength in this shortlist is that shot-by-shot iteration helps you work toward usable motion and square framing as you adjust prompts. It can suit a short visual insert or an imaginative opening shot. It’s less suited to a task that’s mainly trimming existing clips or adding a neat caption to footage from your phone.
Try changing one instruction at a time. If you rewrite the whole prompt after each result, it’s harder to tell what changed the output. Once the motion and crop work, move on to the edit rather than chasing tiny prompt changes that won’t show in the feed.
For creators who want to test generated movement before building a full post, Pika gives the process a shot-focused feel. Choose it when the visual itself is the hard part.
5. InShot: For editing and uploading from your device
InShot is a mobile video editor that supports square, vertical, and landscape formats. It’s a good fit when you want to work with clips already saved on your device and finish the edit on the same screen.
Start by importing your footage, then set the canvas to a 1:1 ratio for a square feed post. Trim the start and end of each clip so the post gets to its point quickly. If a key subject sits close to an edge, adjust the crop before adding text or effects.
InShot’s editing tools include text, subtitles, music, filters, transitions, and picture-in-picture layers. Those can help with common phone-editing tasks: add a short text hook, place captions where they don’t cover the subject, or use a transition when the cut between clips feels abrupt.
Keep the edit simple. A filter can set a consistent look, but it won’t fix a badly framed shot. A transition can connect two clips, but it shouldn’t slow down a short product demo. Review the whole video once with the sound on, then watch it again with the sound off to check whether the text carries the message.
InShot supports exporting the video to your device or uploading it directly to Instagram. That can cut out an extra handoff when you finish editing on your phone. If you’re mixing in a separate music track, make sure you have the right to use it. You can also check this external resource.
For a phone-first workflow, the key advantage is the format choice: square for a feed post, vertical for a Reel or Story, and landscape for a wide video. Pick the frame before you export so you can catch a crop issue while the edit is still open.
Square video makers for Instagram compared
The best choice depends on what you need to make, not only the shape of the final file. Use this comparison to match the main job to the tool.
| Tool | Best fit | How the workflow starts | What to check before posting |
|---|---|---|---|
| Seedance Studio | New AI-generated scenes | Write a prompt or add reference media | Confirm the framing and review the generated scene |
| Canva | Template-led social videos | Choose a square canvas or template | Check crop and text placement |
| Creatify | Product ads with generated scripts | Use a product URL or description | Verify every product claim |
| Pika | Prompt-led shots and motion | Describe the scene and adjust the prompt | Check subject position and motion |
| InShot | Mobile edits from existing clips | Import footage on your device | Preview the final crop and sound |
Think about the handoff, too. Some projects begin with generation; others begin with footage on a phone. InShot supports direct Instagram upload, while other workflows may involve exporting a file and posting it separately. Decide where you want the final review to happen before you settle on a tool.
A quick checklist for picking your square video maker
Before you choose a square video maker for Instagram, match the tool to the next post you actually need to finish. A simple product demo has different needs from a new AI-generated scene.
- Start with your source. If you have footage, look for crop and trim controls. If you need a new scene, start with an AI generator.
- Check the frame. A 1:1 video has equal width and height. Keep the main subject clear inside the square, not near a corner. For a plain definition of aspect ratio, see Wikipedia’s explanation of aspect ratio.
- Plan the words. Add captions or a short text hook if viewers need context without sound. Keep text away from the subject.
- Listen before export. Check that dialogue and music can both be heard. Use music you have permission to include.
- Confirm the last step. Know whether you’ll download the finished file or upload it from the editor.
Square posts aren’t the only Instagram format. A vertical edit may suit a Reel or Story better, so choose the destination before you crop. The right tool is the one that gets that specific post through review and ready to publish.
FAQ
What is the best square video maker for Instagram?
The best choice depends on whether you need to generate footage or edit clips you already have. Seedance Studio is a fit for prompt-led AI scenes, while Canva suits template-based work. Creatify focuses on product ads, Pika on generated shots, and InShot on mobile editing. Start with the job you need to finish.
Can I make a square video on my phone?
Yes, you can make a square video on a phone with a mobile editor that supports a 1:1 canvas. InShot supports square video along with vertical and landscape formats. Import your clip, set the frame, then check that the subject stays visible after cropping. Preview the full edit before exporting.
Should I use a square video for Instagram Reels?
Use a square video when the post is meant to sit in a square feed frame. For a Reel or Story, consider whether a vertical frame fits the way you want the clip to appear. Choose the destination first, then frame the subject and text for that shape instead of cropping at the last minute.
How do I add captions and music to a square Instagram video?
Use an editor with text or subtitle controls for captions, then add music through its audio tools or a track you’re allowed to use. InShot lists subtitles and music among its editing features. Keep captions short and readable, and check that the music doesn’t overpower speech before you export.
Conclusion
Choose Seedance Studio when you need a new AI-generated scene; choose InShot when your clips are already on your phone. Start with one square draft, check the crop at feed size, and create a free Seedance Studio account if you want to test prompt-led video.