
Making an Instagram Reel no longer has to mean filming for hours and editing late at night. With the right prompt, you can turn an idea into a vertical video with motion, sound, and a clear story. This workflow shows you how to make AI videos for Instagram, using Seedance Studio when you want the fastest path from concept to finished clip.
Step 1: Choose Your Instagram Video Format and Goal
Before you make an AI video for Instagram, decide what the clip must do. A Reel may aim to earn views, explain a tip, show a product, or drive one action.
Pick one goal. If you try to teach, sell, entertain, and gain follows in 20 seconds, the video will feel rushed. A clear goal gives your script and visuals one path to follow.
Next, choose the format. Use a vertical 9:16 frame for Reels and other vertical posts. Use a square frame for some feed posts. Instagram can crop other shapes, but the crop may cut off a face, product, or key line of text.
Aspect ratio describes the width-to-height shape of an image or video. For short mobile video, that shape controls how much of the screen your clip fills.
Keep the first version short. A 15 to 30 second Reel gives you enough time to make one point without adding dead space. A product demo may need more time, but every extra second needs a job.
Choose a format that fits the idea:
- Quick tip:Open with a sharp claim, then show the answer.
- Product video:Show the item in use, not only in a still pose.
- Mini-story:Set up a problem, then end with a change or reveal.
- Before-and-after:Make the contrast easy to read without sound.
- Atmospheric Reel:Use mood, movement, and music when the feeling is the point.
Now write one sentence that states the result. For example: “Show how a small café turns one plain drink into a bright summer special.” That sentence becomes your creative brief.
Use this short-video planning guide when you need to match the length and frame to the platform before generating.
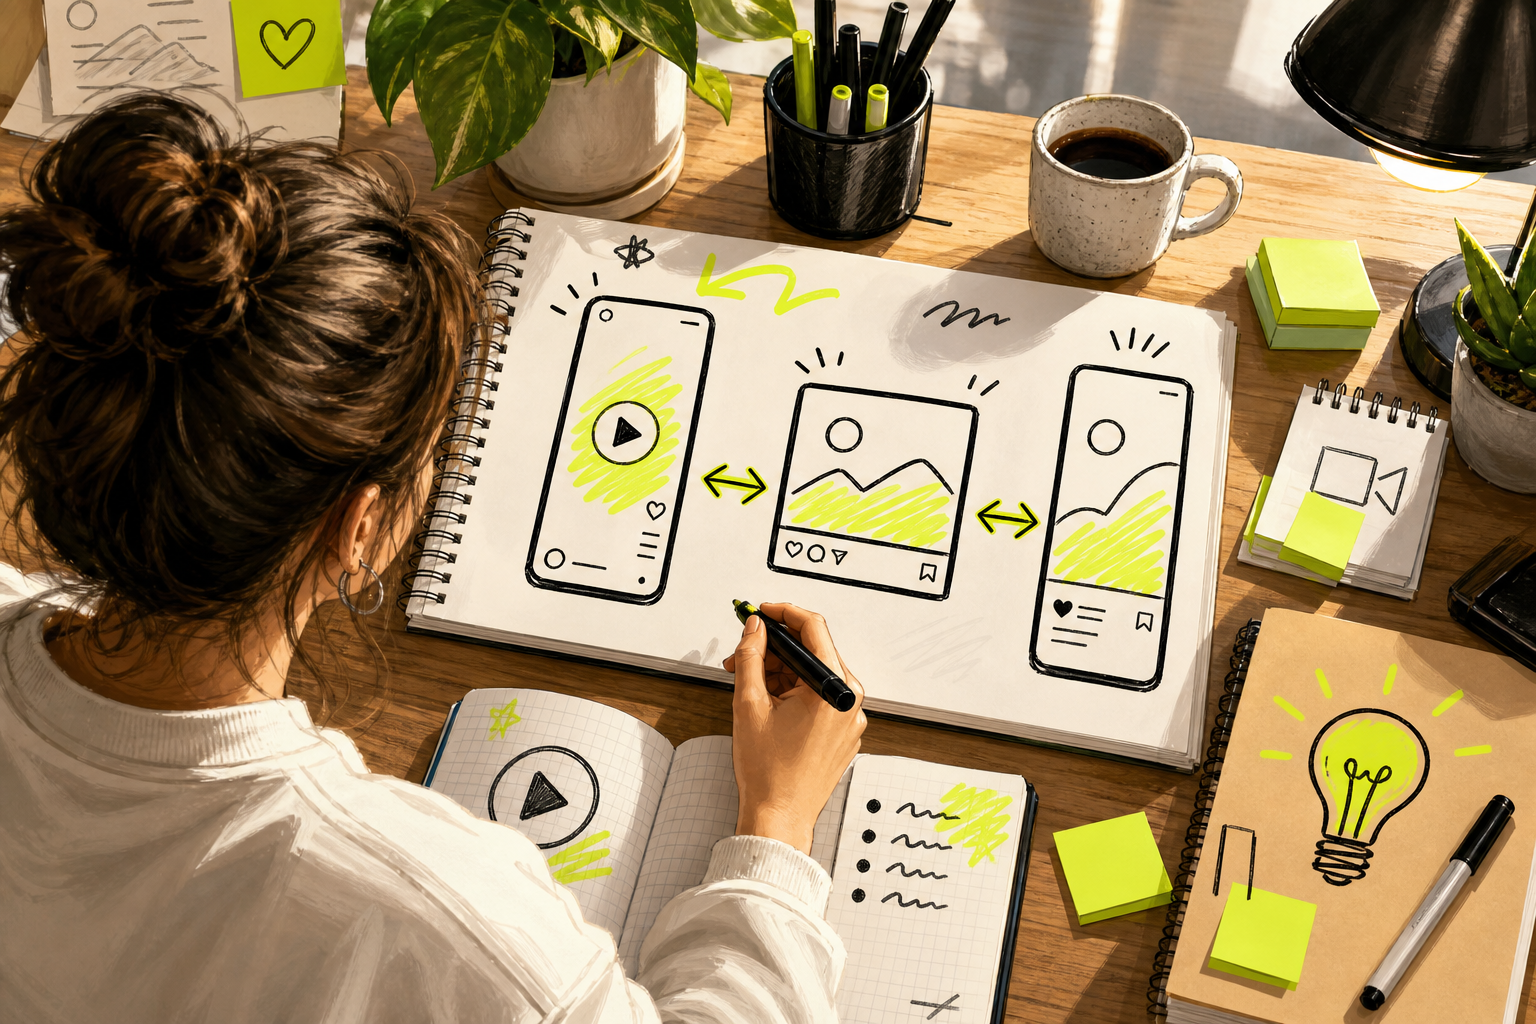
Step 2: Write a Short Script and Visual Plan
Good AI videos for Instagram start with a tight script, not a vague request for “something cool.” Your prompt needs to tell the model what happens first, what changes, and what viewers should do next.
Build the Reel in three parts:
- Hook, 0 to 3 seconds:Make one bold claim or ask one sharp question.
- Value, 3 to 15 seconds:Show the tip, product, change, or story beat.
- Action, 15 to 30 seconds:Ask for one next step, such as saving the Reel or visiting your profile.
Do not start with a long intro. “Today I want to talk about…” spends the most valuable seconds on words that say nothing. Start with the result or the problem.
Try this prompt structure: subject, action, setting, camera move, lighting, sound, and limits. For example:
“A barista in a bright corner café turns a plain iced drink into a colorful summer drink. Start with a close shot of the plain cup. Use a fast push-in as fruit and ice appear. Cut to the finished drink on a sunny table. Warm light, crisp detail, upbeat café sounds, vertical 9:16, 20 seconds.”
That prompt gives the model a subject and a sequence. It also tells the camera where to move. Camera direction helps the output feel planned instead of random.
Plan each shot before you generate. A simple shot list might look like this:
- Shot one shows the problem.
- Shot two shows the main action.
- Shot three shows the result.
- Shot four displays the single call to action.
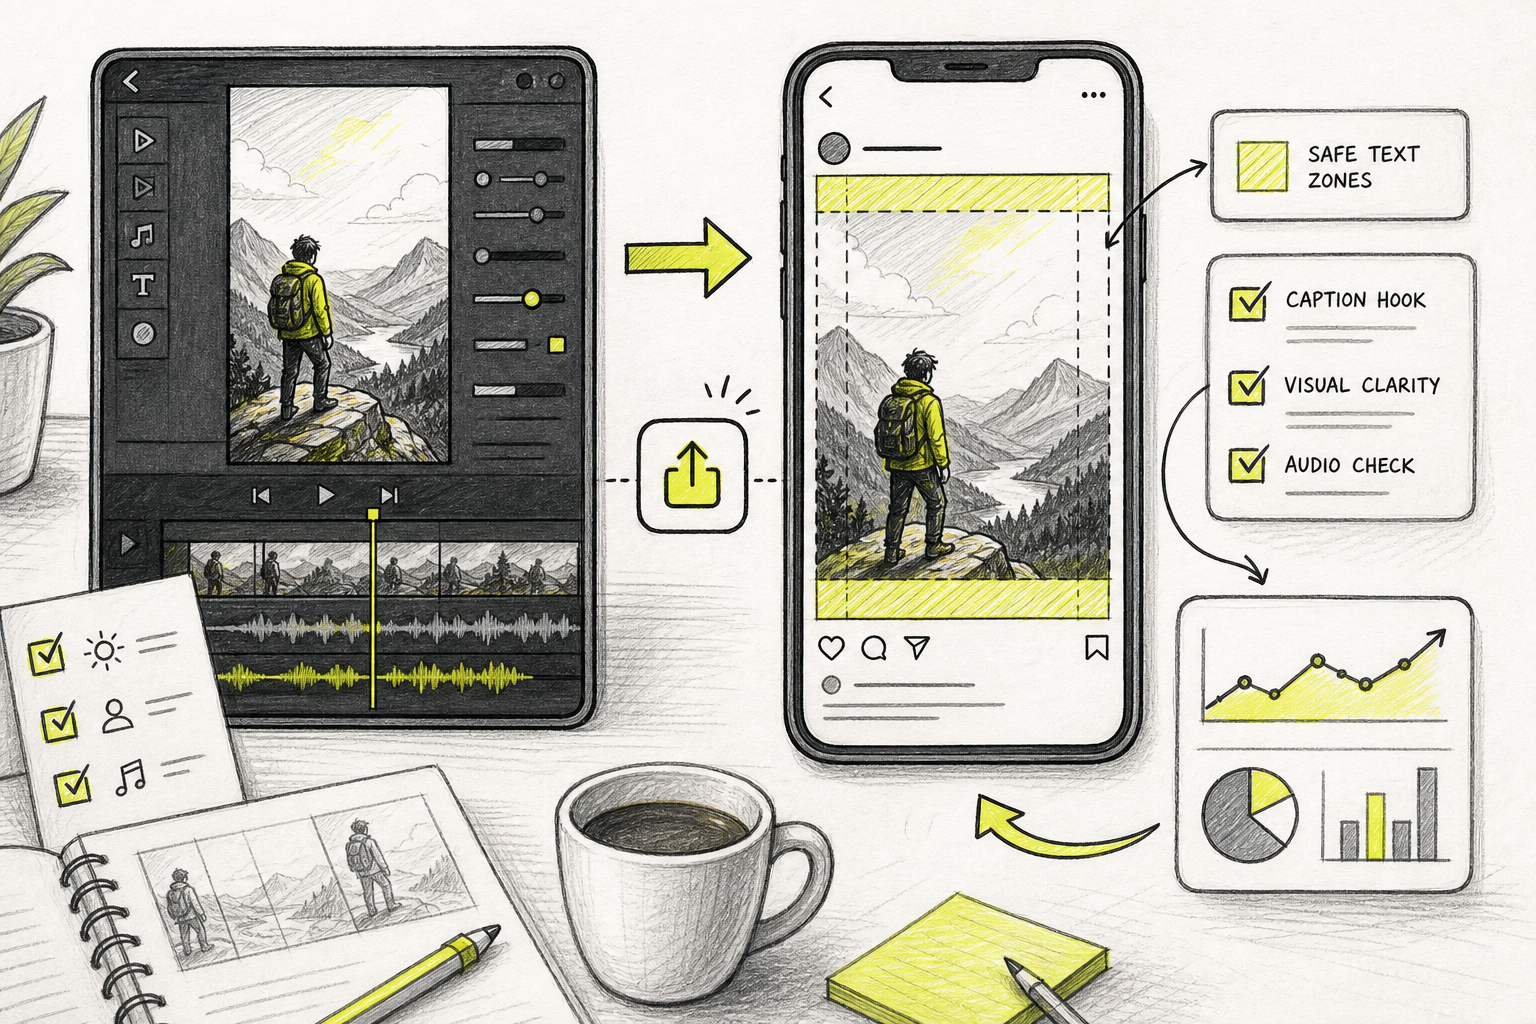
Keep on-screen text short. Viewers may watch without sound, so the key idea must still make sense as captions. Put text away from the top and bottom edges, where Instagram controls can cover it.
Generate several hooks before you build the full clip. Change only the opening line or first visual. This makes testing easier because you know what changed.
For more prompt patterns, use this guide to write a Seedance 2.0 prompt and build your first video. Plain language works, but specific film direction gives you more control.
Step 3: Generate the Video in Seedance Studio
Seedance Studio lets you make an AI video in a browser by typing a prompt or adding reference files. We built the workflow for creators who need a finished social clip, not a raw scene that still needs hours of work.
Open Seedance Studio and start with the free tier. You don't need to download software or wait for an invite. Choose the Seedance model, then paste in the prompt you wrote.
Set the aspect ratio to 9:16 for an Instagram Reel. Choose the duration that matches your script. If the prompt describes 20 seconds but the setting is much shorter, the action may feel rushed or stop before the payoff.
Add reference images when a person, product, or place must stay consistent. Use a clear image with good light. Name each reference in your prompt, such as [Product] or [Character]. Then tell the model what that reference should do in the shot.
Reference consistency matters when you plan a series. The same product should not change shape between clips. A recurring character should keep the same key features. Seedance Studio can use uploaded images, clips, and audio as part of the generation brief.
Ask for camera movement in plain terms. “Slow push in” is easier to follow than a vague request for a cinematic feel. You can also state the framing, such as close-up, medium shot, or wide shot.
Include sound in the prompt when it helps the scene. Seedance Studio can return video with native sound, including dialogue and scene audio. Write spoken lines in quotation marks, then name the speaker.
For example:“The woman in the green coat says, ‘Your first draft should be ugly.’ Her voice is calm and close. Add a soft room tone and one quick paper-swipe sound.”
Generate a first draft at a lower setting when you're testing the idea. Watch the full clip before you change anything. Check the camera move first. Then check the subject, the timing, and the sound.
If the result is close, edit the prompt instead of starting over. Change one detail at a time. You might slow the action, replace a camera move, or make the lighting more specific.
Our Seedance Studio workflow guide explains how to prepare references, set the frame, and review a generated clip. When the draft works, render the final version at the best resolution available on your plan.
Step 4: Edit the AI Video for Instagram
Generating the clip is only part of how to make AI videos for Instagram. Editing gives the video its pace and makes the message clear on a small screen.
Watch the draft twice. On the first pass, look at the story. Does the opening make you want to keep watching? Does the result arrive before interest fades?
On the second pass, inspect the details. Look at faces, hands, product edges, signs, and any text inside the scene. AI video can produce odd details during motion. Cut or regenerate a shot if the error pulls attention from the message.
Trim the first pause. Many generated clips begin with a slow camera move before anything happens. If that pause does not build suspense, remove it.
Add captions for the spoken words. Keep each caption to one or two short lines. Use high contrast, but don't cover the face or product. Read the captions on a phone before posting.
Sound needs a clear mix. Voice should lead. Music should support it without masking the words. Lower the music during dialogue, then bring it up during a visual change.
If you use a platform's music library, add the track inside the platform when possible. AI tools may not know which audio is trending at the moment you post. Match the track to the mood, but don't let a trend replace a useful idea.
Make two edits with different hooks. Keep the middle of the video the same. This gives you a clean test of the opening instead of a confusing test where every part changes.
Use these sound workflow tips when the clip needs voiceover, music, or sound effects. The goal is clear speech and a strong first beat, not a wall of noise.
Step 5: Export, Post, and Improve Your Instagram Video
Export the final clip as an MP4 in a vertical 9:16 format. Check the file on your phone before you upload it. A video that looks sharp on a large monitor may look too dark or too small on a mobile screen.
Keep the important subject near the center. Instagram places controls and text around the edges. Leave space for the caption inside the video, but don't put it so low that the app covers it.
Write a caption that adds context. Don't copy the voiceover word for word. Use the caption to explain the next step, add a short detail, or invite one useful reply.
Use a small set of relevant hashtags when they fit the topic. More tags won't fix a weak hook. The opening frame and the first spoken line carry more weight than a long tag block.
Post while the idea is still fresh. Speed matters when your clip responds to a trend, launch, event, or customer question. A browser-based generator helps you move from prompt to post before the moment passes.
For paid promotion, preview the clip in every placement you plan to use. A Reel preview may look fine while a feed placement cuts off the text. Make a separate version if the crop hurts the message.
Track the signals that match your goal. For reach, watch plays and shares. For education, watch saves and completion. For a sales clip, track profile visits and the action after the click.
Don't judge one post too quickly. Build a small set of versions with different hooks. Keep the subject and offer steady so the result tells you something useful.
After 24 to 48 hours, compare the opening retention with the rest of the clip. If viewers leave at the start, rewrite the hook. If they stay but don't act, make the payoff clearer or simplify the call to action.
You can also turn one idea into a short series. Keep the same character reference, visual style, and naming system. Change the question or example in each episode. This cuts planning time without making every post look the same.
Use this guide to make Instagram video ads when your clip needs a clear offer, a strong opening, and a test plan.
Keep a simple test log. Note the hook, length, topic, and result. After a few posts, patterns will emerge. Let those patterns shape your next prompt instead of guessing.
FAQ
Can I make Instagram Reels with AI?
Yes, you can make Instagram Reels with AI by writing a prompt, choosing a 9:16 frame, and reviewing the generated clip. Seedance Studio can turn text into video and can use reference images, clips, or audio. You still need to check the result, add captions when needed, and make sure the final message feels human.
What is the best aspect ratio for Instagram AI videos?
The best aspect ratio for Instagram Reels and other vertical videos is 9:16. Set it before you generate the clip so the model frames the subject for a vertical screen. A square 1:1 version can work for some feed posts, but don't crop a finished vertical video without checking faces, text, and product details.
How long should an AI video for Instagram be?
An AI video for Instagram should usually make its point in 15 to 30 seconds. A short tip may need less time, while a demo may need more. Cut any pause that does not build interest. A tight clip with a clear hook is easier to finish than a long clip with a slow start.
Can AI-generated videos have sound?
Yes, some AI video tools can generate sound with the video. Seedance Studio supports native sound, so you can describe dialogue, room tone, music, or effects in the prompt. Always listen to the final mix. Lower background audio when it competes with the voice, and add captions for viewers who watch silently.
How do I make AI videos look less fake?
To make AI videos look less fake, use a clear reference image and describe one focused action. Avoid crowded scenes with many people and fast object changes. Generate a draft, inspect faces and hands, then change one prompt detail at a time. Stylized product shots and mood-led scenes often hide small motion flaws better than close human action.
Conclusion
Start with one goal, one hook, and a vertical frame. Seedance Studio is a strong fit when you want prompt-based generation with reference support, camera direction, and native sound in one browser workflow. Create a free account, generate two versions of one Reel, then use the better hook as your next test.


