
Most Reels blend into the feed not because they're bad, but because they're forgettable. The accounts that grow post often, stay consistent, and use every shortcut available, including AI. This guide walks you through the whole process, from concept to published Reel, using tools that actually save time.
Step 1: Define Your Reel Concept
Before you touch any tool, decide what your Reel is actually doing. Is it teaching something? Showing a product? Jumping on a trend? The answer shapes every decision after this.
Pick a format that fits your goal. Tutorials and how-tos consistently earn some of the highest engagement on Instagram because they give viewers something useful in under 30 seconds. Behind-the-scenes clips work because they feel real. Humor gets shared. Pick one lane and commit to it for the clip.
Length matters more than most creators admit. Reels between 15 and 30 seconds tend to dominate engagement. That's your default target. Anything longer needs a hook so strong in the first two seconds that viewers can't stop watching.
Speaking of hooks: the first three seconds are make-or-break. Instagram's algorithm prioritizes retention, so a weak opener kills reach before your best content even appears. Lead with a close-up, a bold question, or a surprising visual. Don't ease in.
Write your hook and your core idea in one sentence each before you generate anything. Something like: "Hook: a product flying apart in slow motion. Core: showing how our packaging is built." That sentence becomes your prompt in the next step.
One more thing: check what's trending in your niche right now. Trending audio boosts visibility because Instagram pushes content that uses sounds already getting traction. You don't need to copy a trend, just borrow the audio and put your own idea on top.
Step 2: Choose an AI Video Generator
The tool you pick decides how fast you can move and whether your output is actually post-ready. There are dozens of options, but most free plans add a watermark, which kills brand-safe output before you even get started.
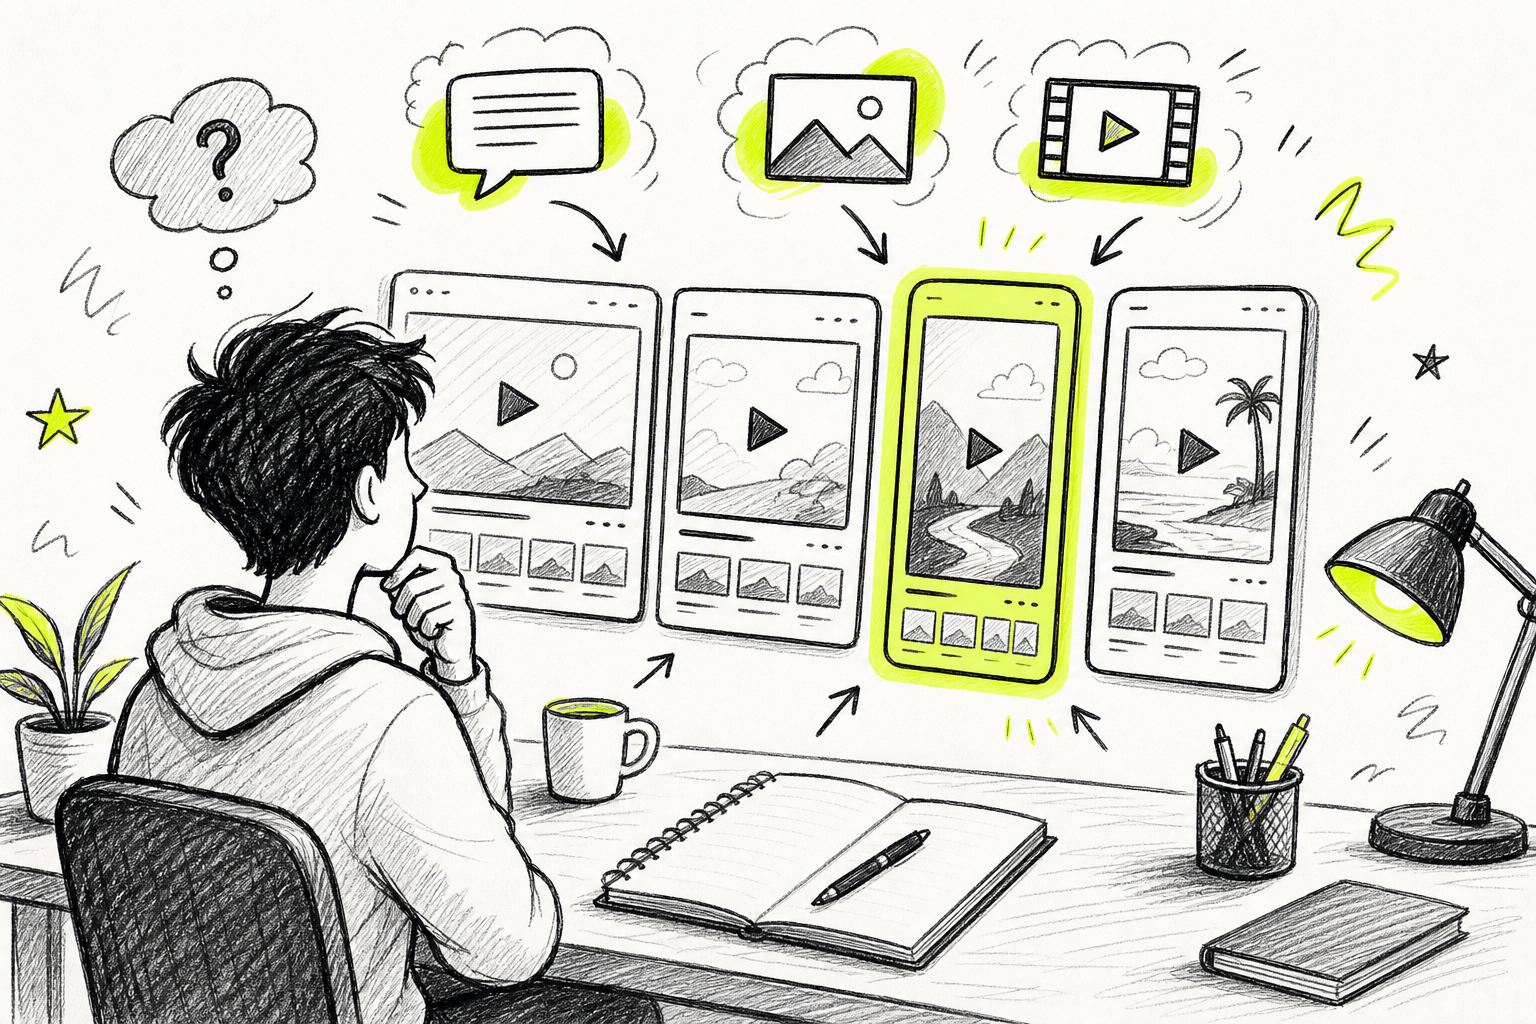
We built Seedance Studio on Seedance 2.0, ByteDance Seed's flagship model, currently ranked number one for both text-to-video and image-to-video. You type a prompt or upload reference images, clips, and audio, and the model returns a finished video with automatic camera direction, consistent characters, and native sound already mixed in. No download, no waitlist. The free tier is watermark-free at 480p, which is genuinely rare in this category.
To get started, follow the Seedance 2.0 first-video walkthrough to set up your account and generate your first clip in five steps. It covers aspect ratio, prompt structure, and export settings in plain language.
If you want to compare your options honestly, here's how the main alternatives stack up for Reels specifically:
| Tool | Best For | Free Tier | Watermark-Free | Native 9:16 |
|---|---|---|---|---|
| Seedance Studio | Fast, consistent, watermark-free Reels | Yes (480p, limited credits) | Yes | Yes |
| InVideo AI | Script-first flow with stock footage | Yes (watermarked) | No | Yes |
| Runway Gen-4 | Precisely directed cinematic shots | Trial credits only | — | Manual ratio set |
| Kling 3.0 | Budget creators testing hook variants | Free credits at signup | — | Yes |
| Pika 2.2 | Stylized, effect-heavy Reels identity | Limited | — | Yes |
The pattern across almost every free tier: watermarks are the default, not the exception. If you need brand-safe output from day one without paying, Seedance Studio is the clearest path. Paid plans start at $14/month if you need higher resolution or more credits.
Step 3: Generate & Refine Your Reel
Open your tool and turn that one-sentence concept from Step 1 into a prompt. Good prompts for Reels are short and specific. Name the subject, the action, the camera move, and the mood. "A chef flips a golden pancake in a sunlit kitchen, slow push-in, warm morning light" beats "something with food and cooking."
Set your aspect ratio to 9:16 before you generate anything. Cropping after the fact almost always cuts off the frame in the wrong place. Set duration to 15 seconds as a starting point. Then hit generate.
Your first output is a draft, not a final. Watch the whole clip once. Check three things in order: did the camera do what you asked, does the character or subject look consistent, and does the motion feel natural? If something's off, adjust one part of the prompt and regenerate. Changing everything at once makes it impossible to know what fixed the problem.
For Reels that need a consistent character across multiple clips, reference images are the most important tool you have. Upload a clear photo of your subject and tag it in the prompt. Seedance 2.0 supports up to 12 reference inputs per generation, which means you can anchor a character, a location, and an audio track all in one pass. That's the feature that makes a series of Reels feel like they belong together instead of looking like random clips.
If you want to animate a still photo into a Reel, the free image-to-video workflow on Seedance Studio walks through every setting, from motion prompt structure to export format, with no download required.
Once you have a clip you like, check it on your phone screen before moving to the next step. What looks clean on a desktop monitor sometimes has visible compression or motion stutters at mobile size, and that's where your audience will watch it.
Step 4: Optimize Specs & Add Captions
Instagram Reels have specific technical requirements, and getting them wrong means the platform compresses or crops your video automatically. Here's what to lock in before you upload.
Resolution:1080 x 1920 pixels (1080p at 9:16). This is the native Reels resolution. Lower quality gets deprioritized in distribution. If you generated at 480p on a free plan, consider upgrading for your final keeper clip.
File format:MP4 (H.264 codec). Every major platform accepts it, and it holds quality well after Instagram's re-compression pass.
File size:Instagram Reels accepts up to 4GB, so a 15-to-30-second 1080p clip is well inside the limit.
Captions are non-negotiable. A large share of viewers watch Reels with the sound off, so text on screen is often the only way your message lands. Most AI generators, including Seedance Studio, can produce native sound in the same generation pass, but you still want visual captions for silent viewing.
On-screen text improves content accessibility for deaf and hard‑of‑hearing viewers and tends to boost engagement in silent‑autoplay environments. For Reels specifically, captions keep viewers watching past the first few seconds when audio isn’t playing.
If your generator doesn't auto-add captions, bring the clip into a basic editor and add them manually. Keep each caption line short, two to five words, so it's readable at a glance on a small screen.
For Reels that use dialogue or voiceover, Seedance 2.0 generates lip-synced dialogue in the same pass as the video. You write the spoken line in quotes inside your prompt, attach a character reference, and the model handles audio timing automatically. That's covered in detail in the AI video generator with sound guide if you want to go deeper on audio setup.
Do a final quality check: watch the exported MP4 on your phone at full volume, then again with the sound off. If both passes feel good, you're ready to publish.
Step 5: Publish, Promote & Track Performance
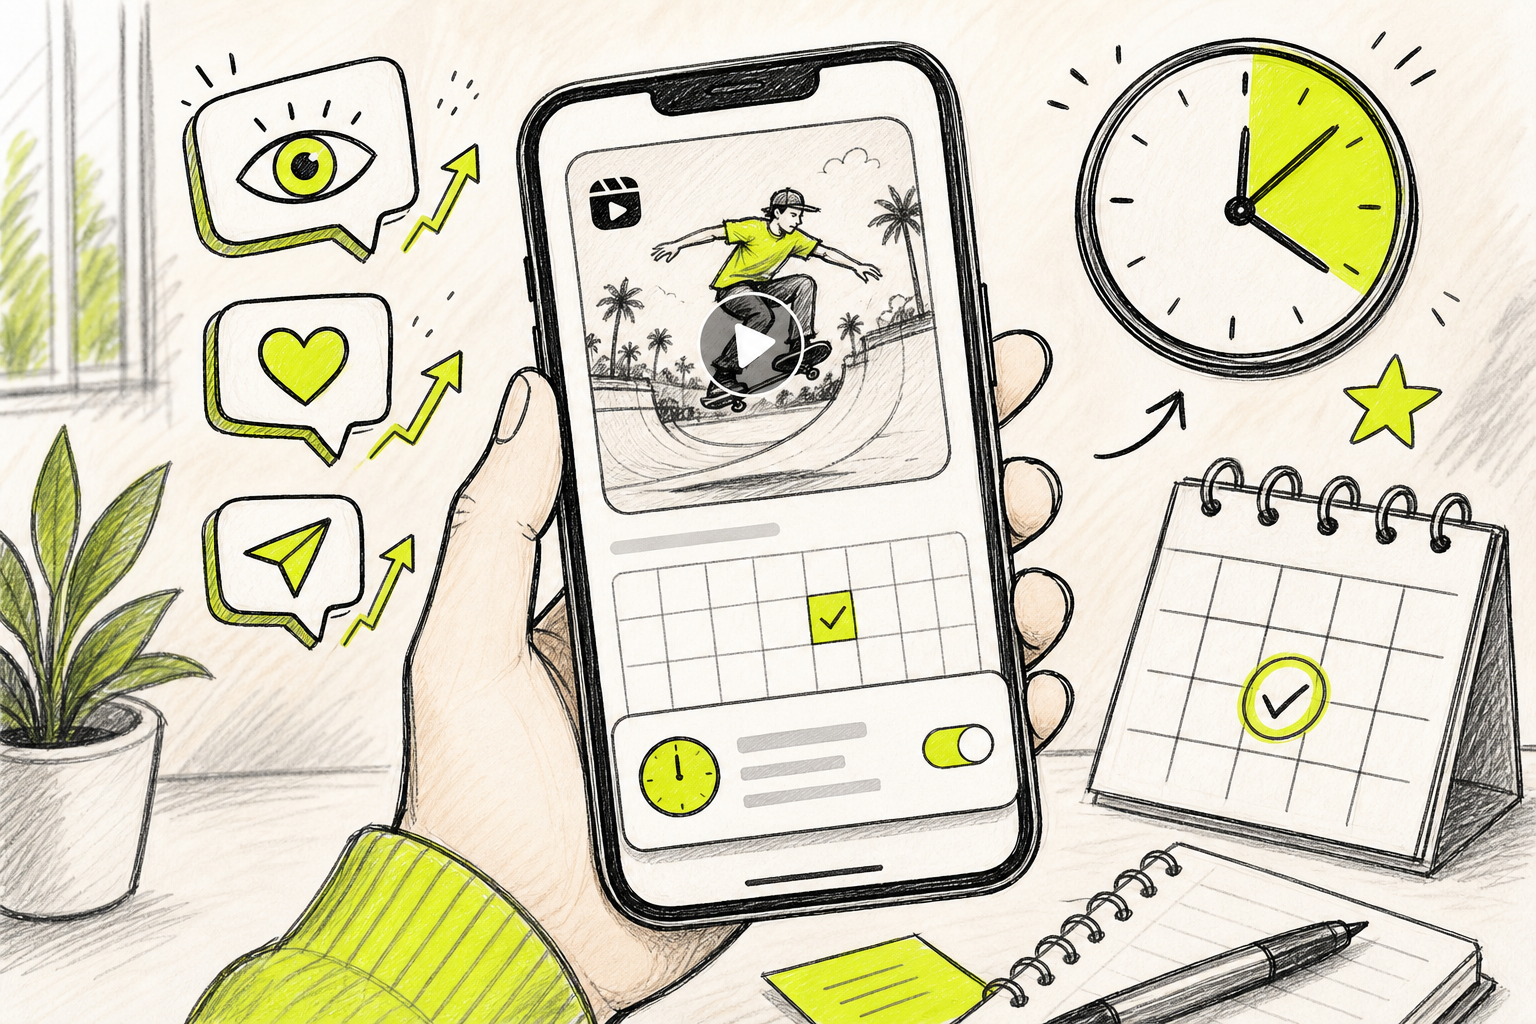
Posting at the right time makes a real difference. Instagram’s built‑in analytics show when your followers are most active, and scheduling Reels during those windows can increase reach by up to 30%. You can schedule directly inside the Instagram app: create your Reel, tap Advanced Settings, toggle on "Schedule this Reel," and pick your date and time up to 75 days out. This works on both iOS and Android, and you need a business or creator account to access it.
For desktop scheduling, you can use third‑party tools that connect to your Instagram account. If you want multi‑platform scheduling or automated posting‑time suggestions, these tools can pull data from your account history and surface the windows where your audience is most active.
Once your Reel is live, give it 24 to 48 hours before drawing conclusions. The metrics that matter most early on are watch time and completion rate. If completion rate is low, the problem is almost always a weak hook or a clip that runs too long. That feedback goes straight back into your next prompt.
Saves and shares tell you something different: saves mean the content was useful enough to come back to, shares mean it was interesting enough to pass on. Both signals push the algorithm to show the Reel to more people. If you're getting views but no saves, the content might be entertaining but not useful. If you're getting saves but few views, the hook probably isn't strong enough to stop the scroll.
Consistency beats any single viral post. Accounts that post Reels regularly, even at modest quality, outperform accounts that post one polished clip per month. AI tools make consistency achievable because the production time per clip drops from hours to minutes. You can compare AI video generator options to find the right fit for your posting volume and budget.
One tactic worth building into your workflow: batch your Reel production. Block two hours, generate five to eight clips, and schedule them across the week. That way you're never scrambling to post something before a trend dies.
FAQ
How long should an Instagram Reel be?
The sweet spot is 15 to 30 seconds. Reels in that range consistently earn the highest engagement because they deliver value without losing viewers to a swipe. Reels can run up to 3 minutes, but anything over 30 seconds needs a strong hook in the first two seconds or watch time drops sharply. For AI-generated content, 15 seconds is a usable starting point.
Do I need a camera to make Instagram Reels?
No. You can make Reels entirely from a text prompt or a single photo using an AI video generator. Tools like Seedance Studio take a written description or a reference image and return a finished 9:16 video with camera movement and native audio. No filming, no editing software, and no equipment needed beyond a browser and an idea.
What is the best video format for Instagram Reels?
Use MP4 (H.264) at 1080 x 1920 pixels in a 9:16 aspect ratio. That's the native Reels resolution. Instagram re-compresses every upload, so starting at 1080p gives you a quality buffer. Keep the file under 4GB, which any standard 15-to-30-second clip will be well within.
Can I use AI to make videos for Instagram Reels without watermarks?
Yes, but most free AI tools add a watermark to free-tier exports. Seedance Studio is one of the few platforms with a watermark-free free tier, which makes it useful for brand-safe Reels without a paid plan. If you need 1080p resolution or more monthly credits, paid plans start at $14/month.
How often should I post Instagram Reels?
Consistency matters more than frequency. Posting three to five Reels per week gives the algorithm enough signal to understand your content and push it to new audiences. Daily posting is fine if you can maintain quality, but irregular posting, such as one Reel this week and nothing for two weeks, hurts reach more than posting fewer times consistently.
How do I track whether my Reels are actually working?
Watch completion rate and saves first. Completion rate tells you if the hook is working; saves tell you if the content is useful enough to return to. Both are available in Instagram's built‑in analytics after 24 to 48 hours. If completion rate is low, shorten the clip or strengthen the opening. If saves are low but views are high, the content entertains but doesn't deliver enough value.
Conclusion
The process is straightforward once you have the right tool: define a clear concept, generate a 9:16 clip with a strong hook, add captions, and post consistently. If you want to skip the watermark problem and start with a model that's actually built for short-form video, try the Seedance Studio workflow to generate your first Reel today, no download or waitlist required.


