Most free AI video tools make you sign up, burn through a trial, and hit a paywall before you've finished your first clip. It doesn't have to be that way. This guide walks you through every step, from picking a real free tool to exporting a finished video ready for TikTok or Reels, with no downloads required.
Step 1: Pick the Right Free Image-to-Video Tool
The first decision shapes everything else. Most platforms label themselves "free" but fall into one of two categories: a permanent free allowance that drips a small number of credits daily, or a one-time trial bundle that runs out and never refills. Knowing which you're looking at tells you whether you can use it long-term or just for testing.
For a free tool you can actually keep using, Seedance Studio is the clearest starting point. It runs entirely in the browser, needs no credit card, and generates image-to-video clips on a model that leads independent benchmarks for image-to-video quality. Free exports include a small watermark, which you can remove on a paid plan, but the model quality is identical.
A few other tools are worth knowing about, depending on what you're testing:
- Luma Dream Machine gives 8 draft generations per month on its free tier, with limited resolution and a watermark on every export. Good for experimenting with cinematic B-roll, but the monthly cap is tight.
- WaveSpeedAI offers starter credits on signup and lets you swap between a wide range of models including WAN 2.7, Sora 2, Veo 3.1, Kling, and HaiLuo from one interface. Useful if you want to compare outputs across different AI models rather than commit to one.
- Midjourney uses its V1 video model to bring still images to life, making it a solid option if you already use it for image generation and want to extend your workflow into video.
One pattern worth watching: most free tiers don't tell you the maximum video length, output resolution, or whether your export will carry a watermark. Our research across several tools found that Luma Dream Machine is the only one that openly states a resolution limit and confirms a watermark. Seedance Studio is more transparent than most, which matters when you're trying to plan a real workflow rather than guess.
If you want to go further and compare the wider landscape, the best AI video generator tools in 2026 breaks down more options across free and paid tiers.
Step 2: Upload Your Image and Write a Motion Prompt
Once you've picked your tool, open the image-to-video section and upload your photo. Most browser-based generators accept JPG and PNG files. Use the highest quality version you have. Blurry hands or soft faces in the source image will look worse in motion, not better.
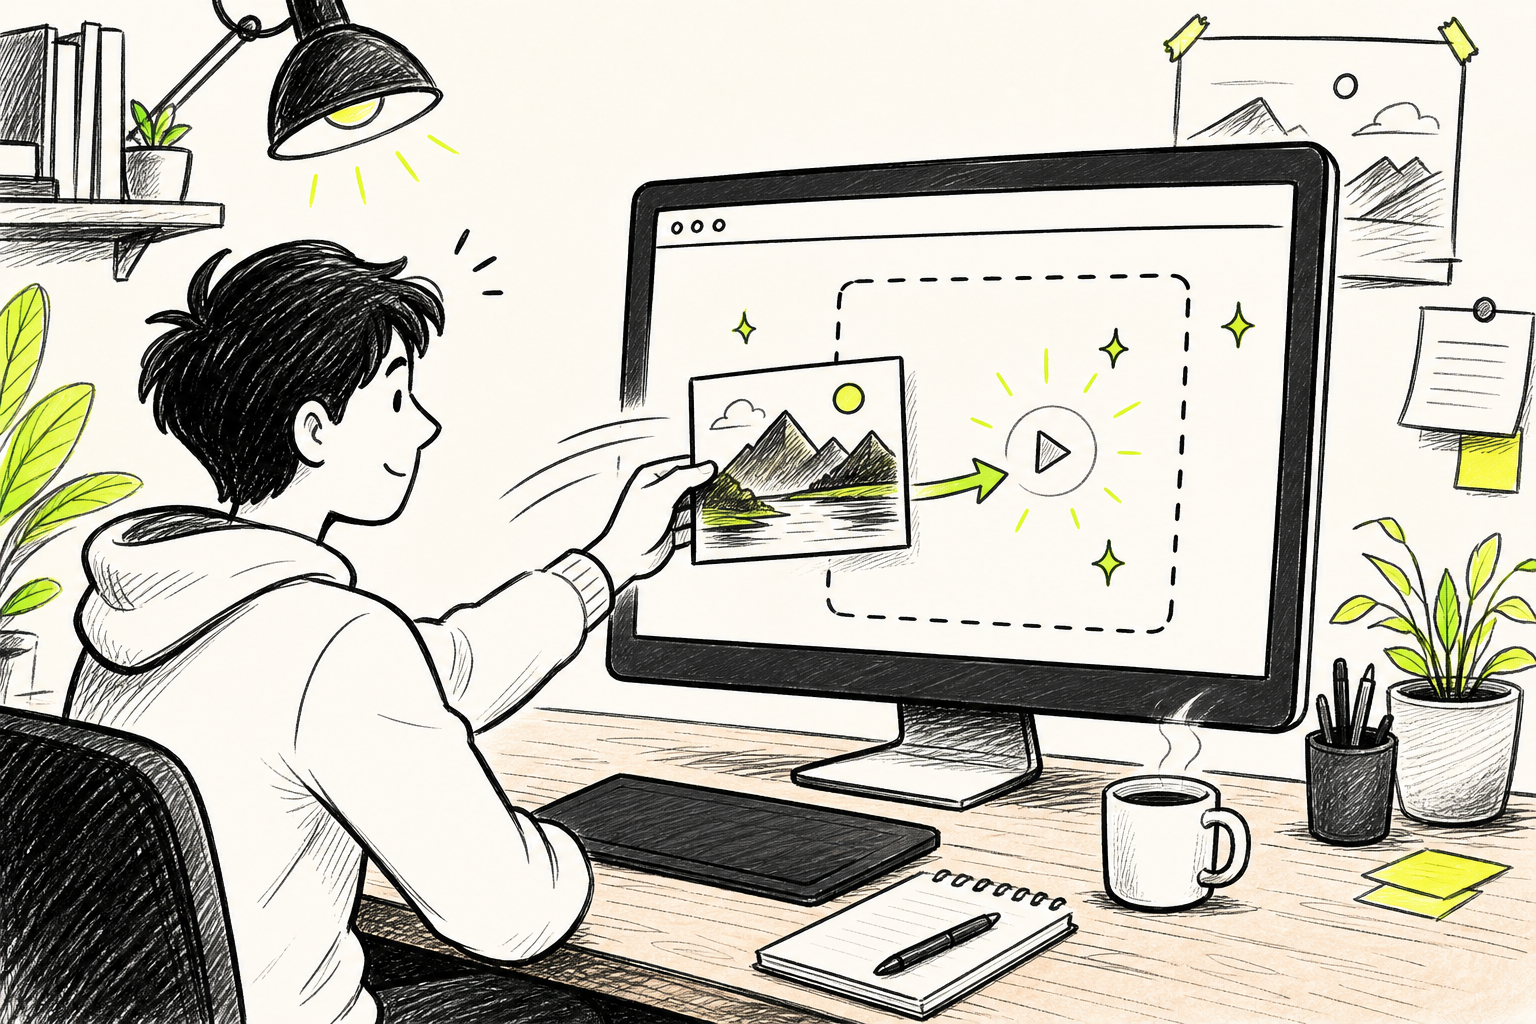
The prompt is where most people go wrong. Your image already tells the AI what the scene looks like. Your prompt's job is to say what shouldmove. Effective prompts focus almost exclusively on motion rather than describing elements already visible in the photo.
Think of it like a director's instruction. Instead of "a woman standing in a park with trees," write "the woman slowly turns to face the camera while leaves drift past in the foreground." Name the subject, name the action, name the camera move if you want one.
Here's a simple structure that works:
- Subject: who or what moves ("the cat," "the product," "the car")
- Action: what they do ("slowly looks up," "rotates 90 degrees," "drives forward")
- Camera: how the shot moves ("slow push in," "pan left," "static shot")
Keep the first draft short. One clear sentence often beats a paragraph. If the output misses the mark, add one more detail and regenerate rather than rewriting everything at once. That way you learn which word changed the result.
One thing to check before you hit generate: look at your source image for implied motion. A photo of a car with motion blur, for example, already signals movement to the model. If you then prompt for a parked, still car, you'll fight the image's own visual cues. Either pick a cleaner source photo or frame your prompt to work with the motion the image implies.
On Seedance Studio, you can also attach reference images alongside your main photo. Drop in a second image tagged in your prompt and the model treats it as context for style or character consistency. That's particularly useful if you're animating a product shot and want a specific lighting mood to carry through.
Step 3: Set Aspect Ratio, Duration, and Output Settings
Before you hit generate, three settings will define whether your clip is actually usable: aspect ratio, duration, and resolution. Getting these wrong means re-rendering later.
Aspect ratio depends entirely on where you plan to post. Use 9:16 for TikTok, Instagram Reels, and YouTube Shorts. Use 16:9 for YouTube or any horizontal context. Square (1:1) works for feed posts on Instagram or LinkedIn. Pick this before you upload your image, because the crop affects how the AI frames the motion.
Duration is usually between 4 and 10 seconds on free tiers. Shorter clips generate faster and are more forgiving on credit budgets. For a first test, 4 to 6 seconds is enough to see whether your prompt produces the motion you wanted. If you're building something for social media, most platform algorithms favor clips under 15 seconds anyway.
Resolution is where free tiers typically limit you. Seedance Studio's free plan generates at 480p with a watermark. Paid plans unlock 720p, 1080p, and 4K. A usable approach: iterate your prompt at lower resolution, then render your final keeper at the highest setting your plan allows. You burn fewer credits on experiments that way.
The step-by-step Seedance 2.0 tutorial covers each of these format controls in detail, including how to choose between the 2.0, 2.0 Fast, and 2.0 Mini model variants depending on whether you're testing or finalizing.
One setting some tools call "movement amplitude" or "motion intensity" controls how much the AI moves things. A low setting keeps the image mostly still with subtle animation. A high setting can produce dramatic motion, which looks great on action scenes but can distort faces or text if pushed too far. Start in the middle and adjust from there.
Step 4: Add Audio, Music, or Narration to Your Video
Some newer AI video models generate synchronized sound alongside the video in a single pass. Seedance 2.0 produces native stereo audio including sound effects and lip-synced dialogue, so if your source image shows a person and your prompt includes spoken lines, the model handles audio timing automatically.
If your tool generates a silent clip, you have two straightforward options: add background music or add a voiceover narration.
For a voiceover, a browser-based AI voice generator lets you type a script and pick from a wide range of voices, all without any download needed. You can control pitch, speed, and tone. Export the audio as an MP3, then sync it to your clip in any basic video editor.
For music, most free video editors include royalty-free music libraries. Drop your generated clip into the timeline, drag a track underneath, and trim to length. Keep the music low enough that it supports the video rather than competing with it.
A few usable notes:
- If your clip shows a person speaking, check whether the lip movements match any audio you add. A mismatch looks worse than silence.
- For social media, many viewers watch with sound off. Add captions or subtitles to make the content readable without audio.
- Keep narration scripts short. A 6-second clip supports roughly 15 to 20 words of narration at a natural pace.
If you need a consistent character speaking across multiple clips, the Seedance 2.0 model supports up to 12 reference files per generation including audio tracks, so you can feed it a voice sample and carry that sound through several shots without re-recording.
Step 5: Review Quality and Fix Common Issues
Watch your generated clip at least twice before downloading. First time, watch for motion quality. Second time, focus on edges, faces, and text.
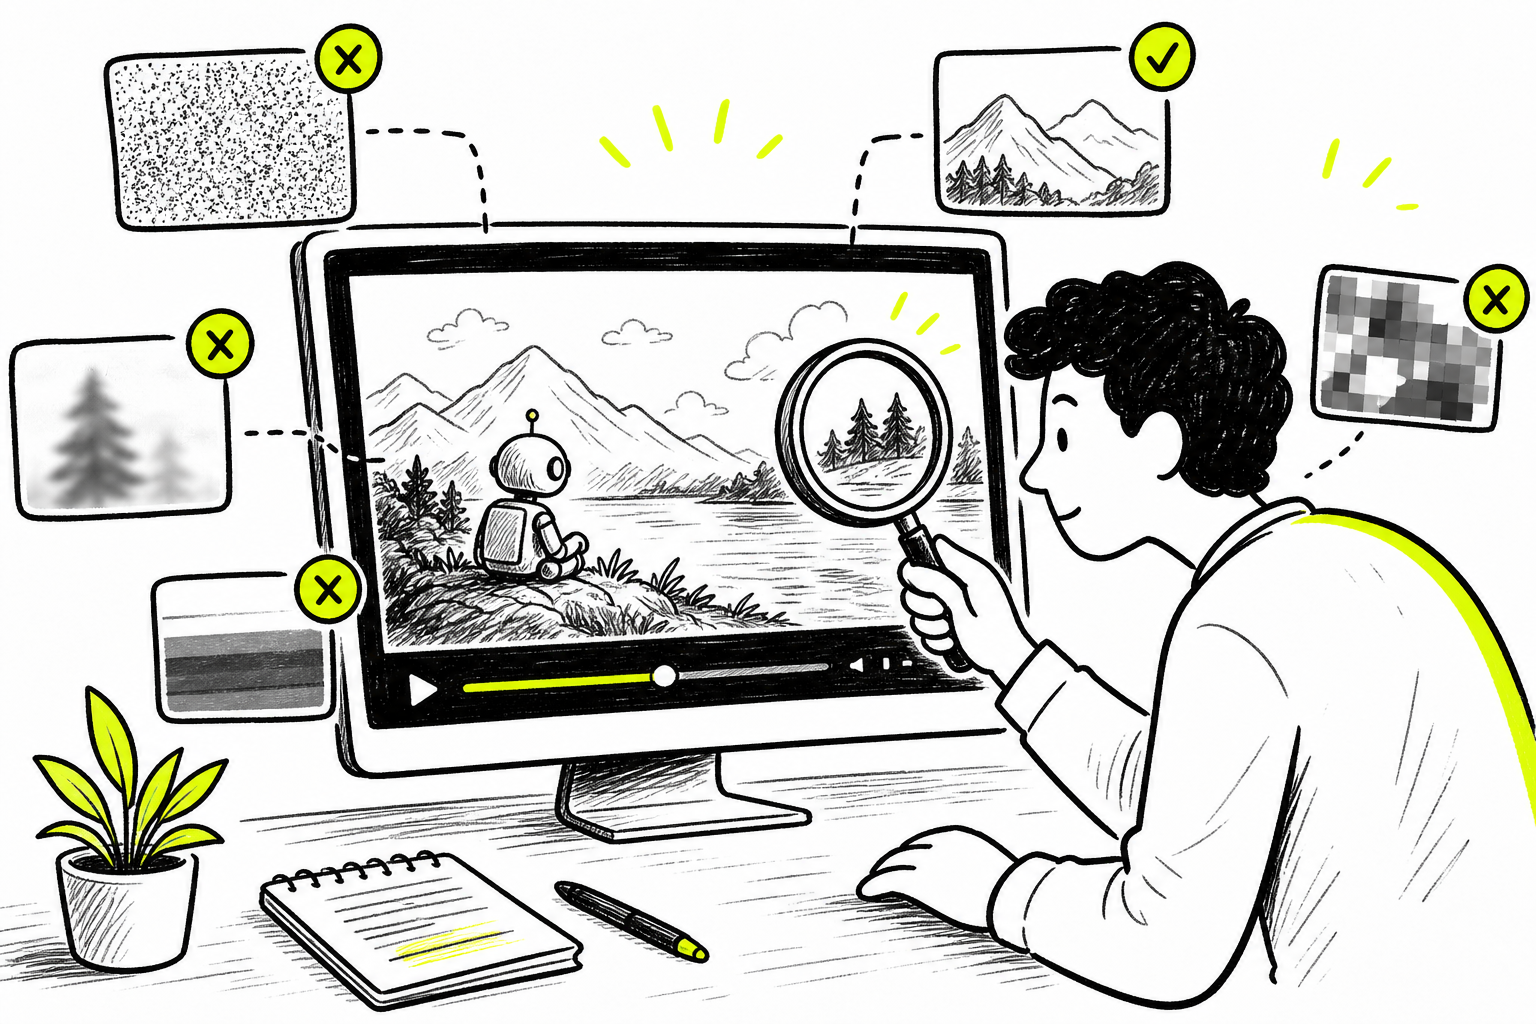
The most common problems in free-tier image-to-video output:
- Grainy or soft output: Usually a resolution issue. If you're on a 480p free tier, the grain is expected. Upgrade to 720p or 1080p for cleaner results, or use an upscaling tool after export.
- Unnatural motion: Happens when the prompt conflicts with implied motion in the source image, or when duration is too short for the action you described. Try a longer clip or simplify the action.
- Unwanted cuts: A cut mid-clip usually means the model couldn't fit your described action into the chosen duration. Increase the duration, or add "continuous, smooth shot" to your prompt.
- Distorted faces or hands: If these were unclear in the source image, the model amplifies the problem. Start with a cleaner photo where the face is sharp and front-facing.
If the lip movements don't match any audio you've added, that's fixable without re-generating the whole clip. AI lip sync tools analyze the face in your video and re-time mouth movements to match a new audio track. You upload your clip, paste the new script or upload a voice file, and the tool re-syncs the mouth frame by frame. This works well for talking-head clips and is particularly useful when you want to localize content into a different language without re-shooting.
For a simple quality check before you finalize: download the clip and view it on a phone screen. Most of your audience will watch on mobile. What looks fine on a desktop monitor sometimes has visible compression artifacts or motion stutters on a smaller screen. If it looks good on both, it's ready.
Creators who need more control over prompt iteration across Mini and standard model variants can check the Seedance 2.0 Mini vs Fast vs Standard comparison to understand when to use a cheaper draft model versus the flagship render.
Step 6: Export and Share for Social Media
Download your clip as an MP4. That's the format every major social platform accepts. Check the file size before uploading: TikTok caps uploads at 1GB, Instagram Reels at 4GB, and YouTube Shorts at 256MB for mobile uploads. A 6-second 1080p clip will be well inside those limits.
If you generated a longer clip or want to create multiple short variations from one source, AI clipping tools can trim and reformat automatically. A single longer video can produce several standalone clips ready for different platforms in one pass.
Platform-specific formatting tips:
- TikTok and Reels: 9:16 vertical, captions recommended, post within 24 hours of a trend to maximize reach.
- YouTube Shorts: 9:16, under 60 seconds, strong visual in the first 2 seconds.
- LinkedIn and X (Twitter): Square (1:1) or landscape (16:9) tends to perform better than vertical on these platforms.
If you're posting across multiple platforms regularly, tools that let you schedule and publish directly save meaningful time. But for a single clip, downloading and posting manually is fast enough.
One note on watermarks: free-tier exports from most tools, including Seedance Studio's free plan, carry a watermark. For personal or test content that's fine. For anything you publish commercially, client work, or ads, you'll want a paid plan that removes it and includes commercial rights. Seedance Studio's paid plans start at $14 per month and remove the watermark while keeping the same model quality.
Creators who produce content at volume and want to understand the upcoming model improvements can read about Seedance 2.5's features and release timeline, including 30-second clip support and expanded reference counts, which unlock on all plans including free when the model ships.
Content creators who spend long hours generating and reviewing clips might also find value in tools that support the rest of their workflow. Free video editing tools and online productivity apps, for example, can help creators handle routine tasks without stepping away from their desk.
FAQ
Can I really use an image to video generator for free without a credit card?
Yes, several tools genuinely require no credit card to start. Seedance Studio's free plan lets you generate clips using the Seedance model with just an email signup. Free exports are 480p and carry a small watermark. Other tools like Luma Dream Machine and WaveSpeedAI also offer starter credits on signup, though the specific limits and watermark policies vary by platform.
How long can my video be on a free tier?
Most free tiers don't publish a maximum video length clearly, which is a real transparency gap. In practice, free generations typically cap between 4 and 10 seconds per clip. Seedance Studio supports up to 15 seconds per clip. If you need longer content, chain multiple clips together in a video editor or upgrade to a paid plan that increases the per-clip limit.
Why does my generated video look grainy or blurry?
Grainy output on free tiers is usually a resolution issue, not a model quality problem. Most free plans generate at 480p or 720p. The same model at 1080p looks noticeably sharper. Also check your source image: any blur or visual noise in the photo gets amplified during animation. Start with a clean, high-resolution input and the output quality improves significantly.
Do I need to write a detailed prompt or will a simple description work?
A clear, short prompt usually beats a long complicated one. Focus your prompt on motion, not on describing what the image already shows. One sentence naming the subject, the action, and a camera move is enough to get a good first result. Start simple, watch the output, then add one specific detail at a time to refine. Over-prompting often produces confused motion rather than more precise results.
Can I add my own voice or music to a free AI-generated video?
Yes. If your tool generates a silent clip, you can add audio using a separate browser-based tool, then merge the two in a basic editor. Browser-based AI voice generators are free and support a wide range of voices across multiple languages. Alternatively, use any royalty-free music library available in a free video editor. Some newer AI video models including those powering Seedance Studio generate native audio alongside the video in one pass.
What aspect ratio should I use for TikTok and Instagram Reels?
Use 9:16 vertical for TikTok, Instagram Reels, and YouTube Shorts. This fills the full mobile screen and is the default format those platforms optimize for. For YouTube videos or any horizontal context, use 16:9. Set the aspect ratio before you upload your image so the AI frames the motion correctly from the start rather than requiring a crop after generation.
Conclusion
The process is straightforward once you know the steps: pick a transparent free tool, write a motion-focused prompt, match your format to the platform, add audio if needed, and export a clean MP4. For most creators, Seedance Studio's free plan is the fastest path to a real result, with no waitlist and no credit card required. Sign up, upload your photo, write one sentence describing the motion, and generate your first clip today.