
Most AI videos look fine but sound hollow , and that gap kills engagement faster than bad lighting ever could. The good news: today's AI video generators handle music, dialogue, and sound effects in the same pass as the visuals, so you don't need a separate audio workflow. Here's exactly how to use one, from picking your tool to exporting a finished clip.
Step 1: Understand What an AI Video Generator with Sound Can Do
Modern AI video tools don't just stitch images together. They generate camera movement, consistent characters, and synchronized audio , all from a single prompt or reference image. Think of it as directing a short film without a crew.
The audio side has three layers. Background music sets the mood. Sound effects match the action on screen. And voice-over or dialogue, when the model supports it, syncs to the character's mouth movements so it looks natural rather than dubbed.
What's changed recently is that these capabilities no longer sit behind expensive paywalls. A survey of 18 AI video tools found that 16 of them offer a free tier , and several, including Google Veo, generate native synchronized audio at no cost. Advanced audio isn't a premium feature anymore; it's the baseline expectation.
That said, there's a real difference between a tool thataddsaudio after the fact and one that generates soundwiththe picture. Native audio generation means the score, ambient noise, and dialogue are created together with the video frames , so a door slam lands on the exact frame the door closes, not half a second later. Seedance Studio, built on ByteDance's Seedance 2.0 model, generates stereo audio, sound effects, and lip-synced dialogue in the same pass as the video. That's the standard worth aiming for.
One more thing worth knowing before you start: lip sync quality varies a lot between tools. In blind tests comparing leading models under identical prompts, Veo 3.1 scored top marks for voice clarity, while some newer models produced voices that stuttered or dropped out entirely. Physics and character motion matter too, but if your video has anyone speaking on camera, lip sync should be your first quality filter.
Step 2: Choose the Right AI Video Tool for Your Needs
There are a lot of options, and the pricing picture is murkier than it should be. Only 5 of the 18 major tools publicly list a starting price, which makes comparison harder than it needs to be. Here's a usable decision grid based on what the data actually shows.
| Tool | Best For | Audio Capabilities | Free Tier | Starting Price |
|---|---|---|---|---|
| Seedance Studio | Creators needing native sound + camera direction in one pass | Stereo music, ambient FX, lip-synced dialogue — generated with the video | Yes | $14/month |
| Kling AI | Photorealistic humans | Strong lip-sync capabilities | Yes | $10/month |
| Runway | Advanced creative control | Custom voices for lip sync | Yes | $15/month |
| HeyGen | Translated and avatar videos | Voice cloning for avatar voiceovers | Yes | $29/month |
| Synthesia | Business and training videos | Script-driven audio with 140+ AI avatars | Yes | $29/month |
| Google Veo | Cinematic, photorealistic video | Native audio generation, synchronized sound | Yes | — |
| CapCut | Quick social clips with captions | Built-in text-to-speech, auto-captions | Yes | — |
A few things stand out from that table. Kling AI at $10/month includes strong lip-sync, a feature that Runway charges $15/month and Synthesia charges $29/month for , so premium audio doesn't require a premium budget. The more important question is what kind of audio you need.
If you need a character to speak on camera with natural lip movement, look for tools that list lip-sync as an explicit feature. If you want background music and ambient sound without dialogue, almost any tool with native audio will work. If you're building a product ad or social reel where sound is half the story, Seedance Studio's approach , generating native sound alongside the video on its free plan, means you get a finished clip with audio already mixed, no extra steps.
Developers who want to generate videos programmatically should also check whether the tool has an API. Most don't advertise this clearly, but it matters if you're building an automated content pipeline rather than generating clips one at a time.
Step 3: Write a Strong Prompt to Generate Your Video
Your prompt is the brief. Everything the model generates flows from what you write, so five minutes here saves ten rounds of regeneration later.
Start with the subject and action. Be specific: "a chef flips a pancake in a sunlit kitchen" works. "Something cool with food" does not. Then add setting, camera direction, and , critically for audio , any sound you want to hear.
For dialogue, put the spoken line in quotation marks directly in the prompt. Models that support native dialogue will generate the voice and match it to the character's mouth. For example:A woman looks at the camera and says "You're already too late." Cut to wide as the engine roars, bass-heavy score kicks in.That single sentence gives the model a subject, dialogue, a cut, and a music cue.
For ambient sound, describe the environment. "Busy coffee shop" will typically produce background chatter. "Waves on a rocky shore" will produce water and wind. The more specific your setting description, the more believable the soundscape.
Camera direction also matters more than most guides admit. Physics , how things move , can't be fixed in post-production. If your character has an unnatural body movement, you have to regenerate the whole clip. So include motion cues: "slow dolly forward," "handheld shake," "static wide shot." These guide not just the camera but the overall energy of the audio too, since a slow dolly tends to produce a different music feel than a fast tracking shot.
Reference images sharpen results further. Upload a photo of your subject, tag it in the prompt, and the model keeps that character consistent across the generation. You can attach up to 12 references per generation in Seedance Studio , images, video clips, and audio tracks , which lets you lock in a character's face, a motion style from a reference clip, and even a specific musical vibe from an audio file, all in one pass. For more on writing prompts that get consistent results, the Seedance 2.0 step-by-step tutorial breaks down the prompt structure in detail.
By now you should have a prompt that names your subject, their action, the setting, any dialogue in quotes, and at least one sound or music cue. That's enough to get a usable first generation.
Step 4: Add and Sync Audio — Music, Voice-Overs, and Sound Effects
If your tool generated native audio, review it before you assume it's done. Listen for three things: does the dialogue match the mouth movements frame-accurately, does the background sound match the scene's energy, and does the music pacing match the cut points?
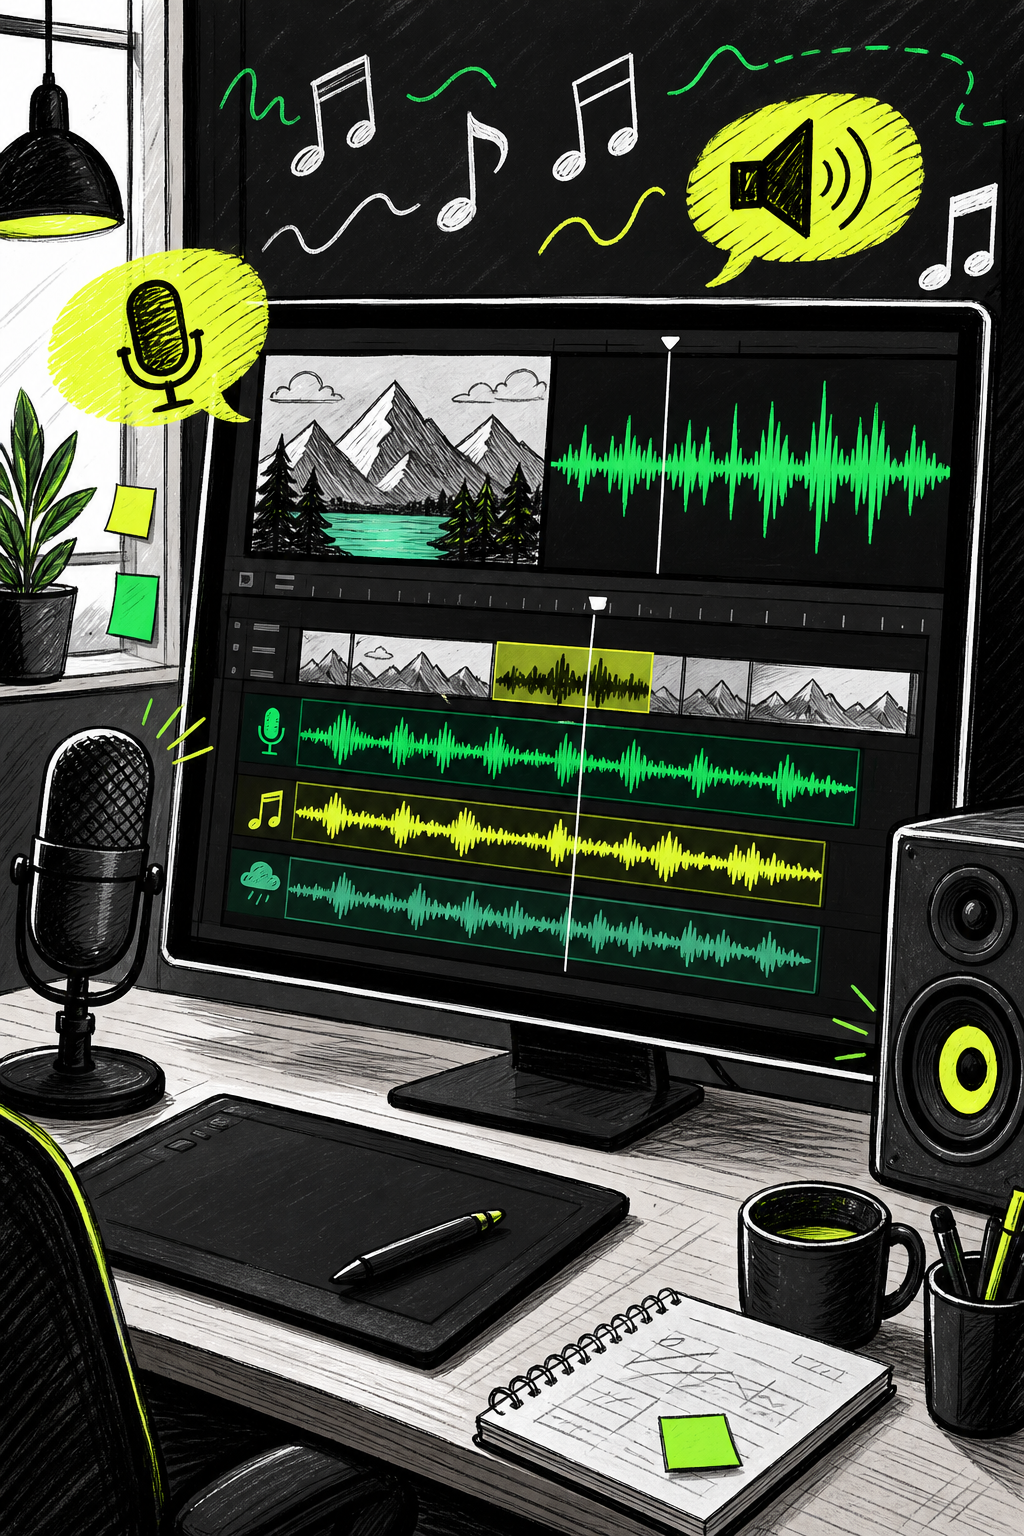
If any of those are off, you have two options. First, regenerate with a more specific prompt , adding a music cue or specifying dialogue timing often fixes it in one more pass. Second, bring the clip into a separate audio editor and adjust the timing manually.
The gap between technical sync and emotional sync matters here. Audio-visual alignment research shows audiences judge realism more by speech rhythm than by frame-perfect mouth movement. A slightly imperfect lip shape with natural pacing reads as real. A pixel-perfect mouth with robotic pacing reads as fake. So when you're reviewing your clip, ask "does this feel right?" not just "does the mouth line up?"
For voice-overs that weren't generated with the video, timing is everything. Don't just drag the audio file to the start of the clip. Match the pauses to the visual beats , when the camera cuts, when the subject moves, when a title card appears. Slow down the voice slightly during long static shots and tighten it when the visuals move fast.
Music and sound effects follow a similar logic. A slow ambient track under a fast product demo kills energy. A punchy rhythm under a slow cinematic shot feels anxious. Match the tempo to the visual rhythm, not the other way around. Brands in visually-driven industries , like a luxury consignment retailer showcasing pre-owned designer pieces , need their audio to feel as premium as the visuals, which means the music tempo, key, and mood all have to align with how the product is moving on screen.
For royalty-free music, use tracks where you own or license the output for commercial use. AI-generated music from tools that grant commercial rights is the cleanest option , no licensing headaches when you publish.
By the end of this step, your clip should have audio you've actively reviewed, not just what the model produced by default. Most first-pass audio is good enough to share, but 10 minutes of review separates a clip that's fine from one that feels professional.
Step 5: Adjust Video Quality and Export Settings
Resolution matters more at export than at generation. Generate at a lower resolution first , it costs fewer credits and gives you a fast preview of composition and audio. Once you're happy, regenerate or upscale for the final export.
Most platforms accept 1080p minimum for anything running at scale. TikTok's ad manager caps uploads at 500MB. Meta's Ads Manager handles up to 4GB. For organic posts, 1080p is fine; for paid ads, export at the highest resolution your tool supports , usually 1080p or 4K.
If your tool generated at 720p and you need 4K for a specific use case, AI upscalers can scale footage up to 4K while preserving detail and sharpening motion , rather than just stretching pixels the way older software does. This is worth knowing for creators using free tiers, which often cap at lower resolutions.
Aspect ratio is the other thing to lock before you export. Match it to the platform:
- 9:16 for TikTok, Instagram Reels, and YouTube Shorts
- 16:9 for YouTube and standard display ads
- 1:1 for Facebook and Instagram feed posts
Getting this wrong means cropping later, which almost always cuts off something important at the frame's edge.
Export as MP4 in H.264. That codec works across every major platform and keeps file size manageable without visible quality loss at 1080p. Before you hit publish, add captions if your video has dialogue , a large share of social media users watch without sound, and on-screen text keeps them in the clip. Many AI video tools generate captions automatically from the transcript. If yours doesn't, paste the dialogue into a caption editor and sync it manually.
Creators who want to run this whole workflow programmatically , generating, reviewing, and exporting in bulk , should look at the Seedance API for AI video generation, which accepts a prompt and optional references and returns a rendered MP4 with native sound via a single REST call. That's useful when you're producing dozens of variations for A/B testing rather than one clip at a time.
For businesses with specific use-case content needs , a local business promoting its schedule and customer stories on social, for example , the export step is also where you verify that the final clip is in the right format for each platform before scheduling. One export settings mistake at this stage means re-exporting everything.
FAQ
Can I generate a video with AI and have music added automatically?
Yes , tools that support native audio generation create music alongside the video in the same pass. You don't need to add a soundtrack manually. Models like Seedance 2.0 generate stereo music, ambient sound effects, and dialogue together with the visuals, already synced to the action. If your tool doesn't support native audio, you can add music separately in a video editor using royalty-free or AI-generated tracks.
What's the difference between lip sync and native audio in an AI video generator with sound?
Native audio means the model generates sound , music, effects, voice , at the same time as the video frames. Lip sync is a specific type of native audio where a character's mouth movements are matched to spoken dialogue. Not every tool with native audio supports lip sync. If your video has a speaking character, check that the tool explicitly lists lip-sync as a feature, not just background music or sound effects generation.
Do I need to pay for an AI video tool to get good audio quality?
No. Of 18 major AI video tools surveyed, 16 offer a free tier, and several include native audio generation at no cost. Kling AI offers strong lip-sync starting at $10/month , cheaper than many rivals that charge more for the same capability. Free plans often cap resolution and clip length, but audio quality on free tiers is often identical to paid plans on the same tool.
How do I write a prompt that includes dialogue for an AI video?
Put the spoken line in quotation marks directly in your prompt. For example: A man sits by a campfire and says "I've been waiting for this moment." Models that support native dialogue will generate a matching voice and sync it to the character's mouth. Add a setting description for ambient sound, and a music cue for background score. The more specific your audio intent in the prompt, the better the first-pass result.
What resolution should I export my AI-generated video at?
Export at 1080p minimum for social media posts and paid ads. For TikTok, Instagram Reels, and YouTube Shorts, use 9:16 aspect ratio. For YouTube or display ads, use 16:9. If your tool generates at 720p, an AI upscaler can sharpen the footage to 1080p or 4K without just stretching pixels. Always match the aspect ratio to the platform before exporting , cropping after the fact usually cuts off important frame elements.
Can I use an AI video generator with sound for commercial content?
Most tools allow commercial use on paid plans, but policies vary. Check the specific tool's terms before publishing. Seedance Studio's paid plans include a commercial license for exported clips. For music and sound effects, use AI-generated audio or royalty-free tracks where you own or license the output , that avoids copyright issues when you publish to TikTok, YouTube, or paid ad platforms. For a detailed look at AI video for ads, see how to use an AI commercial generator step-by-step.
Conclusion
The workflow is straightforward once you know the key decision points: pick a tool that generates audio natively, write a prompt that describes both the visuals and the sound you want, review the audio sync before you call it done, and export at the right resolution and aspect ratio for your platform. If you want to start without a credit card, Seedance Studio's free plan runs the same Seedance 2.0 model as the paid tier , native sound included , and is a usable first step for any creator or marketer ready to move fast.


