
A still portrait can become a short video with a moving face, spoken words, and synced lip movement. The hard part isn't pressing Generate. It's choosing the right photo and giving the model clear direction. Follow these steps to make a talking photo that feels planned instead of random.
Step 1: Choose a Clear Photo and Plan the Message
Good talking photos start with a good source image. Pick a sharp portrait with the face turned toward the camera and both eyes visible.
Avoid sunglasses, hands across the mouth, heavy shadows, extreme side angles, and busy backgrounds. The model needs to read the face clearly. A blurry face will usually produce a blurry mouth, odd teeth, or stiff eyes once it starts speaking.
Use a photo with enough space around the head and shoulders. This gives the animation room for small head turns. It also makes vertical cropping easier for TikTok, Reels, and Shorts.
Before you open a generator, decide what the person should say. Keep the first script short. One or two sentences work better than a long speech because the voice and mouth have less timing to manage.
- Start with one clear idea.
- Use words people say out loud.
- Cut long phrases and hard-to-pronounce names.
- Write down the mood, such as calm, excited, warm, or serious.
For example, a shop owner might use: “Our new summer range is here. See the full collection today.” A product team might use: “The update is live. Open the app to try the new dashboard.” Short copy gives the face time to pause and react.
It helps to think about the clip's job before you write it. Is it a product hook, a lesson, a welcome message, or a quick joke? One job keeps the script focused. You can find more detail on source images and motion prompts in this photo animation walkthrough.
If you plan to use a real person's face, get their permission before publishing. Don't use a stranger's portrait to suggest that they said something they never said. That can mislead viewers and may create legal problems.
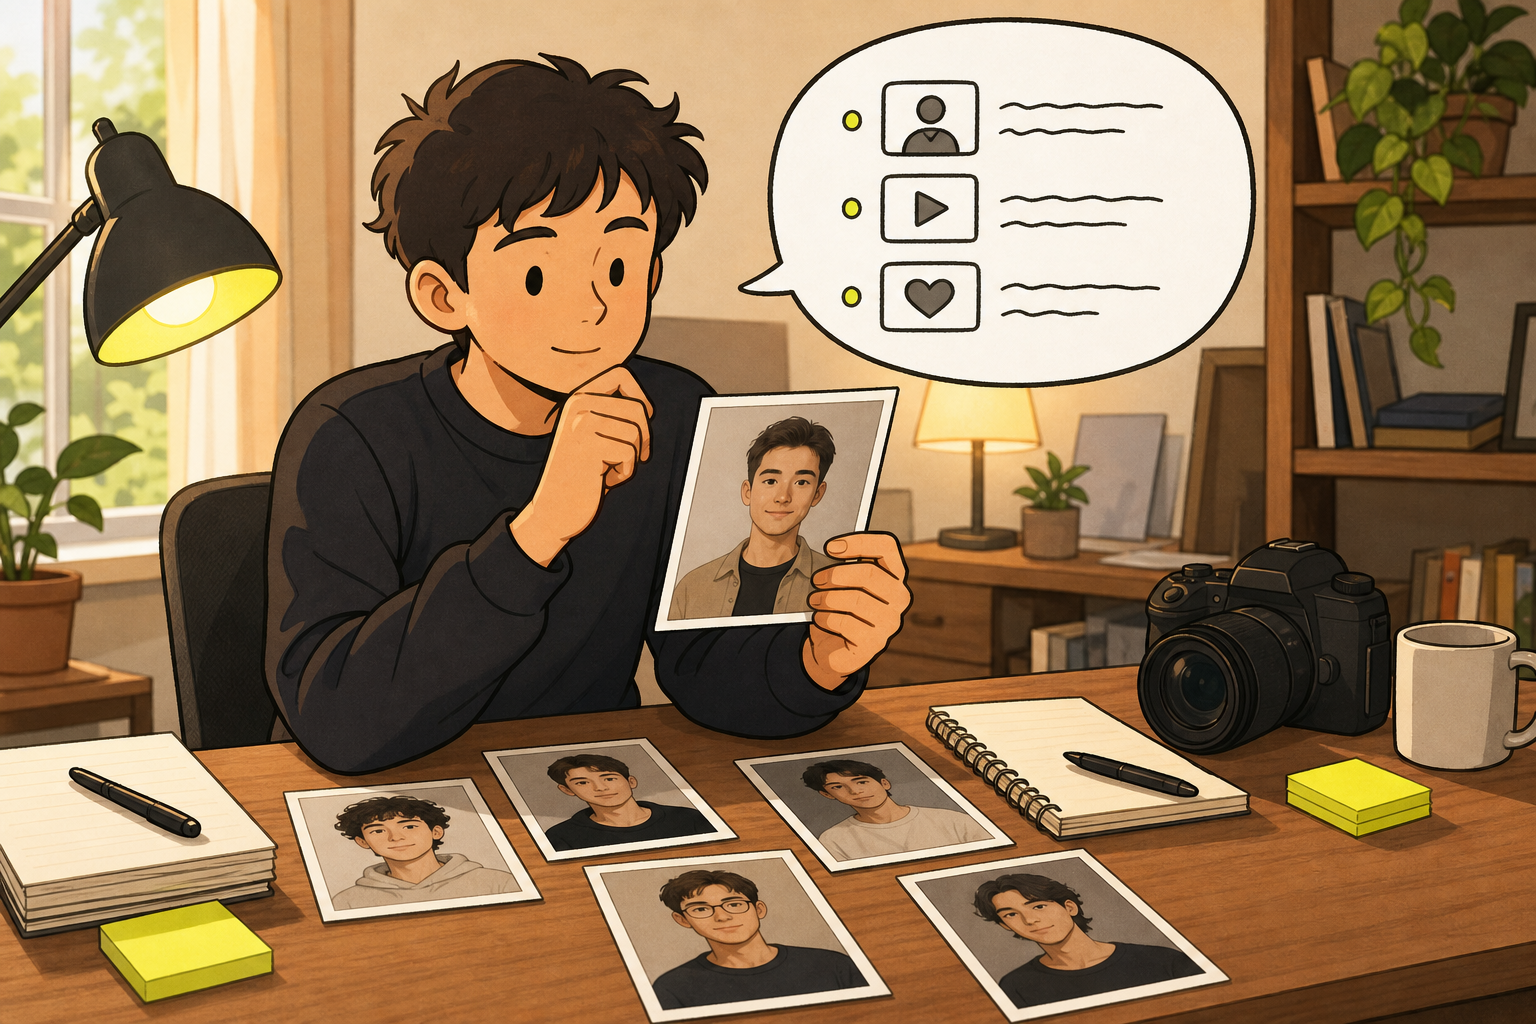
By now you should have:one clear portrait, one short spoken line, and a simple goal for the clip.
Step 2: Upload the Photo to an AI Talking Photo Generator
Now upload the portrait to an AI talking photo generator. Most browser tools use a simple flow: add an image, enter a prompt or script, then generate a video.
Start with the original file at the best quality you have. Don't enlarge a tiny social media download and expect the lost detail to return. If the image has text, a logo, or a product label, check that the face stays the main focus. Small text can warp during motion.
Next, pick the output shape before you generate. Choose 9:16 for vertical social posts. Pick 16:9 for a standard YouTube video or a website hero. Use 1:1 when the clip needs to sit in a square feed post.
The crop changes what the model sees. A portrait that works well in a wide frame may cut off the chin or shoulders in a vertical one. Set the ratio first, then check the preview.
Seedance Studio is a useful choice when you want more than a face animation. We let you upload a reference image, type a plain-English prompt, and generate a finished clip in the browser. The model can add camera direction, character consistency, and native sound in the same workflow. You don't need to download an app or wait for an invite.
Our free tier lets you test the flow before paying. Paid plans start at $14 per month. That price matters when you're making short clips often and don't want to start with a high monthly bill. You can compare the main image-to-video steps before choosing your settings.
Upload one image for your first test. Adding many references too soon can make it harder to see what caused a bad result. Once the face looks right, add a second reference for a product, room, or style if the scene needs one.
Give each reference a clear role. Tell the model which file contains the person. If you add a product image, say that it should remain in the person's hand. If you add a room image, say that it should guide the setting. Plain language works well when the instruction is specific.
Don't ask for a full story in the first generation. A talking portrait with one camera angle is easier to judge. You can build a longer sequence after the face and voice look right.
Step 3: Add the Script, Voice, and Lip-Sync Direction
The script tells the talking photo what to say. Your prompt should also explain who speaks, how they feel, and how the camera should move.
Lip sync means the mouth moves in time with spoken audio. The term comes from synchronizing lip movement with a recorded voice, which is why timing matters as much as the words. Wikipedia's explanation of lip sync gives the basic meaning.
Write the speaker's action in a direct way. For example: “The woman in the blue shirt looks into the camera and says, ‘Your order is ready for pickup.’ She smiles at the end. Slow push-in. Warm daylight.”
That prompt gives the model four useful signals:
- The woman in the blue shirt is the speaker.
- The quoted words are dialogue.
- The smile comes after the line.
- The camera moves in slowly.
Keep the sentence natural. You don't need a pile of mood words. “Friendly shop owner speaks with a calm smile” is clearer than a long string of vague adjectives.
Seedance Studio handles dialogue inside the video prompt. Put the spoken line in quotation marks and identify the person who says it. The voice, timing, and mouth movement are generated together with the clip. We also support reference inputs when you need the same character to appear across more than one shot.
For a more detailed prompt structure, use the Seedance prompt guide. It breaks a strong direction into subject, action, setting, camera, lighting, sound, and limits. You can use the same order with other AI video tools.
If your tool asks for a separate voice file, choose a clean recording with little room noise. Leave a small pause at the start. That gives the system a clear point for the first mouth movement.
Match the voice to the face and message. A calm voice suits a lesson. A bright voice may fit a short social hook. Don't make the face serious while the voice sounds playful unless that contrast is intentional.
Watch the length. A five-second clip can't carry a long paragraph without rushed speech. Split a longer script into separate clips, then join them in an editor. Give each clip one thought.
Before you generate, check the spelling of names and key terms. AI voices may read an unusual name in a strange way. Try a phonetic spelling if the tool supports it, or rewrite the sentence with simpler words.
Milestone:your prompt now names the speaker, includes the exact line, and gives the model one clear emotion or camera action.
Step 4: Generate the Talking Photo and Review the Animation
Generate the first draft, then watch the whole clip before you judge one strange frame. AI video can look fine at the start and drift near the end.
Review the result in this order:
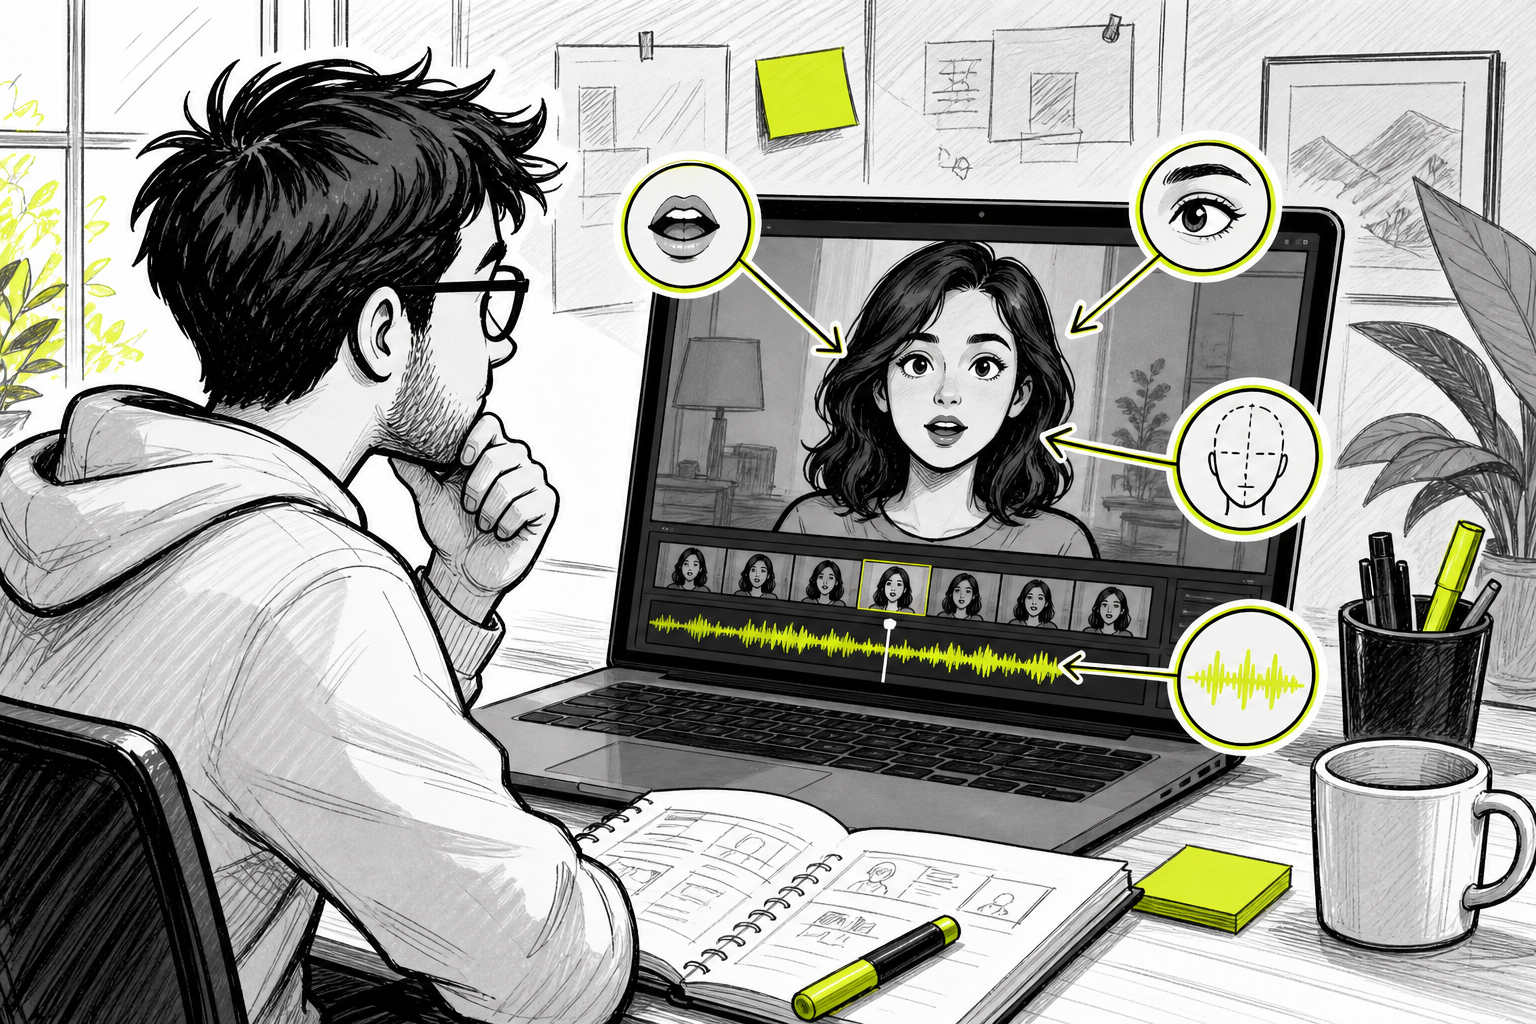
- Check the face. Does it still look like the source portrait?
- Check the mouth. Does it move with the words?
- Check the eyes. Do they blink in a natural way?
- Check the head and shoulders. Do they move without bending or stretching?
- Check the sound. Is the voice clear and timed to the action?
Look for common faults. Teeth may flicker. The mouth may open too wide. Hair can shift shape. Glasses may change between frames. These issues often come from a weak source photo, too much motion, or a prompt with several actions competing at once.
Use one change per new attempt. If the mouth is wrong, shorten the line. If the face drifts, add the same reference image again. If the camera moves too fast, ask for a static shot or a slow push-in.
Seedance Studio works well for this test-and-adjust loop because the workflow combines image-to-video direction with sound. You can also attach references when a product or character must stay the same. See the image-to-video guide for ways to structure those inputs.
Don't chase tiny flaws that viewers won't see on a phone. Do fix errors that change the meaning or make the person look unlike the source. A clean, simple clip usually beats a busy clip with more effects.
By now you should have one version where the face, voice, and main movement agree. If the result still feels wrong after two or three focused changes, choose a different photo instead of endlessly rewriting the prompt.
Step 5: Edit, Export, and Share the Talking Photo Video
The generated clip may be ready to post, but a light edit can make it easier to watch. Trim dead time at the start. Add captions so people can follow the message with sound off.
Keep the first visual beat quick. A face that starts speaking right away gives viewers a reason to stay. If the clip promotes a product, place the key benefit near the start instead of saving it for the final second.
Use a simple edit pass:
- Cut silence before the first word.
- Lower background music under the voice.
- Add readable captions with strong contrast.
- End on a clear action, such as “.”
Export an MP4 when possible. Check the final file on your phone before posting. Look for cropped text, tiny captions, dark skin tones, and audio that sounds too quiet on a small speaker.
Match the export shape to the platform. Use vertical 9:16 for TikTok, Reels, and Shorts. Use 16:9 for a normal YouTube upload. Don't rely on a later crop to fix a frame that was made for the wrong screen.
Keep a copy of the source photo, final script, and winning prompt. That small habit makes the next version much faster. You can reuse the same character reference while changing the hook or camera direction.
For a browser-first workflow, Seedance Studio keeps the generation step in one place. You can learn the Seedance Studio workspace flow before making a batch of clips. Then create a free account and test one short talking photo before you plan a full series.
Post the clip with a clear caption that adds context. Don't imply that a real person spoke if they didn't. If the video uses an AI-generated voice or face, label it when your platform, client, or local rules call for disclosure.
FAQ: Making Talking Photos With AI
How do I make a photo talk with AI?
Upload a clear portrait to an AI talking photo tool, then add a short script or voice file. Tell the tool who is speaking and what mood to use. Generate a short clip, check the mouth and eyes, then edit the result with captions before you post it.
What kind of photo works best for a talking photo?
A sharp, front-facing portrait works best for making talking photos with AI. Choose a face with clear eyes and an uncovered mouth. Avoid blur, harsh shadows, heavy masks, and extreme side angles. Leave some space around the head so the tool can add small movements without cutting off the face.
Can AI talking photos use my own voice?
Some AI talking photo tools can use an uploaded voice recording, while others generate speech from typed text. Check the tool's voice rules before you upload anything. Use your own recording or get clear permission from the speaker. Don't clone another person's voice to make a message they never approved.
How long should a talking photo video be?
A short line is best for a first talking photo video. Aim for one or two sentences so the mouth has enough time to match the voice. If you have a longer message, split it into several clips. That also gives you more chances to change the hook or remove a weak section.
Can I make talking photos for TikTok and Instagram?
Yes, you can make talking photos for TikTok and Instagram by choosing a vertical 9:16 frame before generating. Add captions because many viewers watch without sound. Check the clip on a phone, then trim the opening so the face starts speaking quickly.
Conclusion
Start with one sharp portrait and one short line. For the simplest all-in-one test, try Seedance Studio's free tier, set a vertical frame, and generate a five-second draft. Fix one issue at a time, then export the clean version and create a free account when you're ready to make more.


