A still photo can become a moving, breathing video clip in under a minute. AI animation tools have dropped the barrier so low that you don't need editing skills, a fancy computer, or even a paid subscription to get started. This guide walks you through exactly how to animate a photo with AI, from picking the right tool to posting your finished clip.
What Is AI Photo Animation and How Does It Work?
AI photo animation takes a single still image and generates a short video from it. The model studies the shapes, depth, and edges in your photo, then predicts how different parts of the scene would move. A person's hair might sway. Water might flow. A subject's eyes might blink.
Most tools use a generative model architecture that has been trained on millions of video frames. When you upload a photo and write a prompt, the model doesn't just add a wiggle effect. It reasons about motion physics and scene depth to produce something that looks filmed rather than filtered.
One thing worth knowing upfront: nearly every AI photo animator caps generated clips at 5 to 8 seconds per render. Vidu, for example, caps clips at 8 seconds. Runway's motion brush typically produces clips around 4 seconds. If you need something longer, you'll chain multiple generations together. That's not a flaw in your workflow. It's how the technology works right now.
The good news is that 5 to 8 seconds is exactly the right length for TikTok hooks, Instagram Reels intros, and YouTube Shorts openers. Short clips are the format, not a limitation.
Step 1: Pick the Right AI Tool for Your Needs
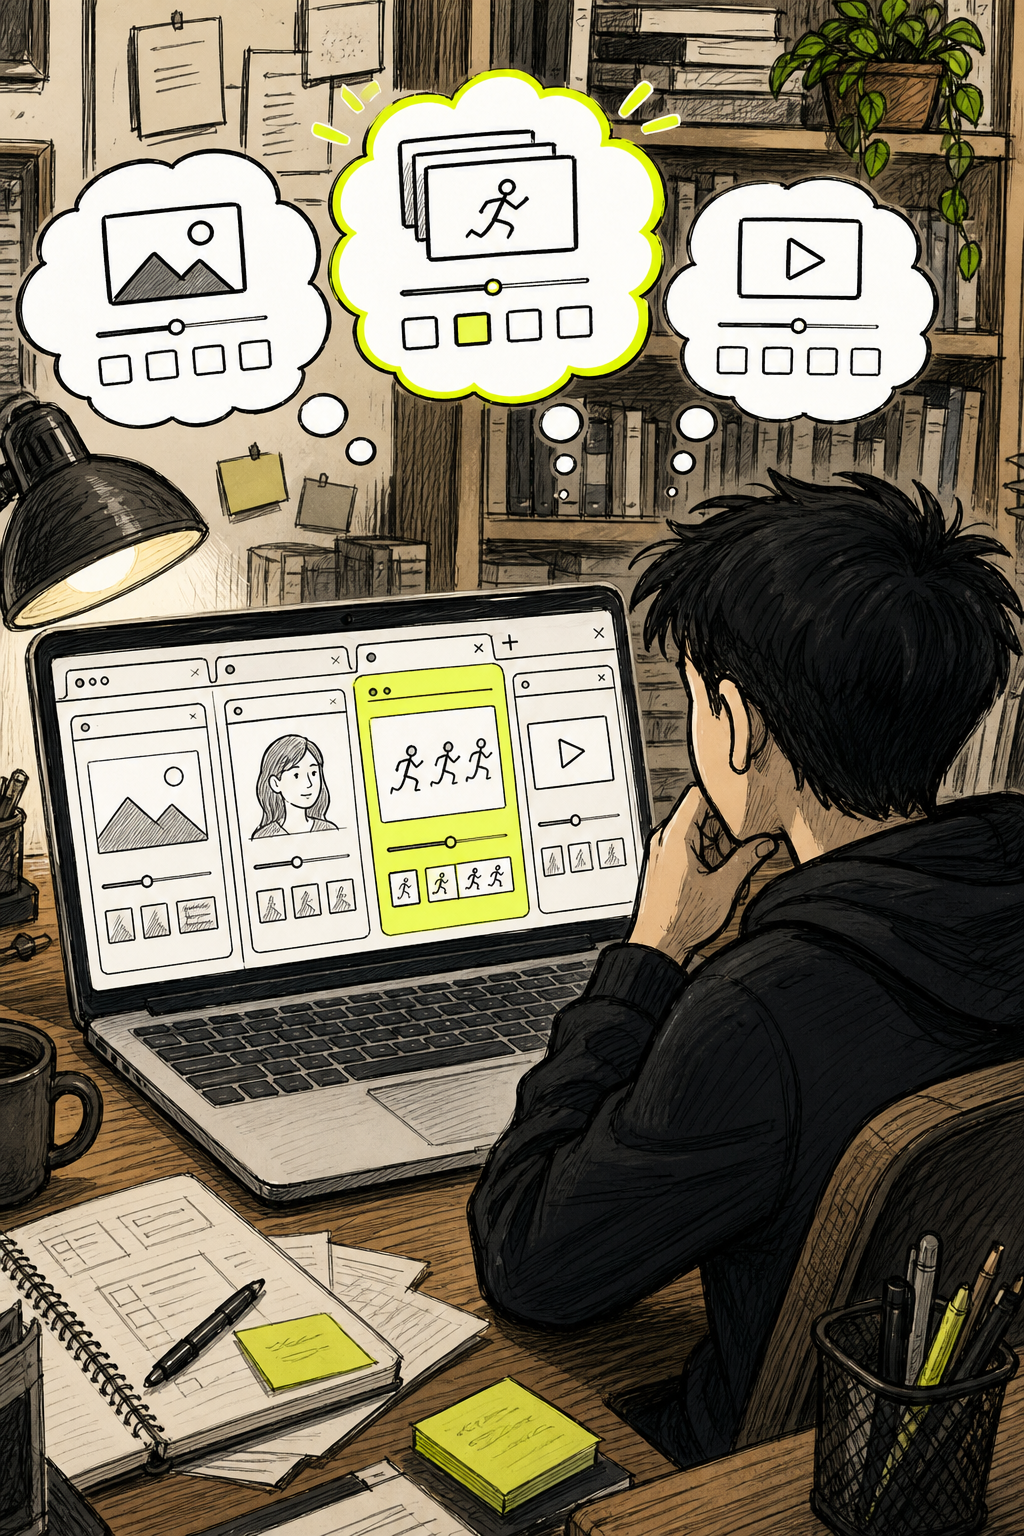
The tool you pick shapes everything that follows. Different platforms handle prompts differently, and credit limits vary wildly. Here's what actually matters when you're choosing.
Seedance Studio at tryseedance.ai is where we'd start. It runs on Seedance 2.0, the same model ranked number one for image-to-video generation. You upload your photo, type a prompt, and get back a clip with camera direction and native sound already mixed in. There's no download, no waitlist, and a free tier to test with. Paid plans start at $14/month. For social media creators who need consistent results fast, it's the clearest path from photo to finished video.
Other tools worth knowing exist too. Runway offers a motion brush that lets you paint movement onto specific parts of a photo. It gives you precise control over which area animates. The caveat is that it has no live preview, so every adjustment triggers a full new generation. Each 4-second clip costs around 20 credits, and you start with 125 free credits. That's roughly six full renders before you're out. Vidu gives you 40 free credits monthly and caps clips at 8 seconds. Tools like LTX.studio support up to 10-second clips at up to 4K resolution, though it's blocked in some regions without a VPN.
One thing that trips up beginners across all platforms: AI tools handle simple, focused prompts far better than detailed, complex ones. If you write a paragraph describing every element of the scene, you'll often get odd results. One clear sentence beats five vague ones.
If you want to understand how the free image-to-video generation workflow compares across different platforms before committing to one, that's a useful place to compare credit economics in detail.
Pick your tool based on what you actually need. Want precise control over which part of the image moves? Use a motion brush tool. Want fast results with good camera direction and sound built in? Seedance Studio is the better starting point.
Step 2: Upload Your Photo and Write a Motion Prompt
Photo quality matters more than most people expect. A sharp, high-resolution image gives the model more pixels to work with. Lower-resolution source photos tend to produce blurry edges in the animation, while high-res versions stay clean. Use 4K if you have it. At minimum, avoid blurry or heavily compressed JPEGs.
Once your photo is uploaded, you write a motion prompt. This is the step most beginners get wrong. Your prompt's job is to describe movement, not the photo itself. The AI already sees the image. It doesn't need you to tell it there's a woman standing near a waterfall. It needs to know what should move and how.
A simple structure that works:
- Subject: who or what moves ("the woman," "the waterfall," "the car")
- Action: what they do ("slowly turns toward the camera," "crashes forward," "drives past")
- Camera: how the shot moves ("slow push in," "static wide shot," "low-angle pan left")
An example: instead of "a woman standing in a snowy forest," write "the woman slowly looks up at the falling snow while the camera gently pushes in." That second version gives the model something to execute.
Keep your first draft short. One sentence often beats a paragraph. If the output misses what you wanted, add one more detail and regenerate rather than rewriting everything. That way you can see exactly which word changed the result.
On Seedance Studio, you can also drop in reference images alongside your main photo. Tag them in your prompt and the model uses them for style or character consistency across multiple shots. The prompt guide on the platform goes deeper on this, including a multi-part formula for shots that actually look directed rather than generated.
By the end of this step, you should have a photo uploaded and a one-sentence motion prompt ready to go.
Step 3: Customize Motion Style and Animation Settings
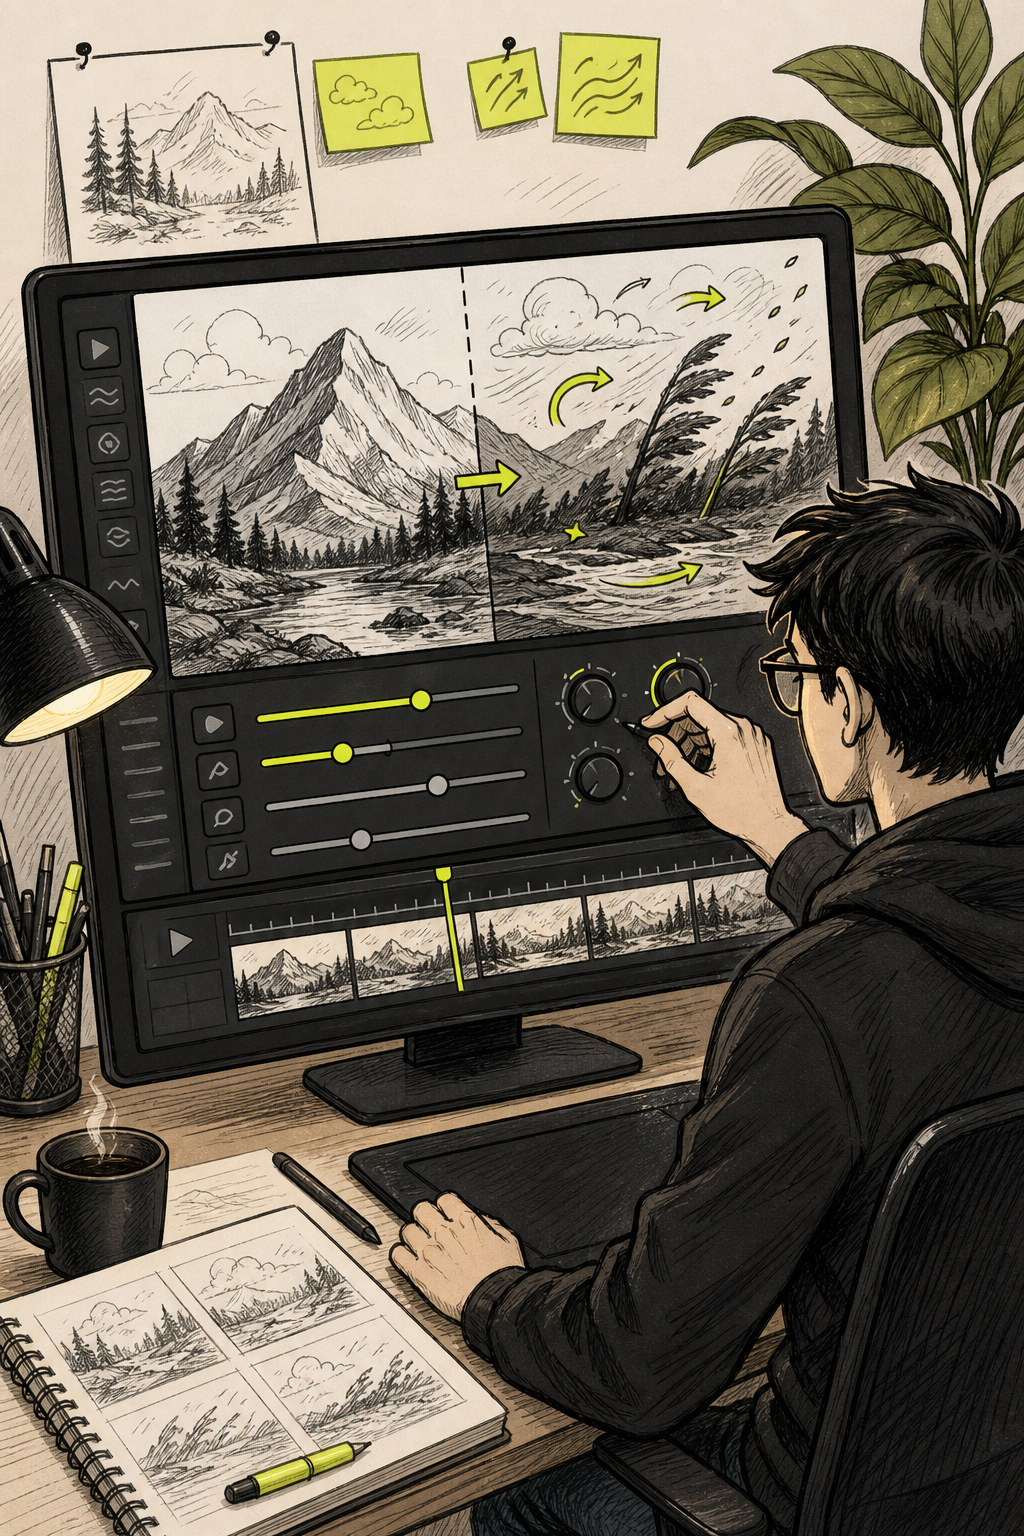
Most AI animation tools give you at least a few settings to tune before you generate. Understanding what each one does saves you from burning credits on renders that aren't what you wanted.
Animation style is the biggest lever. Many AI animation tools offer named styles including perspective, vertical, horizontal, circle, and zoom. Perspective works well for landscapes and widescreen shots. Zoom lets you direct the viewer's eye to a specific area. Vertical and horizontal are good for subtle life-like movement. The advice from creators who use these regularly: click through each style on your specific image, because what works on a portrait won't work the same way on a product shot.
Motion intensity(sometimes called amplitude or motion strength) controls how much things move. A low setting keeps the image mostly still with subtle animation. A high setting can produce dramatic movement, which looks great on action scenes but can distort faces or text if pushed too far. Start in the middle and adjust from there.
Duration is worth thinking about before you hit generate. Shorter clips generate faster. For a first test, 4 to 6 seconds is plenty to see whether your prompt produced the motion you wanted. If you're building content for social platforms, most algorithms favor clips under 15 seconds anyway, so a 5-second loop is a finished product, not a draft.
If you're using a motion brush tool like Runway's, you paint over the specific area you want to animate. The X axis handles left-right movement, Y axis handles up-down, and the Z axis controls depth (closer or further). You can apply multiple brushstrokes to different parts of the image. Just know that overlapping strokes don't combine. A newer stroke replaces the older one in the same area.
On Seedance Studio, you set aspect ratio and resolution before generating. Use 9:16 for TikTok, Reels, and Shorts. Use 16:9 for YouTube. The crop affects how the AI frames the motion, so set it before you upload the image. A step-by-step breakdown of the full Seedance 2.0 workflow covers these format controls in detail if you want to go deeper on settings.
Step 4: Add Audio, Voiceover, or Lip-Sync
A silent animated photo is fine for some use cases. But adding audio is what turns a demo into a piece of content people actually watch to the end.
There are three distinct audio layers you can add. First is background music. Most free video editors include royalty-free music libraries. Drop your generated clip into a timeline, drag a track underneath, and trim to length. Keep the volume low enough that it supports the video rather than competing with it.
Second is voiceover narration. You can record your own voice or use an AI voice generator. Google AI Studio's native speech feature lets you paste a script, pick a voice, and download the audio in a few clicks, no recording setup needed. Export the audio as an MP3, then sync it to your clip in any basic editor.
Third is lip-sync, which is the most powerful option if you're creating a talking character. Tools like Runway ML and Dreamface can sync mouth movements to a recorded or AI-generated voiceover. In practice, you animate the photo first to get the character moving naturally, then apply lip-sync as a second pass. Dreamface, for example, lets you upload an animated video clip and an audio file, then generates a version where the mouth matches the audio.
Seedance Studio handles this differently. You put a spoken line in quotation marks directly inside your prompt, and the character says it. Voice, timing, and lip movement are generated together with the video in a single pass. No separate audio file, no second tool. This is particularly useful for authors who want to create talking-character videos for social media teasers. If that idea interests you, the approach described in resources like this non-fiction author branding guide shows how personal brand content benefits from dynamic video alongside static imagery.
Keep spoken lines short. One or two sentences per clip. Lip-sync quality drops when the line is long and the clip is only 5 seconds. For longer scripts, split them across multiple clips and stitch them together.
Step 5: Export, Download, and Share Your Animated Photo
Download your clip as an MP4. That's the format every major social platform accepts without issues.
Check a few things before you post. Watch the clip on your phone, not just your desktop monitor. Most of your audience will watch on mobile, and what looks clean on a large screen can show visible compression artifacts on a smaller one. If it looks good on both, it's ready.
If your clip has a watermark from a free tier, some tools let you remove it. Runway ML, for example, delivers watermarked exports on its free plan. There are browser-based watermark removal tools where you highlight the watermark area and erase it. Alternatively, upgrading to a paid plan removes the watermark at export.
Platform-specific formatting to keep in mind:
- TikTok and Instagram Reels: 9:16 vertical, captions recommended, post within 24 hours of a trending sound to maximize reach
- YouTube Shorts: 9:16, under 60 seconds, strong visual motion in the first 2 seconds
- LinkedIn and X: Square (1:1) or landscape (16:9) tends to outperform vertical on these platforms
File size is rarely an issue for short clips. A 6-second 1080p MP4 will be well inside TikTok's 1GB cap and Instagram's 4GB cap. If you're exporting at 4K, compress before uploading to avoid slow processing times.
Retailers who want to turn product photos into animated social ads follow the same basic process. A still photo of a product gets animated, audio gets added, and the clip goes live on the platform where the audience already scrolls. The same workflow that applies to portrait animation applies equally to product shots and lifestyle images. If you're running a boutique retail shop and want to see how animated product content fits into a broader visual marketing approach, the guide on product presentation for boutique retail stores touches on how ambient visuals drive purchase intent.
For creators who want to see the full range of what AI video generation can do beyond single-photo animation, comparing the best AI video generator tools available right now gives a clear picture of where each platform sits in terms of quality and features.
FAQ
Can I animate any photo with AI for free?
Yes, most AI photo animation tools have a free tier. Vidu gives 40 free credits monthly. Runway starts you with 125 credits but each 4-second render costs around 20 credits, so you get roughly six free renders before running out. Seedance Studio also offers a free plan. Free tiers typically add a watermark and cap resolution, but they're enough to test the workflow before paying.
How long can an AI-animated photo video be?
Most tools cap individual renders at 5 to 8 seconds. Vidu's limit is 8 seconds. Runway's motion brush produces clips around 4 seconds. LTX.studio goes up to 10 seconds. If you need a longer video, generate multiple clips and stitch them together in a basic video editor. Seedance Studio supports clips up to 15 seconds on paid plans.
What makes a good AI animation prompt?
Focus on movement, not description. The AI already sees your image. Tell it what should move and how, not what the image looks like. A useful structure: name the subject, name the action, name the camera move. One clear sentence usually outperforms a detailed paragraph. Complex prompts are consistently flagged as the top cause of poor or unexpected results.
Can I add a voice to an animated photo?
Yes. The most direct method is Seedance Studio, where you put a spoken line in quotation marks inside your prompt and the character says it with synchronized lip movement in a single generation. Alternatively, animate your photo first, then apply lip-sync as a second pass using a tool like Dreamface or Runway. Record your own voice or generate one with Google AI Studio's native speech feature.
Why does the face look distorted in my animated photo?
Distorted faces almost always trace back to the source image. A blurry, low-resolution, or angled face gives the model less information to work with, so errors compound during animation. Use a sharp, front-facing photo at the highest resolution you have. Also check your motion intensity setting. Too high a setting can warp facial features, especially around the mouth and eyes. Drop the intensity to a middle value and regenerate.
Do I own the animated video I create?
Ownership depends on the platform's terms of service. Free-tier exports on most tools include a watermark and may restrict commercial use. Seedance Studio's paid plans include a commercial license for anything you publish. Always check the terms before using an AI-generated clip in paid advertising or for clients. AI and copyright law is still evolving in most jurisdictions, so staying current with each platform's usage policy is worth the few minutes it takes.
Conclusion
Animating a photo with AI takes five steps: pick a tool, upload your image with a clear motion prompt, adjust settings, add audio if you need it, then export and post. The whole process can run in under 10 minutes once you've done it once. If you want the fastest path from still photo to finished clip, start with a free account on Seedance Studio and run your first generation today.