AI can plan a scene change and guide the camera in the same video, but your prompt still needs a clear plan. Use these steps to shape each beat, check the cuts, and finish a short video that fits its platform.
Step 1: Plan the Scenes and Decide Where Each Cut Belongs
Automatic scene cuts and camera moves work best when you know what each shot needs to say. Before you generate a clip, write down the main action and the moment when the viewer should see something new.
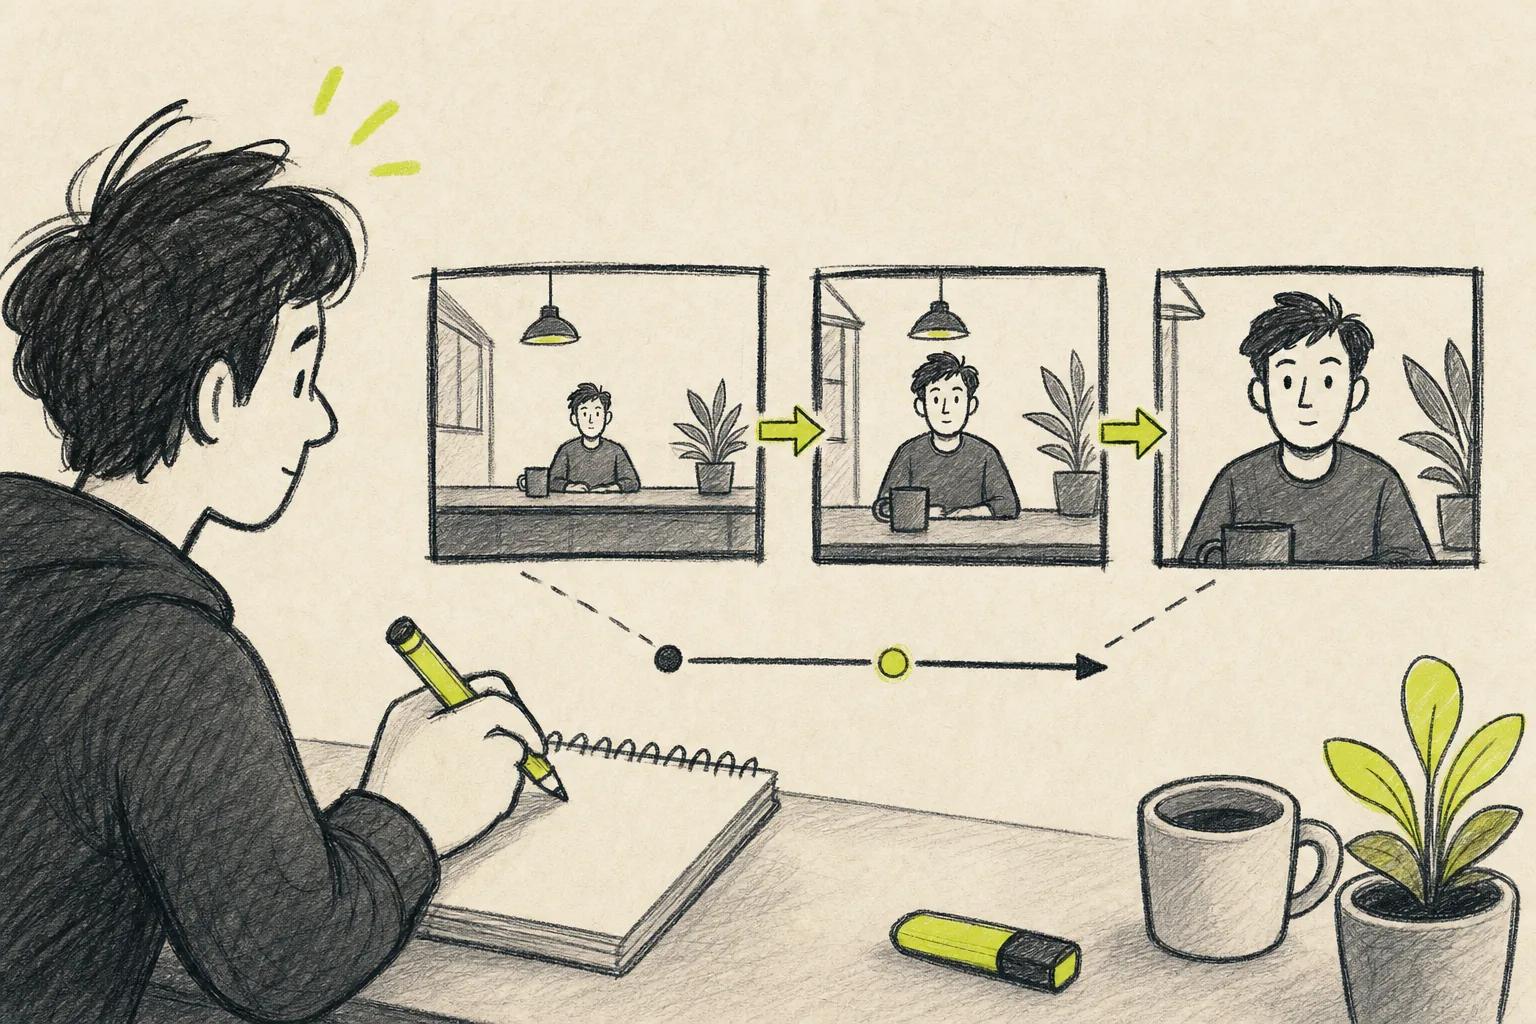
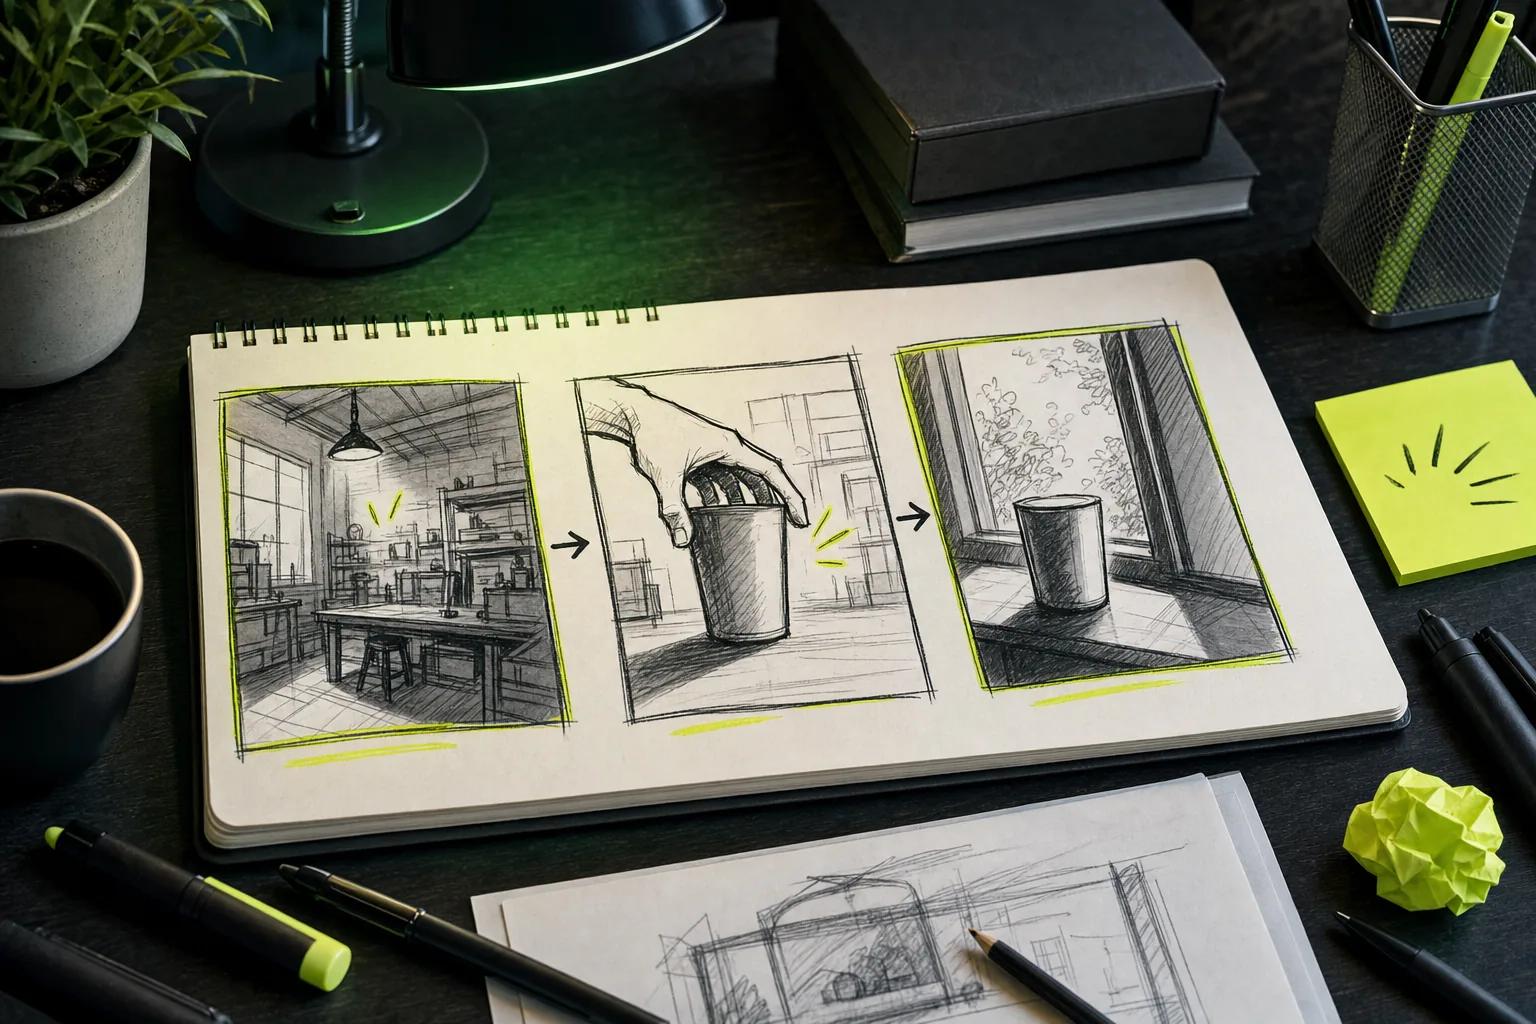
Start with a small beat sheet. A short product video might open with a wide view of a kitchen, cut to a close shot of a hand opening a jar, then show the finished drink. Each change should add information or feeling. If a cut does neither, remove it.
Choose the cut type by what the moment needs. A hard cut switches straight to the next shot. It suits a clear change in place or action. A J-cut lets the next scene’s sound start before its picture appears, which can pull the viewer into a new moment. A match cut links two shots through a shared shape, color, or action. A cut-on-action hides the edit inside movement, such as a hand reaching in one shot and finishing the reach in the next.
For a multi-shot prompt, add a time or beat for each planned change. You might write: “0 to 3 seconds, wide shot of a person entering the shop. 3 to 6 seconds, cut to a close-up as they pick up the cup. 6 to 9 seconds, show the cup beside the open window.” Treat these as directions, not a guarantee that every model will follow exact timing.
Plan a master view first. It gives the scene a clear layout, then close shots can add useful detail. For a real shoot, capture that wider view before moving in. Film action in short, safe sections, and check the motion before anyone repeats a stunt. Good coverage gives an editor more choices later.
If you’re generating a sequence in Seedance Studio, tag each person or place in a consistent way. A reference image can help keep the same subject recognizable between shots. Our Seedance Studio video workflow guide explains how to assign clear roles to image, video, and audio references.
Keep a simple shot plan beside your prompt. For each scene, note its purpose, framing, action, and intended cut. That list makes it easier to spot a missing beat before you spend time generating options.
Step 2: Write a Prompt That Separates Scenes Clearly
Clear prompts make automatic scene cuts and camera moves easier to judge. Give each scene one main action, then say when the view should change and what the camera should do.
Use plain language. A useful prompt can name the subject, action, setting, camera direction, light, sound, and any limits. For example: “A barista sets a blue cup on a wooden counter. Start with a medium shot, then cut to a close-up as the coffee pours. Slow push-in. Warm morning light. Keep the cup blue and the counter uncluttered.”
Separate the beats with timestamps or clear transitions. “First,” “then,” and “after” help show order. Avoid packing several unrelated actions into one long sentence. If a clip should move from a kitchen to a street, name both places and state where the cut happens.
Prompt for one camera move at a time. “Slow push-in” asks the frame to move closer. “Pan left” turns the view across a scene. “Tracking shot” follows a moving subject. A static wide shot asks the camera to stay still. Choose a move that supports the action instead of adding motion for its own sake.
For dialogue, spell out who speaks and when. Give a speaker’s line its own beat, then specify whether the next shot shows the listener or stays on the speaker. If you want the next line to start over the prior image, ask for the sound to lead the cut. That creates the structure of a J-cut.
When characters return in later shots, keep their description stable. Reuse the same name or reference tag, and avoid changing details such as clothing or hair unless the story calls for it. In Seedance Studio, you can type a prompt or add reference images, clips, and audio.
Keep a “do not change” note for key details. It might say that the package stays the same color or the subject keeps the same coat. But don’t overload the prompt with tiny rules. Focus on details the viewer will notice across a cut.
Step 3: Add Camera Moves That Support the Action
Camera movement should guide attention, not compete with the cut. Pick a move based on what the viewer needs to notice in that moment.
A slow push-in can add focus to a face or object. A pan can reveal something already in the scene. A tracking move can follow a person walking. An orbit can show the sides of a subject, but it may distract during a simple line of dialogue. A handheld feel can add energy to action, though too much shake makes details hard to read.
Think about framing as well as motion. A wide shot shows where the action takes place. A medium shot keeps attention on what a person is doing. A close-up can make a small detail feel important. A high or low angle can shift how large or vulnerable a subject seems. Use a new angle only when it adds meaning or makes the action clearer.
Keep the subject in a useful part of the frame. If a person walks from left to right, leave room ahead of them. When a shot cuts to another angle, keep the direction of movement consistent unless you want the transition to feel abrupt. In a conversation, staying on one side of the imaginary line between speakers helps viewers follow who is where.
In a generated sequence, state when the move begins and ends. “Start on a wide shot, then slowly push in as the person opens the box” gives the model a clear path. If you ask for a push-in, an orbit, and a sudden handheld move in the same short beat, the result may feel confused.
If you’re building a short film rather than one social clip, the AI movie workflow with Seedance Studio gives more guidance on planning scenes and keeping recurring details steady.
Editing choices can shape how movement carries through a cut or stops at a scene change. Use that idea when deciding if movement should carry through a cut or stop at the scene change.
Before you add motion, ask what the audience should look at first. If the answer is unclear, simplify the shot. A locked camera can be the stronger choice.
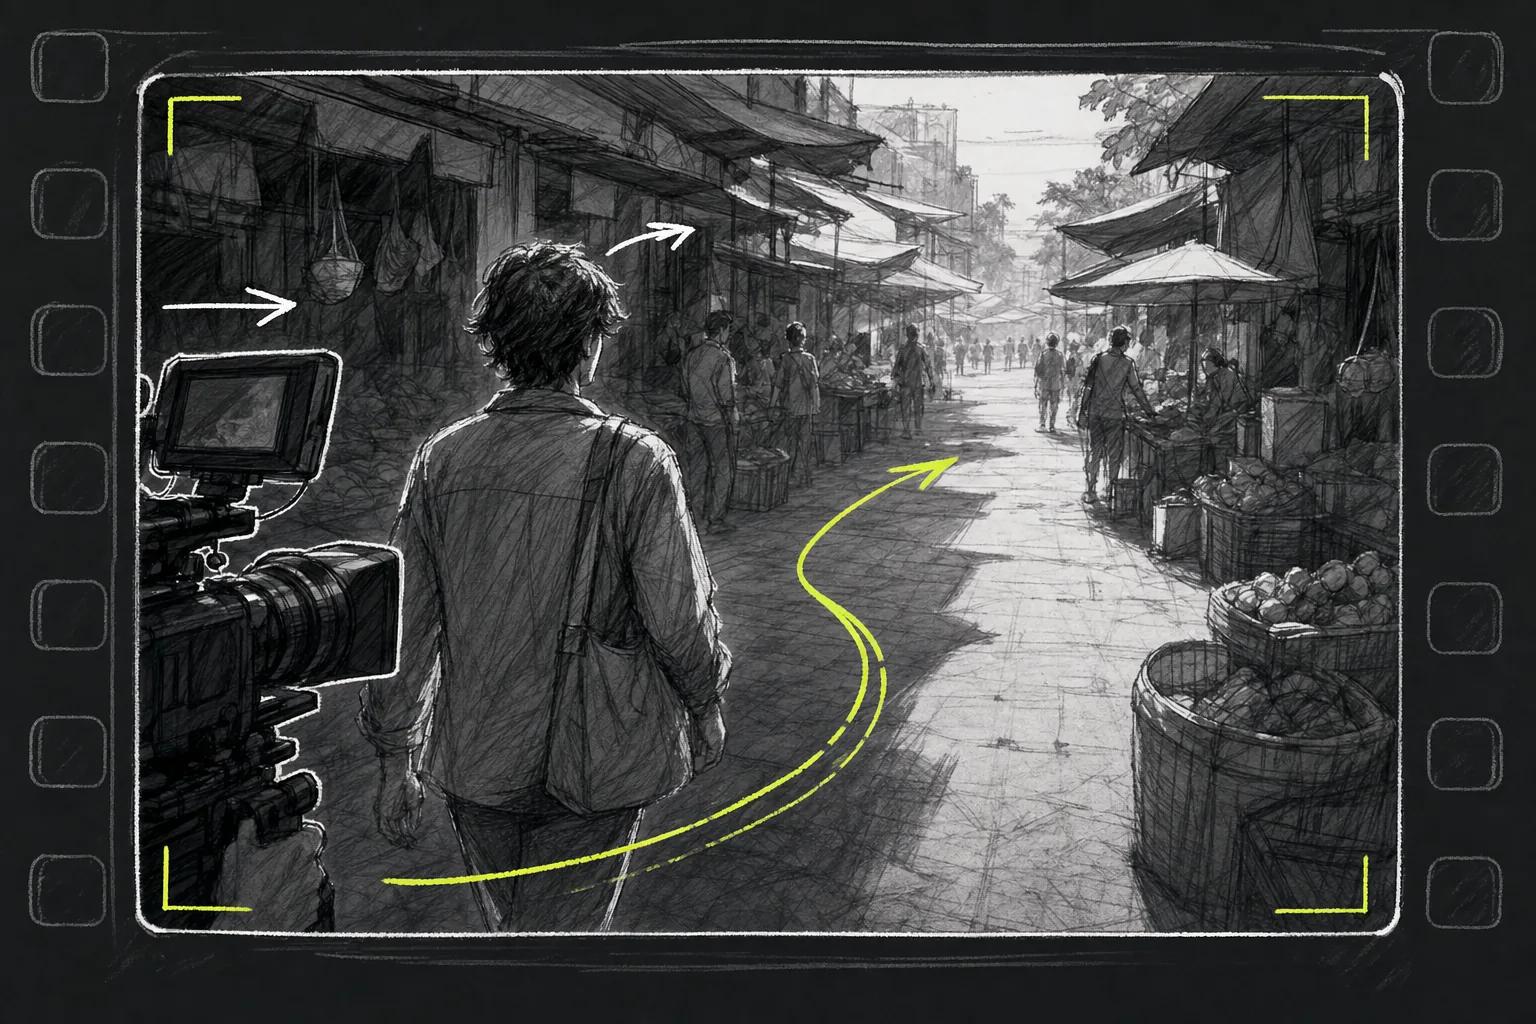
Step 4: Generate a Draft and Check the Scene Cuts
A draft lets you see whether the scene plan reads clearly in motion. Watch the full result once without pausing, then review each cut that feels late, early, or hard to follow.
Check the story first. Can you tell where each scene takes place? Does the action make sense before and after a cut? Does the change in angle help you understand the moment? A polished transition cannot fix a scene that has no clear purpose.
Next, look at the cut itself. A hard cut should feel deliberate. A cut-on-action should land while the movement is still carrying through. A match cut needs a clear shared detail. For a J-cut, listen for the incoming sound before the new image appears. If the sound starts too early or the image changes too soon, revise the timing or prompt.
Check camera movement at both ends of each shot. Does the camera start where you expected? Does it stop in a useful frame? A move that begins well but ends on an empty wall may need a shorter path or a different target. Watch faces and hands closely, since fast motion can make errors more noticeable.
Seedance Studio is built to generate a finished video with camera direction, character consistency, and native sound. That can reduce the amount of manual assembly, but you should still review the result as an editor. You can also explore our music video workflow.
For another perspective, see this article.
Scene detection in editing software works on existing footage, while generative tools build new shots from prompts and references. The two jobs can overlap, but they aren’t the same. A visual change detector may mark a new shot; it can’t decide on its own whether that cut improves the story.
Some systems can use more than a sudden visual change to find a scene boundary. They may also weigh sound or meaning in the sequence. Treat any automatic marker as a draft. For a large project, test a short sample first and note how long a typical clip takes to process. Avoid sending private footage to a service until you’ve checked its data and retention terms.
Make a short review list for every draft: story, cut timing, subject continuity, camera path, and sound. Then change one prompt detail at a time. That makes it easier to tell which change helped.
Step 5: Refine Awkward Cuts, Motion, and Continuity
When a cut feels wrong, fix the cause rather than adding a flashy transition. The issue may be timing, framing, sound, or a detail that changed between shots.
First, identify what breaks. Maybe the subject jumps to a new place in the frame. Perhaps the light shifts, or the next shot starts after the action has already ended. Write down the exact moment and the visible problem. Then revise that beat alone when you can.
If the cut lands too early, extend the action before the change. If it drags, shorten the setup or move the new scene closer to the key action. For a cut-on-action, begin the second shot while the movement continues. For a match cut, make the shared shape or color easy to see in both frames.
Check screen direction and eyelines. If a person looks toward the right edge in one shot, the next shot should show what they’re looking at or preserve a clear spatial link. If the scene is meant to feel disorienting, breaking that pattern can work, but make it a choice.
Use reference material when a key visual needs to stay steady across separate generations. Keep the same character image or location reference attached to each related scene. Reuse the same subject wording, too. This helps the viewer read the shots as one story rather than separate clips.
For a music-led piece, listen without watching the screen once. This helps you catch an audio lead that starts too soon or a beat that doesn’t match the cut. Then watch without sound to check whether the visual action still reads. Both passes reveal issues that can hide when you review only once.
The Seedance Studio guide to AI music videos explains how to use an audio reference when timing a visual sequence. If you’re editing existing footage instead, a keyframe in a video editor can shift the frame over time. For example, you might start with a wider crop and slowly move toward the subject.
Keep transitions simple unless the style calls for more. A dissolve can suggest time passing. A direct cut can keep the pace sharp. A moving transition built with keyframes should have a clear start and end position; otherwise, it can pull attention away from the scene.
After each revision, watch the cut before and after the changed shot. A fix that improves one moment can make the next transition feel worse. Judge the flow as a sequence, not as a still frame.
Step 6: Export and Check the Video on Its Target Platform
Choose the frame shape before you make the final version. Automatic scene cuts and camera moves can look different in a vertical crop than in a wide frame, especially when a subject sits near the edge.
Seedance Studio lists 16:9, 9:16, and 1:1 formats, with outputs up to 4K. Pick the format that matches where the video will appear. Vertical video suits a phone-first feed. A square frame can fit some feed placements. A wide frame leaves more room for scenes designed for a larger screen.
Review the export on the device or platform where people will watch it. A close-up that looked clear on a desktop may crop badly on a phone. Check that the subject stays visible and that captions don’t cover the key action. Watch with sound on, then watch once with sound off to see if the visual story still holds.
Check the opening seconds with care. The first shot should show the subject or action quickly. Make sure the first cut doesn’t come before viewers understand the scene. If the clip uses dialogue, confirm the words and timing. If it uses music, listen for an abrupt end or a cut that misses the beat.
Subtitles and on-screen text need their own check. Look for a line that covers a face or product detail. Make sure the text stays inside the frame after cropping. The caption workflow for short videos covers ways to add and check captions before posting.
Export settings depend on the platform and the editing tool you use. Keep the original project or draft if you may need another aspect ratio later. Don’t assume a single crop will work everywhere. A vertical version may need its own framing so the subject remains in view.
Before publishing, run through a final check:
- Does the opening make the subject clear?
- Can you follow the action across every cut?
- Does the camera movement help rather than distract?
- Are the sound and captions timed well?
- Does the file fit the intended frame shape?
If one answer is no, fix that item before posting. When the cut works on the target screen, save the final file and keep your prompt notes with it. That gives you a clean starting point if you need a new edit or format.
FAQ: Automatic Scene Cuts and Camera Moves
What are automatic scene cuts in AI video?
Automatic scene cuts are changes between shots that an AI video tool plans or creates for you. They can mark a shift in action, angle, or place. The result still needs a human review, since an automatic cut can land at the wrong moment or break the story’s flow.
How do I tell an AI to change scenes?
Tell it what happens in each scene and when the change should occur. Use plain timing cues such as “first,” “then,” or a timestamp. Keep each beat focused on one main action. Clear scene directions help automatic cuts and camera moves feel planned instead of random.
What camera move works best with a scene cut?
The best move depends on the action. A push-in can focus attention on a face or object. A pan can reveal something in the same space. A tracking move can follow a person. Keep the move simple when the scene already has a major visual change.
Can automatic scene cuts replace video editing?
No, automatic scene cuts can speed up parts of an edit, but they don’t replace review. You still need to check story order, timing, sound, and continuity. If you’re generating a video, review the full clip. If you’re editing existing footage, treat detected cuts as suggested edit points.
How can I keep characters consistent across cuts?
Reuse the same reference image and the same subject description for each related scene. Keep key details stable, such as clothing and hair. After generation, compare shots side by side. Automatic cuts can connect scenes, but steady visual details help viewers recognize the same character.
Conclusion
Plan each beat before you generate, then judge every cut by whether it helps the viewer follow the action. Start with a short draft in Seedance Studio, review it on the screen where it will appear, and adjust only the moments that feel unclear. Create a free account when you’re ready to test your first prompt.