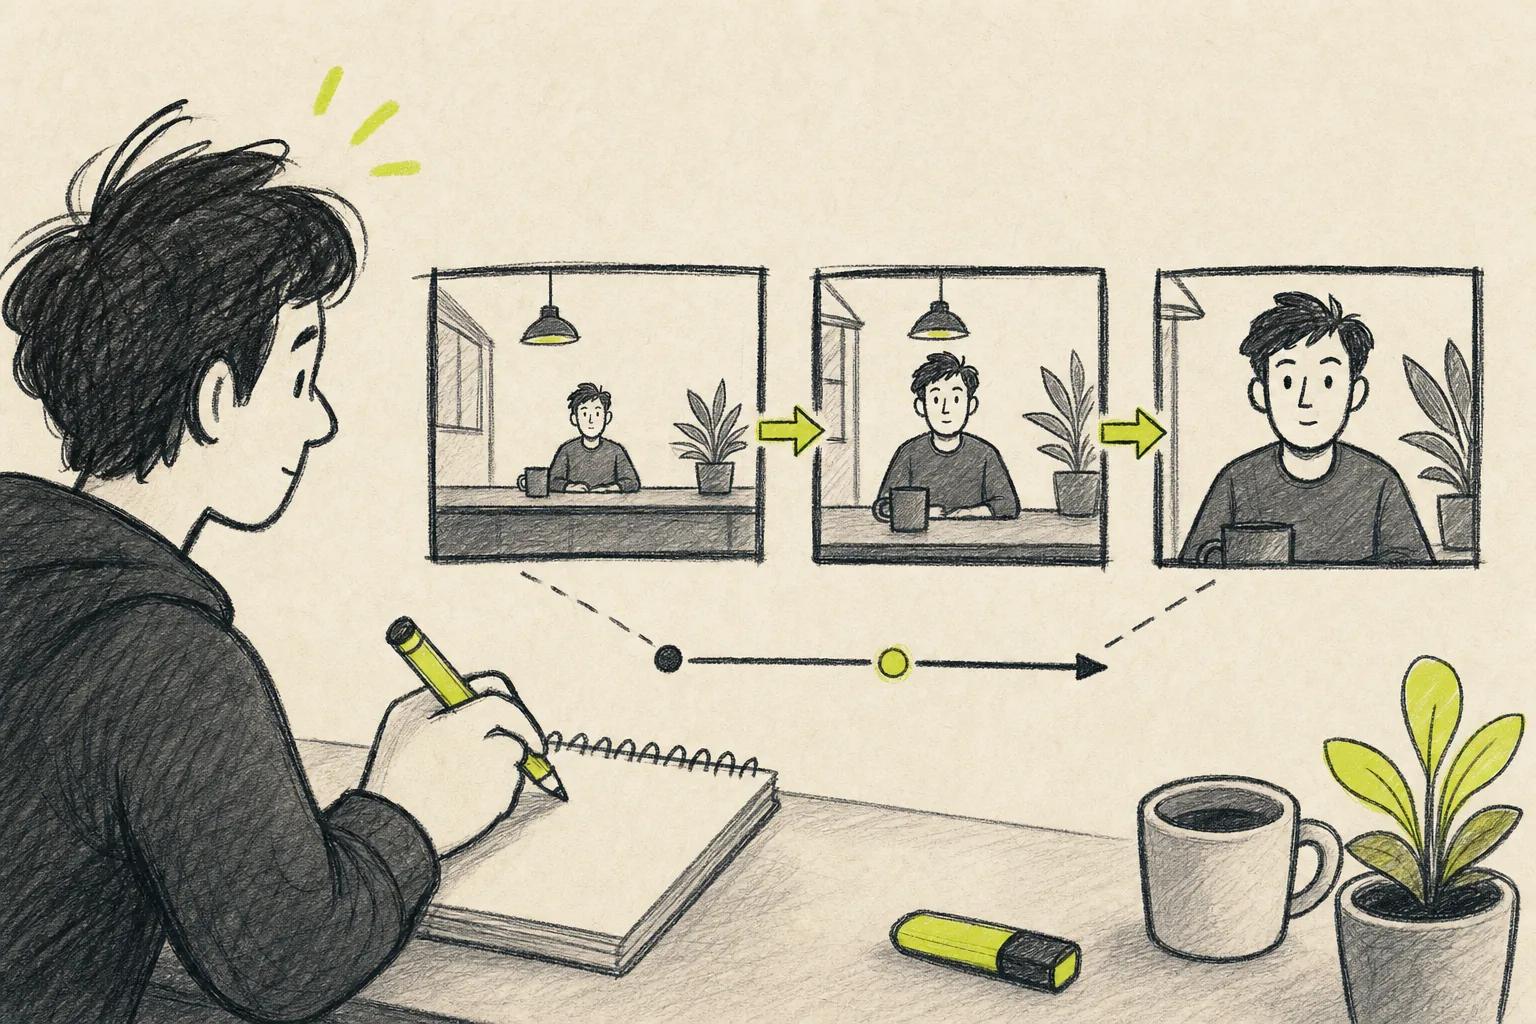
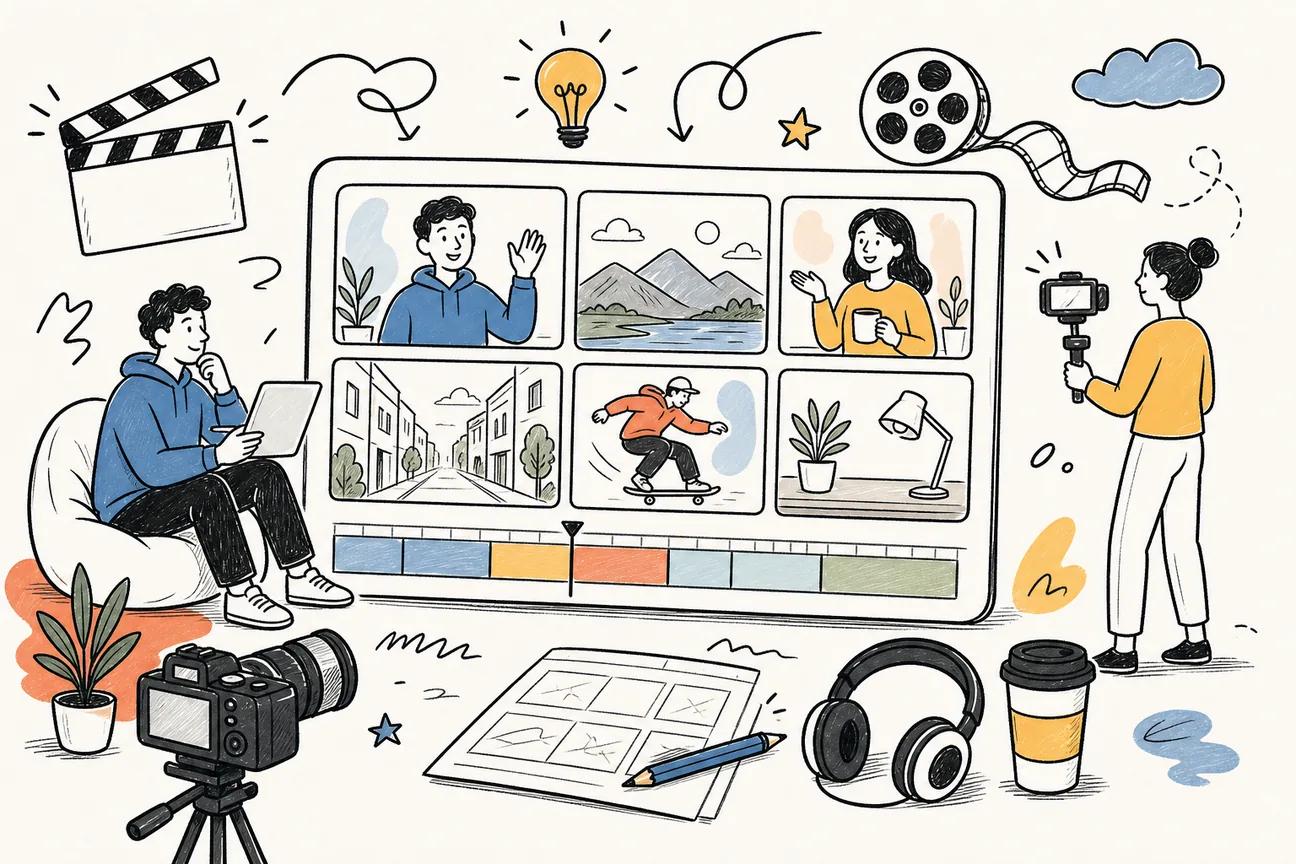
A talking head video can look polished without a studio or film crew. The difference usually comes down to a clear message, steady framing, clean sound, and a tight edit. In a small review of 16 AI video tools, only four had a real free tier. Seedance Studio stood out with browser access, a free plan, and paid plans starting at $14 per month.
Step 1: Choose Your Topic and Write a Short Script
The first step in learning how to make talking head videos is choosing one clear idea. Your viewer should know what the video is about within the first few seconds.
Start with the question your video will answer. Keep it narrow. “How to set up a home podcast” is too broad for a short clip. “Fix echo in your home podcast room” gives you a sharper angle.
Then write the promise of the video in one sentence. Try this format:
- State the problem.
- Give the useful answer.
- Tell the viewer what to do next.
For example: “Your videos sound echoey because hard walls bounce sound back into the mic. Move near soft furniture and place your mic close to your mouth. Then record a ten-second test.”
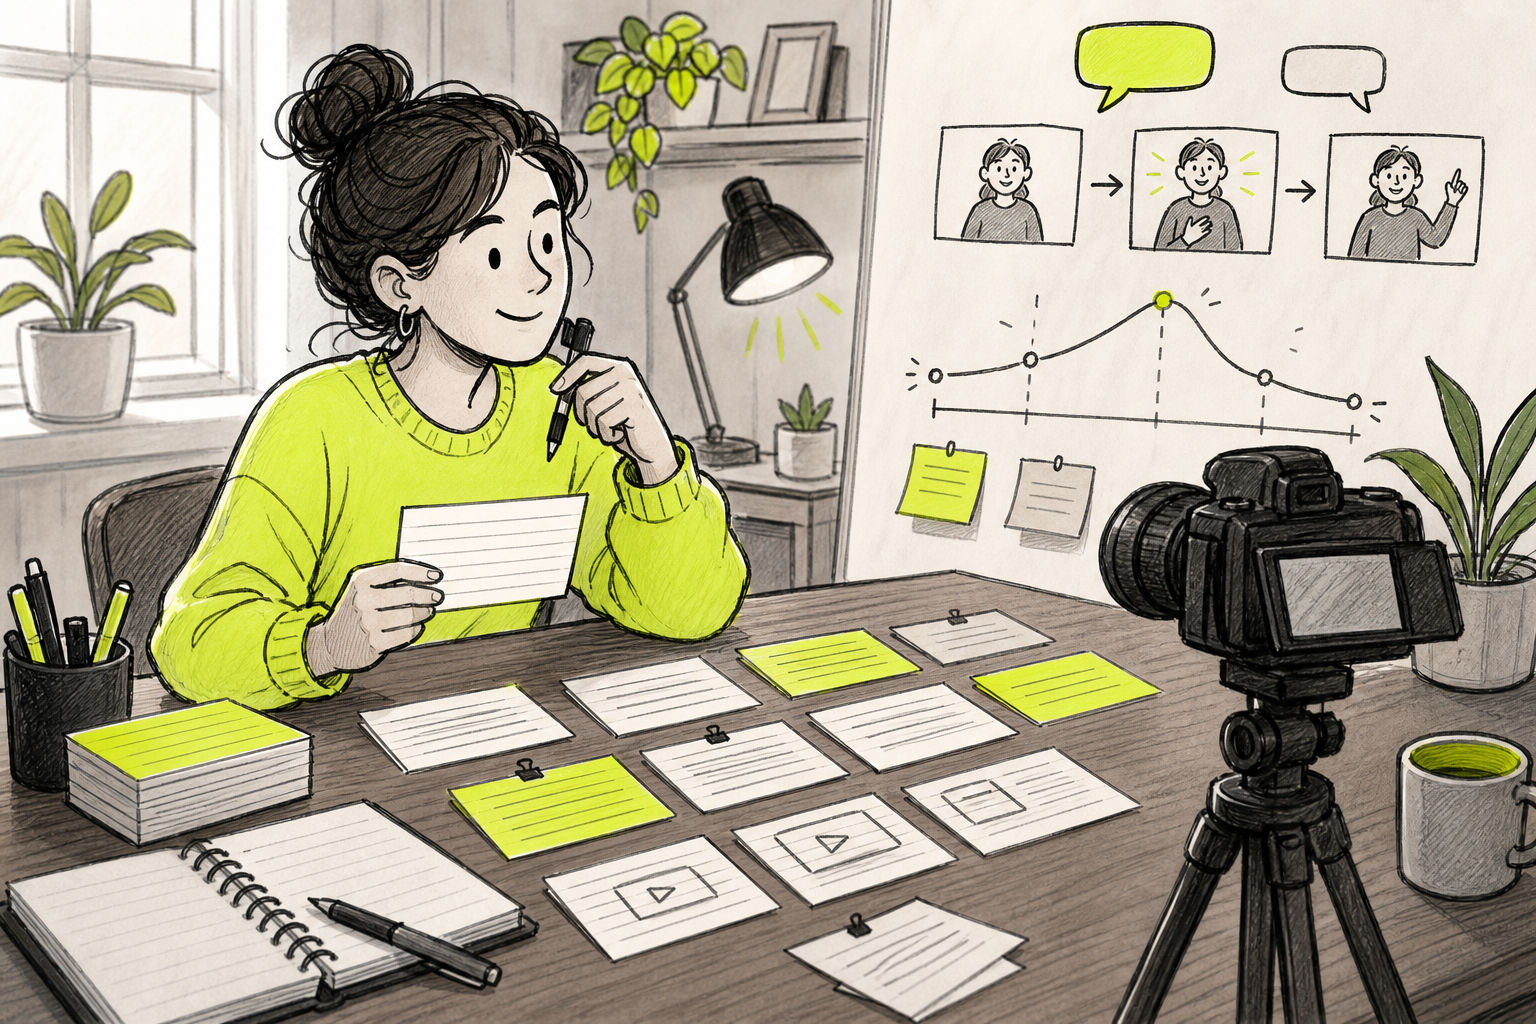
Use bullet points instead of a word-for-word script unless you need exact legal or product language. Bullets help you sound like a person. They also make it easier to cut a mistake without losing your place.
A simple short-form structure works well:
- Open with the problem or result.
- Explain the main point.
- Show one example.
- End with one next step.
Keep each bullet short enough to say in one breath. Mark places where you can pause. Those natural breaks will help you edit the clip into clean sections later.
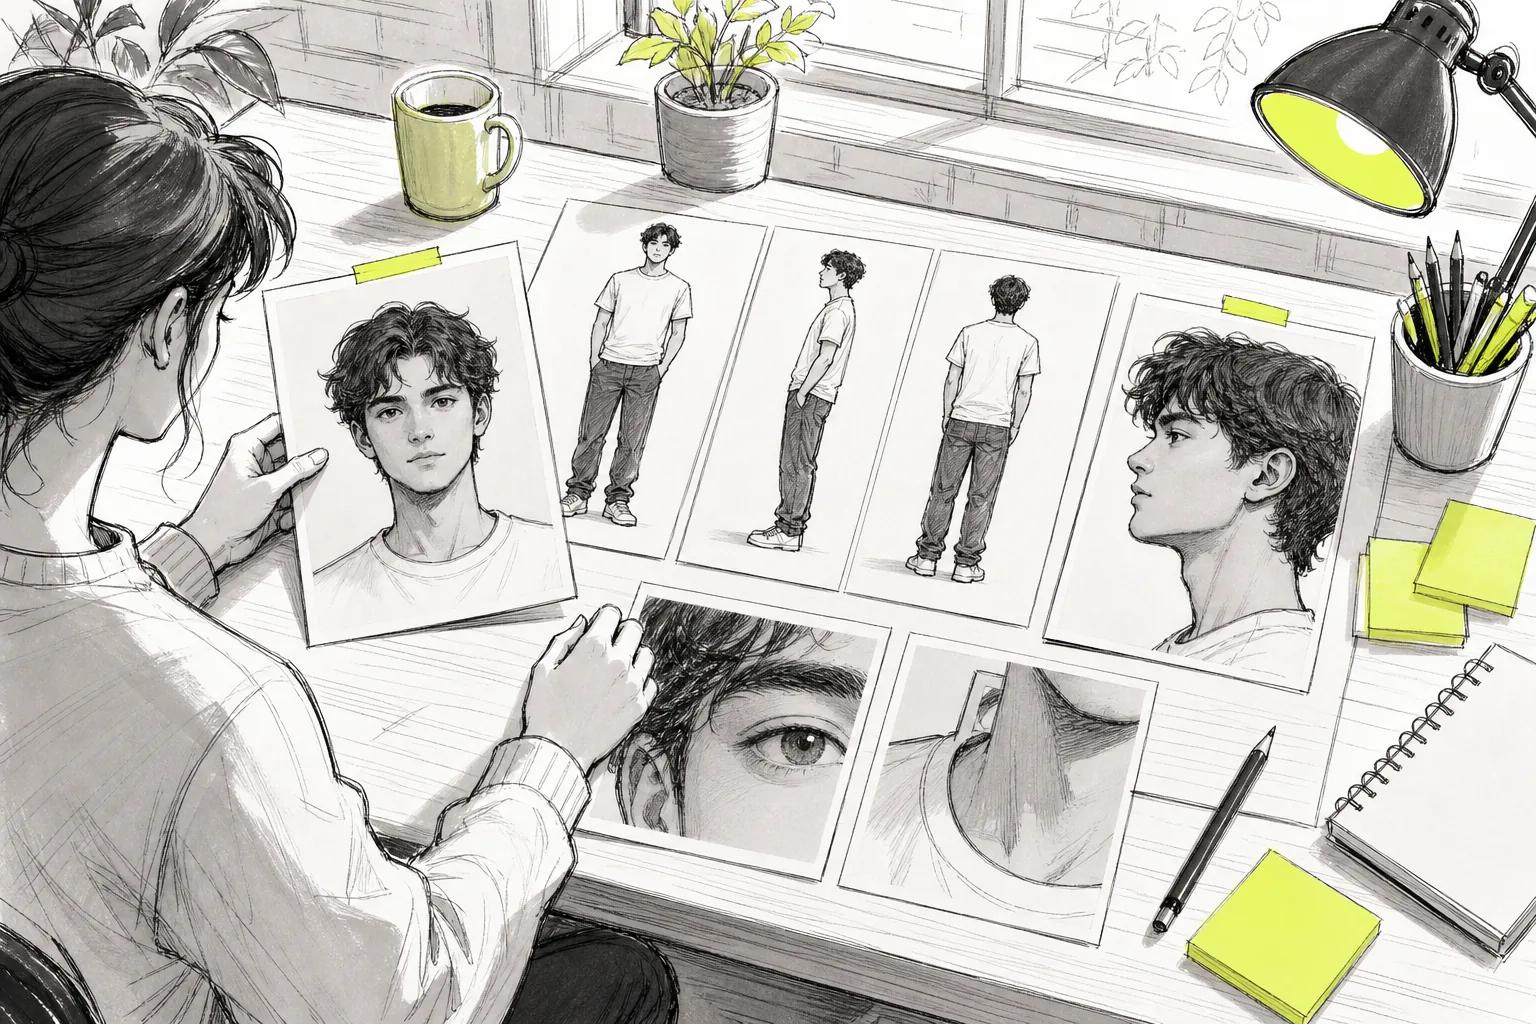
If you want to make an AI presenter instead of filming yourself, define the person before writing the line. A clear role, setting, and goal will give the video a stronger shape. Decide who the avatar is, what it does, and where the video will appear with this AI avatar creation guide.
Read your outline aloud once. If a phrase feels stiff in your mouth, change it. Spoken copy needs shorter words than a blog post.
By now you should have one topic, one viewer promise, and four or five speaking points.
Step 2: Set Up Your Camera, Framing, Lighting, and Audio
Good talking head videos start with a repeatable setup. You don't need expensive gear. You need the camera in the same place each time, light that stays steady, and sound without room echo.
Use a phone or camera at eye level. If the lens sits too low, the shot can feel awkward. If it sits too high, you may look down at the viewer. Place the camera about two to three feet away for a natural head-and-shoulders frame.
Choose the format before you press record. Use vertical framing for TikTok, Reels, and Shorts. Use horizontal framing for standard YouTube videos or a website. Leave a little space above your head, but don't leave a large empty gap.
Lock focus and exposure if your camera allows it. Auto settings may shift when you move your hands or turn your head. That change is distracting, especially when you cut between takes.
Keep the background simple. A plain wall, tidy shelf, or clean work area is enough. Remove anything that pulls attention away from your face. You can add depth by standing a few feet from the wall instead of pressing your back against it.
For light, face a window with soft daylight. Don't put the window behind you. If the sun is harsh, use a sheer curtain or move to indirect light. A softbox or diffused ring light also works. Place the key light slightly above eye level and off to one side.
Watch the shadows under your eyes and chin. Brightness alone doesn't tell you if the light looks good. A face can be bright yet still have harsh shadows.
Audio deserves more care than most beginners give it. A close mic usually beats a distant camera mic. A lavalier mic can clip to your shirt. A USB mic works well at a desk. The exact model matters less than placement and room noise.
Turn off fans and noisy appliances. Soft furniture helps reduce reflections. Record a short test and listen with headphones. If you hear the room, your viewers will hear it too.
Captions also help when people watch without sound. Captions can include speech plus useful sound information. Plan space for them in your frame so text won't cover your mouth.
Do one test clip before your real take. Check focus, exposure, sound, headroom, and the background. Fix the setup once. Then keep it in place for the next video.
By now you should have a stable frame, even light, and audio you can understand on a phone speaker.
Step 3: Record a Natural, Confident Performance
Recording is where many people overthink how to make talking head videos. Your goal isn't to look perfect. Your goal is to sound clear and present.
Look at the lens, not your own face on the screen. Put a small sticker beside the lens if your eyes keep drifting. Imagine one person is sitting behind the camera. That mental trick often makes your delivery warmer.
Start recording before you feel ready. The first ten to twenty seconds can be a warm-up. Take a breath, settle your shoulders, and begin again without stopping the camera.
If you miss a word, pause and repeat the sentence. Don't restart the whole video. Leave a beat between the mistake and the corrected line. That gap gives you a clean edit point.
Use a little more energy than you would in a private chat. Cameras flatten small expressions. You don't need to shout. Lift your eyebrows when the point changes. Let your hands move when they support the idea.
Break long videos into short sections. A five-minute lesson doesn't need one five-minute take. Record the opening, then each main point as its own clip. This makes errors easier to fix and lets you change pace between sections.
Try two to four takes. Change one thing between takes, such as pace or tone. If you change everything at once, you won't know which version worked best.
Review the takes with the sound on first. Listen for rushed words, long gaps, and places where your voice drops. Then watch without sound. Your face and gestures should still support the message.
Batch filming can save time. Once your lights and camera are ready, record several related clips. Change your shirt or background only when you need a clear break between posts.
For an AI-assisted workflow, you can also start with a photo or reference clip. Seedance Studio lets you type a prompt or upload reference images, clips, and audio in the browser. If you want to turn a still portrait into a speaking clip, follow this photo-to-talking-video guide. That gives you another path when you need a short presenter clip but don't have time to film a new take.
By now you should have a few usable takes, with clean pauses around the lines you may want to cut.
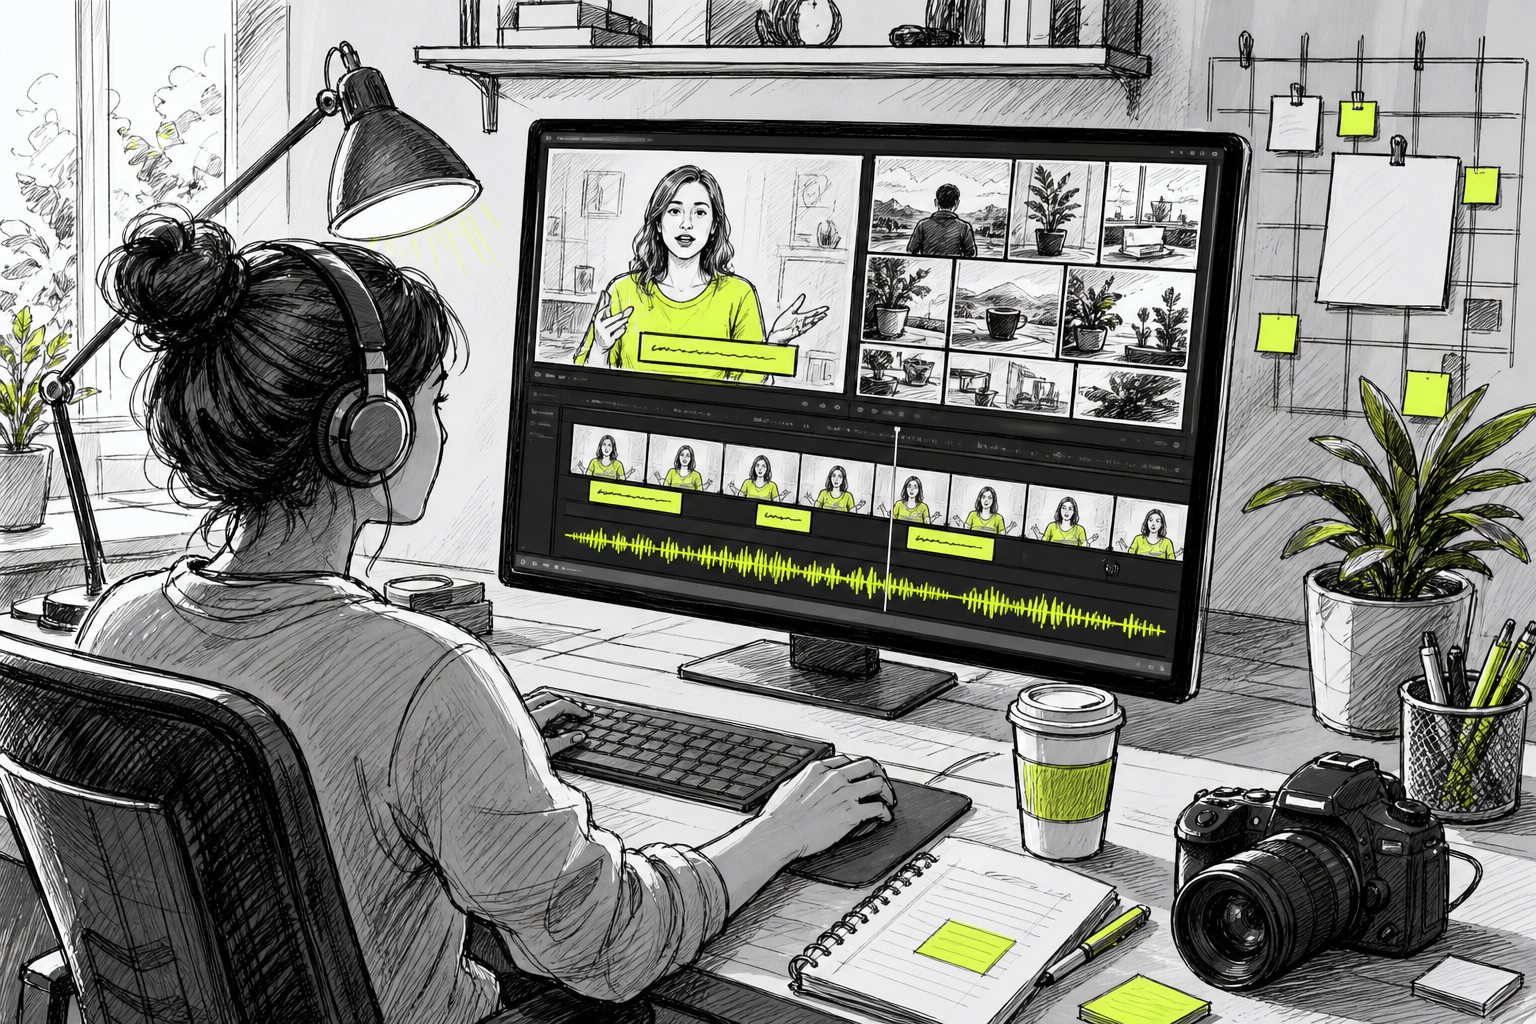
Step 4: Edit the Footage and Add Captions, B-Roll, and Branding
Editing turns a decent talking head recording into a video people can follow. Cut distractions first. Add style only after the message feels tight.
Start by removing the dead air at the beginning and end. Cut long pauses, repeated lines, and clear stumbles. Keep small breaths and natural pauses when they help the speech feel human.
Next, check the order. Put the strongest point near the start. If a sentence explains the setup before giving the answer, consider moving the answer first.
Add captions from the final audio, not from an early draft. Read every line yourself. Automatic caption tools can mishear names, numbers, and industry terms. Break captions into short groups that are easy to scan on a phone.
Use high contrast between the text and the background. Keep captions away from the bottom edge because platform controls may cover them. Give key words a color or weight change, but don't make every word flash.
B-roll means extra footage placed over your speech. Use it when the viewer needs to see the thing you're describing. If you're explaining a phone setting, show the screen. If you're discussing a package, show the hands opening it. A subtle crop or zoom can add motion when no B-roll fits.
Don't cover your face for the whole video. The face is the reason this format feels personal. Use cutaways for a few seconds, then return to the speaker.
Branding should be light. Add a small logo only when it stays readable. Use one accent color for captions or a progress bar. Keep the design consistent across a series so viewers can recognize your posts.
Sound cleanup comes next. Reduce a steady hum if your editor can do it without making your voice metallic. Lower music well below the speech. If you are building music, voice-over, and effects into an AI workflow, see this guide to an AI video generator with sound. Check the mix on headphones and a phone.
Export a short test before rendering the full file. Watch it on your phone. Look for tiny text, clipped captions, dark shadows, and compression around fast motion.
By now you should have a clean master file plus a version sized for the platform where you plan to post.
Step 5: Use Seedance Studio to Create or Improve Talking-Head Content
Seedance Studio can help when you need talking-head content without filming every take yourself. It runs in a browser, so you don't need a download or a waitlist.
Start with a short prompt. Describe the subject, action, setting, camera move, and spoken line. Plain language works. A prompt such as “friendly product expert looks into the camera and explains one benefit in a bright studio” gives the model a clear job.
Upload a reference image when the face or product needs to stay consistent. You can also add clips or audio when they help define motion or sound. Use the same reference files across a series. Consistency comes from giving each generation the same visual anchor.
Set the aspect ratio before generating. Use 9:16 for vertical short-form posts. Choose 16:9 for standard video. A square format can fit some feed placements.
Generate a draft at a lower setting when you're testing the prompt. Watch the full clip before changing anything. Check the face, camera action, spoken line, sound, and background. Change one instruction at a time so you can see what improved.
Seedance Studio supports text-to-video and image-to-video workflows. It can also generate camera direction, consistent characters, and native sound in the same production flow. The product is built for creators, marketers, and social teams that need short clips without setting up a shoot for each one.
The tool has a free tier. Check the available plans before choosing a paid workflow.
Use the Seedance Studio workflow guide when you want a more detailed prompt process. It covers references, camera direction, format choice, review, and export.
AI output still needs a human check. Look for odd mouth movement, a face that shifts between frames, or a line that doesn't match the action. Regenerate when the error affects trust. Then add captions and any final brand elements in your editor.
Seedance Studio is a good fit when speed and browser access matter. A filmed take is still the better choice when your audience needs your exact face, voice, or live reaction.
By now you should know which parts of the process need a camera and which parts can be generated or revised with AI.
FAQ
What is the easiest way to make a talking head video?
The easiest way to make a talking head video is to use a phone at eye level near a window, then record from a short bullet outline. Keep the frame steady and the room quiet. Take two or three versions. After filming, cut long pauses and add captions before you post.
What should I say in a talking head video?
You should say one useful thing in a talking head video. Open with the problem or result, explain the answer, then give one next action. Avoid covering several topics in one short clip. A focused message sounds clearer and gives viewers a reason to keep watching.
Do I need a camera to make talking head videos?
You don't need a dedicated camera to make talking head videos. A modern phone can produce a strong result when you control the framing, light, and sound. You can also use Seedance Studio to generate short presenter content from text or reference files when filming isn't usable.
How do I make my talking head videos look professional?
Make talking head videos look professional by fixing sound and light before adding effects. Put the camera at eye level, face soft light, use a close mic, and keep the background tidy. Then remove dead air, add accurate captions, and check the final file on a phone.
Can AI make a talking head video for me?
AI can make a talking head video from a prompt, reference image, clip, or audio file. Seedance Studio can generate short videos with camera direction, consistent characters, and native sound in a browser workflow. Review every output for identity drift, lip-sync errors, and wording before publishing.
Conclusion
Start with one narrow idea and a short outline. Film it with clean sound and steady light, or use Seedance Studio when you need a fast browser-based draft. Create a free account, make one short clip, and watch it on your phone before you publish.