
A still photo can speak. Literally. AI tools now take a single portrait and generate a short video where the person blinks, moves their head, and says whatever you type , lip-sync included. This guide walks you through the full process, from picking the right photo to exporting a finished clip ready to post.
Step 1: Prepare a High-Quality Photo
The photo you start with decides 80% of the final result. A great AI tool can't rescue a blurry, poorly lit source image. Spend a few minutes here and you'll re-generate far less later.
What the photo needs
- Front-facing angle.A face turned directly toward the camera animates cleanly. Strong profile shots force the model to invent the hidden side of the face, and that rarely ends well.
- Even lighting.Harsh shadows across the mouth or one side of the face cause flicker when the head moves. Flat, soft light is your friend.
- Clear mouth and eyes.No hands on the chin, no hair across the eyes, no sunglasses. The AI drives exactly these regions.
- Reasonable resolution.A sharp image where the face fills a good portion of the frame gives the model more detail to preserve. Blurry, compressed faces smear during motion.
- Neutral expression.A relaxed, closed or slightly open mouth is the easiest base to animate into speech. A wide grin or extreme expression fights the lip-sync.
Crop before you upload
If your photo is a wide shot, crop it to a head-and-shoulders portrait first. This makes the face the dominant element and gives the model a cleaner region to animate. A square or 3:4 crop around the face usually works well. You can always re-frame on export.
JPG and PNG both work fine. If you're starting from an AI-generated portrait rather than a real photo, the same rules apply: front-facing, well-lit, neutral expression. Portrait animation models generally work best on images that resemble real people rather than heavily stylized or anime-style illustrations, and the resize mode is suited to ID-photo-style crops where the face is the dominant element.
Once your photo is ready, save the highest-quality version you have. A 4K source is ideal. At minimum, avoid heavily compressed JPEGs where the face has visible artifacts. If you're converting multiple photos into animated videos regularly, check out how to turn any AI photo to video in minutes for a broader look at the workflow.
Step 2: Choose the Right AI Tool
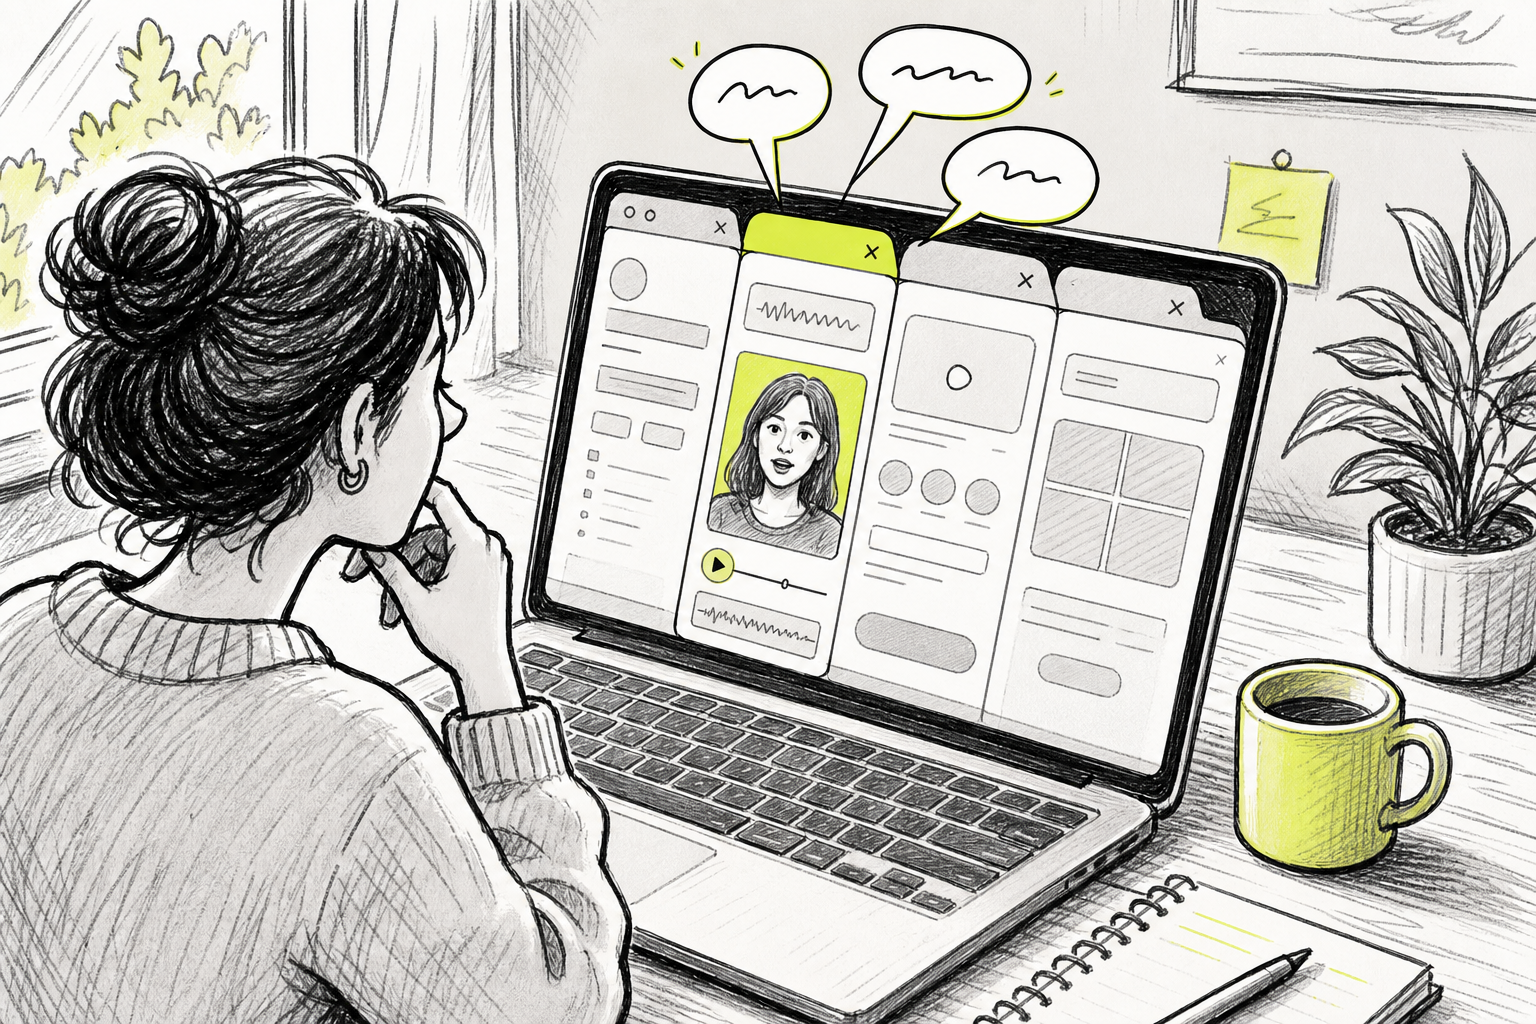
Not all talking-photo tools are built the same. Some only animate the face with pre-set motion loops. Others generate real head movement, blinks, and full lip-sync driven by your audio or script. The gap in quality is significant.
Here's a quick map of what's available, so you can pick the right fit:
- D-ID, audio-driven lip-sync with text-prompt facial animation. Solid for avatar-style talking heads. No free tier.
- LivePortrait, portrait animation driven by a reference video or audio for realistic facial expressions. Has a free tier, which makes it a good starting point for experimentation.
- Kling 3.0, human motion portrait animation with facial expressions and body movement. Outputs native 4K at 60fps with 16-bit HDR, and supports a multi-shot storyboard mode. No free tier.
- Runway Gen-4.5, image-to-video with a motion brush, camera presets (pan, tilt, zoom, orbit), and reference-image consistency. Strong creative control, but no free tier and pricing starts at $12/month.
- MyHeritage Deep Nostalgia, automatic facial movements including blinking, smiling, and head turning. Built for family photos and portraits. No free tier.
For most creators, we recommend starting with Seedance Studio. It's built on Seedance 2.0, currently the top-ranked model for image-to-video, and it bundles automated camera direction, character consistency, and native audio generation in a single browser-based tool. There's a free tier with no waitlist, and paid plans start at $14/month. That combination , free access, native sound, and automated camera moves , is rare. Of the 31 tools we surveyed, only a handful offer a free tier at all, and fewer still include native audio in the same generation pass.
One thing worth knowing: pricing across this category is opaque. Only about 42% of tools disclose a starting price upfront. Seedance Studio's clear $14/month model makes budgeting straightforward compared to per-clip services like EditThisPic Animate, which charges $2.50 per clip and adds up fast if you're producing regularly.
Step 3: Upload and Align Your Image
Open your chosen tool and upload the portrait you prepared in Step 1. Before you add any voice or script, your first job inside the tool is to make sure the face is properly framed for animation.
Face detection and alignment
Most tools run automatic face detection on upload. You'll usually see a bounding box or a landmark overlay appear around the face. Check that it's centered on the eyes and mouth , not drifting to the side or clipping the chin. If the detection looks off, re-crop your source photo and re-upload.
In Seedance Studio, the image-to-video tool accepts your portrait directly. The model handles face detection automatically, but the quality of that detection depends on your source image. A well-cropped, front-facing portrait gives the model a clean region to work with. A wide shot where the face is small in the frame will produce weaker results, even with the best settings.
Set your aspect ratio now
Pick your output format before you generate anything. The crop affects how the AI frames the motion, so setting it afterward usually means re-rendering.
- 9:16 for TikTok, Instagram Reels, and YouTube Shorts
- 16:9 for YouTube or any horizontal context
- 1:1 for feed posts on Instagram or LinkedIn
Most talking-photo use cases land in 9:16, a vertical portrait framing works naturally for a speaking head. If you're embedding the video on a website or in a presentation, 16:9 is the better choice. Developers who need to embed these animated photos into web applications or custom platforms may find it useful to work with a technical partner that can handle the integration side.
By the end of this step, your photo should be uploaded, the face detection should look correct, and your aspect ratio should be locked in. That's your foundation for the generation step.
Step 4: Generate the Talking Animation
This is where the photo actually starts to talk. There are two things you're setting up here: the motion (how the head and face move) and the voice (what the person says and how it sounds).
Write a motion prompt
Most tools let you describe the kind of movement you want. Don't describe the photo itself , the AI already sees it. Describe what should move and how.
A simple structure that works: name the subject, name the action, name any camera move. For example: "The person slowly looks up and begins speaking, with a gentle camera push in." Keep it short. One clear sentence often beats a paragraph. If the output misses the mark, add one detail and regenerate rather than rewriting everything at once.
In Seedance Studio, you can put a spoken line directly in your prompt using quotation marks, and the character says it on screen , lip movement, voice, and timing generated together in a single pass. That's the native audio generation that sets it apart from tools where you animate first and add audio separately. For a deeper look at how prompting works for animated content, the guide on how to animate a photo with AI covers motion prompt structure in detail.
Add your script or audio
You have two routes: type a script (the tool generates a voice) or upload an existing audio file (the tool syncs the mouth to it). Script-based generation is faster and requires no recording setup. Audio upload gives you more control over the voice, tone, and pacing.
Keep spoken lines short for your first test. One or two sentences per clip. Lip-sync quality can drop when a long script is crammed into a short clip , if you need more than 15 seconds of speech, split it across multiple clips and stitch them together in a basic editor.
Generate multiple versions
Talking-face generation is sensitive to lighting angle and facial geometry. Your first output might be close but not quite right. Generate two or three versions from the same photo and compare them before committing. This is normal , it's not a sign the tool is broken. Think of each generation as a draft.
Accurate audio-visual synchronization depends on matching phoneme timing to visible mouth shapes, which modern AI talking-photo models automate by mapping each sound to the corresponding mouth position frame by frame.
If you want to see how this fits into a broader animated video workflow, the guide on how to make animated videos with AI covers multi-clip production from start to finish.
Step 5: Fine-Tune Audio & Export
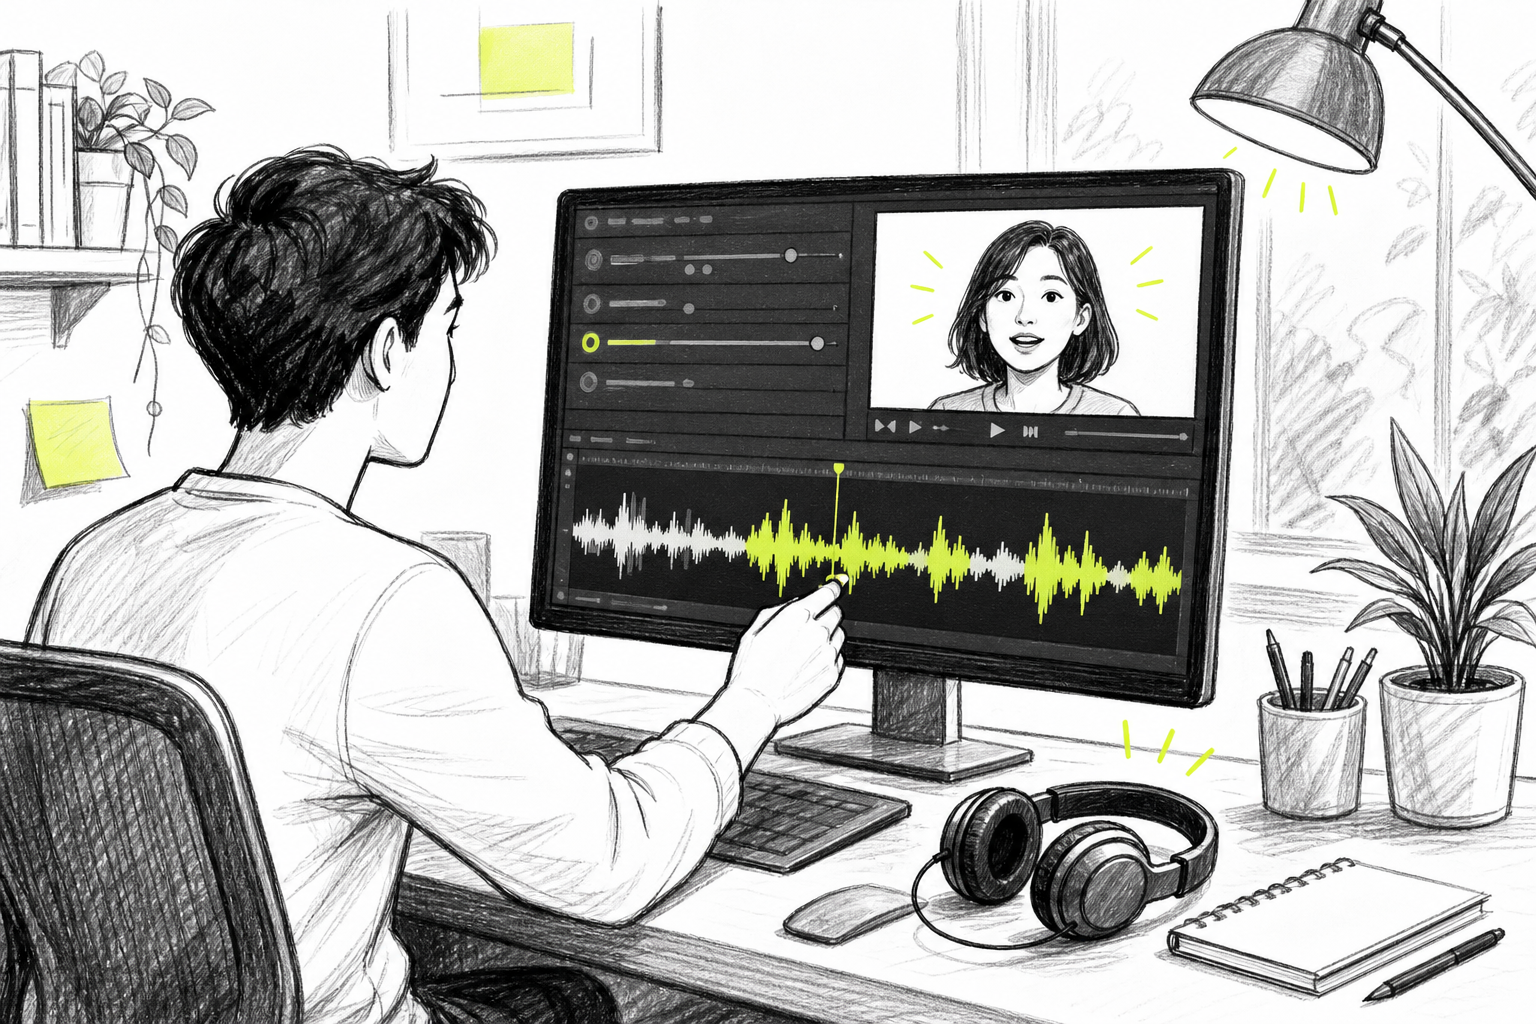
Before you download anything, watch the clip at least twice. First pass: check the lip-sync. Do the mouth shapes match the words? Second pass: check the head movement and identity. Does the face still look like the original photo, or has it drifted?
Common issues and fixes
- Mouth out of sync.This usually means the audio file had silence at the start. Trim any leading silence before re-uploading.
- Face looks different mid-clip.Called identity drift. Regenerate with a slightly different motion prompt, or try a cleaner source photo with more even lighting.
- Weird mouth artifacts.Often caused by a starting expression that's too extreme. Go back to Step 1 and use a photo with a more neutral expression.
- Head too stiff.Add motion language to your prompt: "subtle head tilt," "natural blinking," "slight nod as they speak."
Add background audio if needed
If your tool generated a silent clip or you want to layer in music, bring the clip into any basic video editor. Drop a royalty-free music track underneath and keep the volume low enough that it supports the speech rather than competing with it. For voiceover narration, a browser-based AI voice generator lets you paste a script and download the audio as an MP3 in a few clicks, no recording setup needed.
Export settings
Download your final clip as an MP4. That's the format every major social platform accepts without issues. Check the file size before uploading: TikTok caps uploads at 1GB, Instagram Reels at 4GB, and YouTube Shorts at 256MB for mobile uploads. A 10-second 1080p talking-photo clip sits well inside all of those limits.
On Seedance Studio, finished clips export at up to 1080p on standard plans, with higher resolutions available on paid tiers. The audio is already mixed into the downloaded file, so there's no separate audio export step. If you're building a regular content workflow around talking photos, the guide on how to use a free image-to-video generator covers platform-specific export tips and quality checks in more depth.
Post within the trend window. AI tools are fast enough that you can go from idea to finished clip in under an hour. A trend that's 48 hours old is already past its peak on most short-form platforms. Generate fast, check quality on your phone, and post before the moment passes.
FAQ
Can I make a photo talk for free?
Yes. Several tools offer free tiers, including Seedance Studio and LivePortrait. Seedance Studio's free tier requires no credit card and gives you access to Seedance 2.0 with no waitlist. Keep in mind that free tiers typically have credit limits or lower resolution caps, so they're best for testing before committing to a paid plan.
What kind of photo works best for talking photo AI?
A front-facing portrait with even lighting and a neutral expression works best. The face should be clearly visible with no obstructions over the mouth or eyes. High resolution helps, but the angle and lighting matter more than pixel count. Wide shots where the face is small in the frame consistently produce weaker results than a tight head-and-shoulders crop.
How long does it take to generate a talking photo video?
Most browser-based tools return a clip in under 60 seconds at standard resolution. Seedance Studio typically renders a 720p clip in that window. Higher resolutions take longer. Plan for a few minutes if you're generating at 1080p or above, and budget time for two or three regenerations to get the lip-sync right.
Do I need to record my own voice to make a photo talk?
No. Most tools let you type a script and generate an AI voice automatically. Seedance Studio lets you put a spoken line directly in your prompt using quotation marks, and the character says it on screen with lip movement included. If you want a specific voice or accent, you can also upload a pre-recorded audio file and the tool will sync the mouth to it.
What's the best format to export a talking photo video for social media?
Export as MP4 at 1080p minimum. Use 9:16 aspect ratio for TikTok, Instagram Reels, and YouTube Shorts. Use 16:9 for YouTube standard uploads or horizontal embeds. Check the clip on your phone before posting , what looks clean on a desktop monitor sometimes has visible compression issues on a smaller screen.
Is it legal to make a photo talk using AI?
It depends on whose photo you use. Animating a photo of yourself or a fictional character you created is straightforward. Animating a real person's photo without their consent raises serious legal and ethical issues in many jurisdictions. Always get explicit permission before animating someone else's likeness, and check the terms of service for the tool you're using.
Conclusion
The full process comes down to five steps: start with a clean front-facing portrait, pick a tool that handles native audio and real motion (Seedance Studio is our recommendation), upload and align the image, generate the animation with a clear motion prompt and script, then fine-tune and export as an MP4. The whole loop takes under 30 minutes on your first try and under 10 once you've done it once. Create a free Seedance Studio account and run your first talking photo today.


