
Making an AI avatar used to mean hiring a production crew or waiting weeks for a render farm. Now you can go from a blank prompt to a finished, lip-synced video in under an hour, right in your browser. This guide walks you through every step, from defining your concept to posting the final clip.
Step 1: Define Your Avatar Concept
Before you touch any tool, spend five minutes answering three questions: Who is this avatar? What does it say or do? Where will the video live?
Your answers shape every decision downstream. A customer-facing spokesperson for a skincare brand needs a different look, tone, and aspect ratio than a training narrator for an internal HR video. Get this wrong and you'll spend more time regenerating than creating.
Who is the avatar?Decide whether you're building from a real person (yourself, a team member, a model you have rights to photograph) or a fully fictional character. Real people give you a face the audience can recognize across campaigns. Fictional characters give you total creative control with no likeness rights to manage.
What does it do?Pin down one job for this avatar. Is it delivering a product demo? Narrating a tutorial? Presenting a social ad? One job per avatar keeps your prompts focused and your output consistent. If you need the same character doing multiple jobs, that's fine, but treat each video as its own concept.
Where does it live?Platform determines format before you generate a single frame. TikTok, Reels, and YouTube Shorts want 9:16 vertical. YouTube standard and ads want 16:9 horizontal. Instagram feed posts often work best at 1:1. Locking this in now means you won't crop a face out of frame later.
Write a one-paragraph brief that covers all three. Something like: "A mid-30s female entrepreneur, confident and warm, delivering a 15-second product pitch for a skincare serum, formatted for Instagram Reels." That sentence is your north star for every step that follows. If you plan to turn this avatar into a series of short-form ads, the guide on how to use an AI commercial generator covers the scripting and variation workflow in detail.
Step 2: Gather Reference Images & Audio
Reference files are what separate a consistent avatar from a character who looks like a different person every clip. The AI doesn't remember your last generation. A reference image is how you tell it: "Same face. Every time."
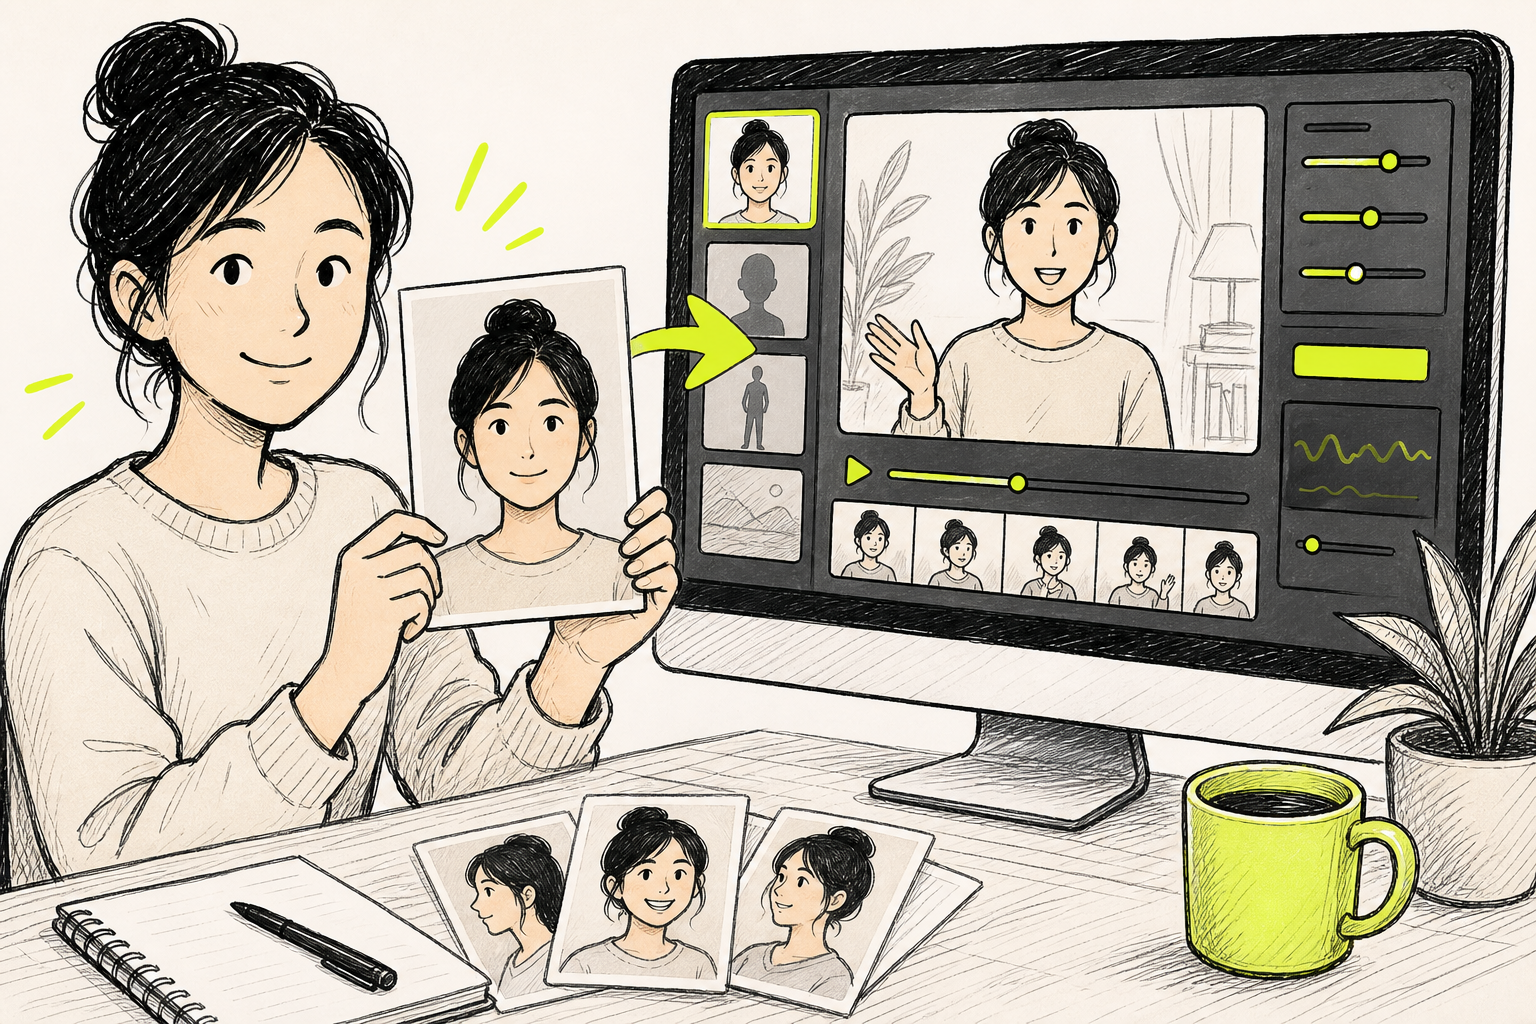
For a real person, take one clean, front-facing photo. Plain background, even lighting, no heavy filters. That's your identity anchor. AI image models use facial geometry and texture to match identity across frames, so a sharp, unobstructed face photo gives the model the most data to lock onto.
If you want stronger consistency across many clips, build a multi-angle reference sheet: front, three-quarter, and profile. Four angles is usually enough. You don't need a studio for this. A well-lit selfie against a white wall works. The key is that every feature is visible, no harsh shadows cutting across the face.
For a fictional character, start from any AI-generated image you like. Run it through an image tool to produce a multi-angle sheet, then use that sheet as your reference going forward. The process is the same whether the face is real or invented.
Audio referencesmatter too. If your avatar will speak, record a clean voice sample or export a finished voiceover as a WAV file. Trim silence from the start and end. Label the file clearly (e.g.,spokesperson_voice_v1.wav) so you don't mix it up with music tracks or sound effects when you're uploading assets.
Gather your files into one folder before you open the generation tool. A character reference image, an optional location or background reference, and your audio file. That's the full asset kit for most avatar videos.
Step 3: Generate the Avatar with Seedance Studio
Open Seedance Studio in your browser. No download, no waitlist. Create a free account if you don't have one, and you're in the prompt box within two minutes.
Seedance Studio runs on Seedance 2.0, ByteDance Seed's flagship video model, a leading solution for text-to-video and image-to-video generation. The free tier gives you real access, not a time-limited trial, so you can test prompts without a credit card.
Upload your references first.The upload area sits at the top of the prompt box. Drop in your character reference image and tag it in your prompt with an @ symbol (e.g., @Character1). If you have a location reference or audio file, add those too. Seedance 2.0 supports up to 12 reference inputs per generation, so you can lock in a character, a setting, and a voiceover all in one pass.
Write your prompt like a director's instruction.Vague prompts produce vague results. Instead of "a woman talking to camera," write something like: "A confident female entrepreneur in a bright studio, looking directly at camera, speaking warmly, close-up shot with a slow push-in, [Character1]." Name the camera move. Name the lighting. Name the emotion. The model understands real cinematography language, so use it.
If your avatar needs to say something specific, put the spoken line in quotes inside the prompt. Seedance 2.0 generates lip-synced dialogue in the same pass as the video, so you get a talking avatar without a separate dubbing step.
Set your aspect ratio and duration before you hit generate. Match the ratio to the platform you defined in Step 1. For duration, 15 seconds is the current maximum and also the sweet spot for short-form content. Start at 720p for your first draft. It renders faster and costs fewer credits. Save higher resolution for your final export once you're happy with the framing.
Hit generate. Most clips come back in under 60 seconds at 720p. Watch the full clip before you do anything else. Check that the character matches your reference, the camera did what you asked, and the audio syncs to the action. If something's off, adjust one thing in the prompt and regenerate. For a deeper look at how to write prompts that get consistent results, the Seedance 2.0 first video guide covers the prompt formula step by step.
Step 4: Refine and Animate the Avatar
Your first generation is a draft. Good creators run two or three passes before they have something post-ready. This step is about closing the gap between "pretty good" and "ready to publish."
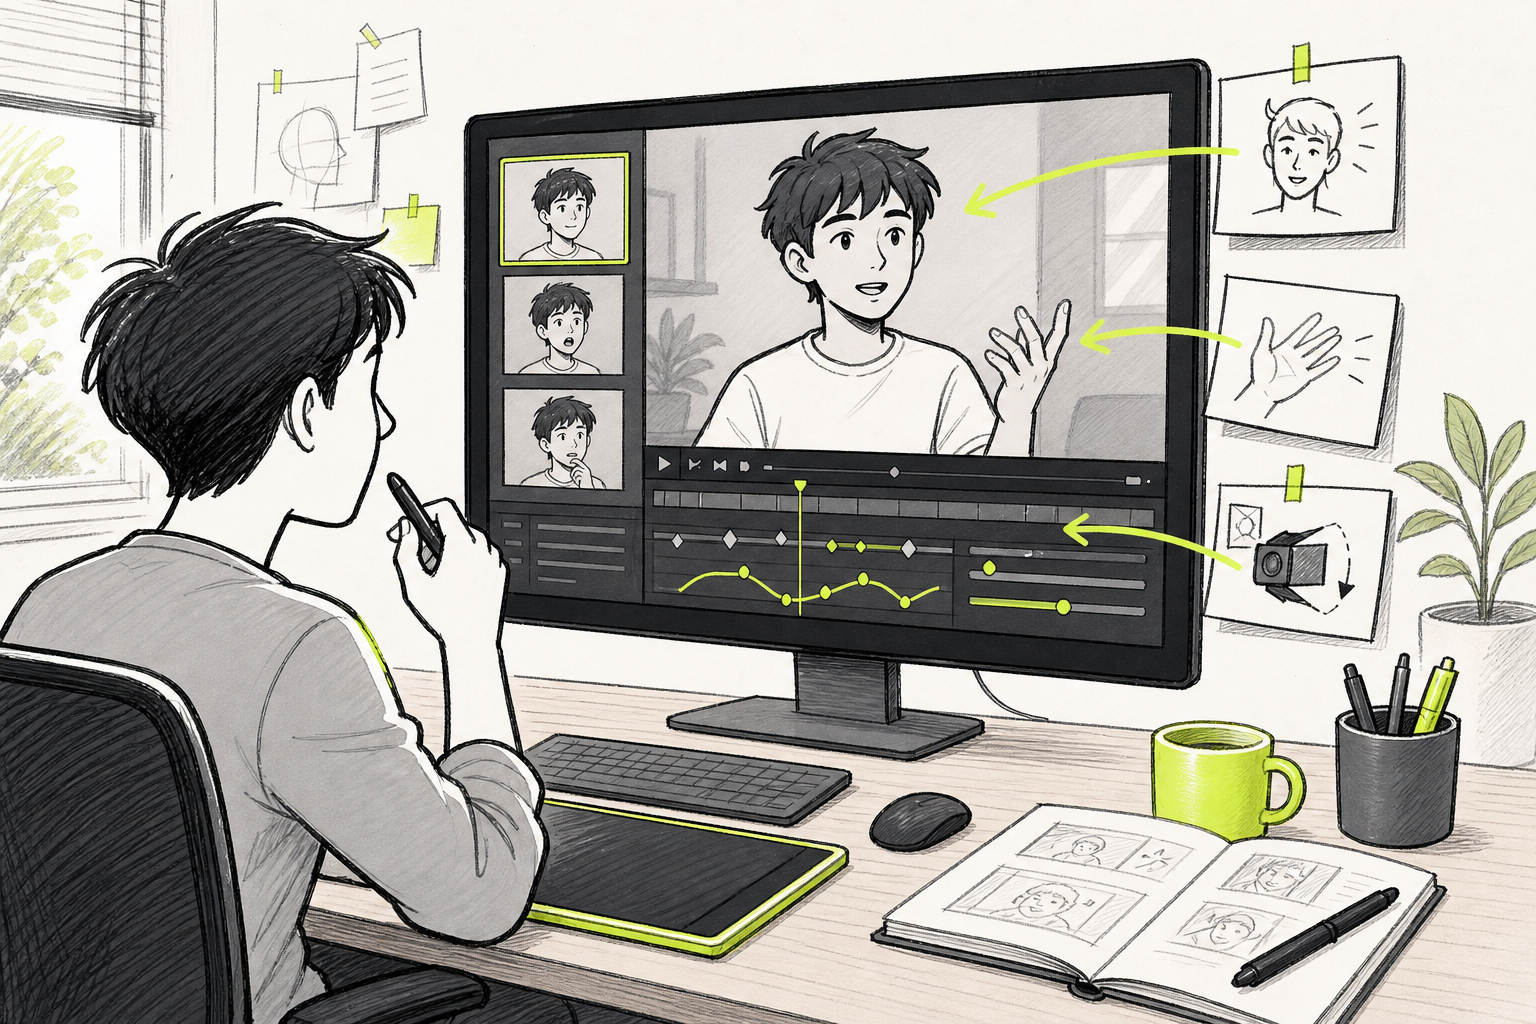
Check character consistency first.Does the face in the clip match your reference image? If the model drifted, the fix is usually to make the reference tag more prominent in the prompt or to crop the reference photo tighter to the face. A full-body shot as a reference gives the model more to interpret, and sometimes it prioritizes clothing or posture over the face. A head-and-shoulders crop keeps the focus where you need it.
Refine the motion.If your avatar feels stiff, add motion direction to your prompt. Think in terms of body part plus action plus emotion. "Avatar nods confidently, then gestures forward with an open hand" is more useful than "natural movement." Keep each motion instruction to one or two beats. Overloading a prompt with five gestures at once produces unstable, choppy results.
Expression matters as much as gesture. Words like "warm," "sincere," "enthusiastic," or "composed" in the prompt translate directly into facial delivery. Test small wording changes. Swapping "confident" for "intense" can produce a noticeably different performance from the same character.
Iterate on camera and lighting.If the framing feels wrong, adjust the camera instruction. "Slow push-in" creates intimacy. "Static medium shot" feels more formal. "Handheld" adds energy. Lighting descriptions like "soft natural window light" or "warm studio key light" shift the mood without requiring any post-production.
Once you have a clip you're happy with, check audio sync one more time. Play it with headphones if you can. A lip-sync issue that's invisible on a desktop monitor is obvious on a phone speaker. Since a significant portion of social media users watch without sound, also check that the visual action alone tells the story. If the avatar's movement feels disconnected from the spoken content, regenerate with a tighter alignment between the dialogue and the motion prompt.
If you're building a music video or a clip where the audio drives the visual pacing, the workflow in the AI generated music video guide explains how to sync clip generation to specific audio chunks.
Step 5: Export and Deploy Your AI Avatar
Export is the last technical step, and getting it right means your clip looks as good on the platform as it did in the preview.
In Seedance Studio, download your finished clip as an MP4. Depending on your plan, you can export at high resolution. For TikTok, Instagram Reels, and YouTube Shorts, a standard vertical format is the baseline. For YouTube standard uploads or display ads, a standard horizontal format is the minimum. If you generate at the highest available resolution, keep it for YouTube, where higher resolution can be beneficial for recommendations.
Check file size before uploading. Platform upload limits vary, so ensure your video stays within typical size constraints. A short clip from Seedance Studio will usually be well inside those limits, but it's worth verifying before you're mid‑upload.
Add captions before you post. A large share of social media users watch without sound, and on-screen text keeps them engaged through the full clip. Most AI video tools can generate captions from the voiceover transcript automatically. If yours doesn't, paste the script into a caption tool and export an SRT file, then burn it into the video in any basic editor.
For teams deploying avatars at scale, there are APIs that allow avatar video properties such as background, scene position, and output format to be configured programmatically for high‑volume production workflows.
Once you've exported and captioned, match the clip to the right platform setting. Set your campaign objective before you launch. Traffic campaigns optimize for clicks. Conversion campaigns optimize for purchases or sign‑ups. If this is your first AI avatar ad, start with a traffic objective and a small daily budget. Let the data tell you which clip works before you scale spend.
Content creators working from public Wi‑Fi or in regions with access restrictions may want to review their connection security before uploading. The guide on how to change your IP address covers VPN and router options for maintaining a private, stable connection during uploads.
After 24 to 48 hours, check your analytics. Watch time and completion rate tell you whether the avatar is holding attention. If completion rate is low, the problem is usually a weak opening two seconds or a clip that runs too long. Adjust the prompt on your next generation with that feedback in mind. For a full breakdown of the TikTok‑specific workflow, the best AI video generator for TikTok comparison covers platform specs and posting strategy in one place.
FAQ
How long does it take to make an AI avatar?
With a browser-based tool like Seedance Studio, you can go from a blank prompt to a finished 15-second clip in under an hour. The generation itself takes under 60 seconds at 720p. Most of the time goes into writing the concept brief, gathering reference images, and refining the prompt across two or three iterations. First-timers typically finish a post-ready clip in 30 to 45 minutes.
Do I need a photo of a real person to make an AI avatar?
No. You can describe a fictional character entirely in text and the model generates a face from that description. But using a reference photo, even one AI-generated image you like, gives you much stronger consistency across multiple clips. Without a reference, the character's face tends to drift between generations. A reference image locks the identity so every clip looks like the same person.
Can I make an AI avatar speak with lip sync?
Yes. In Seedance Studio, put the spoken dialogue in quotes inside your prompt and the model generates lip-synced speech in the same pass as the video. You don't need a separate dubbing step. For longer scripts, break the content into 15-second chunks and generate each segment individually, then stitch the clips together in a basic video editor.
What's the best aspect ratio for an AI avatar video?
Match the ratio to the platform before you generate. Use 9:16 for TikTok, Instagram Reels, and YouTube Shorts. Use 16:9 for YouTube standard uploads and pre-roll ads. Use 1:1 for Instagram and LinkedIn feed posts. Setting the wrong ratio and cropping afterward almost always cuts off part of the face or frame. Get it right before you hit generate.
How do I keep my avatar looking the same across multiple videos?
Use the same reference image in every generation and tag it consistently in your prompts. Store your reference files in one folder and reuse them without editing or re-cropping between sessions. If the face still drifts, crop your reference tighter to the head and shoulders. A full-body reference gives the model more variables to interpret, which can reduce face consistency.
Is there a free way to make an AI avatar?
Seedance Studio has a genuine free tier with no trial period and no credit card required. You get access to the Seedance 2.0 model, which is currently ranked number one for text-to-video generation. Free-plan exports include a watermark. Paid plans start at $14 per month and remove the watermark while adding higher resolution and more monthly credits.
Conclusion
The whole process comes down to five steps: write a clear concept brief, gather a sharp reference image and audio file, generate your clip in Seedance Studio with a director-style prompt, refine the motion and expression across a couple of iterations, then export at the right resolution and post before the trend window closes. The fastest way to get your first avatar video done is to skip the overthinking and run one generation now. Start with a free Seedance Studio account and have a working clip in your hands within the hour.


