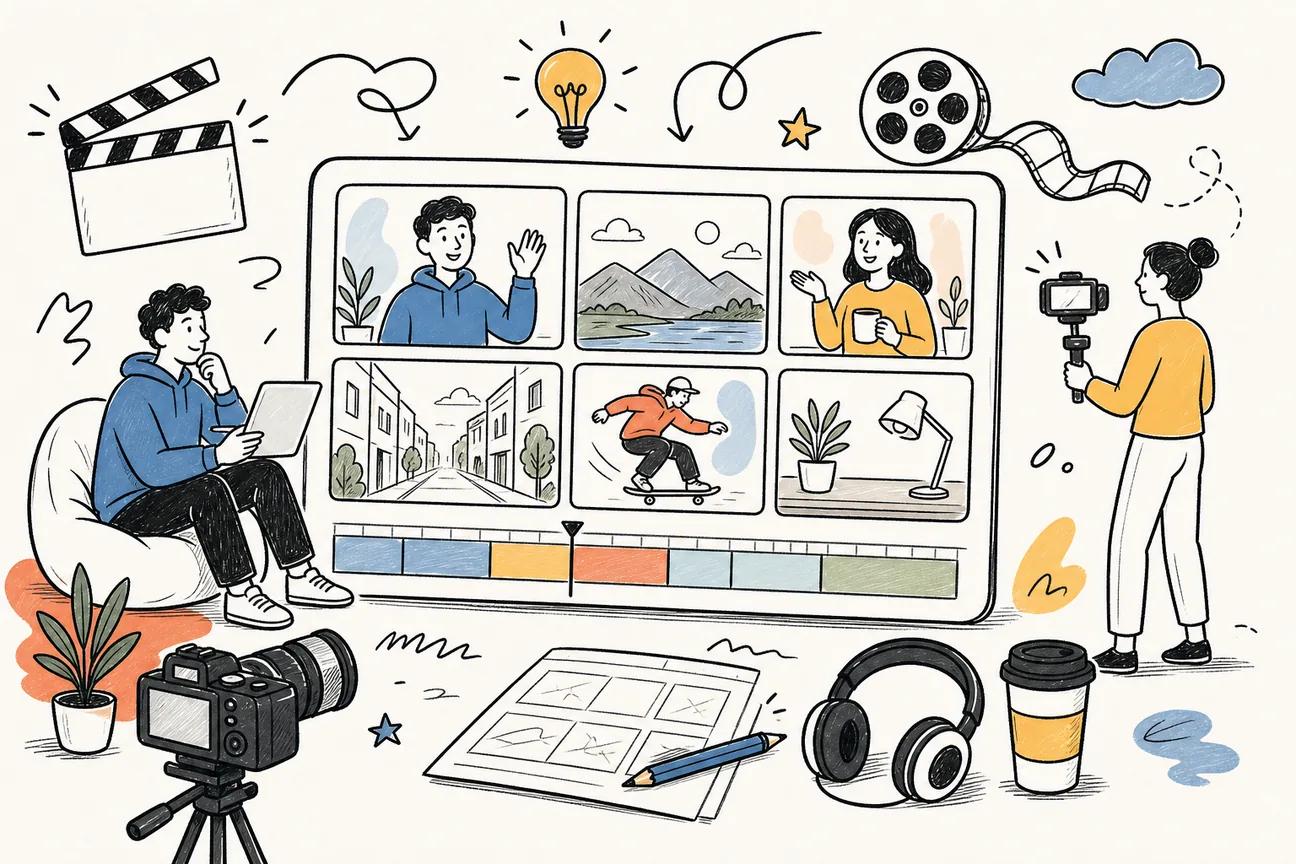
Making animated videos used to mean hiring a studio or spending weeks in After Effects. Now you type a prompt, upload a reference image, and get a finished clip in minutes. This guide walks you through the full process, from concept to export, using AI tools that handle camera direction, character consistency, and sound automatically.
Step 1: Outline Your Video Concept and Storyboard
Before you open any tool, spend five minutes writing down exactly what your video needs to show. A clear concept saves you from regenerating the same clip four times with slightly different prompts.
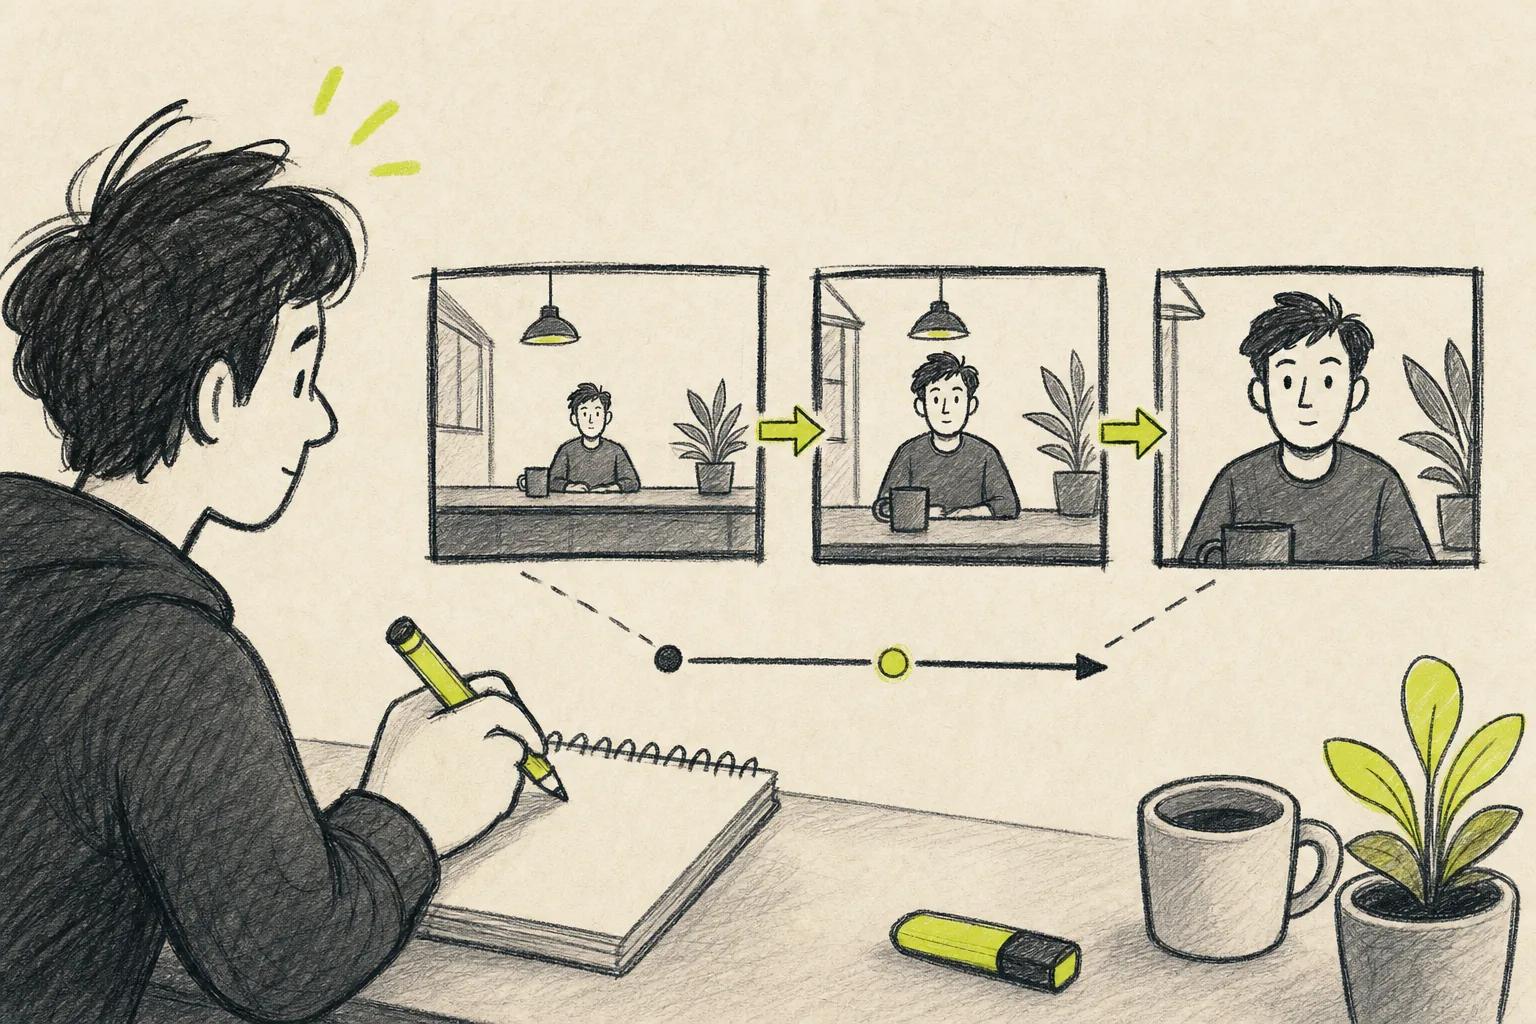
Start with one sentence: who is in the video, what are they doing, and where. That single sentence becomes your first prompt. If your video has more than one scene, write one sentence per scene. That's your storyboard.
Think about the platform where the video will live. TikTok, Reels, and Shorts want 9:16 vertical clips, usually under 15 seconds. YouTube wants 16:9. A square 1:1 clip works for feed posts. Locking in the format now stops you from generating a beautiful clip at the wrong aspect ratio.
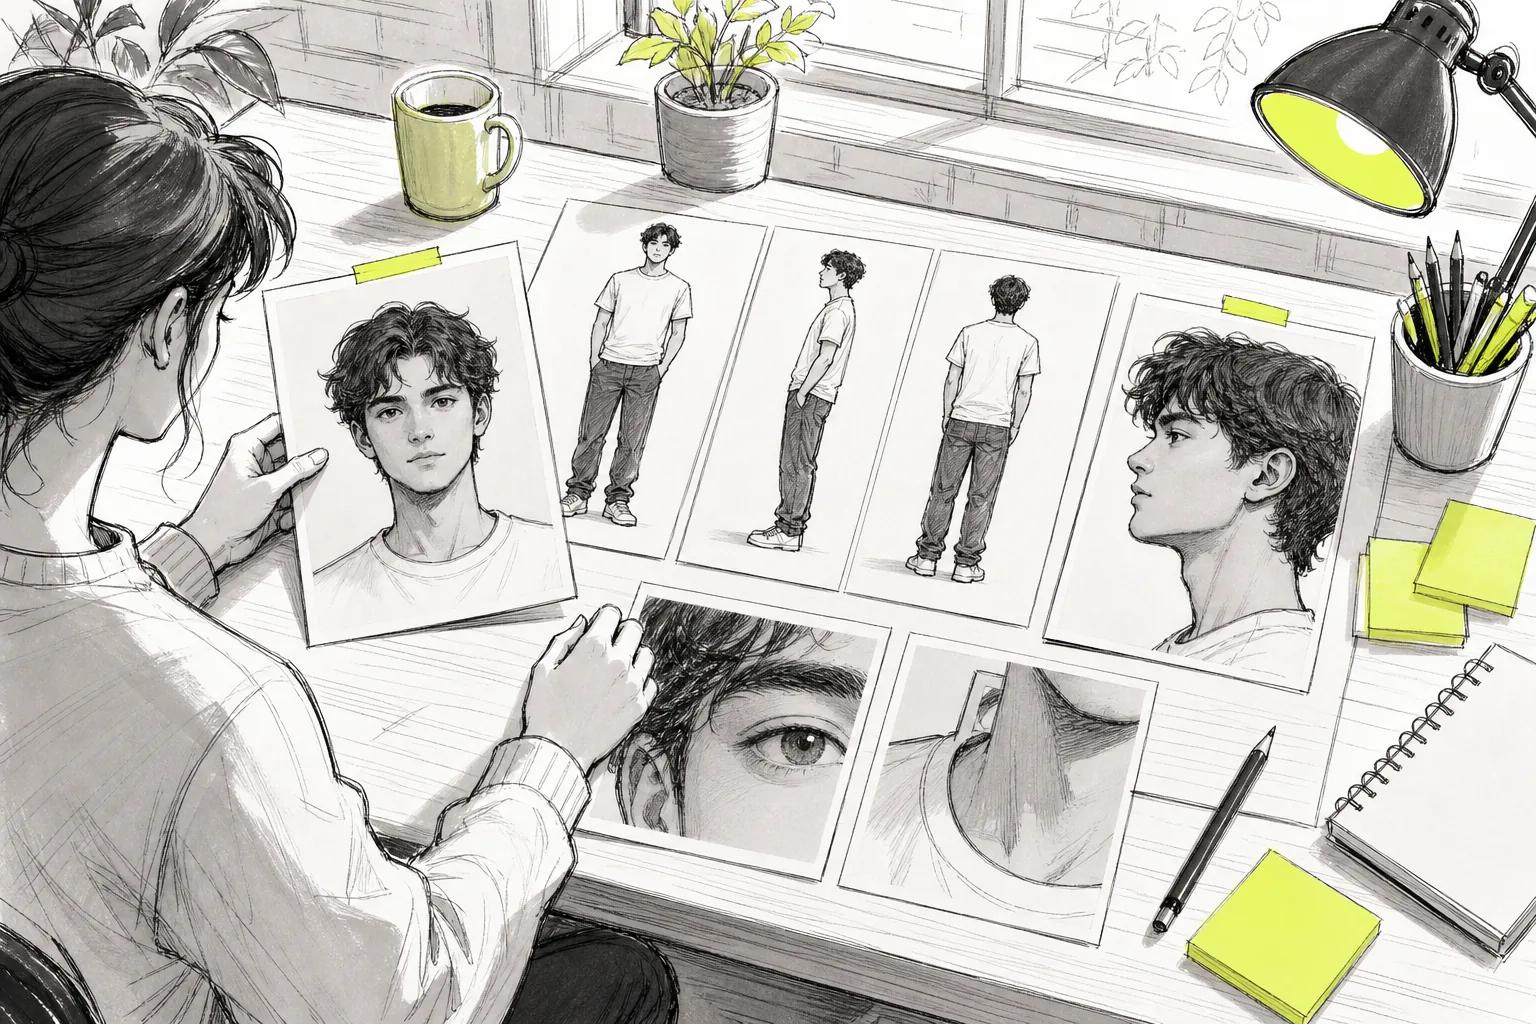
Also decide on your character. If you want the same face or product across multiple scenes, you'll need a reference image. One clear, well-lit photo against a simple background is enough. The AI uses it to anchor your character's look across every clip you generate. If you're starting from a photo, our guide on how to animate a photo with AI walks you through the process.
According to Wikipedia's overview of storyboarding, the technique dates back to early Disney animation as a way to plan shot sequences before production begins. The same logic applies here: a rough scene-by-scene plan, even just three bullet points, makes the generation phase much faster.
By the end of this step, you should have a one-sentence description of each scene, your target aspect ratio, and at least one reference image if character consistency matters to you.
Step 2: Choose the Right AI Animation Platform
The platform you pick shapes everything: output quality, how much control you have over camera moves, and whether the video comes out with sound already mixed in.
Seedance Studio runs on Seedance 2.0, ByteDance Seed's flagship video model, and it's the tool we use throughout this guide. You get automatic camera direction, consistent characters across clips, and native sound generated alongside the video in a single pass. There's a free tier and paid plans starting at $14/month. No download, no waitlist. It runs entirely in the browser.
DeepAI is another option with a free tier, starting at $9.99/month. Its automation covers basic text-to-video generation. It works, but it doesn't automatically add camera moves or native sound the way Seedance does. If you're making polished short-form content for TikTok or Reels, that gap matters.
One thing worth checking before you commit to any platform: export format support. Neither Seedance nor DeepAI publicly lists every supported output format in their documentation, so if you need a specific codec for a broadcast or ad platform, ask before you upgrade.
Pick the platform that matches your output needs. For a side-by-side comparison of features and pricing, our guide to the best AI video generators can help. Then move to the next step with your concept already written.
Step 3: Write Clear Prompts for AI Video Generation
Your prompt is a director's instruction, not a description of a painting. The AI needs to know what moves, how the camera behaves, and what the scene sounds like.
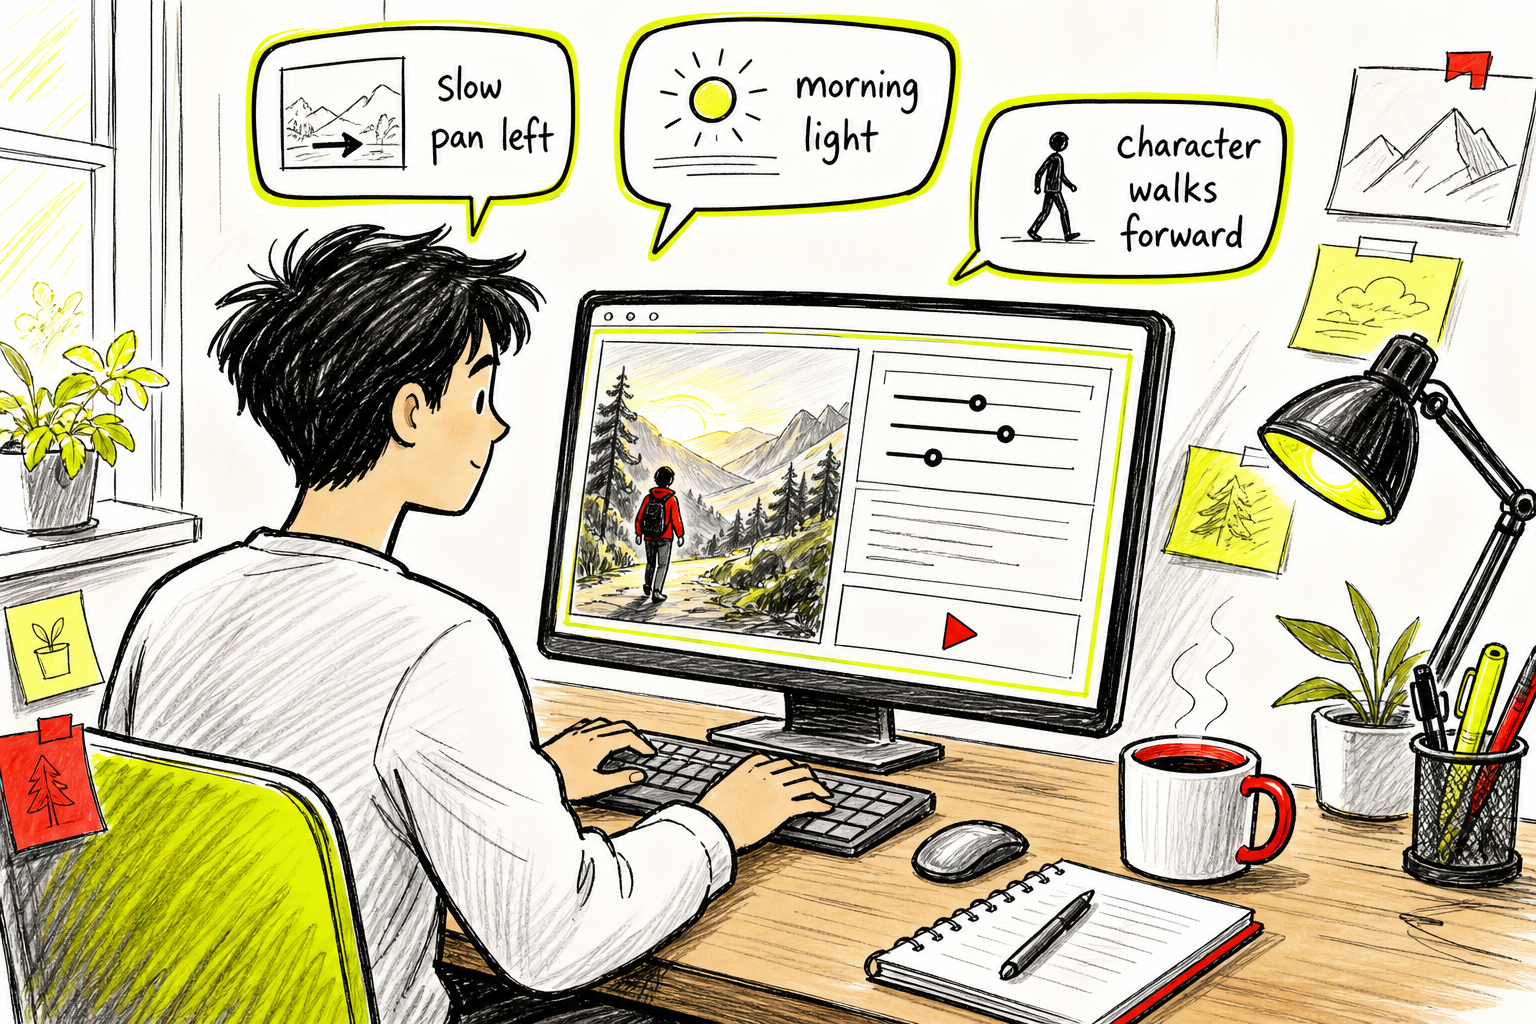
A formula that works consistently: Subject → Action → Setting → Camera move → Lighting or style → Sound or dialogue.
Here's a weak prompt and a strong one side by side:
- Weak:"A woman in a café."
- Strong:"A barista with short red hair pulls an espresso shot at a wooden counter, slow push-in from across the bar, warm amber lighting, steam hissing sound."
The second prompt gives the model something to hold onto. It names the subject, the action, the setting, the camera move, the light quality, and a sound cue. That specificity is what separates a generic clip from something that looks intentional.
Keep your first draft short. One clear sentence often beats a paragraph. If the output misses the mark, add one detail and regenerate. That way you learn which word changed the result, rather than rewriting everything and losing track of what worked.
If you're using reference images, tag them in the prompt with an @ symbol (e.g., @character1) so the model knows which image maps to which element in the scene. Seedance Studio supports up to 12 reference files per generation, including images, video clips, and audio tracks.
By the end of this step, you should have a tested prompt that produces the right framing and motion for at least one scene.
Step 4: Generate Consistent Characters and Scenes
Character consistency is the hardest part of making AI animated videos look professional. A character whose face changes between clips breaks the illusion immediately.
The fix is straightforward: use the same reference image on every generation. Upload a clear, front-facing photo of your character and tag it in every prompt for that project. Don't swap to a different photo mid-project, even if another image looks better in isolation.
Beyond the reference image, keep the subject noun identical across every prompt. If you wrote "a woman with short black hair and a red leather jacket" in the first clip, use those exact words in every subsequent clip. The model uses that text as an anchor.
For multi-scene projects, build a named element set before you start generating. Think of it like a cast list. Each character or location has one reference image attached to it, and you call it by name in every prompt. This is the workflow described in the Seedance Studio step-by-step guide, and it's the most reliable way to keep a series of clips feeling like they belong together.
Generate two or three versions of each clip before you pick one. The first output is rarely the best. Watch each version for face consistency, lighting match, and whether the camera move landed where you expected. Pick the strongest version and move on.
After generating each clip, check three things before downloading: does the character's face match your reference, is the lighting consistent with the previous clip, and did the camera move land where you expected? If any of those are off, adjust the prompt by one detail and regenerate rather than starting from scratch.
Step 5: Add Motion, Effects, and Audio
Motion and audio are what separate an AI-generated clip from a finished animated video. Get these right and the output looks like something a small studio produced.
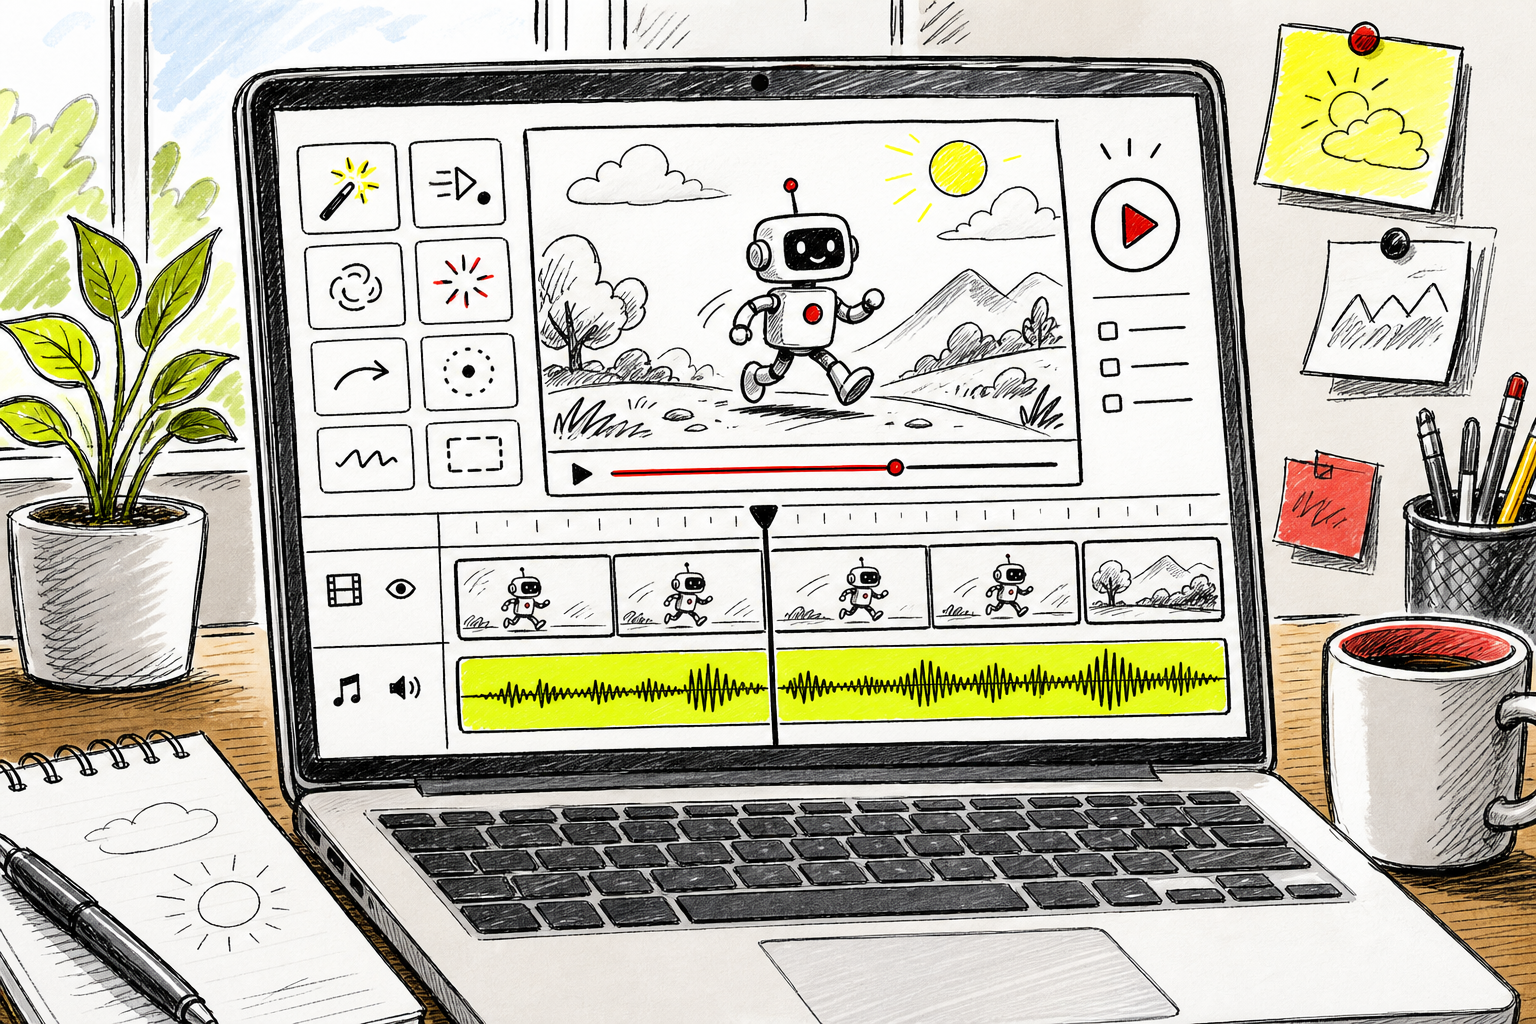
Seedance Studio generates native sound alongside the video in a single pass. That means music, ambient sound, and even lip-synced dialogue come out already mixed into the clip. You don't need a separate audio step for most short-form content. If you want a specific audio track, upload an MP3 or WAV file (between 2 and 15 seconds) as a reference and tag it in the prompt.
For camera motion, name the move directly in your prompt. "Slow push-in", "pan left", "dolly shot", "static wide" all work. The model reads these as director instructions. If you want to replicate a specific camera move from existing footage, upload a short video clip as a reference and describe what you want borrowed from it.
If your tool generates a silent clip, you have two options. Add background music from a royalty-free library, or add a voiceover using a browser-based text-to-speech tool. Export the audio as an MP3, then sync it to your clip in any basic video editor. Keep music low enough that it supports the video rather than competing with it.
For creators making music videos or beat-synced content, the workflow in this guide to AI video generation with sound covers how to upload audio references and match visuals to a track. For a dedicated music video workflow, see how to make a music video with AI.
Once your clips have the right motion and audio, watch each one all the way through before moving to export. Check that the camera did what you asked, the character is consistent, and the audio syncs to the action. Fix anything that's off now, not after you've assembled the full video.
Step 6: Export and Share Your AI Animated Video
Export as MP4. Every major social platform accepts it, and it keeps file sizes manageable without sacrificing visible quality.
Check file size before uploading. TikTok caps uploads at 1GB, other platforms have varying limits, and YouTube Shorts at 256MB for mobile uploads. A 6-second 1080p clip sits well inside all of those limits.
Download your clip and watch it on your phone before posting. What looks sharp on a desktop monitor can appear washed out or have motion stutters on a smaller screen. If it looks good on both, it's ready.
On Seedance Studio, the finished clip lands in your media gallery with audio already mixed in. Download the MP4 directly from there. If you want to iterate, tweak the prompt and regenerate without losing the original version.
For vertical social content, generate at 9:16 from the start. Cropping a 16:9 clip to vertical after the fact usually cuts off the subject or loses the framing entirely.
Resolution matters at the export stage. Iterate at a lower resolution to test your prompt and references. Once you have a clip you want to keep, run the same prompt at a higher resolution for the final render. On Seedance Studio, higher resolutions are available on paid plans, with 480p on the free tier.
Once exported, your animated video is ready to post. Most good creators run two to three generations per clip before they have something post-ready, so don't treat the first output as final unless it genuinely nails the brief.
FAQ
Can I make animated videos with AI for free?
Yes. Seedance Studio has a free tier with no credit card required. You can generate clips up to 15 seconds at 480p resolution without paying anything. DeepAI also has a free tier for basic text-to-video. Free plans are useful for testing prompts and learning the workflow before upgrading for higher resolution or more credits.
How do I keep the same character across multiple AI video clips?
Upload one clear, front-facing reference photo of your character and tag it in every prompt for that project. Also keep the character description identical across all prompts, including hair color, clothing, and any distinguishing detail. Consistency in both the image reference and the text description is what keeps the face stable between clips.
What makes a good AI video prompt?
A good prompt names the subject, the action, the setting, the camera move, and the lighting or mood. Write it like a director's instruction, not a description. "A chef flips a pancake in a sunlit kitchen, slow push-in from across the counter, warm light, sizzling sound" gives the model far more to work with than "a chef cooking." Start short and add one detail at a time when iterating.
Do AI animated videos include sound automatically?
It depends on the tool. Seedance Studio generates native sound, including music, ambient audio, and lip-synced dialogue, alongside the video in a single pass. Most other tools produce silent clips, which means you need to add audio separately using a text-to-speech tool or a royalty-free music library and sync it in a video editor.
What format should I export AI animated videos in?
Export as MP4. It's the format every major platform accepts, including TikTok and YouTube Shorts. For resolution, generate your final keeper at a high resolution. Check the file on your phone before posting, since compression artifacts that aren't visible on a desktop monitor often show up clearly on mobile screens.
How long does it take to generate an AI animated video?
Generation time varies by platform and resolution. On Seedance Studio, a short clip typically renders in under a minute on the free tier. Higher resolution renders take a little longer. The usable workflow is to iterate quickly at lower resolution until the prompt and references are working, then do one final render at full quality.
Conclusion
The whole process comes down to this: plan your concept before you open any tool, write prompts that direct the scene like a cinematographer, use consistent reference images for every clip in a series, and export at the right resolution and aspect ratio for your platform. If you want to skip the setup and start generating right now, you can do so on Seedance Studio and have a finished clip before the end of the day.