
A single still photo can become a moving, sound-ready video clip in under five minutes. No coding, no expensive software, and no film crew. This guide walks you through the exact steps to get there , from picking the right tool to exporting a finished MP4 for social media.
Step 1: Pick the Right AI Photo to Video Tool
The tool you choose shapes everything downstream: output quality, video length, aspect ratio options, and whether your character looks the same across frames. Not all tools are equal, and the differences matter the moment you try to post something that actually gets watched.
The clearest option right now is Seedance Studio's free plan, which runs on Seedance 2.0, the top-ranked model for image-to-video. You upload a photo, write a motion prompt in plain language, and get back a finished clip with automated camera direction, consistent character features, and native sound already mixed in. No waitlist, no download. Free to start.
If you want to compare options before committing, one alternative is DeepAI, which starts at $9.99/month and has a free tier. It handles basic image animation, but it doesn't publicly document its underlying model, its automation features, or its output formats. That opacity is worth noting: you can't tell what you're getting until you try it, and troubleshooting is harder when the method is a black box.
For most creators making short clips for TikTok, Reels, or YouTube Shorts, the deciding factor is transparency. A tool that tells you exactly what model it uses and what it automates is one you can actually learn to control. That's where Seedance Studio pulls ahead at a starting price of $14/month on paid plans , the $4 difference buys you a disclosed method and real automation.
For a deeper look at how image-to-video tools compare on speed and quality, check out resources that break down the key differences in plain terms.
Step 2: Prepare and (Optionally) Restore Your Photo
The quality of your output video is only as good as the image you feed the model. A blurry or low-resolution photo doesn't sharpen itself during generation , it just becomes a blurry video.
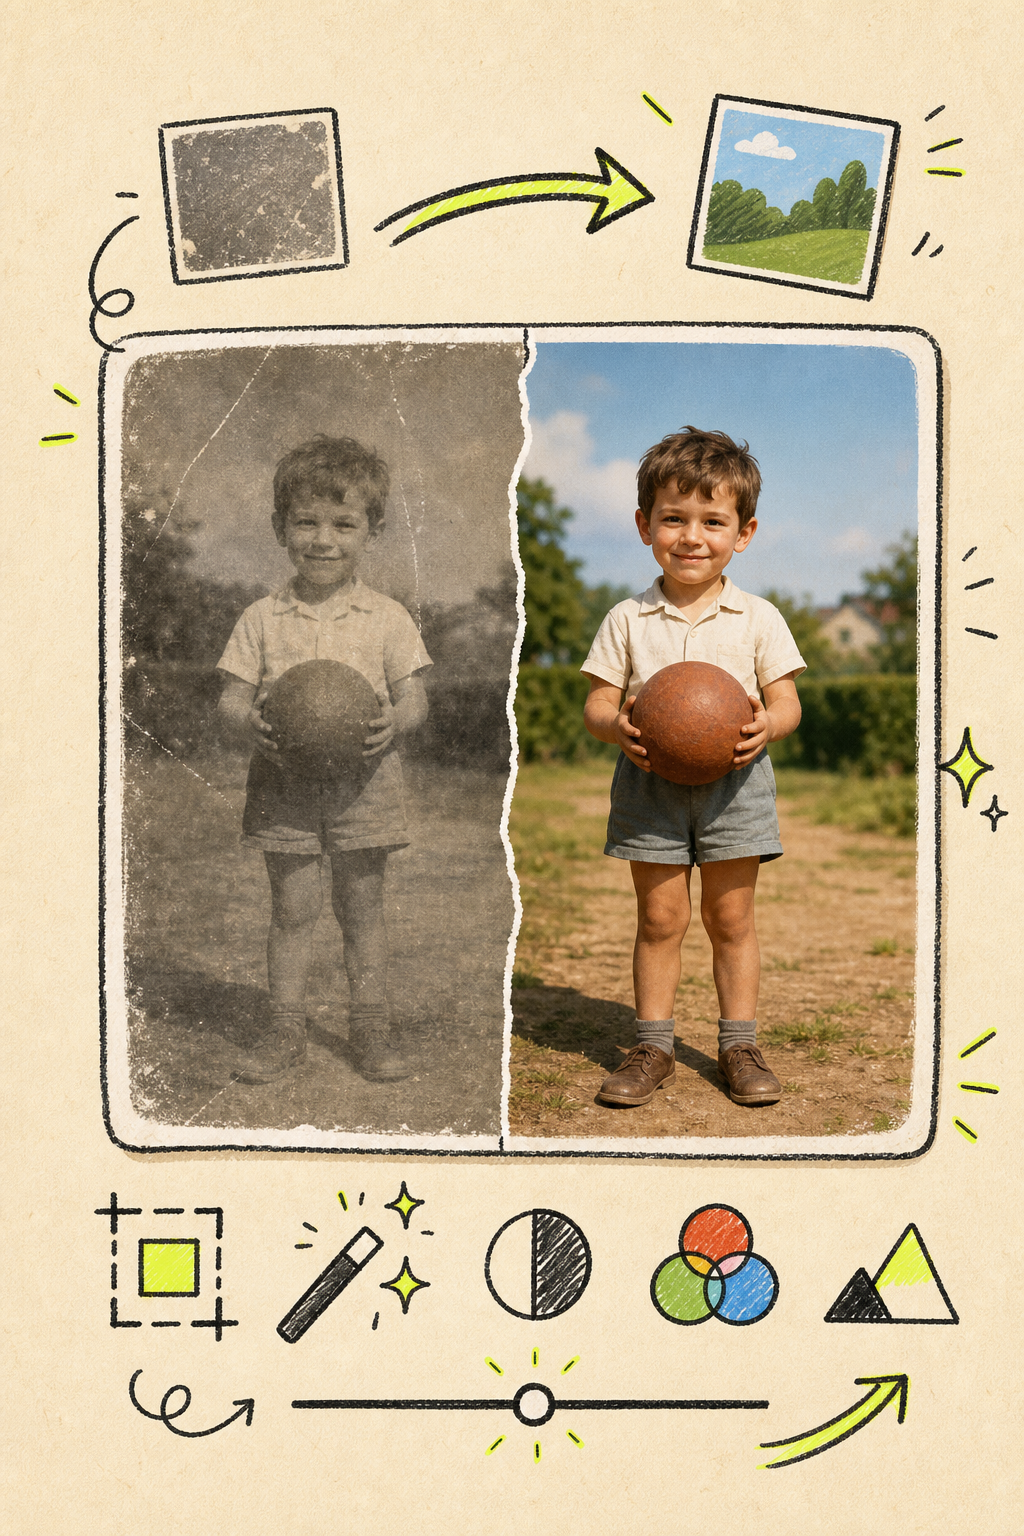
Before you upload anything, run through these quick checks:
- Use the highest-resolution version of the photo you have. Even small differences in pixel count affect how cleanly the AI renders motion on faces and edges.
- Make sure the subject is clearly visible and well-lit. If the face is shadowed or partially covered, the model will struggle with consistent character features across frames.
- For old or faded family photos, consider running them through a photo restoration step first. Some tools include this built in , you enhance or colorize the image before converting it to video, which saves you from juggling multiple apps.
Higher pixel density preserves edge detail that compression and motion rendering can otherwise destroy , which is exactly why starting with a clean source file matters more than most people expect.
If your photo is an old black-and-white print, colorization can make the animated result feel far more alive. One creator on YouTube described animating a 1925 family photo and finding the movement brought a sense of real personality to people she'd only ever seen as static figures. That effect is dramatically stronger when the image is sharp and in color before animation starts.
For e-commerce brands, the same principle applies to product photography. A footwear brand can turn a standard catalog photo into a short animated product clip , but the source shot needs to be clean and well-lit, or the motion artifacts will undercut the look entirely.
Save your prepared image as a JPG or PNG. Most browser-based AI video tools accept both. Aim for a high pixel count on the shortest side if you can.
Step 3: Upload Your Photo and Write a Motion Prompt
This is where the actual conversion happens. Open your tool, find the image-to-video section, and upload your prepared photo. Then write your motion prompt , the plain-language instruction that tells the AI what should move and how.
Most people write something vague like "make this photo move" and then wonder why the result looks off. The fix is simple: describe the motion like a film director, not a wish list.
What a good motion prompt looks like
A strong prompt has three parts. First, name the subject. Second, describe the action. Third, name the camera move if you want one.
Seedance 2.0 understands real cinematography language. Words like "slow push-in," "pan left," "rack focus," and "golden hour lighting" all land. You don't need to use jargon , plain words work fine too , but the more specific you are about action and camera, the more predictable your output will be.
For portrait-style content, try specifying subtle motion: a gentle head turn, a slow blink, or a slight smile forming. These read as more natural than big sweeping movements, especially for social media thumbnails or profile clips.
If you want to go further with character consistency across multiple generations , say you're building a series of clips featuring the same person , look for tools that support reference inputs to lock in facial features and clothing across shots.
One prompt technique worth knowing: if you're working with a character weight slider (some tools offer this), keeping it between 0.7 and 0.8 tends to hold face consistency while still allowing natural variation. Setting it too high can make the motion look stiff.
Step 4: Set Aspect Ratio, Length, and Style Options
Before you hit generate, three settings will decide whether your clip is actually usable on the platform you're targeting: aspect ratio, duration, and resolution.
Aspect ratio
Match the ratio to where the video will live, not what looks nice in the preview window.
- 9:16 for TikTok, Instagram Reels, and YouTube Shorts
- 16:9 for YouTube or any horizontal context
- 1:1 for Instagram or LinkedIn feed posts
Getting this wrong means cropping after the fact, which can cut off faces or ruin the composition the model built around your prompt.
Duration
On free tiers, most tools cap you at 4 to 10 seconds. That's enough for a social clip. Seedance Studio's paid plans go up to 15 seconds, which gives you room for a proper hook plus a bit of motion payoff. For testing a new prompt idea, generate at 5 seconds first , shorter clips render faster and use fewer credits.
Resolution and style
Generate at lower resolution (480p) while you're iterating on the prompt. Once the motion looks right, render the final version at a higher resolution. Burning credits on 4K during the testing phase is one of the most common mistakes new users make.
Some tools also offer style presets , portrait mode, winter aesthetic, cinematic grade, and similar options. These are worth trying when you want a specific look without building it entirely through the prompt. Portrait mode in particular works well for profile pictures and social thumbnails that need a professional, photo-shoot feel.
The workflow for animating a photo with AI follows the same format-first logic: lock in the platform spec before you generate, not after.
Step 5: Generate, Review, and Fix Common Artifacts
Hit generate and wait. Rendering usually takes one to three minutes depending on the model and resolution. When the clip loads, watch it all the way through before doing anything else.
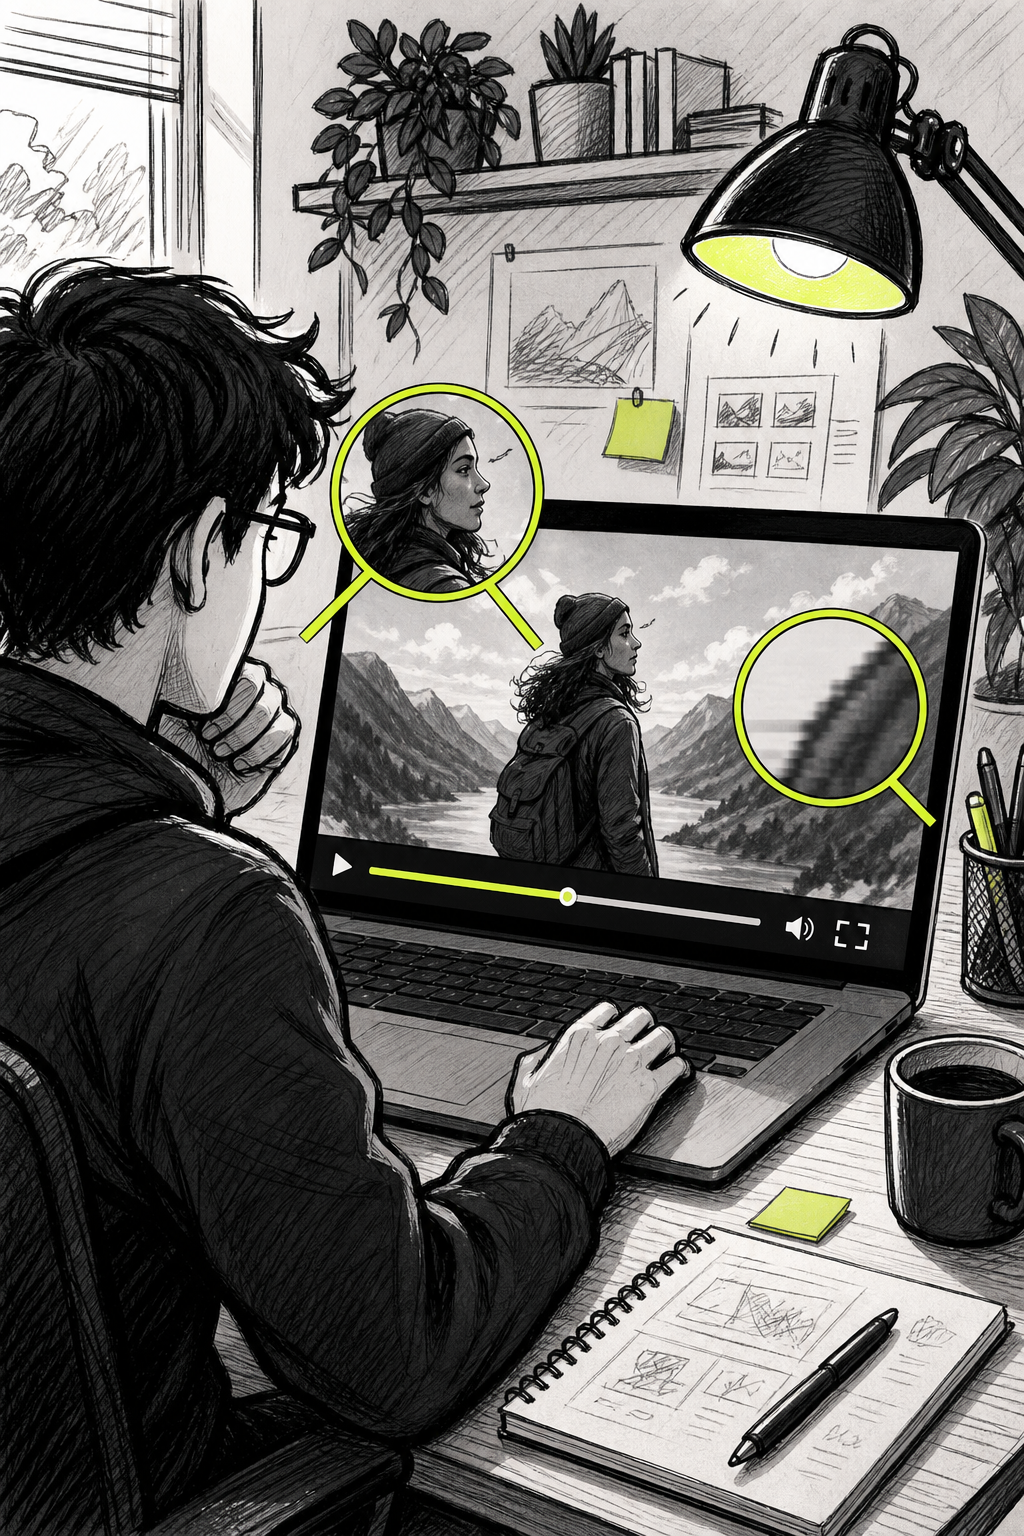
What to check on your first watch
First, check whether the camera did what you asked. Did it push in, hold still, or pan? If the motion feels random rather than directed, your prompt needs a clearer camera instruction.
Second, look at faces and edges. These are the two areas where AI video generation tends to break down most visibly. A face that morphs mid-clip or hands that look off are signs that your source photo was too low-resolution or the character weight was set too high.
Common artifacts and how to fix them
- Face morph or drift: The character's features shift mid-clip. Fix this by uploading a cleaner, better-lit source photo, or by adding an explicit character reference file alongside the image.
- Edge jitter: Objects at the frame edge flicker or vibrate. This usually means the model is struggling with a busy background. Simplify the image or add a phrase like "static background" to your prompt.
- Unnatural movement: Motion looks mechanical or lurching. Add motion qualifiers to your prompt: "smooth," "slow and natural," or "subtle." Big dramatic movements often read as robotic unless the model is specifically tuned for them.
- Blur during fast motion: If you asked for fast movement in a 5-second clip, the model may compress too much. Either slow the motion down in the prompt or extend the clip length.
Regenerate when the artifacts affect the key subject. Minor background blur or a slightly imperfect edge is usually fine for social content. But if the face doesn't look right, don't publish it , regenerate with a refined prompt or a better source image.
Step 6: Export Your Video for TikTok, Reels, or YouTube Shorts
Once you're happy with the clip, download it as an MP4. That's the format every major social platform accepts. Most AI video tools export in H.264 by default, which is exactly what TikTok, Instagram, and YouTube expect.
Before you upload anywhere, check the file on your phone. What looks sharp on a desktop monitor can appear washed out or too dark on a mobile screen, and social platforms compress video on upload , starting from a clean, high-quality export reduces how much quality the compression strips away.
Platform-specific notes
- TikTok: 9:16 vertical format. Add captions , a significant portion of TikTok viewers watch without sound, and text on screen dramatically increases watch time.
- Instagram Reels: Same spec as TikTok. If your clip has native AI-generated audio from the tool, check that it doesn't conflict with Instagram's music licensing rules before posting.
- YouTube Shorts: 9:16, under 60 seconds. A 5 to 15-second animated photo clip fits cleanly in this format.
If you want to add a voiceover or background music on top of the AI-generated clip, bring the MP4 into a basic video editor before uploading. Drop in your audio track, sync it to the visual motion, and export the combined file.
For creators who want native sound baked directly into the generated clip, Seedance Studio produces video with sound already mixed in during generation , no separate audio step required. The guide to AI video generation with sound covers how that works and when to rely on it versus adding audio manually.
Apparel and visual product brands , including those in competitive niches like performance cycling apparel, use exactly this workflow to turn product catalog photos into short video ads for social platforms, without a film crew or studio budget.
Once exported, your clip is ready to post. The whole process , from photo to finished MP4 , should take under ten minutes once you've done it once.
FAQ
Can I turn any photo into a video with AI for free?
Yes. Several AI photo to video tools offer a free tier, including Seedance Studio, which has a free plan with no credit card required. Free tiers typically cap video length at 5 to 10 seconds and output at lower resolutions like 480p. For social media content, that's often enough to test an idea before upgrading to a paid plan for higher-quality exports.
How long does it take to generate an AI video from a photo?
Most tools take one to three minutes per clip depending on the model, resolution, and server load. Shorter clips at lower resolution render faster. Seedance Studio's Seedance 2.0 model generally produces a 5-second clip in under two minutes. If speed matters, generate at 480p first, then re-render your best take at a higher resolution.
What makes a good photo for AI video generation?
The best source photos are clear, well-lit, and high-resolution. Front-facing portraits with visible facial features work best when animating people. Avoid photos where the subject's face is in shadow, partially covered, or very small in the frame. Low-resolution images don't sharpen during generation , they just become low-resolution videos. Restoring or colorizing old photos before upload significantly improves the result.
Can I control how my subject moves in the video?
Yes. Write a motion prompt that names the subject, describes the action, and specifies the camera move. Tools like Seedance Studio understand plain cinematography language , phrases like "slow push-in," "gentle head turn," or "static camera, subject smiles" all guide the output. Vague prompts produce random motion; specific prompts produce directed motion. Keeping character weight around 0.7 to 0.8 also helps hold consistency without making movement look stiff.
Is it ethical to animate real people's photos with AI?
Animating your own photos or photos of people who have given consent is generally fine. Animating photos of other real people without their permission raises clear ethical and legal concerns, particularly for public use or commercial projects. Transparency and consent matter when AI is used to represent real individuals. Use the technology on content you own or have rights to.
What format should I export my AI video in for social media?
Export as MP4 in H.264. Every major platform , TikTok, Instagram Reels, YouTube Shorts , accepts this format. Use 9:16 aspect ratio for vertical platforms and a resolution that meets each platform's recommended minimum for full-quality display. Check the file on a phone before uploading, since platform compression can change how the video looks between your desktop preview and the published post.
Conclusion
The process is straightforward once you run through it once: prepare a clean source image, write a specific motion prompt, match your format to your platform, review for artifacts, and export a clean MP4. If you want to skip the trial-and-error phase, Seedance Studio's free image-to-video workflow gives you the model, the automation, and the output controls in one place , no download, no waitlist. Create a free account and generate your first clip today.


