A strong ad can take weeks to film, but an AI video workflow can produce a useful first draft in minutes. Seedance Studio gives you a free way to test text-to-video and image-to-video ads, with paid plans starting at $14 per month. Follow these five steps to plan, generate, test, and publish your next short ad.
Step 1: Choose Seedance Studio and set your ad goal
Start by opening Seedance Studio in your browser. You don't need to download an app or wait for an invite. The tool runs on Seedance 2.0 and accepts a prompt, reference images, video clips, or audio.
Before you type anything, choose one goal. A short ad should ask viewers to take one clear action. Your goal might be to get a product page visit, drive app installs, collect sign-ups, or make people remember a new offer.
Keep the visuals, voice, and final call to action pointed in the same direction.
Next, pick the audience and placement. TikTok ads often work best when they feel like native posts. Reels usually need a clean, polished look. YouTube Shorts can spend more time explaining how something works. The same footage may fit all three, but the hook and pacing should change.
For vertical short-form ads, start with a 9:16 frame. Keep the first visual clear enough to understand on a small phone screen. If the ad will run in a YouTube player or on a website, choose 16:9 instead.
Seedance Studio is a useful starting point because the model can handle camera direction, character consistency, and native sound in one generation. The model can also read text, images, video, and audio together. That gives you more control than a prompt with a vague line such as “make a cool product ad.”
For a fuller planning workflow, the guide to using an AI video ad maker can help you shape the brief before you generate.
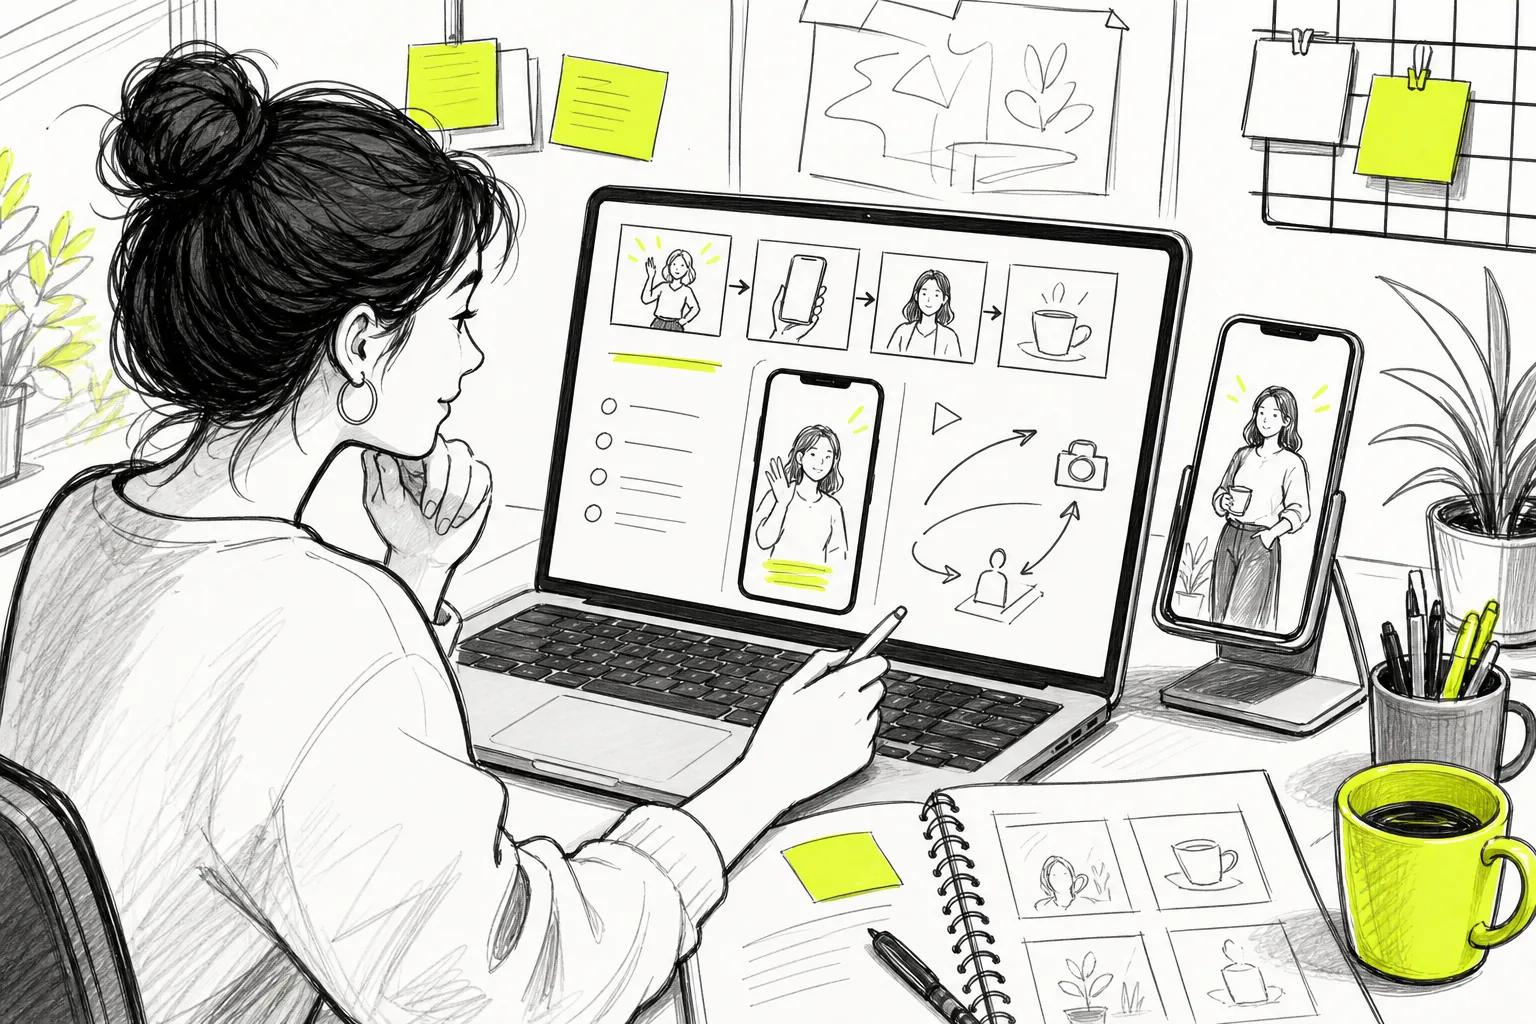
By now you should have a single campaign goal, a defined audience, a target platform, and an aspect ratio. Keep that short brief beside you while you write the prompt.
Step 2: Write a clear prompt for your video ad
Your prompt is the brief for the ad video maker ai online. It tells the model what the viewer sees, what happens first, and how the camera should move. A clear prompt gives you a better starting frame than a list of loose adjectives.
Build the prompt in this order:
- Hook: State the first action in the opening second.
- Subject: Name the person, object, or scene.
- Problem or desire: Show what the viewer cares about.
- Product action: Show the product solving that problem.
- Camera: Add a shot type or movement.
- Format: State the length and aspect ratio.
- Sound: Add dialogue, music, or scene sounds if needed.
- CTA: End with the action you want the viewer to take.
For example, a weak prompt says, “Make a stylish ad for a fitness app.” It gives the model no clear opening or proof.
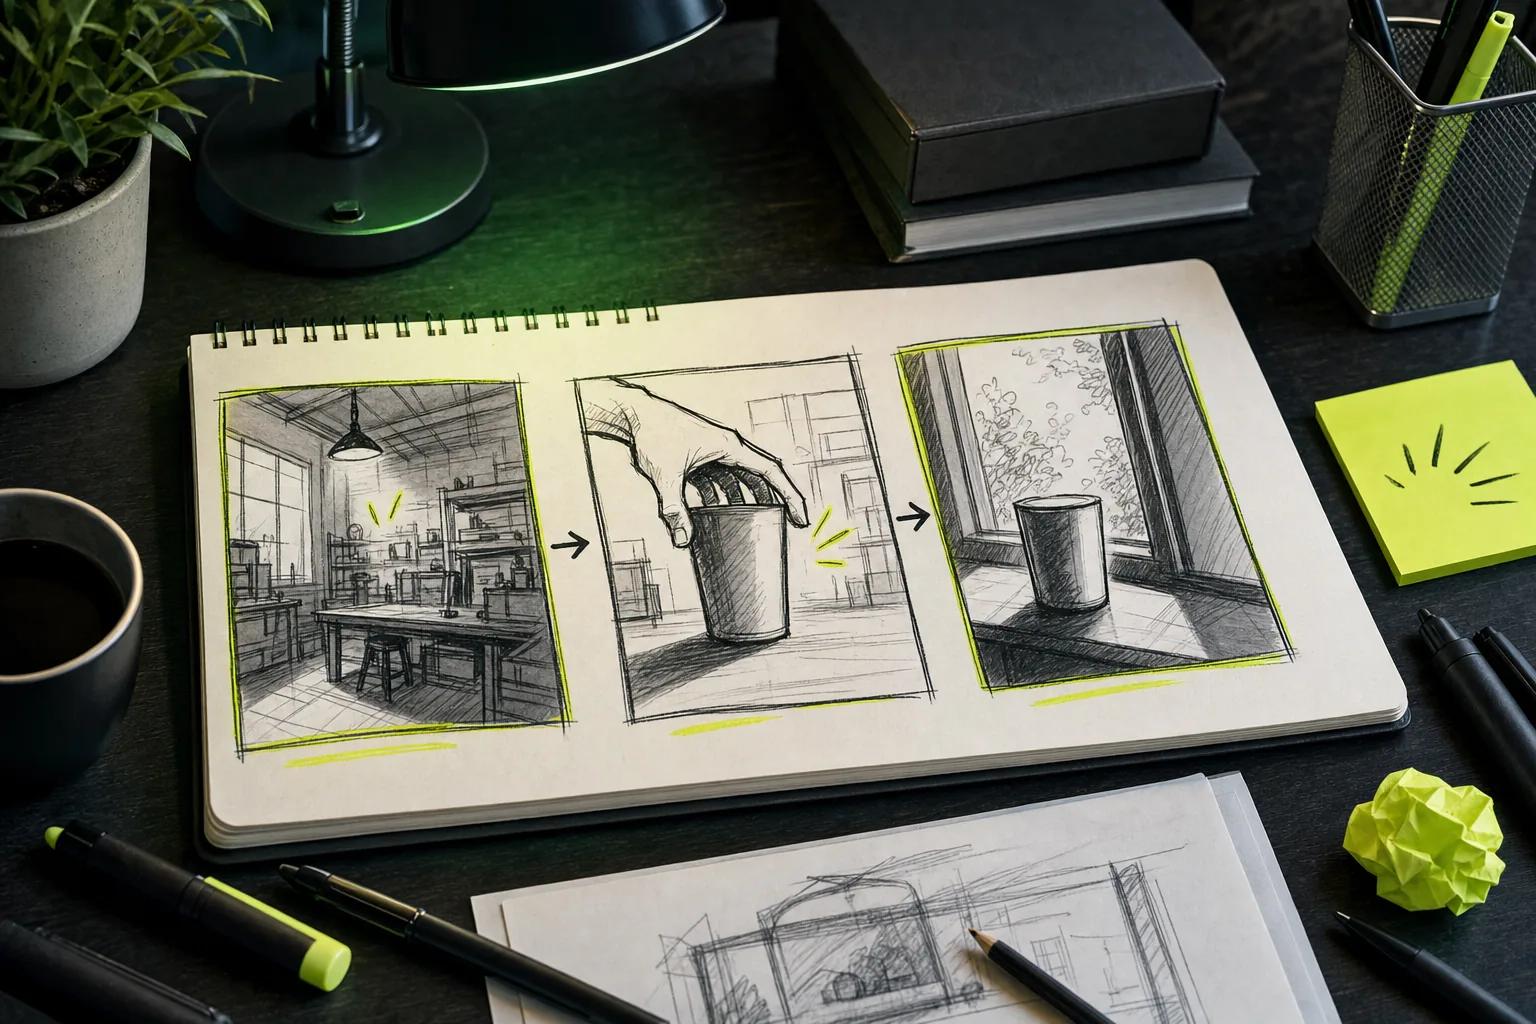
A better prompt says: “Vertical 9:16 ad, 12 seconds. Open with a close-up of a tired runner checking the time before sunrise. Cut to the same runner following a short guided workout on a phone. Use a slow push-in, bright morning light, and quick cuts. Add a calm voiceover. Keep the phone screen simple and readable.”
Notice the order. The viewer sees a problem first. The product appears as the answer. The CTA arrives after the benefit. That structure gives the generated footage a job in every scene.
Keep spoken copy short. A 15-second ad can't carry a full sales page. Pick one benefit and support it with a visual. If you need several claims, make separate versions instead of squeezing them into one clip.
Design for silent viewing too. Use captions or plan space for text overlays during editing. Don't rely on dialogue to explain the whole ad.
Camera terms can help when they add a clear instruction. Try “slow dolly forward,” “handheld close-up,” “orbit around the subject,” or “wide shot followed by a detail shot.” Don't stack five camera moves into a short scene. Pick one movement that supports the message.
If you need more prompt examples, the guide to creating AI-generated video ads breaks the process into hooks, scenes, and calls to action.
By now you should have one base prompt that names the opening shot, subject, product action, camera movement, sound plan, length, and format.
Step 3: Add product images, clips, audio, and camera direction
Reference assets help an ad video maker ai online keep the subject closer to your real brand. Upload a sharp product photo when the shape, color, or logo needs to stay accurate. Use a reference person when you need the same face or outfit across more than one shot.
Seedance 2.0 can work with multiple input types in one job. You can use an image for a product, a video for motion, and an audio clip for rhythm or style. In the prompt, explain what each reference should control. For example, write “[Image1] is the product shape” or “[Video1] supplies the camera movement.”
Don't upload every asset you have. Too many unrelated references can make the scene less clear. Start with the one image that best shows the product. Add another reference only when it solves a real problem, such as a missing angle or a character detail.
Use image-to-video when the product must look like the real item. A reference image gives the model a fixed visual starting point. Text-to-video works better when you need a broad lifestyle scene and exact product details matter less.
Be careful with screens and small text. AI video models can distort app interfaces, labels, and fine print. Show a hand using the device, then add the real interface or offer as an overlay in your editor.
Native sound can save time, but you still need to review it. Ask for a specific sound plan: “soft room tone, one clear tap, and a warm voiceover.” If the scene includes dialogue, write the words in quotation marks. Keep the spoken line short enough to fit the clip.
Camera direction should match the goal. Use a close-up for texture or detail. Use a tracking shot when the viewer needs to follow a person. Use a slow orbit when the product shape is the point. If the ad needs fast energy, use two or three short shots instead of one crowded move.
An image-to-video workflow can turn existing photos into moving ad scenes. The guide to AI video with sound also explains how dialogue, effects, and music can fit into one generation.
Watch the first result on a phone, not only on a large monitor. Look for warped hands, changing logos, strange object edges, and faces that shift between frames. Fix the prompt or reference image before you spend time on final edits.
By now you should have a clean set of source assets and a prompt that tells each asset what to do.
Step 4: Generate variations and review the first draft
Your first render is a draft. Treat it as a test of the idea, not a final ad. Generate several versions from the same base prompt so you can compare the opening shot, motion, and product view.
Change one major variable at a time. Start with three hooks:
- A problem hook: “Still wasting ten minutes on this task?”
- A result hook: “Plan your next workout before your coffee cools.”
- A curiosity hook: “This small change makes the whole process easier.”
Keep the middle scene and CTA the same for the first test. If you change the hook, actor, music, and offer together, you won't know what caused a better result.
Review every draft in two passes. On the first pass, watch the ad as a viewer. Does the first second make sense? Does the product appear soon enough? Is the benefit clear without sound?
On the second pass, inspect the details. Check faces, hands, product edges, logos, captions, and sound sync. Look at the final frame too. A rushed CTA can disappear before the viewer reads it.
Use a simple review note for each version:
- What happens in the first two seconds?
- What benefit does the viewer see?
- Where does attention drop?
- Can the viewer read the text on a phone?
- Does the CTA match the campaign goal?
When the motion is wrong, revise the prompt before editing around the problem. Add a clearer subject, simplify the action, or replace a complex camera move with a slow push-in. Short clips often improve when you remove detail rather than add more.
Keep separate files for each hook. Name them by the variable you changed, such as “problem-hook” or “close-up-opening.” This makes the test easier to read later.
If you want a wider production workflow, the guide to using an AI commercial generator covers prompt drafts, sound layers, and controlled ad variations.
By now you should have two or more usable drafts, each with a clear hook and a known difference.
Step 5: Resize, export, and publish your video ad
The final step is to turn the best draft into a file that fits its placement. An ad video maker ai online can speed up generation, but you still need to check the export before launch.
Use 9:16 for TikTok, vertical short-form video placements, and YouTube Shorts. Use 16:9 for widescreen placements. A square 1:1 cut can work in some feed placements. Don't stretch one crop across every channel. Important faces and text may land outside the safe area.
Keep captions away from the bottom and sides of a vertical frame. Platform controls can cover those areas. Leave room around the subject too, especially if the ad will receive an automatic crop.
Export a clean MP4 at a suitable resolution. Review the downloaded file rather than trusting only the preview window. Check that the audio plays, the captions remain sharp, and the first frame isn't blank.
Before publishing, compare the video with the campaign goal from Step 1. A traffic ad needs a clear reason to visit. A sign-up ad needs a simple offer. A product awareness ad may need a memorable visual instead of a long explanation.
Upload at least two versions when your budget allows. Keep the audience, offer, and landing page the same. Change the hook or first shot so the test stays useful.
Watch the early signals in order. If people leave at once, improve the opening. If they watch but don't click, revise the benefit or CTA. If clicks arrive but sales don't, inspect the landing page and offer before blaming the video.
Give each version enough time to collect useful results. Don't replace a draft after a handful of views. Set a review point before launch, then judge the versions with the same rule.
Seedance Studio makes the production side easier because you can return to the same prompt, references, and camera plan for new versions. That helps when a trend moves fast or a campaign needs fresh creative before the first ad wears out.
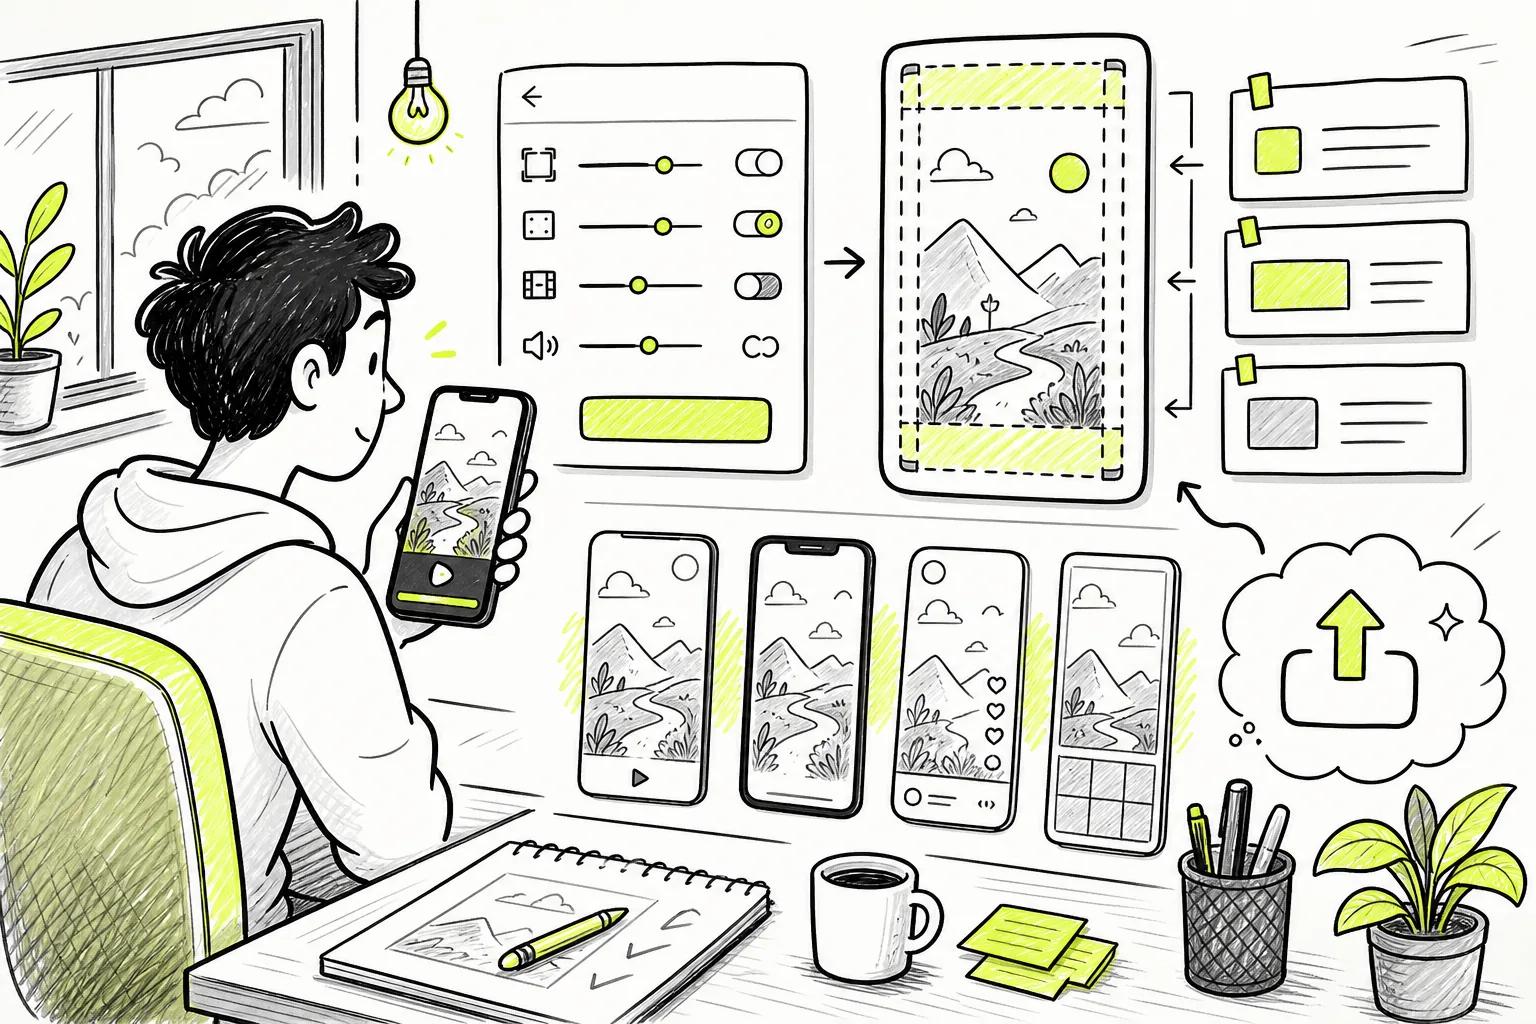
Once the file passes your phone check, upload it to the ad platform, add the matching copy, and confirm the preview for each placement. Then publish the first controlled test and record what you learn.
FAQ
What is an ad video maker ai online?
An ad video maker ai online is a browser tool that turns prompts or reference assets into short advertising videos. You describe the scene, product, audience, and goal. The tool then generates visuals, motion, and sometimes sound. You still need to check claims, captions, brand details, and platform rules before publishing.
Can I make TikTok and Reels ads with AI?
Yes, you can make TikTok and Reels ads with an online AI video maker. Choose a vertical 9:16 layout, put the hook near the start, and leave room for captions. Create separate versions when the platforms need different tones. A raw, creator-style opening may fit TikTok, while a cleaner product shot may suit Reels.
Is Seedance Studio free to use?
Seedance Studio has a free tier, so you can test the workflow before paying. Paid plans start at $14 per month. You can type a prompt or upload reference images, clips, and audio. Check the current plan terms before commercial use, since limits and licensing can change.
Should I use text-to-video or image-to-video for an ad?
Use image-to-video when the product must match a real photo. Use text-to-video when the scene matters more than exact product detail. A reference image can help with shape, color, and character identity. For a product demo, combine a real reference image with a short motion instruction instead of describing every visual from scratch.
How long should an AI video ad be?
Start with a short cut of about 10 to 15 seconds for social testing. That gives the ad enough time to show a hook, benefit, and CTA without adding dead space. If the idea needs more detail, make a longer version separately. Don't force several claims into one small clip.
Conclusion
Use Seedance Studio when you want to turn a clear brief into short ad footage without a shoot day. Start with one goal, write a focused prompt, generate controlled variations, and check the final file on a phone. Create a free account, make one 9:16 draft, and use the result to guide your next version.