Making a video ad used to mean hiring a crew, booking a studio, and waiting weeks. Now you can go from idea to a finished, platform-ready clip in an afternoon. This guide walks you through every step, from locking in your goal to hitting publish, so your AI generated video ads actually perform instead of just existing.
Step 1: Define Your Ad Goal and Target Audience
Before you open any tool, write down one sentence: what do you want someone to do after watching this ad? That single answer shapes everything that follows, including the visuals, the length, and the platform you target.
Your goal falls into one of three buckets. Awareness means you want people to recognize your brand. Consideration means you want them to click and learn more. Conversion means you want a purchase or sign-up right now. Each goal changes how your ad is built. A conversion ad needs a clear call-to-action in the first three seconds. An awareness ad can afford a slower, moodier open.
Once you have the goal, describe your audience in plain terms. Not "18-34 year olds" but something more specific: "women in their late 20s who buy skincare online and scroll TikTok before bed." The more specific the picture, the easier it is to write a prompt that speaks directly to that person.
Platform choice follows naturally from audience. TikTok skews younger and rewards fast, authentic-feeling content. Short-form video platforms work well for lifestyle and product aesthetics. YouTube Shorts handles slightly longer storytelling. Knowing your media objective first helps AI-powered ad tools optimize toward the right result, whether that's reach, ad completions, or conversions.
Keep your scope tight. One ad, one goal, one audience. You can make variations later. Trying to do everything in a single 15-second clip is the fastest way to produce something that does nothing.
For deeper guidance on building Instagram-specific ad campaigns around a defined audience, the step-by-step Instagram ad guide on Seedance Studio's blog covers targeting and creative setup in detail.
Step 2: Write a Strong Prompt for Your AI Video
Your prompt is the brief. The AI reads it the way a director reads a shot sheet, so vague language produces vague video. Specific language produces something you can actually use.
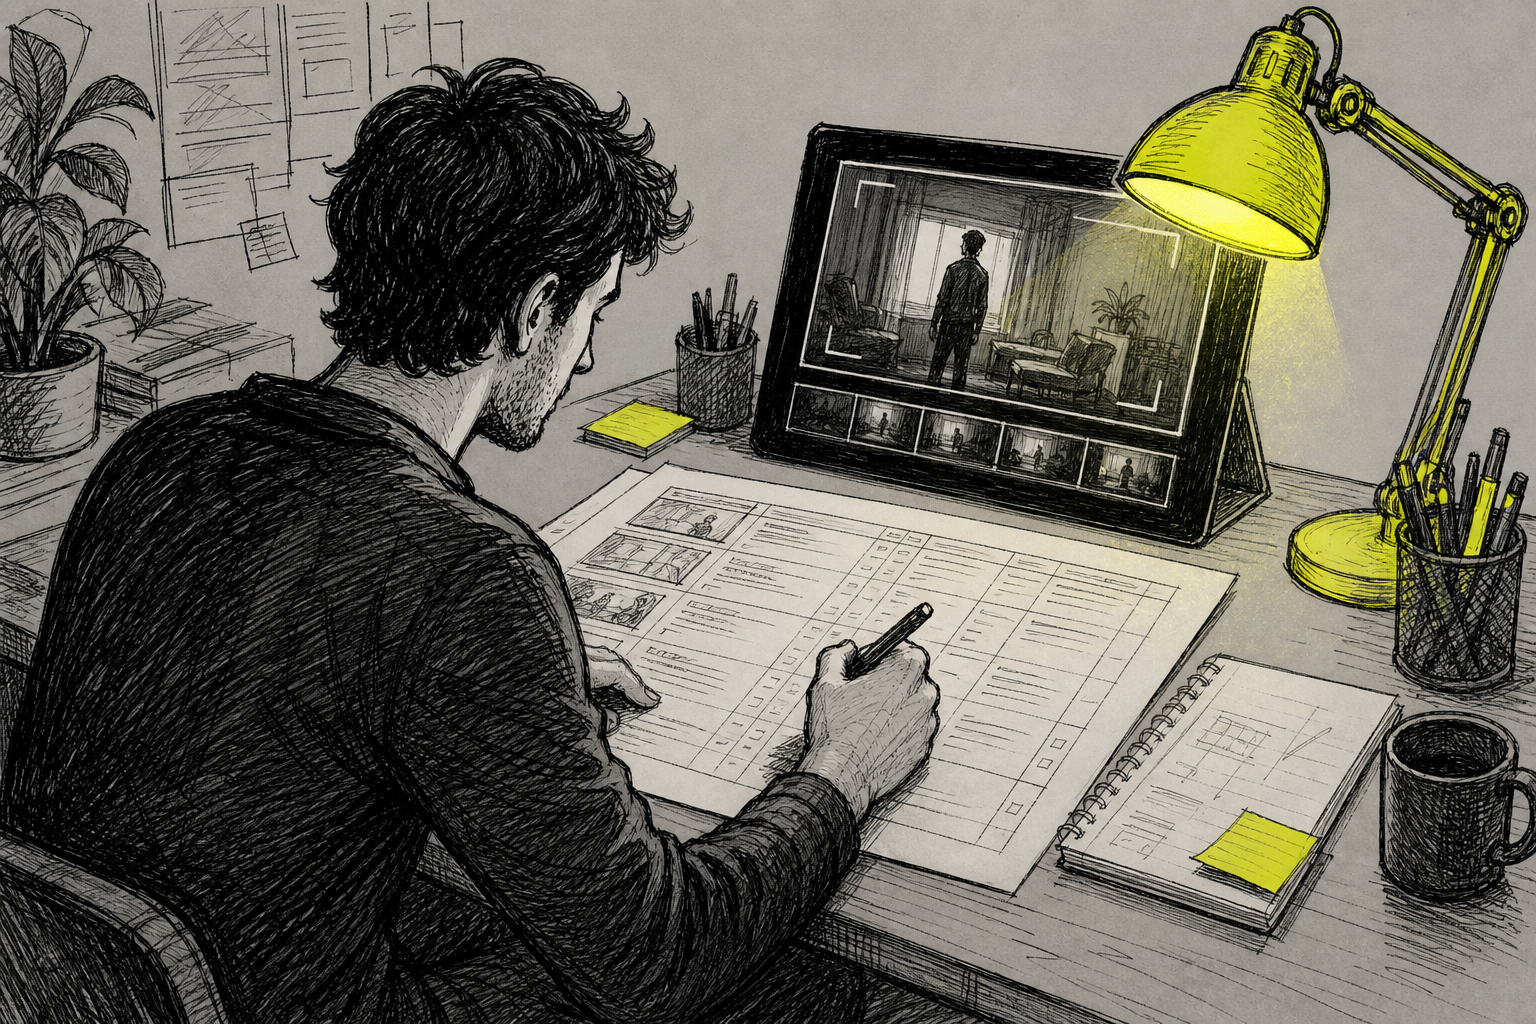
A prompt that works has six parts. Start with the subject and setting: who or what is in the frame, and where. Then add camera angle and movement. This is the part most people skip, and it's what separates a professional-looking clip from a generic one. Then describe lighting, visual style, motion, and any technical specs like aspect ratio or duration.
Here's a concrete example of the difference. A weak prompt says: "Show a skincare product on a table." A strong prompt says: "Slow dolly-in shot of a glass serum bottle centered on a white marble surface, soft directional light from the upper left, shallow depth of field, the bottle catches a subtle golden glint, minimal modern aesthetic, vertical 9:16 format, 8 seconds." Same model, radically different output.
Camera vocabulary matters. Words like "slow dolly-in," "handheld," "bird's-eye," and "rack focus" tell the AI exactly how to frame the shot. Lighting words like "golden hour," "soft window light," and "hard directional key light" set the mood. Style words like "UGC-style," "cinematic," and "editorial" tell the model what the video should feel like, not just look like.
For platform-specific prompts, match the format in the prompt itself. TikTok and other short‑form platforms prefer vertical 9:16, smartphone-quality footage, handheld framing, natural lighting. Wide‑screen video ads prefer widescreen 16:9, cinematic color grade, slow dolly, 24fps.
One more rule: think in shots, not sequences. Current AI video models generate best in 3-8 second segments. If your ad needs three scenes, write three separate prompts and combine them in editing. Cramming a full narrative into one prompt produces confused output.
Step 3: Choose the Right AI Video Generator
The tool you pick determines what you can actually output: aspect ratios, character consistency, native audio, and whether you need a separate editing pass. Here's how the main options stack up for ad creation specifically.
| Tool | Best For | Free Tier | Key Differentiator | Limitation |
|---|---|---|---|---|
| Seedance Studio(Our Pick) | Short ad creation for TikTok, Reels, Shorts | Yes | Up to 4K, 9:16/16:9/1:1 formats, native sound, character consistency, up to 12 references per generation | Paid plan needed for 1080p+ and commercial license |
| Runway | Cinematic, film-style output | No | Impressive motion control and cinematic quality | Higher cost, not optimized for short-form ad specs |
| Pika Labs | Beginners testing short clips | Yes (limited) | Improved video quality and expanded customization | Resolution and generation count restricted on free tier |
| Google Veo | Reliable, consistent results at scale | Yes (credits) | Native audio generation and fine-grained editing controls | Requires Google ecosystem; less flexible for brand references |
| Kling AI | Polished output with built-in editing | — | High-quality video generation and editing in one engine | Less transparent on format specs for ad placements |
| Haiper | Casual creators just starting out | Yes (limited) | Ease of use for beginners | Limited resolution and duration on free tier |
For most marketers making AI generated video ads, Seedance Studio is the clearest starting point. It runs on Seedance 2.0, currently ranked #1 for text-to-video and image-to-video. You get automatic camera direction, character consistency across shots, and native sound baked in. No download, no waitlist. The free tier gives you real output, and paid plans start at $14/month, which sits exactly at the market median across the 44 platforms we surveyed.
What makes Seedance Studio different for ad work specifically is the reference system. You can attach up to 12 references per generation: images, video clips, and audio tracks. Tag each one in your prompt and the model uses them to hold your product or character consistent across multiple shots. That's the feature that makes multi-scene ads possible without a separate shoot.
If you want to see how the model handles a first generation before committing to a plan, the Seedance 2.0 free tier requires no credit card and lets you generate clips up to 15 seconds with native sound in TikTok-ready formats.
Runway and Kling AI are worth knowing if you need cinematic-grade output for a brand film. But for the volume and speed that social ad testing requires, they're slower and more expensive per iteration. Pika Labs and Haiper work for early experimentation, but their format and resolution limits mean you'll hit a ceiling quickly when you need export-ready files.
Step 4: Refine and Edit the Generated Clip
Your first generated clip is a draft. Watch it twice before you do anything else. First pass: check the motion. Did the camera do what you asked? Is the subject consistent? Second pass: look at edges, faces, and any text in frame.
If something is off, adjust the prompt first. That's your primary control. Change the camera description, tighten the subject detail, or add a lighting note. Regenerate at a lower resolution to test the fix cheaply, then render the final at 1080p or 4K once the composition is right.
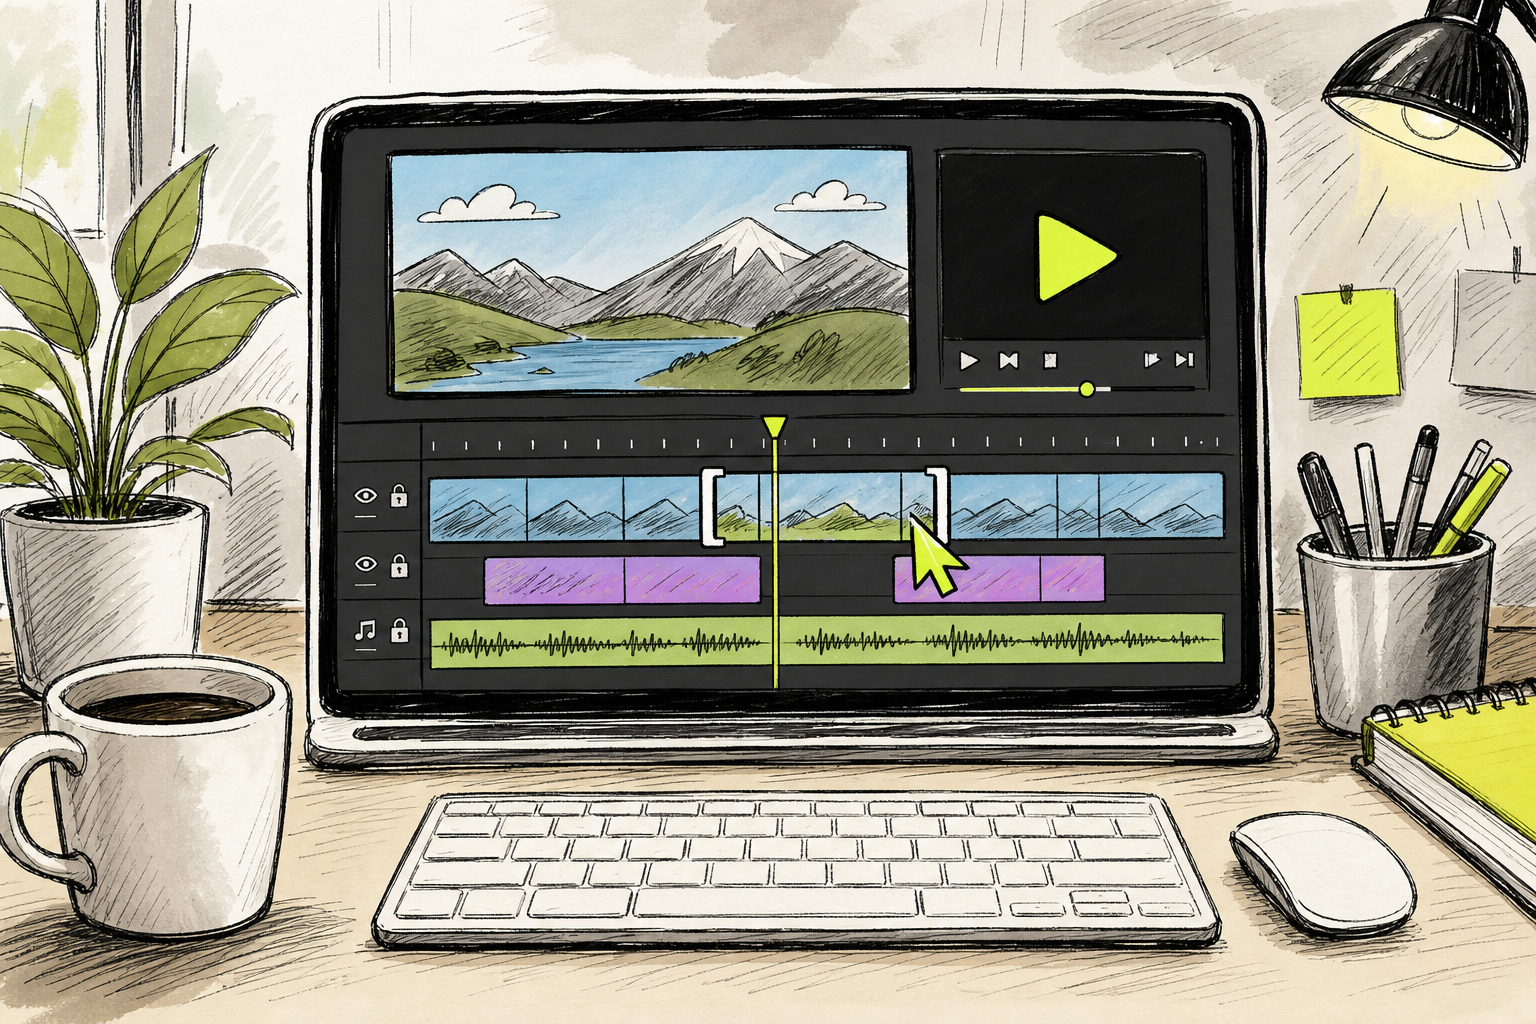
Once you have a clip you're happy with, bring it into a browser-based editor for the finishing layer. You need three things: captions, audio, and any text overlays. A significant portion of social media users watch without sound, so on-screen text is not optional. It's the difference between an ad that communicates and one that gets scrolled past.
For audio, you have two routes. If your tool generated native sound, review it for sync. If the clip is silent, add a voiceover or background music track. Royalty-free sources work fine here. Adjust the voiceover timing so your key claim lands in the first three seconds. That's where scroll behavior gets decided.
Keep the edit tight. Trim any dead frames at the start or end. The first frame of your video IS your thumbnail on most platforms, so it needs to be compositionally strong on its own. A blurry or mid-motion opening frame costs you impressions before the ad even plays.
If you're working with product images and want to animate them into short ad clips, the free image-to-video workflow guide on Seedance Studio covers aspect ratio selection, motion prompts, and audio sync in detail.
One usable note on iteration speed: generate at 480p or 720p while you're testing prompt variations. Save your 4K render credit for the version you're actually going to publish. That habit alone cuts your generation costs significantly over a campaign.
Step 5: Publish and Optimize for Social Platforms
Export your final clip as an MP4 in H.264 at 1080p minimum. That's the floor for anything running at scale. Check your file size before uploading: ad platforms often cap video uploads at a reasonable size, and typically allow large file sizes for most formats.
Match your aspect ratio to the platform before you upload. 9:16 for vertical short-form platforms. 16:9 for widescreen placements. 1:1 for square feed placements. If you built your ad in Seedance Studio, you can generate the same scene in multiple ratios from the same prompt, which means one creative session covers all three placements.
Set your campaign objective to match the goal you defined in Step 1. A conversion objective tells the platform's algorithm to find people likely to buy. An awareness objective optimizes for reach. Mismatching the objective to the creative is one of the most common reasons ads underperform, and it has nothing to do with the video quality itself.
Don't launch a single version. Build at least two or three variations with different hooks. Change the first three seconds between versions: try a bold claim in one, a question in another. Keep everything else the same. That isolation is what makes the test results readable. When one hook clearly outperforms, you know what to scale.
Video is expected to account for more than 80% of all web traffic, and short-form content is now how the majority of people evaluate products before buying. That's the environment your ad is entering. The brands that win aren't necessarily making better individual ads. They're making more of them, testing faster, and adjusting based on real data. If you want a broader look at the social media video creation process, this usable guide to social media video creation covers planning through publishing across platforms.
Check your analytics after 48 hours. Look at video completion rate first. If people are dropping off in the first two seconds, the hook isn't working. If they're watching most of the video but not clicking, the CTA needs work. Those two signals tell you exactly what to fix in the next iteration.
For marketers who want to go deeper on YouTube-specific distribution and channel growth alongside their ad strategy, resources on the best YouTube marketing agencies can be useful for pairing organic and paid video efforts.
The workflow for AI generated video ads is genuinely repeatable once you have it running. You write a prompt, generate a clip, add captions and audio, and publish. The speed advantage compounds: what used to take a week of production now takes an afternoon, which means you can test ideas that would never have justified a traditional shoot.
FAQ
Can I use AI generated video ads for paid advertising on TikTok and Meta?
Yes. AI generated video ads meet the technical requirements for TikTok's advertising platform and Meta's advertising platform as long as they're exported as MP4 files at 1080p or higher, in the correct aspect ratio for the placement. Check each platform's current ad spec page before uploading, since file size limits and minimum resolution requirements do change. Most AI video tools, including Seedance Studio, export in formats that pass platform review without issue.
How long should an AI video ad be for TikTok or short‑form platforms?
For TikTok and other short‑form platforms, 6-15 seconds is the usable range for most ad objectives. Shorter clips work well for retargeting and brand awareness. Slightly longer clips, around 12-15 seconds, give you room to show a product in use and include a CTA. Seedance Studio generates clips up to 15 seconds natively, which covers the full range of short-form ad formats without any additional editing.
Do I need video editing skills to make AI generated video ads?
No. The core generation step requires only a text prompt and basic format settings. You do need to add captions and audio after generation, but browser-based editors handle both without any technical background. The skill that matters most is writing a specific, detailed prompt. That's what determines whether your output looks polished or generic, not your editing experience.
How many variations should I make before launching an AI video ad?
Start with at least two to three variations, each with a different hook in the first three seconds. Change one element per variation so your test results are readable. After 48 hours of live data, pause the weakest performer and put budget behind the winner. AI video tools make this fast enough that you can run a new batch of variations every week without significant production overhead.
What's the difference between text-to-video and image-to-video for ads?
Text-to-video generates a scene entirely from your written prompt. Image-to-video takes a photo you upload and adds motion to it. For product ads, image-to-video often produces more consistent results because the model is working from your actual product visual rather than generating one from scratch. Seedance Studio supports both in the same workspace, so you can choose based on what assets you already have.
Is there a free way to make AI video ads?
Yes. Seedance Studio has a free tier that generates clips up to 15 seconds with native sound in TikTok-ready formats, with no credit card required. Free-tier exports are 480p with a watermark, which works for testing prompts and hooks. For final ad-ready exports at 1080p or 4K without a watermark, you need a paid plan starting at $14/month. That's the median starting price across the market, and Seedance Studio's feature set at that price point is the most complete we've seen.
Conclusion
The five steps above give you a repeatable system: define your goal, write a specific prompt, pick a tool built for ad formats, refine the output, and publish with a real testing plan. If you want to run through the whole process right now, start with Seedance Studio's first-video guide and generate your first clip in under ten minutes. No download, no credit card, and the free tier gets you far enough to see whether your prompt is working before you spend anything.