
You can make strong videos without putting yourself on camera. The trick is to replace your face with a clear idea, a sharp hook, useful visuals, and a voice or caption style people remember. Follow these steps to plan, generate, edit, and publish faceless videos with a browser and a simple workflow.
Step 1: Choose a Faceless Video Format and Plan Your Idea
When learning how to make videos without showing your face, start with the format, not the tool. Your format decides what you need to write, record, generate, and edit.
Pick one format for your first batch of videos. Good starting points include:
- Screen tutorials: Record a software task while you explain each move.
- Explainer videos: Use diagrams, animated scenes, or stock clips to teach one idea.
- Story videos: Build a short mystery, history, or business story with narration.
- Text-led clips: Put the main message on screen with motion, music, and short captions.
- Product or process videos: Show an object, workflow, or transformation without showing the person behind it.
Choose the format that matches your subject. A software tip needs a screen recording. A short story needs strong visuals and a voiceover. A product idea may work best with a close shot and a slow camera move.
Next, define the video in one sentence. Use this frame: “Show [subject] doing [action] for [audience] so they can [result].” If you can't say the idea in one sentence, the video probably has too much in it.
Write the hook before the rest of the script. Faceless videos have no face or eye contact to hold attention, so the opening must do more work. Start with a problem, a surprise, or a clear promise.
For example, replace “How to save money” with “This one bill can quietly drain your budget every month.” The second line creates a reason to keep watching. Keep the first spoken line short enough to understand at once.
A useful short-form script has four parts:
- Open with the problem or promise.
- Show what makes the problem easy to miss.
- Give the steps or explanation.
- End with one action the viewer can take.
Write one sentence per shot. That makes the script easier to turn into scenes later. For more topic ideas and workflow examples, the faceless video generator guide can help you compare formats before you start.
Keep your first test short. A 15-second clip gives you enough room to test a hook without forcing you to solve a full story in one generation.
Step 2: Create Visuals Without Appearing on Camera
To make videos without appearing on camera, replace the presenter with visuals that show the idea at once. You can use screen capture, hands-only footage, diagrams, stock clips, animation, or AI-generated scenes.
Screen recordings work well for tutorials. Set your screen to a clean layout before recording. Close private tabs, increase the size of key text, and move your cursor slowly. Viewers should know where to look without chasing a tiny pointer.
For story and concept videos, use a shot plan. Write down the subject, action, place, and camera move for each scene. A prompt such as “a crowded train station” is too broad. “A red suitcase rolls across a wet station floor as the camera tracks behind it” gives the generator a clear job.
Seedance Studio lets you type a prompt or upload reference images, clips, and audio in the browser. We built it for creators who want a finished clip with camera direction, consistent characters, and native sound without a download or waitlist. The Seedance Studio browser app is a useful starting point when you want to test text-to-video or image-to-video in one place.
Use reference files when an element must stay the same. A character reference can keep clothing and identity closer across scenes. A location reference can guide the look of a room. A product image can give the model a fixed shape to work from.
Keep the reference set focused. Give each file one job, then name it clearly in your prompt. For example:
- [Character] controls the person or figure.
- [Room] controls the setting.
- [Product] controls the object.
- [Audio] controls the sound or rhythm.
Don't ask one short clip to show five actions. AI video models often lose detail when the prompt keeps changing direction. Start with one main action. Add a camera move only when it helps the viewer understand the scene.
Try a prompt structure like this: subject, action, setting, camera, light, sound, constraint. “A paper map opens on a wooden desk. The camera slowly pushes in. Warm lamp light. Soft room tone. Keep the map flat and readable.” Plain language works. You don't need special code.
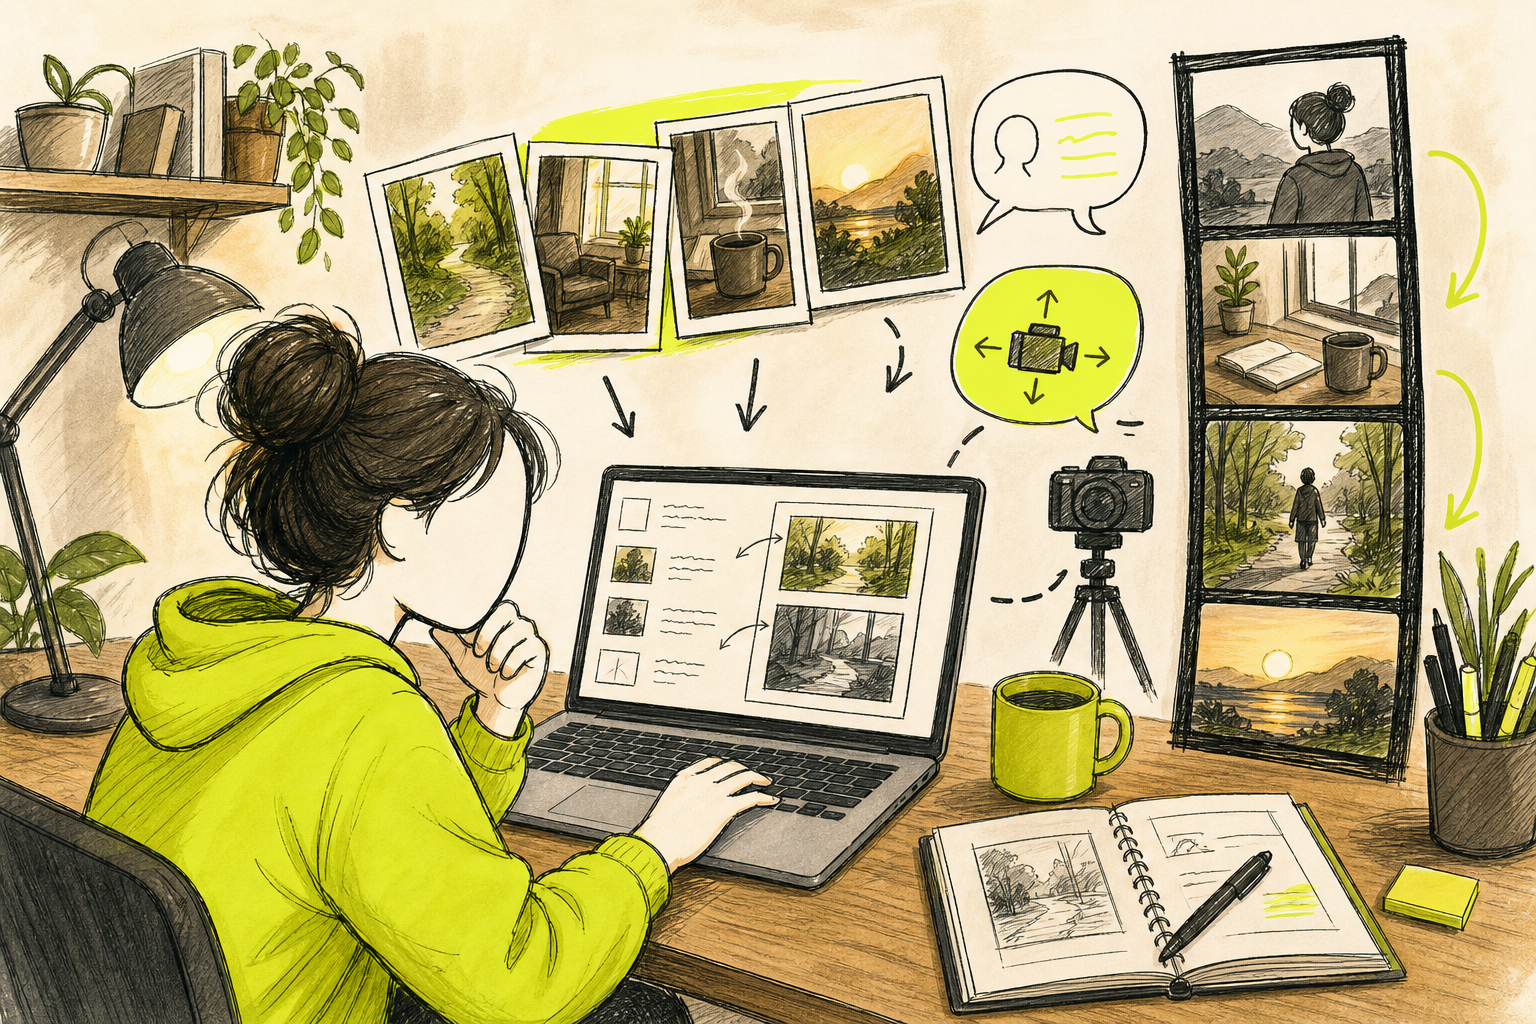
Seedance Studio can also generate camera direction and keep characters more consistent across shots. That matters when a video has a recurring figure. A viewer may forgive a simple style, but a character who changes clothes and face every second can break the story.
Generate a rough version first. Look for the main errors:
- The action starts too late.
- The camera move is unclear.
- A hand, face, or object changes shape.
- Text inside the image is hard to read.
- The frame leaves too much empty space for the platform crop.
Fix one problem at a time. Change the action if the motion is wrong. Change the reference if the identity drifts. Don't rewrite the whole prompt when one small detail needs repair.
Step 3: Add Voiceover, Music, and Captions
Audio gives a faceless video a point of view. You can use your own voice, hire a voice actor, use a synthetic voice, or let an AI video model generate spoken dialogue for a short scene.
Write for the ear. Short sentences sound more natural than dense blocks of text. Read the script aloud before you record it. If you run out of breath, split the sentence.
Choose one voice style for the whole series. A calm voice may fit tutorials. A quicker voice may fit short facts. The choice matters less than consistency. Viewers should recognize the sound of your videos even when the screen has no face.
Keep music below the voice. If you can hear the beat more clearly than the words, lower the track. Add sound effects only when they explain an action or mark a change. Noise for its own sake makes a short clip feel crowded.
Captions should match the spoken words closely. Use large type with strong contrast. Keep each caption block short enough to read before it changes. Put text away from the bottom edge, since platform controls can cover it.
Use the same habit on every platform: watch the finished clip with the sound off and check whether the story still makes sense.
Seedance Studio can generate native sound with an AI video generator. That can save a separate audio pass for short scenes. If your project needs a long narration, generate the visuals in smaller clips, then place one complete voice track over the edit.
Check timing before you export. The first spoken word should land near the first useful visual. A long silent opening feels like a mistake. If the scene shows a door opening, let the sound and motion meet at the same moment.
Step 4: Edit the Video for Fast, Clear Short-Form Content
Editing turns separate clips into one thought. When you make faceless videos for short-form platforms, remove every pause that doesn't add meaning.
Put the strongest shot first. Don't begin with a logo or a blank title card. Start with motion, a close detail, or the moment that creates the question.
Build the cut around the script. Each shot should answer the line being spoken. If the voice says “the cost doubled,” show the bill, the chart, or the number changing. A random background clip weakens the point.
Use a simple pace test. Watch the video once without stopping. Mark any moment where your attention drops. Then ask why. The shot may last too long. The caption may be hard to read. The voice may repeat what the screen already says.
For a vertical clip, set the project to 9:16 before you place the visuals. That keeps the important subject in the frame. Horizontal 16:9 works better for standard YouTube videos. Don't rely on a later crop if the subject sits near the edge.
Keep visual changes tied to meaning. Cut when the subject changes, when the sentence changes, or when the viewer needs a new example. Too many cuts feel frantic. Too few make the clip drag.
Use captions as support, not as a full transcript wall. Highlight one or two key words when the point changes. Avoid putting every word in a different color. The viewer should know what matters within a glance.
For longer clips, split the work into sections. Give each section its own mini-hook. A five-minute tutorial may need a promise at the start, then a clear reason to stay before each major task.
Watch for common AI errors during the edit. Cut away from distorted hands. Remove shots with strange text. Replace a clip when the subject changes shape in a way the cut can't hide. Good editing includes knowing what not to keep.
Keep a clean master file before you add platform-specific text. Then make a copy for each channel. This lets you change the caption position or opening line without damaging the original.
Seedance Studio helps when you need several visual drafts quickly. Generate the key shots in the browser, choose the best takes, then use a light edit to control the final order and caption timing. For ideas on pacing and platform formats, see this guide to making short videos that get views.
Step 5: Export, Publish, and Improve Your Faceless Videos
The final step in learning how to make videos without showing your face is the review loop. Exporting is easy. Knowing what to fix next is where your channel improves.
Watch the full file on a phone before you post it. Check the first two seconds. Check the caption size. Check the audio level with headphones and with the phone speaker. A clip that looks fine on a large monitor can feel dark or cramped on a small screen.
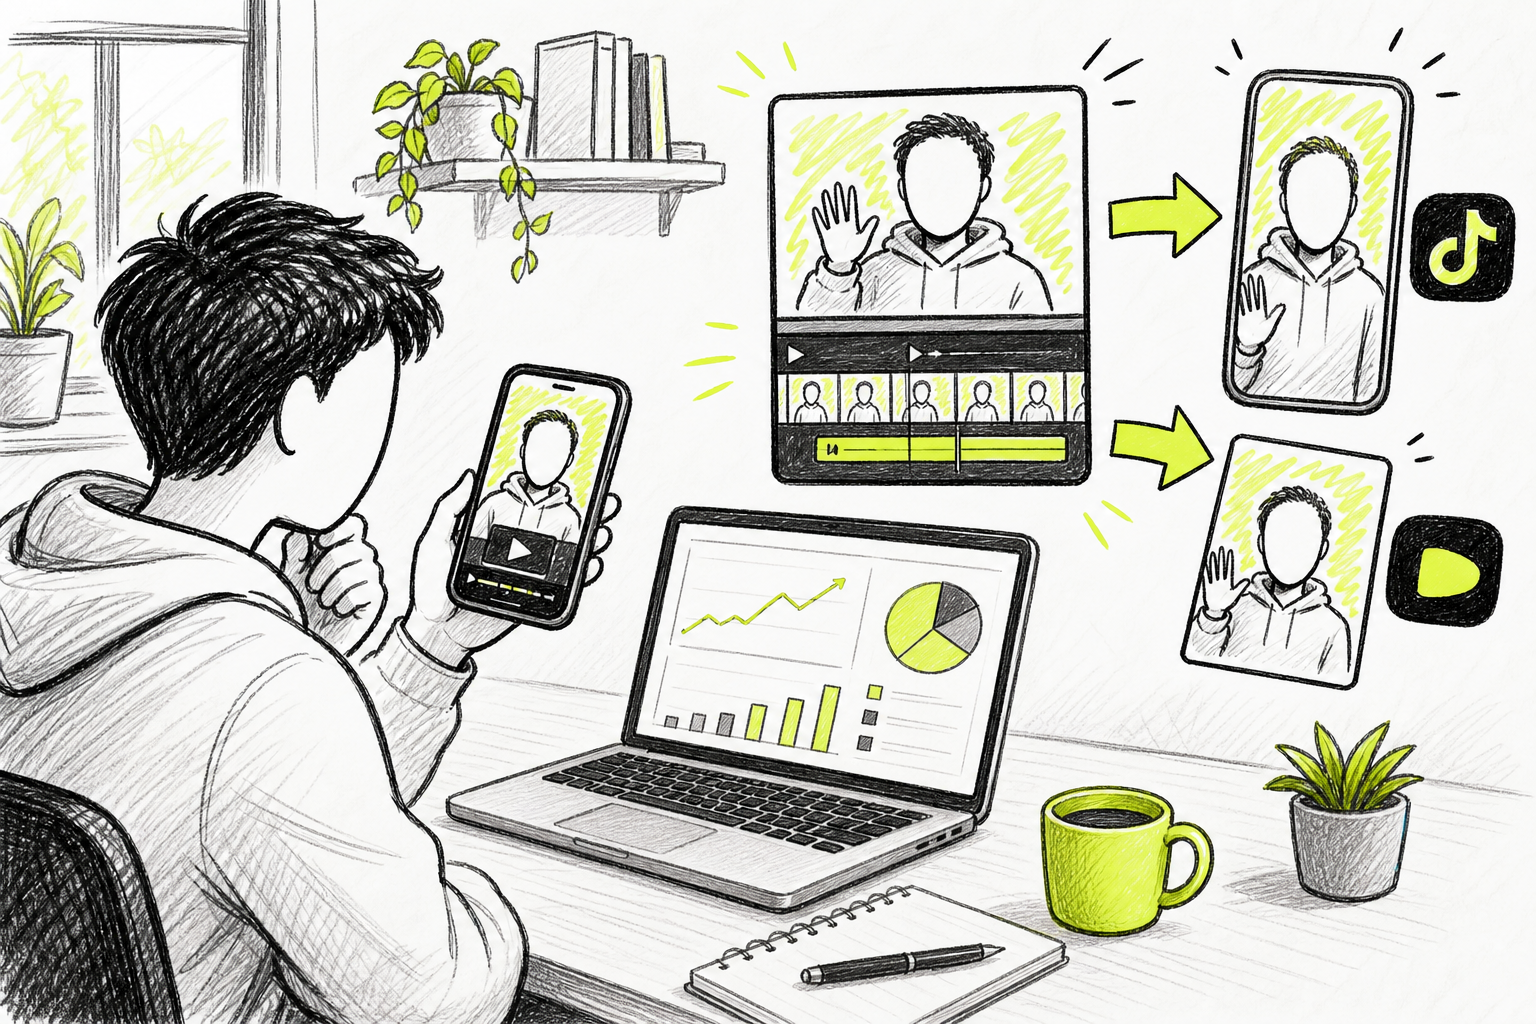
Export in the format your platform expects. Use vertical video for TikTok, Reels, and Shorts when the content is built for a phone screen. Use horizontal video for standard YouTube uploads. Match the ratio before generation whenever possible.
Name your files in a way your team can understand. Include the topic, version, and date, such as “budget-hook-v2.” Keep the script beside the final video. This makes it easier to reuse a strong idea without guessing which file is current.
Write a caption that adds context instead of repeating the first line. Ask one clear question if you want comments. Use a short description when the video teaches a process. Don't bury the useful part under a long block of tags.
Publish soon after the idea is ready. Speed helps when a topic is tied to a short trend window. But don't skip the phone review just to post faster. A strange caption or broken first frame can waste the attention you worked to earn.
Track the signals that answer your next question:
- Low early retention: Rewrite the hook or start with a stronger visual.
- Good views but weak completion: Shorten the middle or remove repeated points.
- Good completion but few shares: Add a clearer payoff or a useful takeaway.
- Comments ask the same question: Make the next video answer it directly.
Change one variable per test. If you change the hook, length, voice, and visual style at once, you won't know what helped. Keep a small note after each post. Record the opening line, runtime, format, and result.
Seedance Studio has a free tier, so you can test a few concepts before paying. Paid plan pricing varies. We recommend using the free workflow to test your niche, then upgrading only when the watermark or higher output needs affect your work.
Keep a small library of winning prompts. Save the exact wording for a character, location, camera move, or voice style that works. Reuse the structure while changing the topic. This gives your channel a familiar look without forcing every video to look the same.
Start with one video today. Write the hook, generate one short scene, add captions, and watch it on your phone. Then make the next version based on what you saw.
FAQ
How can I make videos without showing my face?
You can make videos without showing your face by using screen recordings, hands-only shots, stock footage, animations, AI visuals, or text-led scenes. Add a voiceover or captions so the viewer can follow the idea. Start with one clear topic, then match each sentence in your script to a visual.
What is the best faceless video format for beginners?
The best beginner format is usually a short tutorial or explainer because the subject gives you a clear script. Record a screen or use simple visuals while you explain one task. This approach makes it easier to plan shots and spot weak parts before you try more complex stories.
Can I make a faceless video with AI?
Yes, you can make a faceless video with AI by entering a prompt or script and generating the visual scenes. Some tools also add sound, dialogue, or captions. Seedance Studio lets you work in the browser with text-to-video and image-to-video, so you can test an idea without downloading software.
How do faceless videos get audio?
Faceless videos get audio through a recorded voiceover, an AI voice, music, sound effects, or native sound generated with the video. Keep the voice easy to hear and lower the music beneath it. If the video has no spoken audio, use captions to carry the main point.
How long should a faceless video be?
A faceless video should be as long as the idea needs, but a short first test is easier to improve. Try a clip around 15 seconds for one tip or visual idea. Longer videos need sections, fresh visuals, and a reason for viewers to keep watching after the opening.
How do I make AI-generated videos look less random?
Make AI-generated videos look less random by giving each shot one main action and using the same reference files across scenes. Keep names and descriptions consistent in your prompts. Generate a rough version first, then fix one issue at a time instead of changing the whole idea.
Conclusion
Start with a short tutorial or story that needs no presenter. Write one sharp hook, generate a few focused scenes, add clear captions, and review the export on your phone. If you want to test the workflow with no download or waitlist, create a free account in Seedance Studio and make your first clip today.


