
A still photo can become a short video in minutes when you give motion a clear job. The best workflow starts with strong images, then adds camera movement, sound, captions, and the right frame size. Follow these five steps to turn a folder of photos into clips you can post.
Step 1: Choose and Order Your Photos
Good photo selection makes the rest of the video easier. Pick images that already share a subject, mood, or story.
Start by sorting your photos into a simple sequence. Put the opening image first, then add the shots that move the idea forward. Finish with the image that has the clearest result or strongest emotion.
For a product video, you might begin with a wide shot. Then show a detail. Finish with the product in use. For a travel video, open with the place, move closer to the action, then close with a person or memorable view.
Keep your first project short. Five to eight photos are enough for a 15 to 30 second video. Too many images can make each shot feel rushed. You can always make a second version with the photos you leave out.
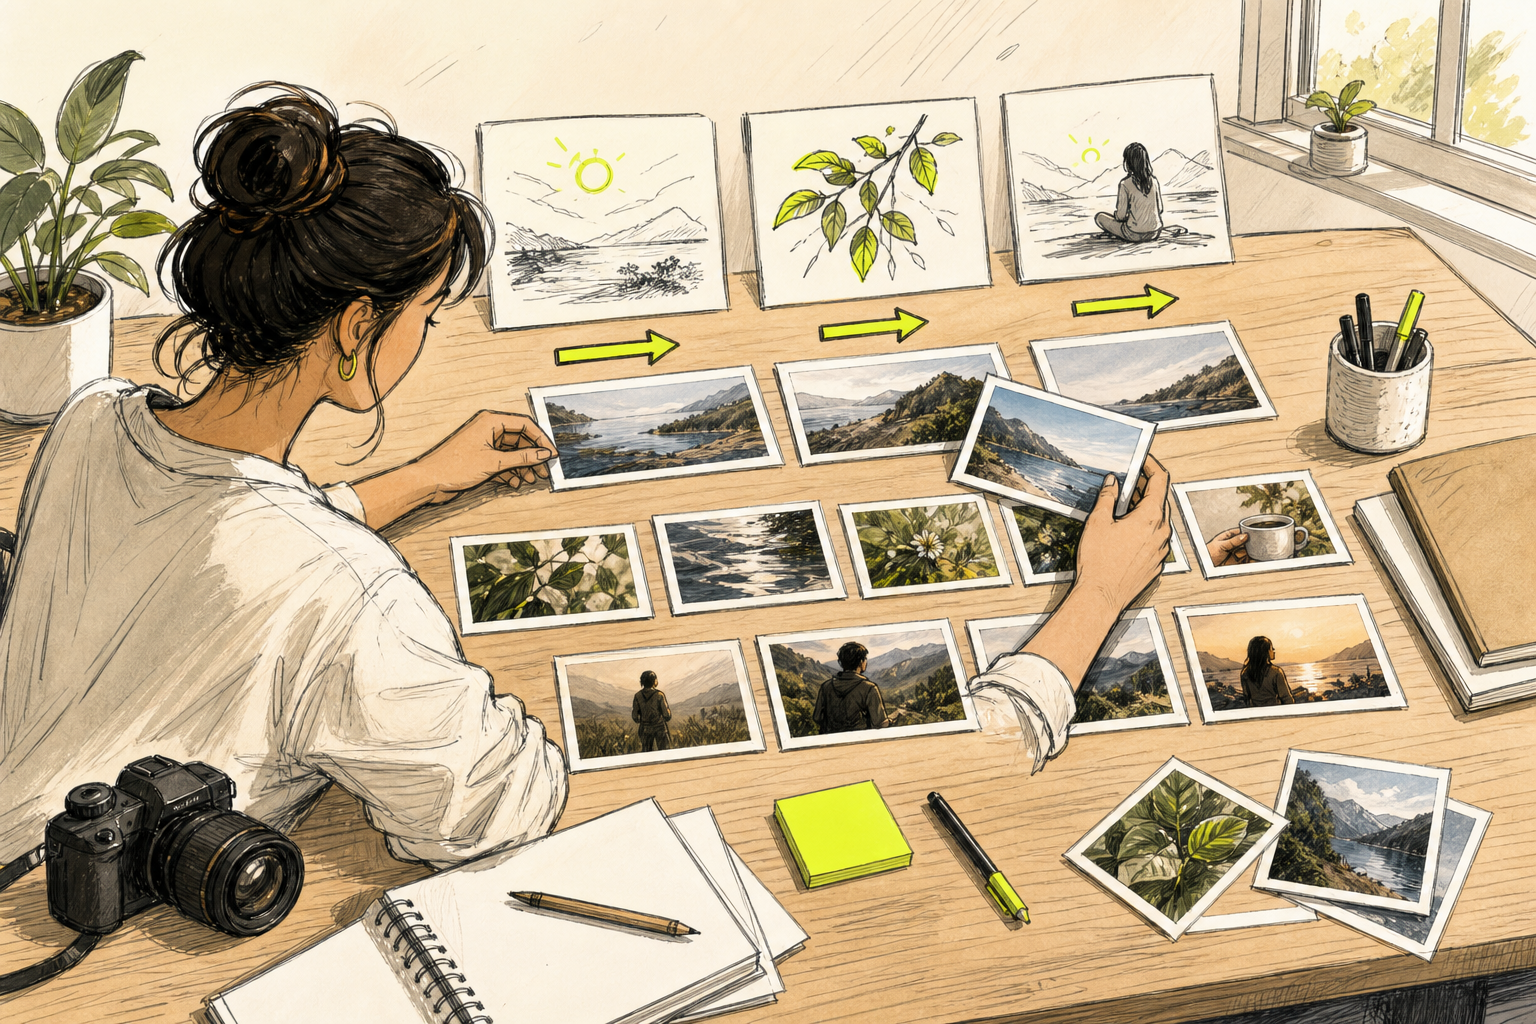
Check each image before you upload it:
- Use the largest clean file you have.
- Remove photos with heavy blur or harsh compression.
- Crop out empty space when the subject looks too small.
- Keep faces clear if you want natural facial motion.
- Choose images with similar light when they belong in one scene.
Think about the final frame before you generate anything. Vertical photos work well for TikTok, Reels, and Shorts. Wide photos fit YouTube and desktop screens better. A square crop can work for a feed post, but it gives you less room for camera movement.
Aspect ratio means the width of the frame compared with its height. A 9:16 frame is tall, while 16:9 is wide. Wikipedia's explanation of image aspect ratio gives the basic idea, but you can choose your format by thinking about where the video will appear.
Once your order feels right, rename the files in sequence. Use names such as [Image1], [Image2], and [Image3]. This small step saves time when you build the final timeline.
Step 2: Prepare Your Photos and Motion Prompts
To make videos from photos, you need to tell the AI what should move. A clear prompt works better than a long description with no direction.
First, check the job of each image. Is it a character reference? Is it a product view? Is it a location shot? One photo can do more than one job, but naming its role helps you plan the clip.
Then write one short motion prompt for each image. Use this order:
- Subject: name the person, object, or place.
- Action: say what moves.
- Camera: describe the camera move.
- Mood: add light or style only if it helps.
For example, write: “The woman turns toward the camera, her hair moves in a light breeze, slow push in, soft evening light.” The prompt gives the model a subject, an action, and a camera direction.
Keep the first prompt plain. You don't need film school terms. “Slow zoom in” is enough if you want the camera to move closer. “Pan left” tells the camera to move across the frame. “Static shot” tells it to keep the camera still while the subject moves.
For a product image, be more careful. Ask for a slow rotation or a gentle camera move. Avoid asking for tiny text on packaging to change. AI video tools can bend letters during motion, so add brand text later as a caption.
Seedance Studio lets you upload photos, clips, and audio as reference inputs. We recommend starting with a small set of clean references instead of filling every available slot. A focused set gives each asset a clear purpose. You can read more about how to animate a photo with AI if you want more prompt examples.
Keep repeated details the same across prompts. If your subject wears a red jacket in the first clip, use that same description in the next one. Consistent words help the model keep the character's look steady.
Save your prompts beside your image list. This makes revisions easier. If a clip fails, change one instruction first. Slow the camera. Reduce the action. Move the subject farther from the frame edge. Changing everything at once makes it hard to learn what fixed the problem.
Step 3: Animate Your Photos in Seedance Studio
Now upload your photos and turn each still into a short moving clip. Seedance Studio runs in your browser, so you don't need to download editing software first.
Open Seedance Studio and choose the image to video workflow. Upload your first photo. Check the preview before you write the prompt. Make sure the subject sits inside the frame and that the crop won't cut off an important detail.
Pick the aspect ratio before you generate. Use 9:16 for a vertical social post. Choose 16:9 for a wide video. If you plan to publish in more than one format, make separate versions instead of forcing one crop to fit every screen.
Paste in your motion prompt. Keep the action focused. A still portrait may need only a blink, a small head turn, and a slow camera push. A landscape photo may work better with moving clouds, drifting mist, or a gentle pan.
Seedance Studio uses the Seedance 2.0 model and can work with text prompts plus reference images. The product description also lists support for native sound and dialogue. That means you can plan a visual action and an audio cue in the same generation when the shot calls for it.
Generate the clip, then watch it twice. The first pass is for the main motion. Does the person move as requested? Does the camera go in the right direction? The second pass is for errors near faces, hands, hair, and fine edges.
If the result looks wrong, change one thing. Replace “fast push in” with “slow push in.” Remove extra actions. Ask for a static camera if the frame warps too much. Small edits often give you a better signal than a completely new prompt.
Keep the best version of each clip in a named folder. You may generate several drafts before one feels right. Mark the winner clearly so you don't lose it when you move to editing.
Seedance Studio is useful here because the workflow stays in one place. You can start with a still image, add a motion direction, and move toward a finished clip without waiting for a separate app to handle the first animation pass.
Step 4: Combine the Animated Clips into a Video
Once each photo has motion, place the clips in order. This is where separate generations start to feel like one video.
Open a basic video editor and import your chosen clips. Put them on the timeline in the same order as your photo plan. Watch the full sequence before adding effects. You need to see the pacing first.
Trim the start and end of each clip. AI video often takes a moment to settle. Remove that pause if the subject does nothing. Keep the part where the motion looks most natural.
Use direct cuts for your first version. A cut from one photo to the next is often cleaner than a large transition. If two clips share the same subject, cut when the action changes. If they show different places, cut on a beat or after a clear movement.
Check the flow with the sound off. Does the story still make sense? Can you tell what the viewer should notice? If one image feels out of place, move it or remove it. A shorter video with a clear path usually works better than a long video full of extra shots.
For a social clip, make the first second count. Start with the strongest image or the most active motion. Don't spend the opening on a blank frame or a slow fade unless that pause has a clear creative reason.
When you have many clips, group them by purpose:
- Opening shots set the scene.
- Middle shots show the action or detail.
- Closing shots deliver the result or next step.
That structure also helps when you need several edits. You can make one cut for Reels and another for a longer YouTube post without rebuilding every clip.
If you're making a music video, keep the master audio on one track. Replace separate audio from individual generations when needed. This prevents tiny gaps between clips and keeps the song in time.
You can also use this music video workflow for ideas on matching image sequences with audio. The same principle works for a product launch, a photo story, or a short brand update.
Watch the assembled video on your phone. A shot that feels slow on a large screen may feel fine on mobile. Check the first three seconds, the loudest audio moment, and the final frame before you add captions.
Step 5: Add Captions, Sound, and the Right Export Settings
The last step makes your photo video ready to share. Add text only when it helps the viewer follow the message.
Write captions in short blocks. Keep each line easy to read on a small screen. Put text away from the bottom edge because platform controls may cover it. Leave enough contrast between the words and the image behind them.
For a spoken video, use captions for the key message. For a silent photo montage, add one short line per scene. Don't describe every detail the viewer can already see. Use the text to add context, timing, or a clear next step.
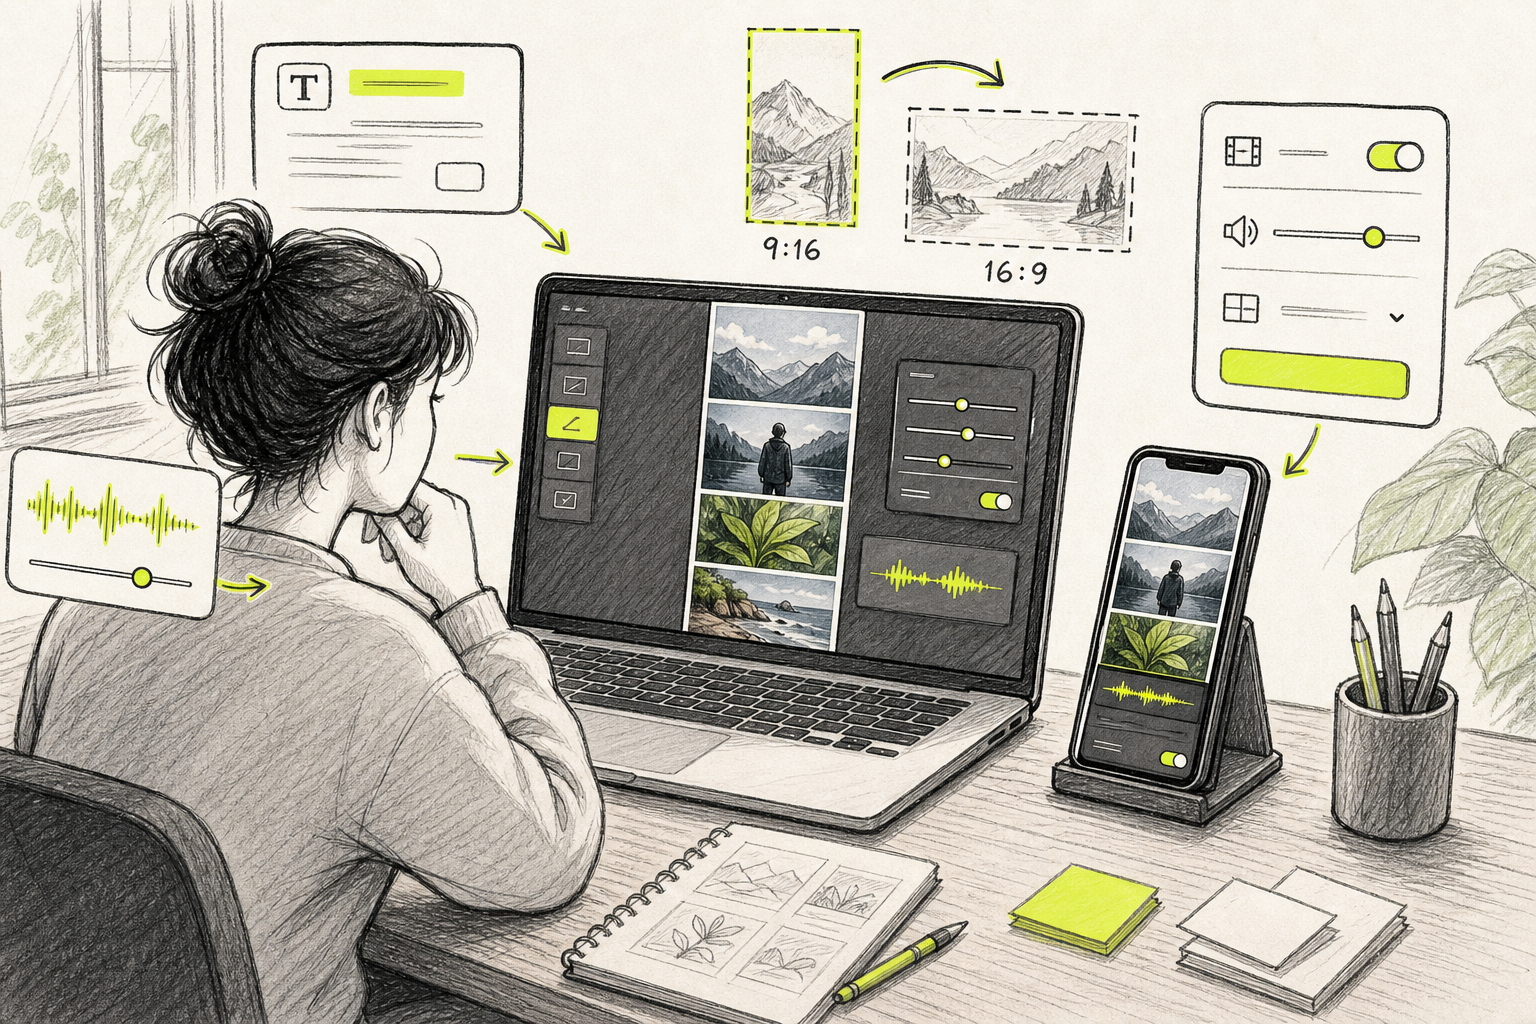
Choose sound that matches the pace. A calm photo story needs room for the images. A fast product montage can use a stronger beat. If you use dialogue, keep the music low enough for every word to remain clear.
Seedance Studio can generate native sound with supported video prompts, but you can also add a separate audio track during editing. Listen with headphones once. Then listen through your phone speaker. Both checks can reveal problems that a laptop speaker hides.
Export the file as MP4 when possible. MP4 is a container format used to hold video and audio in one file, as explained in Wikipedia's overview of the MP4 format. It is a sensible choice for most social uploads.
Use these starting settings:
- 9:16: TikTok, Instagram Reels, and YouTube Shorts.
- 16:9: YouTube, websites, and wide screens.
- 1:1: Square feed posts.
- Resolution: Choose the highest setting your plan and source images support.
- Frame rate: Keep the editor's default unless your footage needs a specific match.
Export one test file before you make the final version. Watch it from the downloaded file, not only inside the editor. Check for missing captions, clipped text, strange audio levels, or a crop that cuts off the subject.
Pay close attention to small details. AI motion may change a face, hand, or product edge for a moment. If the flaw lasts only one frame, trim it or cut away. If it affects the main message, regenerate that clip instead of trying to hide it with a filter.
Keep the project file and the original photos. You may want a new cut for a different platform later. Save the final export with a useful name that includes the subject and format, such as [TravelStory_916_Final].
FAQ
How do I make a video from photos for free?
You can make a video from photos for free with a free AI photo-to-video tool that has a free tier. Upload clear images, write a short motion prompt, choose the frame shape, and generate each clip. Seedance Studio has a free entry option, so you can test the workflow before choosing a paid plan.
What is the easiest way to turn photos into a video?
The easiest method is to use an AI image to video tool. Pick five to eight photos, arrange them in story order, then animate each one with a simple prompt. Combine the clips in a timeline, add captions or sound, and export as MP4. Start with short clips so mistakes are easier to fix.
What prompt should I use to animate a photo?
A useful animation prompt names the subject, action, and camera move. Try: “The dog looks toward the camera, its ears move in the breeze, slow push in, warm afternoon light.” Keep the first prompt short. If the result misses, change one detail instead of rewriting the whole instruction.
What size should a photo video be for TikTok or Reels?
Use a 9:16 vertical frame for TikTok and Instagram Reels. Crop or generate the photos for that shape before you animate them. This gives the motion model room to frame the subject correctly. A 16:9 frame is better for wide YouTube videos, while 1:1 suits square feed posts.
Can I add music to a video made from photos?
Yes, you can add music after animating the photos or include audio during generation when the tool supports it. Keep one master track for the full edit so the sound stays continuous. Lower the music under spoken words, then test the finished file on both headphones and a phone speaker.
Conclusion
Start with five clear photos, give each one a simple motion prompt, and build the final sequence in the format you plan to post. Seedance Studio is a good place to test the full photo to video workflow without a download. Create a free account, animate one photo, and use that first clip to set the style for the rest.


