
You can make a full music video from a single song file and a photo , no film crew, no budget, no experience. Most people get stuck because they pick a tool that can't sync to music, burn credits on clips that drift in style, and end up with something that looks like five different videos stitched together. This guide walks you through every step, so you don't waste time or money on that.
Step 1: Pick the Right AI Video Tool for Your Music
Your tool choice decides everything downstream. And here's the problem: most AI video generators ignore your audio entirely. Based on a comparison of eight platforms, five out of eight , including Runway, Kaiber, Pika, and Kling , have no native music-sync capability at all. They produce beautiful clips, but those clips don't know your song exists. You end up doing all the timing manually in post.
For a music video, you need a tool that reads your audio and builds visuals around it. Only two platforms in that comparison offer true audio-sync: Freebeat and Seedance 2.0 on Seedance Studio. Seedance Studio is the stronger starting point for most creators , it has a free tier, paid plans from $14/month, and the underlying model (Seedance 2.0) currently ranks #1 for both text-to-video and image-to-video. You upload your audio as a reference, tag it in your prompt, and the model plans cuts and camera moves that land on the beat.
Freebeat is the other sync-capable option. It's built specifically for music video creation, with automatic beat-quantization that maps visuals to your song's BPM. Pro costs $26.99/month with no free tier, so it's a bigger upfront commitment. If you already have a Suno link, Freebeat can extract the audio and start building automatically , a genuinely smooth workflow.
The table below lays out the key decision factors across the tools you're most likely to consider:
| Tool | Music Sync | Free Tier | Starting Price | Best For |
|---|---|---|---|---|
| Seedance Studio | Yes (audio reference) | Yes | $14/month | Creators who want sync + affordability |
| Freebeat | Yes (beat-quantized) | No | $26.99/month | Musicians wanting auto sync from Suno/WAV |
| Neural Frames | Yes (8-stem analysis) | Yes | $15/month | Visual artists who edit their own final cut |
| Runway | No | No | $15/month | Filmmakers wanting cinematic clip quality |
| Kaiber | No | No | $5/month | Spotify Canvas loops and ambient visuals |
| Kling | No | No | $10/month | Realistic human motion, no sync needed |
If you want the most accessible starting point , free tier, sync built in, no download , try Seedance Studio's free plan before committing to anything paid.
Step 2: Prepare Your Audio and Visual Assets
Before you generate a single frame, get your assets ready. Rushing this step is why most first attempts look messy.
For audio, export your finished track as a WAV or MP3. WAV keeps full fidelity and is worth it if your DAW supports it. Trim silence from the start and end of the file. If your song is longer than 15 seconds, cut it into 15-second chunks in CapCut or any basic audio editor , each chunk becomes one clip generation. Label them sequentially (verse1.wav, chorus.wav, verse2.wav) so you don't lose track of where each piece fits.
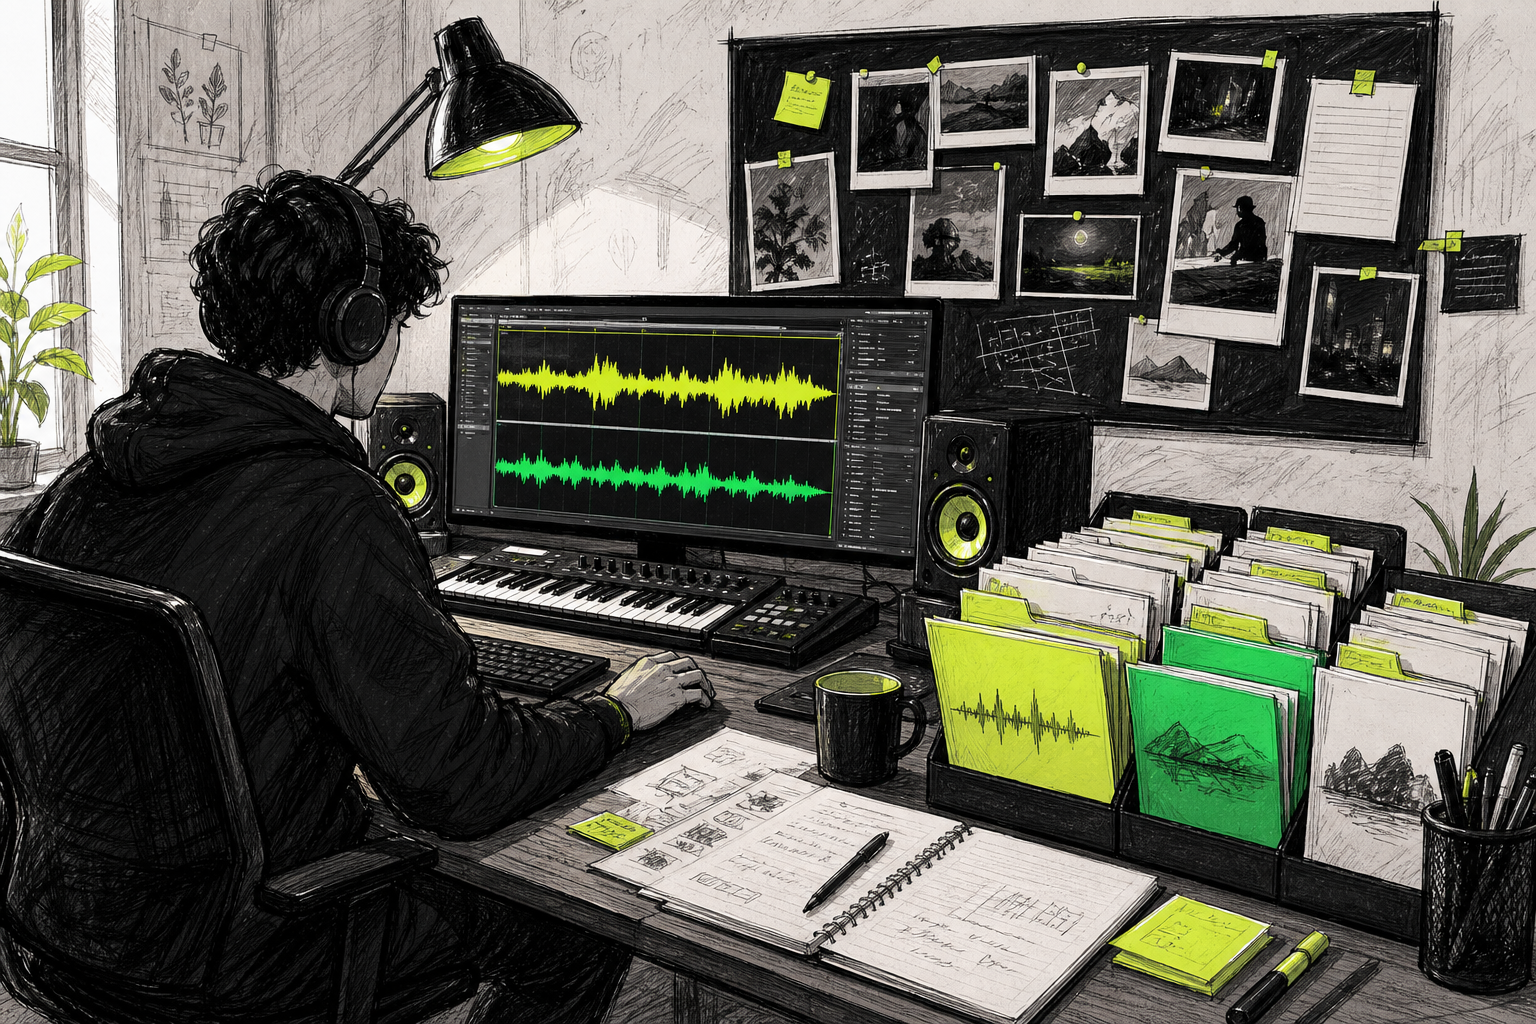
For visuals, you need a reference photo of your character or subject. One strong, clear image of your main subject against a simple background works better than a blurry or cluttered shot. The AI uses this image to anchor your character's look across clips. If you want a specific location or vibe, gather 2, 3 reference images of that environment too , a rainy street, a neon-lit room, whatever fits the song.
Decide your aspect ratio before you generate anything. 16:9 is right for YouTube. 9:16 is right for TikTok and Reels. Generating clips in the wrong ratio and trying to crop them afterward almost always cuts off important parts of the frame. Landscape images become widescreen and portrait images become vertical video automatically , the same logic applies wherever you generate.
Step 3: Generate Your Video Clips with AI
Now you actually make the clips. Open Seedance Studio, create your prompt, and attach your assets.
A good prompt for a music video clip has three parts: the visual scene, the camera move, and the audio reference tag. Something like: "A singer performing on a rain-soaked rooftop at night, neon signs reflecting in puddles, slow push-in handheld camera, [Audio1]." That last tag tells the model to treat your uploaded audio as a sync reference.
Seedance 2.0 is a multimodal model , it reads text, images, video clips, and audio in a single pass, then returns a clip with native sound and camera direction already planned. Models like this use diffusion-based architectures that synchronize frame generation with input conditions, which is why attaching audio as a reference actually influences how the visuals are timed , it's not just cosmetic. The model plans the whole scene around what you hand it.
Generate 2, 3 versions of each clip. Some renders will miss the mark: wrong lighting, drifting character, a hand that looks odd. That's normal. Pick the best version of each clip and move on. Don't try to get a perfect clip on the first attempt , iteration is faster than perfectionism.
Keep your prompts consistent between clips. If you described the character as "a woman with short black hair and a red leather jacket" in clip one, use those exact words in every subsequent clip. Even tiny phrasing changes can shift the model's interpretation and cause visual drift between scenes.
Step 4: Keep Characters and Scenes Consistent
Character consistency is the hardest part of making an AI generated music video that actually looks coherent. Every generation is a blank slate , the model has no memory of what it made in the previous clip. If you don't force consistency, your character will look like a different person by clip three.
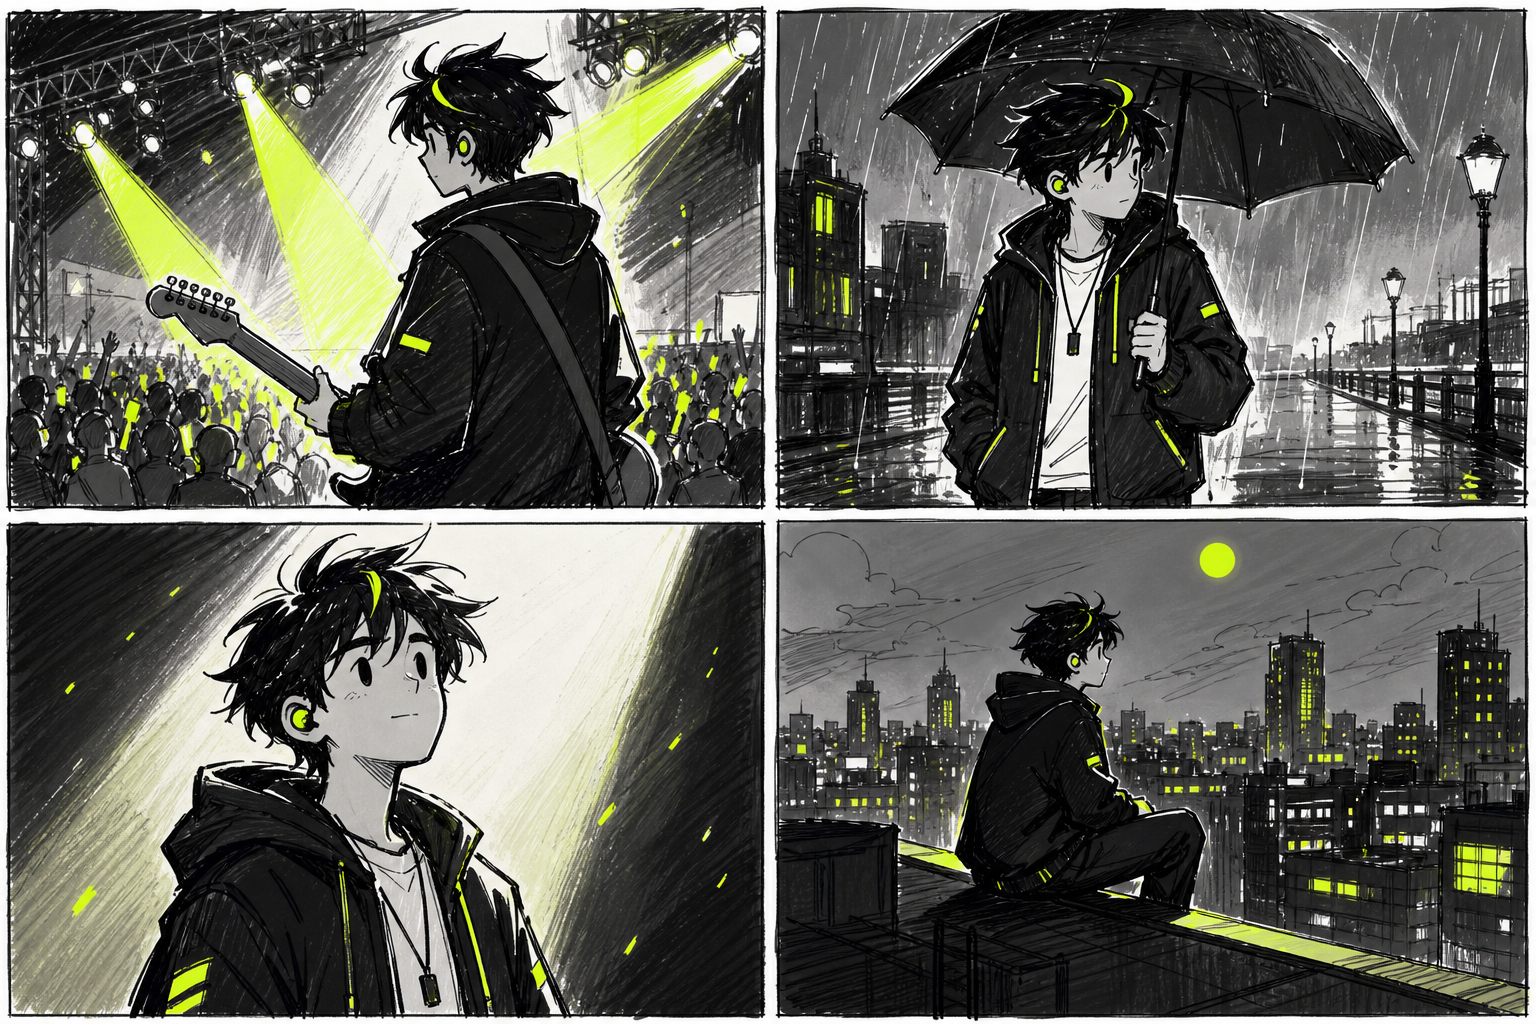
The fix is what some creators call a "character DNA" block , a short, hyper-specific description you copy-paste into every single prompt. Include hair color and cut, eye color, exact clothing (not "casual jacket" but "oversized red leather jacket with silver zipper"), any unique detail like a scar or earring, and skin tone. The more specific, the better. Vague descriptions like "dark hair" leave room for the model to interpret differently each time. "Short black bob with blunt fringe" doesn't.
Beyond the character description, use a reference image on every generation. Upload the same photo of your subject and tag it in the prompt. Seedance 2.0 supports up to 12 reference inputs per generation , use that. One image of your character, one of the location, and your audio file covers the three most important consistency anchors.
After generating each clip, check three things before downloading: does the character's face match your reference, is the lighting consistent with the previous clip, and did the camera move land where you expected? If any of those are off, regenerate. One inconsistent clip in a sequence breaks immersion for everyone watching.
Scene consistency works the same way. If your chorus clips should all happen in the same neon-lit room, include a reference image of that room in every chorus prompt. You're manually injecting the context that the model can't hold between sessions.
Step 5: Stitch Clips Together and Do Light Editing
Once you have all your clips, bring them into CapCut or any basic video editor. Drop them in sequence, matching each clip to the audio chunk it was generated from. At this point your audio is already baked into the AI-generated clips, but you'll want to replace those individual audio tracks with your single master audio file so the full song plays uninterrupted.
For lip-sync clips specifically, a technique that's gained traction is chunking the song into 15-second pieces, generating each chunk with the corresponding start frame as a reference, then assembling those chunks in order. The 15-second boundary is the real unlock here , clips generated at exactly that length snap together cleanly. As one creator noted in a usable breakdown of this workflow, locking the start frame's eyeline before syncing keeps the face from drifting between chunks, which is the most common failure point in lipsync sequences.
Keep editing light. Simple cuts on the beat almost always work better than fancy transitions in AI music videos. The visuals are already active , wipes and spins compete with them. If you want to add text overlays or a color grade, do it at the end after you've locked the cut. CapCut's auto-cut-to-beat tool can help if you want cuts to fall on specific drum hits, though you'll need to fine-tune manually.
Creators who want to go deeper on building professional-grade AI video projects will find the same clip-assembly logic applies there , the editing workflow scales up but the core steps stay the same.
One thing to flag on music rights: if you're distributing the video on YouTube or TikTok and your track includes samples or licensed content, the copyright flag will come from the audio, not the AI visuals. AI-generated visuals don't trigger Content ID on their own. Sort your music clearances before you publish, not after.
Step 6: Check Quality, Fix Issues, and Export
Watch the full assembled video at least twice before exporting. First pass: check character consistency and scene continuity. Second pass: check audio sync , do the cuts land on the beat, do the lips match the vocals in any lipsync sections, does the overall energy of the visuals match the song's pacing?
Common issues and quick fixes:
- Blurry clip: Re-generate that specific clip at a higher resolution setting. Don't try to upscale in post , the detail is gone at the source.
- Character drift: Go back to your character DNA prompt, add one more specific physical detail, re-attach the reference image, and regenerate.
- Audio sync is off: Check that your audio chunks were exactly 15 seconds. Even a half-second of trailing silence can shift sync in the assembled edit.
- Wrong aspect ratio: There's no good fix after the fact. Regenerate the affected clip at the correct ratio from the start.
- Garbled text or hands: This is a known limitation of current diffusion models , text and fingers are notoriously difficult. Avoid shots that require readable on-screen text or close-up hand detail, or plan to cut away from them quickly.
For export settings: standard HD resolution is the baseline for TikTok and YouTube. If you generated at 4K, keep 4K for YouTube , it gets preferential treatment in recommendations. Export as MP4 (H.264) for widest platform compatibility.
On platform-specific settings: YouTube wants a 16:9 file with a custom thumbnail, a proper title, and tags that include the song title and genre. TikTok auto-generates its own thumbnail, but you can set one in the upload flow. Both platforms now require you to label AI-generated content , do it. It doesn't hurt reach, and skipping it is a policy violation that can get the video removed.
If you're planning to keep producing music videos at scale , say, one per single release , keep an eye on upcoming platform updates that expand native clip length and reference input limits. Longer native clip generation means the difference between stitching four clips together and generating a whole verse or chorus section in one pass.
Spending long hours generating and editing AI video is real work , and like any desk-heavy creative workflow, it puts strain on your neck and posture. Looking up ergonomics and posture tips from a qualified health professional is worth doing if you're doing this regularly.
FAQ
Can I make an AI generated music video for free?
Yes. Seedance Studio has a free tier that lets you generate a few clips per month with no credit card required. The free plan uses the same Seedance 2.0 model as paid plans, though free clips carry a small watermark. CapCut, which most creators use for stitching and light editing, is also free. You can produce a complete AI music video at zero cost to test the workflow before paying for anything.
How do I keep my character looking the same in every clip?
Write a detailed "character DNA" block , specific hair, clothing, eye color, and one unique physical detail , and paste it verbatim into every prompt. Also upload the same reference photo and tag it in each generation. AI video tools have no memory between clips, so you have to manually inject that context every time. Seedance 2.0 supports up to 12 reference inputs per generation, which makes this easier.
Will YouTube take down my AI music video?
AI-generated visuals don't trigger copyright claims on YouTube , Content ID is an audio system. If your track is clear, the video is clear. YouTube does require you to disclose AI-generated content in the upload settings. Skipping that disclosure is a policy violation. Monetization is available for AI videos as long as the content reflects genuine creative decisions and isn't mass-produced spam.
What's the best aspect ratio for an AI music video?
Choose your platform before you generate your first clip. 16:9 for YouTube, 9:16 for TikTok and Instagram Reels. Generate all clips in that ratio from the start , cropping after the fact cuts off parts of the frame and looks bad. If you want to post on multiple platforms, generate separate clip sets for each ratio rather than trying to reformat one master file.
How long does it take to make an AI music video?
A 3-minute song cut into 15-second clips gives you roughly 12 clip generations. Each generation on Seedance Studio takes about 1, 2 minutes. Add time for selecting the best takes, light editing in CapCut, and export , a typical creator completes a full AI music video in 2, 4 hours on their first attempt, and under an hour once they know the workflow.
Do I need to know video editing to make an AI music video?
Basic editing helps, but it's not required. CapCut is free, mobile-friendly, and has an auto-cut-to-beat feature. The main editing tasks are arranging clips in sequence, swapping individual audio tracks for your master file, and trimming any gaps. Most creators with zero editing background can complete those steps in under an hour after one tutorial watch-through.
Conclusion
The workflow is straightforward once you've got the right tool. Pick a platform that actually syncs to music, prepare your assets before you generate anything, keep a consistent character prompt across every clip, and do your editing in CapCut. Seedance Studio is the place to start , free tier, no waitlist, audio-sync built in. See how the Seedance 2.0 model works, then open a free account and generate your first clip today.


