
You can turn a single photo into a moving video clip in under two minutes , no editing software, no subscription, no design skills. The hardest part is picking the right tool and writing a prompt that actually tells the AI what to do. This guide walks you through both, step by step.
Step 1: Pick the Right Free AI Photo-to-Video Tool
Not all "free" tools are actually free. Most give you a one-time credit bundle that runs out after 3, 10 videos, then lock you behind a paywall. A few give daily or monthly credits that actually refresh. The difference matters a lot when you're testing ideas.
Here's how the main options compare on the things that count:
| Tool | Free Credits | Max Video Length | Resolution (Free) | Watermark? |
|---|---|---|---|---|
| Seedance Studio | Monthly refresh, no card | Up to 15 seconds | 480p | Small watermark (removable on paid) |
| Daily-refresh AI video tools | Daily credits | ~5–10 seconds | 720p | Yes |
| Luma Labs | 3,000 one-time credits | ~10 seconds | 720p | Yes |
| One-time bundle AI video tools | One-time credits | 10 seconds | 720p | Yes (watermark) |
For most creators, Seedance Studio's free plan is the best starting point. It runs entirely in the browser, needs no credit card, and uses Seedance 2.0 , ByteDance Seed's flagship model, independently ranked number one for image-to-video quality. The free tier refreshes monthly, so you can keep testing without hitting a dead end after your first few clips.
Some tools offer daily-refresh credits with 720p output on the free plan, which is worth exploring if you want consistent access. Others give generous one-time bundles , good for a short burst of testing, but they don't refill.
One thing to keep in mind: free tiers across every tool cap resolution. 720p is standard. 1080p and 4K are typically paid features. That's fine for TikTok, Reels, and Shorts , those platforms compress video anyway.
Step 2: Upload Your Photo and Set Up Your Project
Open Seedance Studio in your browser and create a free account with your email. No download required , the whole tool lives in the browser tab. Once you're inside, click the image-to-video option and upload your photo.
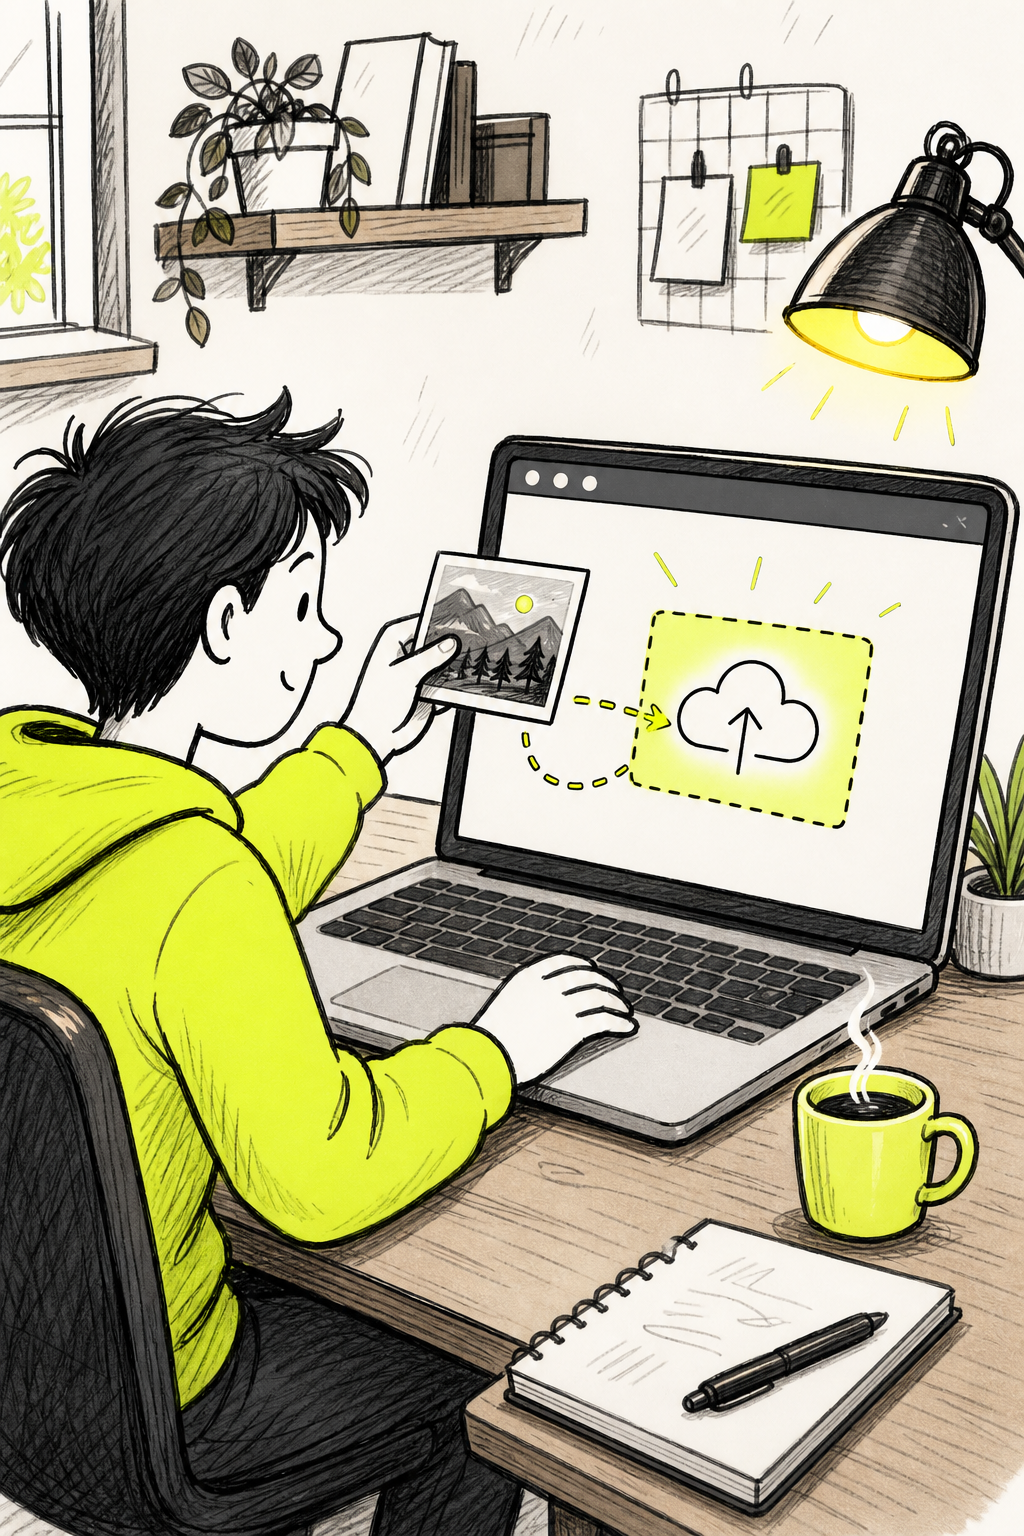
Most tools accept JPG and PNG files. Use the highest quality version you have. A blurry or heavily compressed source image won't improve in motion , if anything, soft edges become more obvious when the AI starts animating them.
A few things to check before you hit anything:
- Crop the image so your subject fills the frame. White space at the edges often confuses the motion model.
- Make sure faces are clear and well-lit if you want realistic facial animation.
- Avoid very dark images , the AI struggles to read depth and edges in low-light shots.
Once your image is uploaded, Seedance Studio shows you a preview. This is also where you'll name your project if you want to come back to it later. The interface is straightforward: image on one side, prompt box on the other. You're ready for the next step.
Privacy note: when you upload a personal photo to any AI tool, it typically gets processed on the tool's servers. Check the platform's data retention policy before uploading anything sensitive. Seedance Studio's terms govern how uploaded images are handled on their end.
Step 3: Write a Prompt That Gets Great Motion
The prompt is what separates a good result from a confusing one. The AI reads it as a set of instructions for what should move and how. Vague prompts get vague motion. Specific prompts get specific motion.
A prompt that works follows a simple structure. Start with the subject and what it does. Then describe the camera move. Then add a mood or style if you want one.
Think of it this way:
- Subject + action:"A woman walks toward the camera" or "The product rotates slowly"
- Camera move:"slow push in", "pan left", "static shot", "gentle zoom out"
- Mood or style:"cinematic lighting", "golden hour", "clean and minimal"
So a full prompt might look like:"A woman smiles and looks up, slow push in, soft natural light, cinematic."That's it. You don't need a paragraph.
Where most people go wrong is writing descriptions of the image instead of instructions for motion. "A woman standing in a field" tells the AI what already exists. "A woman's hair blows gently in the wind, camera slowly pulls back" tells it what to do. That's the real difference.
For product shots, keep the camera move subtle. A slow orbit or a gentle zoom in works better than aggressive panning, which can distort product details. For portraits, eye movement and a slight head turn usually look the most natural. For more detailed prompt-writing techniques, there's a full breakdown covering camera direction, shot types, and motion styles.
Writing structured natural language instructions to guide AI outputs has become a core skill across generative AI tools, and video generation is no exception. A well-structured prompt consistently outperforms a longer, unstructured one.
Step 4: Choose Aspect Ratio, Resolution, and Duration
Before you generate, you need to set three things: aspect ratio, resolution, and video length. Getting these right before you click generate saves you from redoing the whole thing.
Aspect ratio is the most important setting to match to your platform. Use 9:16 for TikTok, Instagram Reels, and YouTube Shorts. Use 16:9 for YouTube or any horizontal context. Use 1:1 for feed posts on Instagram or Facebook. If you're not sure, 9:16 covers the most ground right now , vertical video drives the highest reach on most social platforms in 2026.
Resolution on free plans is typically 480p or 720p. That's perfectly fine for mobile-first platforms. Uploading a 480p clip to TikTok is not a problem , the platform re-encodes everything anyway. Save the 1080p and 4K renders for final deliverables or paid campaigns where quality is non-negotiable.
Duration usually runs between 4 and 15 seconds on free tiers, depending on the tool. On Seedance Studio's free plan, you can generate clips up to 15 seconds with sound built in. Shorter clips tend to look cleaner on the first generation , the AI has less motion to maintain consistently across a longer timeline. Start with 5, 8 seconds. If it looks good, you can extend from there.
One thing worth knowing: some tools charge more credits for longer durations or higher resolutions. Credit limits on free tiers can mean you only get one or two good clips per day depending on the tool you use. Seedance Studio's monthly refresh model is more forgiving for iterating on ideas.
Step 5: Generate, Preview, and Download Your Video
Hit generate and wait. Generation time is typically 1, 3 minutes depending on the tool and server load. Don't close the tab , most tools process in-session and won't send you an email when it's done.
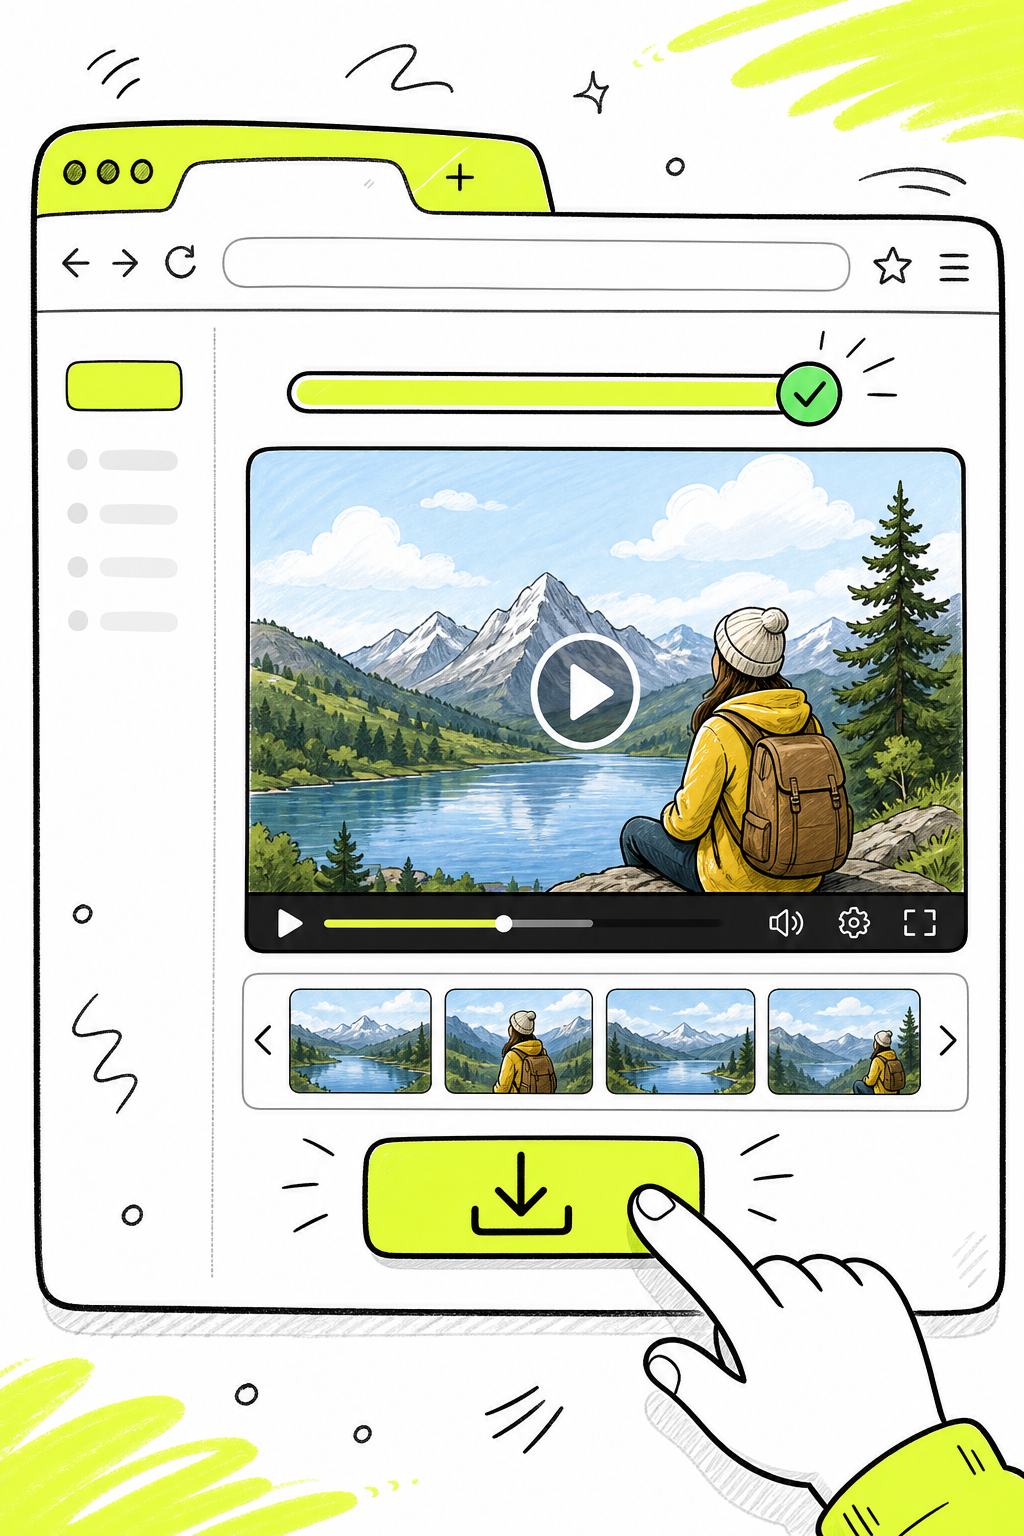
When the clip loads, watch it twice before downloading. First pass: check the motion quality. Does it look smooth? Does the main subject move the way you intended? Second pass: look at edges, faces, and fine details like hair or product text. These areas are where AI video generation most often shows artifacts.
If the result isn't right, don't just regenerate with the same prompt. Change one specific thing. Make the camera move slower. Add "realistic motion" to the prompt. Or try a slightly different crop of the source image. Systematic small changes get you to a good result faster than randomizing everything at once.
Once you're happy with it, click download. The file comes out as an MP4 , the format every major social platform accepts. On the free plan, Seedance Studio's export includes a small watermark. You can remove it by upgrading to a paid plan, which starts at $14/month.
If you want to go further , adding music, voiceover, or syncing the clip to audio , you can do that directly inside the platform. Seedance Studio generates native sound alongside the video, so the audio is already mixed into your MP4 when you download it. That's unusual among free tools, most of which produce silent clips. For a full walkthrough on building clips with sound, the guide to AI video generation with sound covers the audio workflow in detail.
Once your video is ready, your next move is getting it in front of people. If you post regularly across platforms, having a clean place to link all your content matters. A well-set-up link-in-bio page with testimonials embedded alongside your videos can meaningfully increase the number of visitors who actually click through to your work.
Creators who make short-form content at volume sometimes want to skip the manual workflow entirely. Seedance Studio also has an API for programmatic AI video generation, one REST call turns an image or prompt into a finished MP4 with native sound. That's useful if you're building a content pipeline that generates multiple clips from a batch of product photos, for example.
The full image-to-video process on a free tool is genuinely quick once you've done it once. Modern video generation models use temporal consistency techniques to maintain coherent motion across frames , which is why a clear, high-quality source image produces noticeably better output than a compressed or blurry one.
FAQ
Can I really convert a photo to video AI free without a credit card?
Yes. Seedance Studio's free plan lets you generate image-to-video clips using the Seedance 2.0 model with just an email signup , no card required. The plan refreshes monthly, so you're not limited to a one-time trial. Other free photo-to-video tools also offer daily free credits without requiring payment details, though credit limits and watermark policies vary between platforms.
What type of photo works best for AI video generation?
High-resolution, well-lit photos with a clear subject produce the best results. Front-facing portraits, clean product shots against simple backgrounds, and landscape photos with a clear focal point all animate well. Avoid heavily compressed images, very dark shots, or photos where the main subject is small or unclear , the AI reads what's most prominent in the frame and focuses motion there.
How long does it take to generate a video from a photo?
Most free AI tools take between 1 and 3 minutes per generation. Processing time varies based on video length, resolution, and how busy the platform's servers are. Seedance Studio typically completes a standard clip in under 2 minutes. Avoid closing the browser tab during generation , most tools process in-session without sending a completion notification.
What aspect ratio should I use for social media videos?
Use 9:16 for TikTok, Instagram Reels, and YouTube Shorts. Use 16:9 for YouTube long-form or horizontal web content. Use 1:1 for Instagram and Facebook feed posts. Set the aspect ratio before you generate , changing it after means regenerating the clip, which costs additional credits. Most free tools offer at least three ratio options: landscape, portrait, and square.
Do free AI photo-to-video tools add watermarks?
Most do. Seedance Studio's free plan adds a small watermark that you can remove on a paid plan starting at $14/month. Luma Labs also watermarks free exports. Other free-tier tools on the market produce watermarked clips as well. If watermark-free output matters for your use case , say, a client deliverable or a paid ad , upgrading to a paid plan is the straightforward fix.
Can I use AI-generated videos commercially?
It depends on the platform's terms. Free-tier exports on most tools, including Seedance Studio, are intended for personal and non-commercial use. Commercial licensing typically requires a paid plan. Check the specific tool's terms before using a free-tier clip in ads, client work, or monetized content. Seedance Studio's paid plans include a commercial license alongside higher resolution and watermark-free exports.
Conclusion
The workflow is short: upload a clear photo, write a motion-focused prompt, match your aspect ratio to the platform, and download the MP4. Seedance Studio is the most consistent free option for doing this repeatedly , the monthly refresh means you're not burning through a one-time bundle on your first few tests. Animating your first photo with AI takes about two minutes. Create a free account and try it now.


