
A good Amazon product video shows the item working before the shopper has to guess. You don't need a film crew. You need a clear goal, a short script, useful product assets, and a fast way to turn them into a clean clip. This workflow shows how to make product videos for Amazon, with Seedance Studio as an easy option for sellers who want to work from a browser.
Step 1: Check Amazon’s Video Requirements and Set Your Goal
Before you make product videos for Amazon, decide where the video will appear and what it must prove. A listing video may explain how an item works. An ad video may need to stop a fast scroll. An A+ Content video can carry more brand context.
Start in the seller dashboard and check the current rules for your account, listing type, and placement. A product video can show a product’s features, use, and place in a customer’s life.
Now write one goal in plain language. Good goals sound like these:
- Show how the product solves one daily problem.
- Explain one feature that photos can't show.
- Help shoppers understand size, fit, setup, or use.
- Give an ad viewer one reason to keep watching.
Keep the goal narrow. A 20-second video can't explain every feature without becoming a rushed slide show. Pick the one question that blocks the purchase, then build the video around its answer.
Choose the setting next. A clean background works well for a simple product demo. A use scene works better when context helps with scale or function. A running shoe needs movement. A storage item needs a view inside a real room. Keep the scene quiet enough that the product stays easy to see.
A focused product video can fit a lot into a short time. Don't treat that as a reason to cram in more claims. Treat it as a reason to cut weak shots.
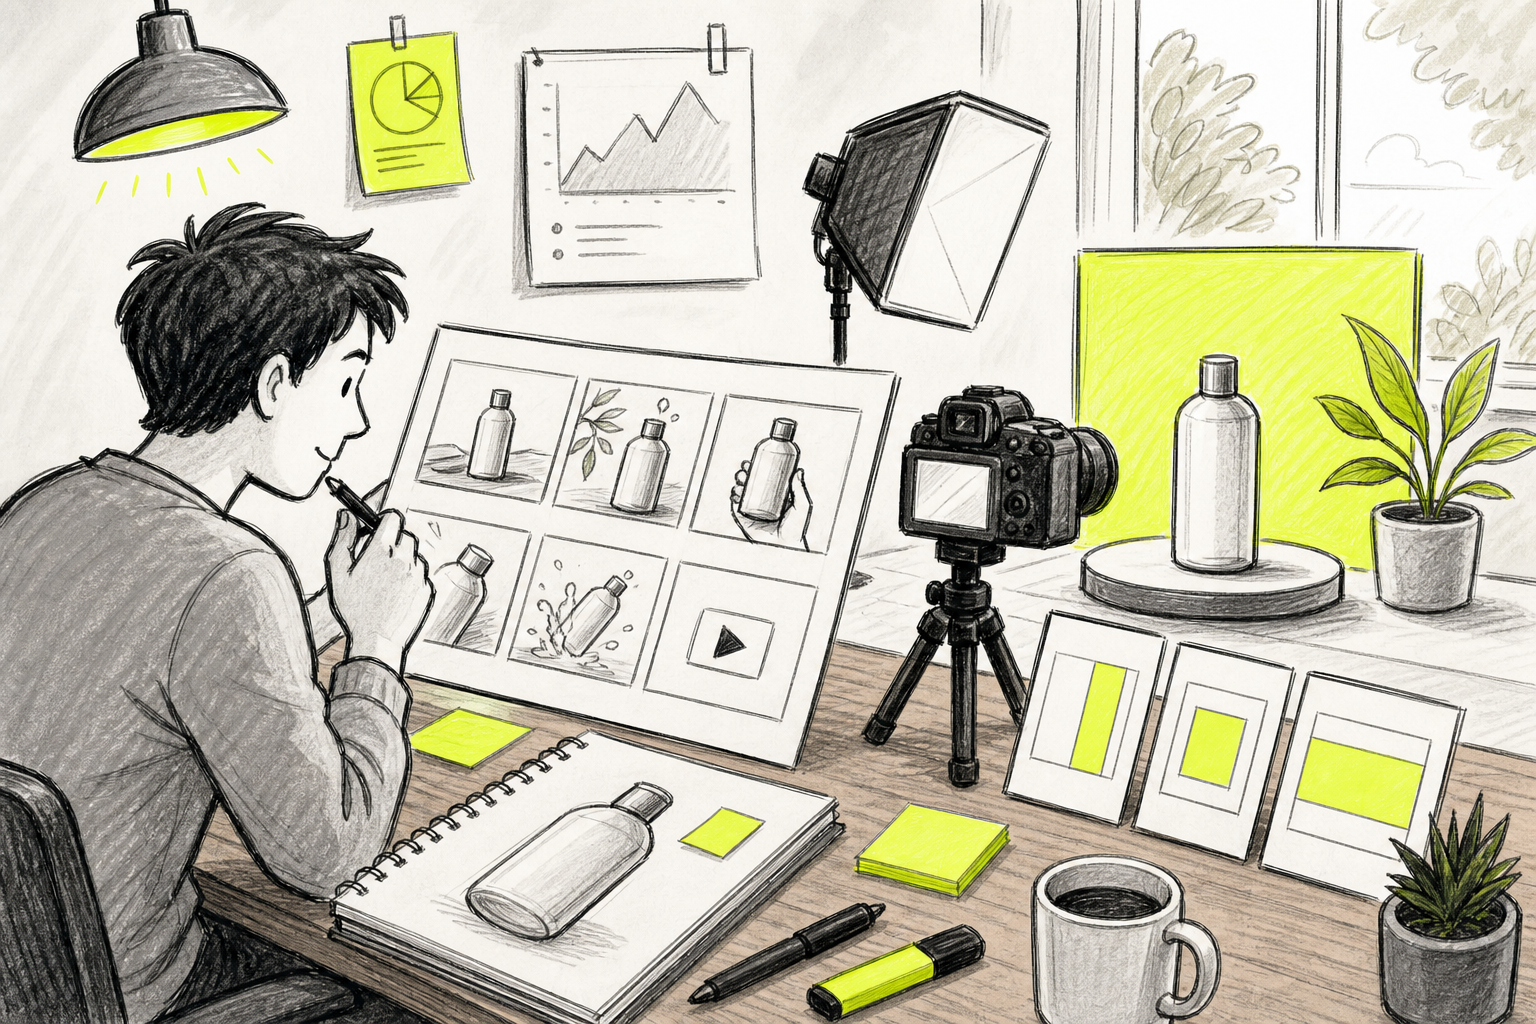
By now you should have a placement, a target viewer, and one clear result the video must deliver.
Step 2: Write a Short Product Video Script
The best way to make product videos for Amazon is to script the visual message before you generate footage. Your script doesn't need to sound like a TV ad. It needs to tell you what the shopper sees and what text appears when the sound is off.
Use a two-column plan. Put visuals on the left and on-screen words on the right. Keep each text line short enough to read on a phone. A shopper may see the video while commuting, waiting in line, or browsing with the audio muted.
Use this simple sequence for a short listing video:
- Opening:Show the product solving the main problem at once.
- Proof:Show the feature in use, close enough to understand.
- Context:Show where the product fits into a normal day.
- Close:Show the product clearly and repeat the main benefit.
Let's say you sell a magnetic phone mount. The opening could show a phone held steady during a turn. The proof shot could show the mount attaching with one hand. The context shot could show the setup from the driver's view. The close should return to the mount, not end on a long logo animation.
Write the first text line as a benefit, not a feature. “Keeps your screen in view” is easier to grasp than “360-degree adjustable arm.” You can show the adjustment later. First, tell the viewer why it matters.
Don't place a claim on screen unless the product can support it. Avoid vague words such as “best” or “perfect.” Use facts you can prove through the product, its instructions, or your listing data. This keeps the video clear and reduces the risk of a claim creating a customer complaint.
For AI generation, describe motion rather than repeating every object in the source image. Say what moves, where the camera goes, and how the light feels. A strong prompt might read: "[Image1] rotates slowly on a kitchen counter while the camera makes a gentle push-in; show the lid opening in one smooth motion; add clean captions for the main benefit."
Seedance Studio also supports a workflow where you upload a reference image, then describe the movement you want. Its guide to an AI video generator from an image explains why motion prompts work better than long descriptions of details already visible in the photo.
By now you should have a shot order, short captions, and one prompt for each scene. That plan will save more time than another round of random generations.
Step 3: Gather Product Images, Clips, and Voiceover Assets
To make product videos for Amazon without a full shoot, gather the assets that anchor the product first. AI can add motion, but it can't fix a blurry product photo or a wrong view of the item.
Make a small asset folder. Add your sharpest product images, a logo file if you plan to use one, approved brand colors, and any clips you already own. Include a close view of the feature in your script. If the product has parts, capture each part from a clear angle.
Use these checks before you upload anything:
- Remove images with glare that hides the product surface.
- Choose photos where the full item sits inside the frame.
- Use the same product color and version shown on the listing.
- Mark files by scene, such as [Image1] or [Clip2].
- Confirm that every music track and voice recording is yours to use.
If you have real footage, keep the useful parts. A hand opening a latch or a close view of a fabric stretch can give the viewer proof that a still image can't. You can mix that footage with generated scenes, as long as the product stays consistent.
Amazon says shoppable videos can appear in the main media block of a product detail page. Sellers can upload them through the available video or image management tools. Amazon also says sellers can add up to four shoppable videos to an ASIN, subject to review, with approved videos typically appearing within three days.
Plan for silent viewing. Add captions for the main benefit and any step that would be hard to understand without narration. Voiceover can help, but it should support the picture. It shouldn't explain what the viewer can already see.
If you need a voice track, write it after the visual script. Keep each line close to the action. A line such as “Press once to start” should land as the finger presses the control. That small match makes the video feel clear.
For sound effects, choose restraint. The click of a button may add proof. A loud music bed may hide the message. If you use AI-generated sound, listen for odd tones before export. You can also keep the final listing video silent and let the captions carry the key points.
If your product needs a person on screen, an AI UGC workflow can help you plan a casual demonstration. For more on this format, use the AI UGC video guide.
By now you should have clean references, a scene list, captions, and approved audio assets. Name everything before you open the video tool. It sounds small, but it prevents the wrong image from ending up in the final cut.
Step 4: Create the Video with Seedance Studio
Seedance Studio gives you a browser-based way to make product videos for Amazon from prompts, reference images, clips, and audio. We built it for fast iteration, so you can test a scene without downloading software or waiting for a long production handoff.
Start by opening Seedance Studio and choosing the video workflow. Upload the product references that have a clear job. One image can anchor the product’s shape. A short clip can guide motion. An audio file can guide sound or timing. Keep your labels consistent, such as [Image1] for the main product view.
Write the prompt like a director’s note. Include the subject, action, setting, camera move, light, text, and limits. Plain language works. Try this structure:
- Subject:[Image1], the exact product reference.
- Action:open, rotate, fold, attach, pour, or compare.
- Camera:static close-up, slow push-in, overhead view, or side pan.
- Setting:the room or use case that fits the product.
- Limits:keep the product shape, color, and parts consistent.
A sample prompt could be: "[Image1] sits on a bright kitchen counter. The lid opens smoothly. The camera makes a slow push-in toward the control panel. Show one hand pressing the main button. Keep the product shape and color unchanged. Add short captions for the main benefit. Use clear natural sound."
Seedance Studio supports automated camera direction, consistent characters, native sound, and multiple reference inputs. The result is useful when the product needs a specific movement rather than a basic slideshow. You can also choose formats such as 16:9, 9:16, and 1:1, then work toward output up to 4K depending on your plan.
Use the first generation as a draft. Watch it all the way through before changing the prompt. Check the product shape. Check the hands. Check whether the camera move helps the message. If one part fails, change that part only. A full rewrite can remove details that were already working.
For a seller making several versions, generate one clean master scene first. Then adapt the prompt for a lifestyle view, a close-up, or a vertical ad. This keeps the product look steadier across the set.
You can review the current model and workspace on the Seedance Studio website. We offer a free tier with limited videos and a watermark, while paid plans start at $14 per month. That gives a small seller a way to test the workflow before paying for a larger production run.
Don't chase cinematic effects that hide the item. A slow orbit is useful when it shows the product from a new angle. It is wasted when it makes the product too small to judge. Amazon shoppers need proof first.
By now you should have at least one usable scene, plus a note about what to fix in the next generation. Keep the strongest take. You don't need to use every clip the tool makes.
Step 5: Edit, Export, and Upload Your Amazon Product Video
The final stage in how to make product videos for Amazon is a quality check, not a victory lap. A strong generation can still fail if the captions are hard to read, the product is cropped, or the file looks poor on a phone.
Put your selected clips in the script order. Cut any slow opening. The product should appear quickly, and the main benefit should arrive before the viewer loses interest. Keep captions large enough for a small screen. Use strong contrast against the scene, especially when the product moves through light and shadow.
Watch the cut with sound off first. Ask three questions:
- Can I tell what the product does?
- Can I read the main claim before the shot changes?
- Does every scene show a reason to keep watching?
Then listen with your eyes closed. The sound should match the action. Remove a voice line if it makes a claim the picture doesn't support. Lower music when it competes with speech. Keep only audio that adds clarity or mood.
Export a clean MP4 in the highest suitable resolution available to you. Check the result on a phone, not only a large monitor. Look for soft text, clipped edges, strange hands, flicker, and product parts that change between frames.
Use the upload path that fits your placement. Available video upload options can vary by placement, and videos may go through review before display. Save the final file name and upload date so your team can track revisions.
After approval, open the listing on a phone. Confirm that the video plays, the first frame looks clean, and the product remains easy to see. If it doesn't show at once, allow time for review and display updates. Amazon notes that seasonal review periods can take longer.
One video can also support related listings or social posts when the format and claims still fit. Keep an original master file without marketplace text baked into every version. That makes future edits much easier.
For another sound-focused workflow, an AI video generator with sound can help you plan music, narration, and effects without letting audio take over the message.
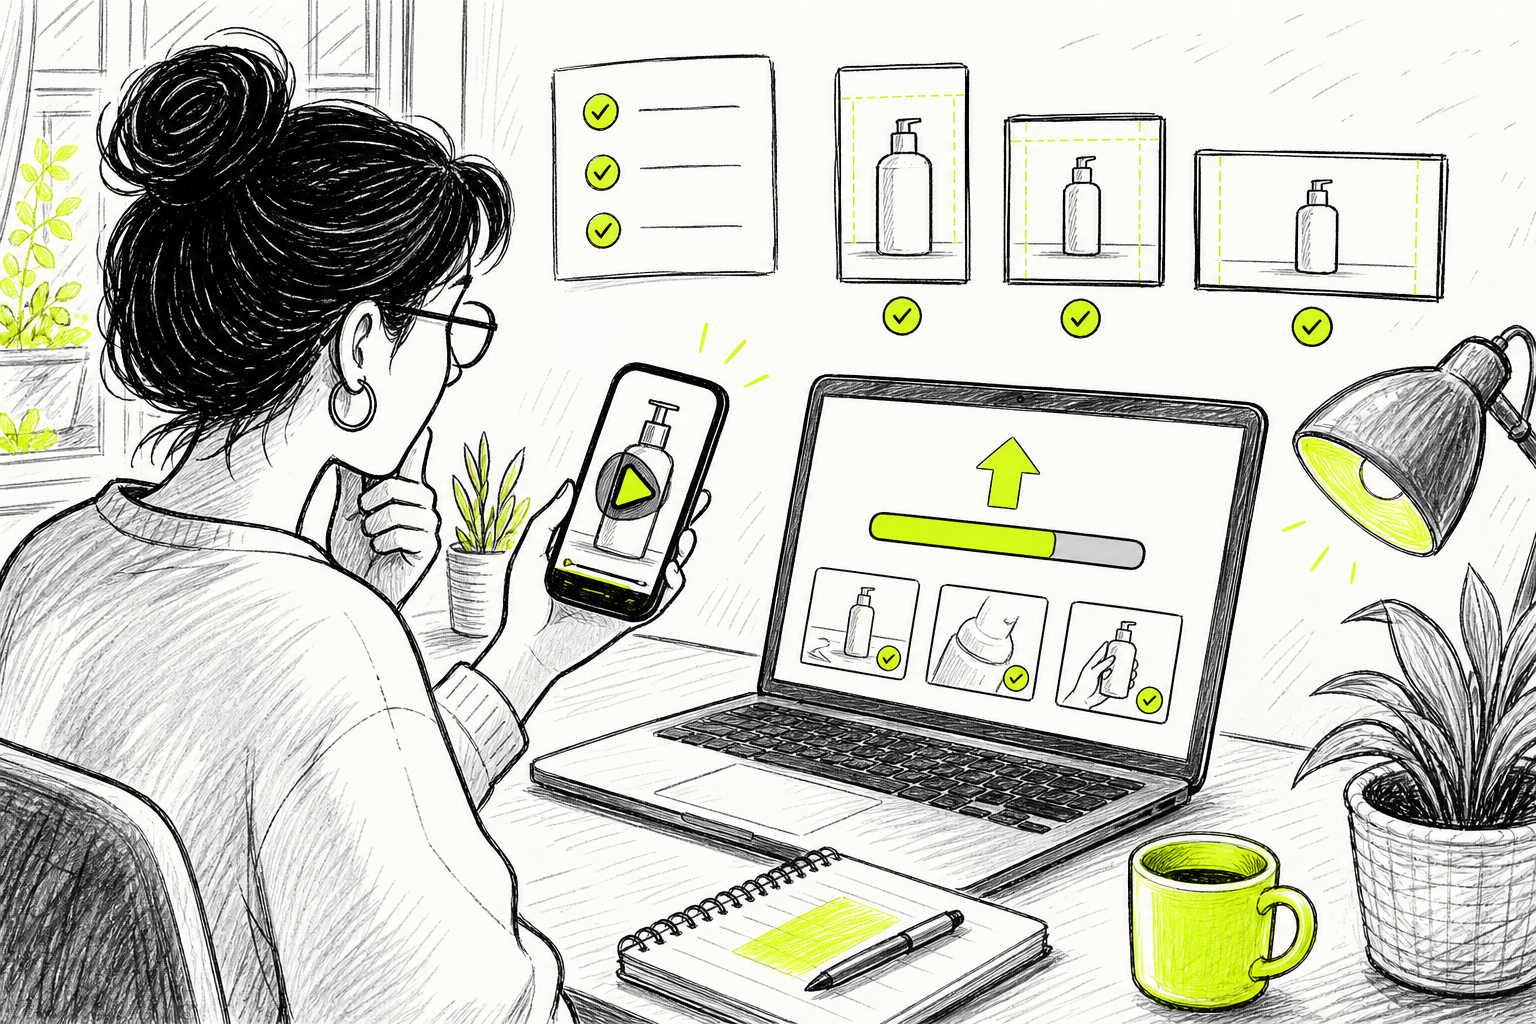
By now you should have a tested file, a saved master version, and a listing upload that you can check after approval.
FAQ: Making Product Videos for Amazon
How long should an Amazon product video be?
An Amazon product video should be as short as the message allows, often around 20 to 30 seconds for a focused listing clip. Put the main benefit near the start. Longer videos can work for richer brand or A+ Content sections, but extra length should add proof rather than repeat the same claim.
Can I make an Amazon product video without filming?
Yes, you can make an Amazon product video from product photos, short clips, prompts, and approved audio. Seedance Studio can turn reference inputs into short video scenes with camera direction and native sound. You still need to check the result against the real product, because generated motion can introduce errors.
What should the first few seconds show?
The first few seconds should show the product solving its main customer problem. Skip a slow logo reveal and start with the useful action. If you sell a storage tool, show the space being used. If you sell a wearable item, show fit or movement. Captions should make the point clear with sound off.
Does Amazon allow AI-made product videos?
AI-made product videos still need to follow the rules for their placement and account. AI doesn't remove the need for accurate claims or a true view of the product. Check the current upload guidance before uploading, then review every frame for misleading changes.
What format should I use for an Amazon product video?
The right format depends on the placement and how shoppers will view it. Start with the frame that keeps the product large and clear on a phone. Seedance Studio supports common ratios such as 16:9, 9:16, and 1:1, so you can make the frame fit the planned use instead of cropping a finished clip later.
Conclusion
Start with one buyer question, then make one short video that answers it through action. Seedance Studio is a sensible first test when you want browser-based generation, reference inputs, camera direction, and a free way to try the workflow. Create a free account, generate one focused scene, and check it on your phone before you upload.


