
You can go from a blank screen to a finished music video without a camera, a crew, or a budget that hurts. The tools exist right now, and the workflow is simpler than most tutorials make it look. This guide walks you through every step, from picking your tool to hitting publish on TikTok or YouTube Shorts.
Step 1: Pick the Right AI Video Tool for Your Music Video
Not every AI video generator is built for music. Some are great for ads or product clips. For a music video, you need a tool that reads your audio and syncs visuals to it. That changes which tools are worth your time.
Here's a quick comparison of the main options creators use right now:
| Tool | Best For | Audio Sync | Free Tier | Max Clip Length |
|---|---|---|---|---|
| Seedance Studio | End-to-end music video, character consistency | Yes (upload audio as reference) | Yes (no card needed) | 15 seconds |
| Freebeat | One-click full-song MV generation | Yes | Limited | Full song |
| Kling AI | Cinematic motion, character lock | Native lip-sync | Yes (watermarked) | 15 seconds |
| Image-to-video generators | Image-to-video, natural motion | No native audio | Varies | — |
We recommend starting with Seedance Studio's free plan if you want character consistency, native sound, and a browser-only workflow. You upload your audio as a reference, tag it in your prompt, and the model plans cuts and camera moves that land on the beat. No download, no waitlist.
If you want a one-click approach where the AI does almost everything automatically, Freebeat is worth testing. It analyzes BPM, detects verse and chorus sections, and generates scene cuts to match. The tradeoff is less control over how individual shots look.
One thing the research makes clear: the biggest mistake most creators make at this stage isn't picking the wrong tool. It's picking the first generated song blindly without listening to both versions. A song with a clear structure, distinct verses, and a strong chorus gives any AI tool better material to work with. Pick your song carefully before you generate a single frame. Check out this deeper look at AI generated music video workflows for more detail on asset prep.
Step 2: Write a Prompt That Matches Your Song's Mood
Your prompt is the director's brief. The AI reads it and decides what the scene looks like, how the camera moves, and what lighting fills the frame. A vague prompt gives you a generic clip. A specific prompt gives you something that actually fits your song.
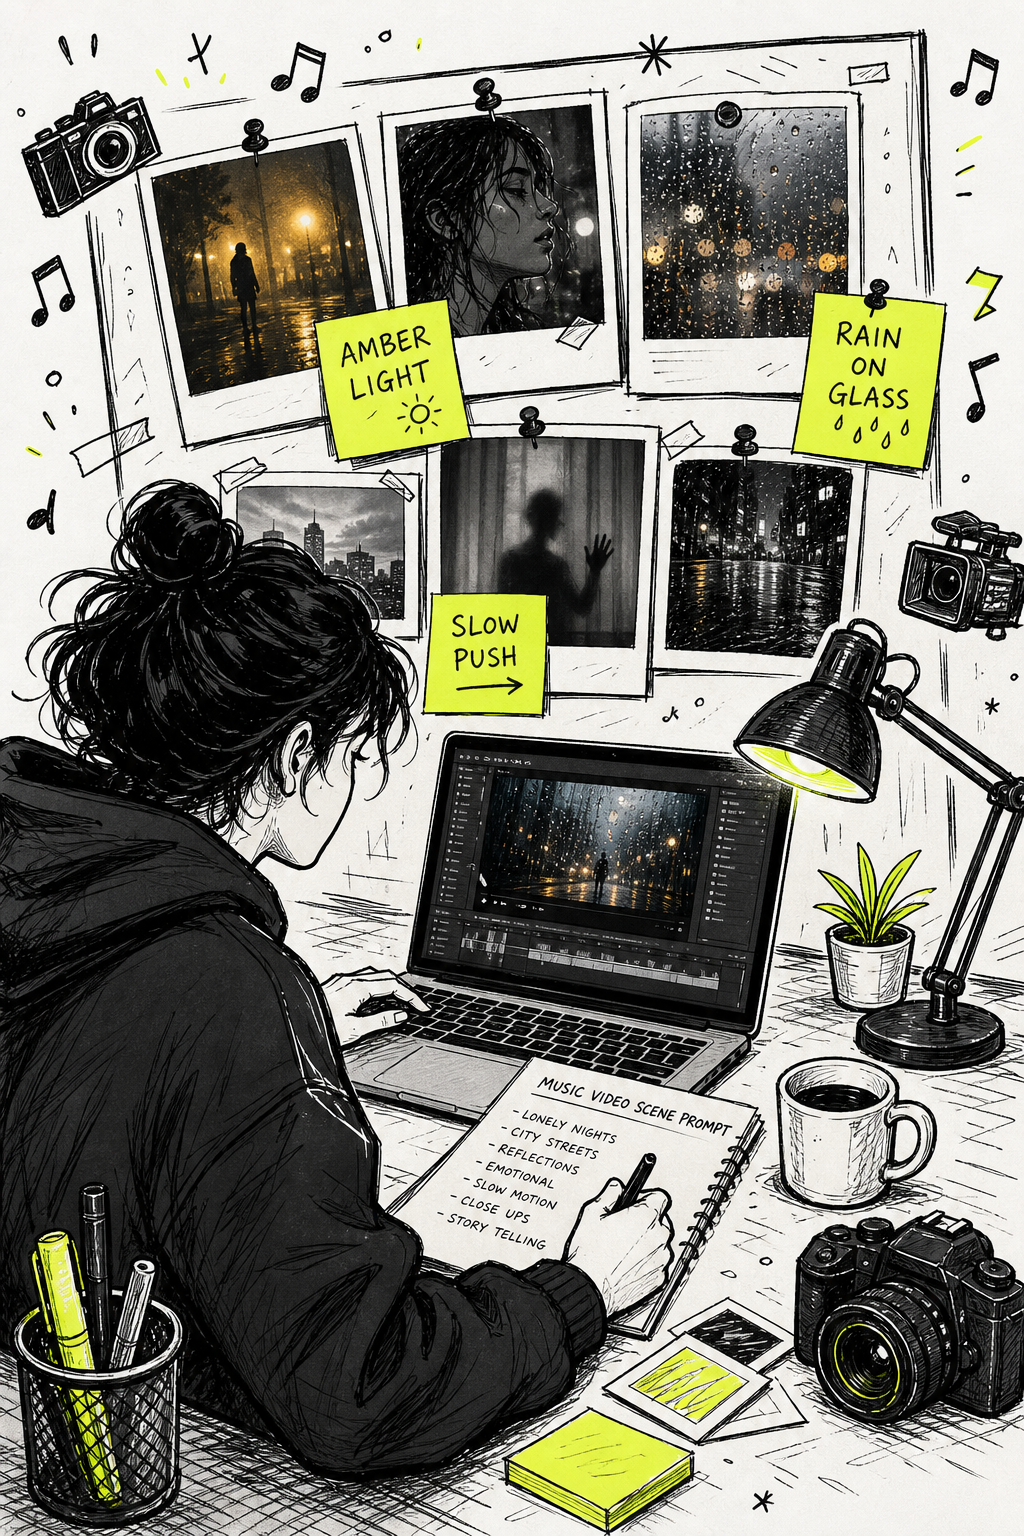
Start with the emotional tone of your song. Is it melancholic and slow? Aggressive and high-energy? Dreamy and nostalgic? That tone should drive every word in your prompt. The difference between "a woman in a recording studio" and a prompt that specifies the exact time of day, lighting quality, and atmosphere is everything. The second kind of prompt gives the AI a scene. The first gives it almost nothing.
A prompt structure that works consistently for music videos:
- Subject: Who is in the shot, described in specific physical detail
- Setting: Where the scene takes place, including time of day and weather
- Lighting: Warm/cool contrast, spotlight, ambient, harsh or soft
- Camera move: Slow push in, wide establishing shot, handheld close-up
- Mood: One or two words that capture the emotional register
For lighting specifically, two approaches translate well to AI. A single spotlight against total darkness (a classic concert look) tells the model exactly what contrast to create. A dual-light setup, where one side is warm lamp light and the other is cool window light, gives a cinematic split that reads as intentional rather than accidental. Both are easier for the model to reproduce consistently than a vaguely "moody" instruction.
Keep your prompts consistent across every clip you generate. If you describe your singer as "a woman with short black hair and a red leather jacket" in clip one, use those exact words in every subsequent prompt. Drifting descriptions produce drifting characters. Think of it as a character sheet you copy-paste into each generation, not something you rewrite from memory each time.
Step 3: Generate Your Scenes with AI
Now you actually make the clips. Open your tool of choice, build your prompt, and attach your assets. Before you hit generate, a few decisions will affect everything that comes after.
First, decide your aspect ratio. Use 16:9 for YouTube. Use 9:16 for TikTok and Reels. Pick one and stick with it for the whole project. Generating some clips in landscape and others in portrait creates cropping problems that are annoying to fix later.
Second, don't generate video from scratch if you can use an image as a starting frame instead. The image-to-video approach is what keeps character consistency across a full video. Generate a high-quality image of your character or scene first. Then use that image as the first frame of the video clip. The AI animates forward from there, which means the character's face and the scene's visual style stay locked from frame one.
In Seedance Studio, you upload your reference image alongside your prompt. The model uses it to anchor the character's appearance across every generation. You can attach up to 12 reference inputs per generation, which means you can supply your character photo, a location reference, and your audio file all in one go.
Generate two or three versions of each clip. Not every generation will land exactly where you want it. Pick the best version and move on. That's normal, not a sign something is broken. Learn more about the image-to-video generation process to sharpen your asset prep before you start.
One real limit worth knowing: current AI video generators can struggle with lip-sync accuracy, especially during fast face movements. That means some frames will drift. Plan for one or two manual review passes before you finalize any lip-sync clips.
After generating each clip, check three things before downloading. Does the character's face match your reference image? Is the lighting consistent with the previous clip? Did the camera move land where you expected? If any of those fail, adjust the prompt and regenerate that clip only.
Step 4: Sync Your Music and Polish the Visuals
With your clips generated, the next job is assembling them into a video that actually flows with the music. This is where the video becomes a music video rather than a collection of clips.
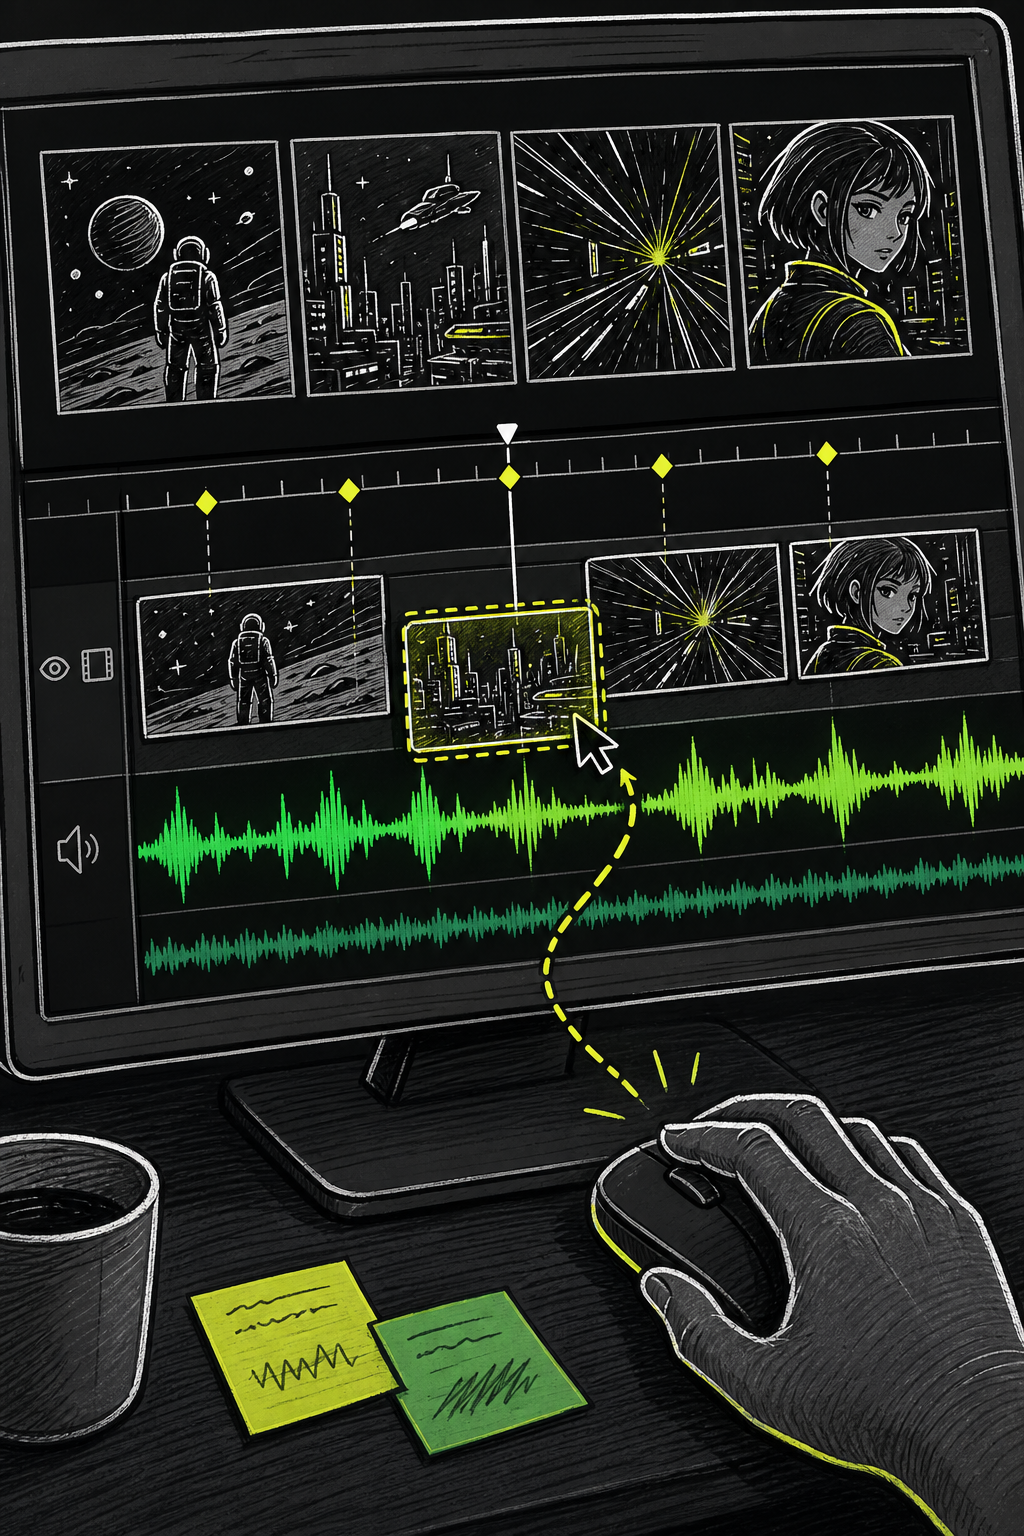
Bring your clips into a basic video editor. CapCut works for this and it's free. Drop your clips in sequence, then bring in your master audio file as a single track underneath all the clips. If your AI tool baked audio into each individual clip, mute those tracks and use the master file so the full song plays uninterrupted from start to finish.
Sync your cuts to the music. The verse sections usually carry slower, more intimate shots. The chorus is where you want the visual energy to spike. Cut on the beat where you can. A cut that lands exactly on a drum hit or a chord change feels intentional; a cut that lands half a beat off feels like a mistake.
For clips that include lip-sync, match the audio segment length to the clip length exactly before you generate. If they drift by even a second, the sync falls apart visually. Tools like lipsync.video offer free credits for short clips. One usable approach: only lip-sync the chorus or a single hook section rather than the whole song. That preserves your credits and keeps the most emotionally important moment feeling precise.
Once the clips are assembled and synced, do a basic polish pass. Look for jarring color temperature shifts between clips. If one clip is warm amber and the next is cold blue-gray, it can feel like two different videos. A light color grade in your editor, even just pulling the warmth up or down slightly, brings everything into the same visual world. You don't need to be a colorist. Just ask whether each clip feels like it belongs in the same room as the one before it.
For creators who want to take the polish further, using an AI video generator with sound baked in from the start reduces how much audio work you need to do in the editing stage.
Step 5: Format and Export for TikTok, Reels, or YouTube Shorts
Exporting in the wrong format is the most common final-step mistake. Failing to export in platform-specific aspect ratios leads to cropping issues and small visual artifacts that signal rushed production.
Here's what each platform wants:
- TikTok: 9:16 vertical, 1080x1920px, MP4, H.264, under 10 minutes, ideally under 60 seconds for algorithmic push
- Instagram Reels: 9:16 vertical, 1080x1920px, MP4, 15 seconds to 90 seconds
- YouTube Shorts: 9:16 vertical, 1080x1920px, MP4, under 60 seconds
- YouTube (full video): 16:9 horizontal, 1920x1080px minimum, MP4
Export at 1080p as a minimum. If your tool supports 4K and you're posting to YouTube, use it. But for TikTok and Reels, 1080p is the sweet spot. Higher resolutions don't improve performance on those platforms and take longer to upload.
Add captions before you upload. Most platforms auto-generate captions, but the accuracy is inconsistent with music content. Adding your own means the lyrics appear correctly, which matters for accessibility and for viewers watching without sound. In CapCut you can add caption boxes manually or use the auto-caption feature and correct it.
Check the exported file on your phone before posting. What looks sharp on a desktop monitor can look dark or washed out on a mobile screen, especially outdoors. Watch the first five seconds critically. That's the window where scroll decisions happen. If the opening shot doesn't hold attention, the rest of the video won't matter. The right AI video app guide goes into more detail on exporting for each platform format.
Copyright and Legal Things to Know Before You Publish
AI-generated visuals and music raise real legal questions that most tutorials skip. You should understand the basics before you publish anything publicly.
If you're using a song you created yourself (or one made with AI music tools under a license that grants you full ownership), you own the audio. But if you're using existing commercial music, even as a background track, you can face copyright claims on platforms like YouTube and TikTok. Those claims can mute your video or remove it entirely.
For AI-generated visuals, the copyright status of AI-generated content varies by jurisdiction and is still being settled by courts and regulators. In the United States, content generated purely by AI without meaningful human authorship may not be eligible for copyright protection. That means you may not own exclusive rights to the frames the AI produced. Practically speaking, this matters less for social media posting, but it's relevant if you plan to license or sell the video.
A few things to check before you hit publish:
- Confirm your music license covers commercial or public use
- Check whether your AI video tool's terms allow commercial publication (Seedance Studio's paid plans do)
- If your video includes any faces generated from real reference photos of public figures, don't publish without confirming you have the right to use those likenesses
- Free-tier generations on some platforms include watermarks. Remove them before posting by upgrading or using a watermark-removal plan
For musicians who want to stay positive and keep pushing creative work out regularly, checking these boxes once becomes a habit rather than a barrier. The legal landscape is evolving fast, but the basics above cover most short-form social media use cases in 2026. You can also find more on AI video content rights in the UGC video context, which touches on similar licensing questions.
FAQ
Can I make a music video with AI for free?
Yes. Several tools offer free tiers, including Seedance Studio and Kling AI. Free plans usually include a watermark on exported clips and a limited number of generations per month. For short-form content on TikTok or Reels, a free tier is often enough to test your concept and produce one or two finished clips before committing to a paid plan.
How long does it take to make a music video with AI?
A short music video, around 30 to 60 seconds, typically takes 2 to 4 hours from start to finish when you're learning the workflow. That includes generating clips, assembling them in an editor, and exporting. Once you've done it a few times, the same process takes closer to 45 to 90 minutes. Single-prompt methods like Freebeat's one-click generator can produce a rough cut in under 10 minutes.
How accurate is AI lip-sync for music videos?
Current AI lip-sync performs best when the vocals are clear and the character is facing the camera. Errors tend to show up when the singer's head turns or the face partially leaves the frame. To get the best results, use clean face-forward shots for any lip-sync segments, match your audio and video clip lengths exactly before generating, and plan for a manual review pass after generation.
Do I need editing skills to make an AI music video?
No advanced skills are required. Basic tasks like trimming clips, dragging audio into a timeline, and exporting an MP4 are all manageable in free tools like CapCut. The AI handles the hardest parts, including scene generation, camera movement, and audio-visual pacing. What you do need is patience for reviewing and reordering clips, and a clear sense of the mood you're going for before you start prompting.
What's the best format to export an AI music video?
Export as MP4 in H.264 at 1080p minimum. Use 9:16 vertical for TikTok, Instagram Reels, and YouTube Shorts. Use 16:9 horizontal for a standard YouTube upload. Setting the wrong aspect ratio at export causes cropping that cuts off your character's face or removes visual context that makes the shot work, so confirm this setting before rendering.
Can AI generate a full music video from one prompt?
Yes, some tools support single-prompt generation for a full video. Certain AI video generators can produce a short video from a single detailed text prompt. Platforms like Freebeat use full-song analysis to auto-generate a complete music video from one upload plus a short description. The tradeoff is less scene-level control. For more polished results with consistent characters, a multi-clip workflow with individual prompts per scene produces better output.
Conclusion
Making a music video with AI is genuinely within reach for any creator today. Pick a tool that syncs to audio, write specific prompts that match your song's emotional tone, generate clips using a consistent character reference, and assemble everything in a free editor. The workflow clicks into place quickly. If you're ready to try it, start with Seedance Studio's free plan and generate your first clip in minutes, no card required.


