
You can turn one sentence, photo, or sound clip into a short AI video in minutes. The hard part is getting a useful result instead of a strange clip with broken motion. Follow these five steps to plan the shot, guide the model, fix weak results, and publish a clean video.
Step 1: Choose Your Video Idea and Format
Good AI videos start with one clear shot. Before you open a generator, decide what the viewer should see and feel in the first few seconds.
Write the idea in one sentence. “A chef flips a pancake in a bright kitchen” gives the model a clear subject, action, and place. “Make something cool with food” leaves too much room for guesswork.
Next, pick the video’s job. A product teaser may need a slow camera move. A reaction clip may need a close face shot. A music visual may need motion that follows the beat. Keep one main action in each clip. Several actions often compete for the model’s attention.
Set the format before you write the prompt:
- 9:16: Use this for TikTok, Instagram Reels, and YouTube Shorts.
- 16:9: Use this for standard YouTube videos, websites, and many ads.
- 1:1: Use this for square feed posts.
Also choose a rough length. A short clip gives you less time for errors to build. Seedance Studio supports clips up to 15 seconds, with several aspect ratios and output options. Its free tier lets you test the workflow before you pay, while paid plans start at $14 per month.
The definition of generative artificial intelligence also helps explain the basic process: the system produces new media from patterns learned during training.
For a repeatable Seedance workflow, keep your first project to one subject, one setting, and one camera move. You can add more once the model gets the base shot right.
Step 2: Write a Clear Prompt or Gather Reference Files
To make AI videos with more control, write your prompt like a short shot brief. Tell the model who or what is on screen, what happens, and how the camera should move.
A useful prompt structure is:
- Subject
- Action
- Setting
- Camera move
- Lighting or visual style
- Dialogue or sound
- Limits the model must follow
Try this example: “A red ceramic mug sits on a wooden desk. Steam rises as morning light crosses the room. Slow push-in camera move, warm colors, shallow depth of field, no text on screen.”
Use plain language. Add film terms only when they give clear direction. “Slow push in” tells the camera to move toward the subject. “Wide establishing shot” tells it to show the full setting first.
Reference files help when the subject must look a certain way. Upload a clean photo for a person or product. Add a location image when the room, street, or color mood needs to stay consistent. Use a short video when you want to guide movement.
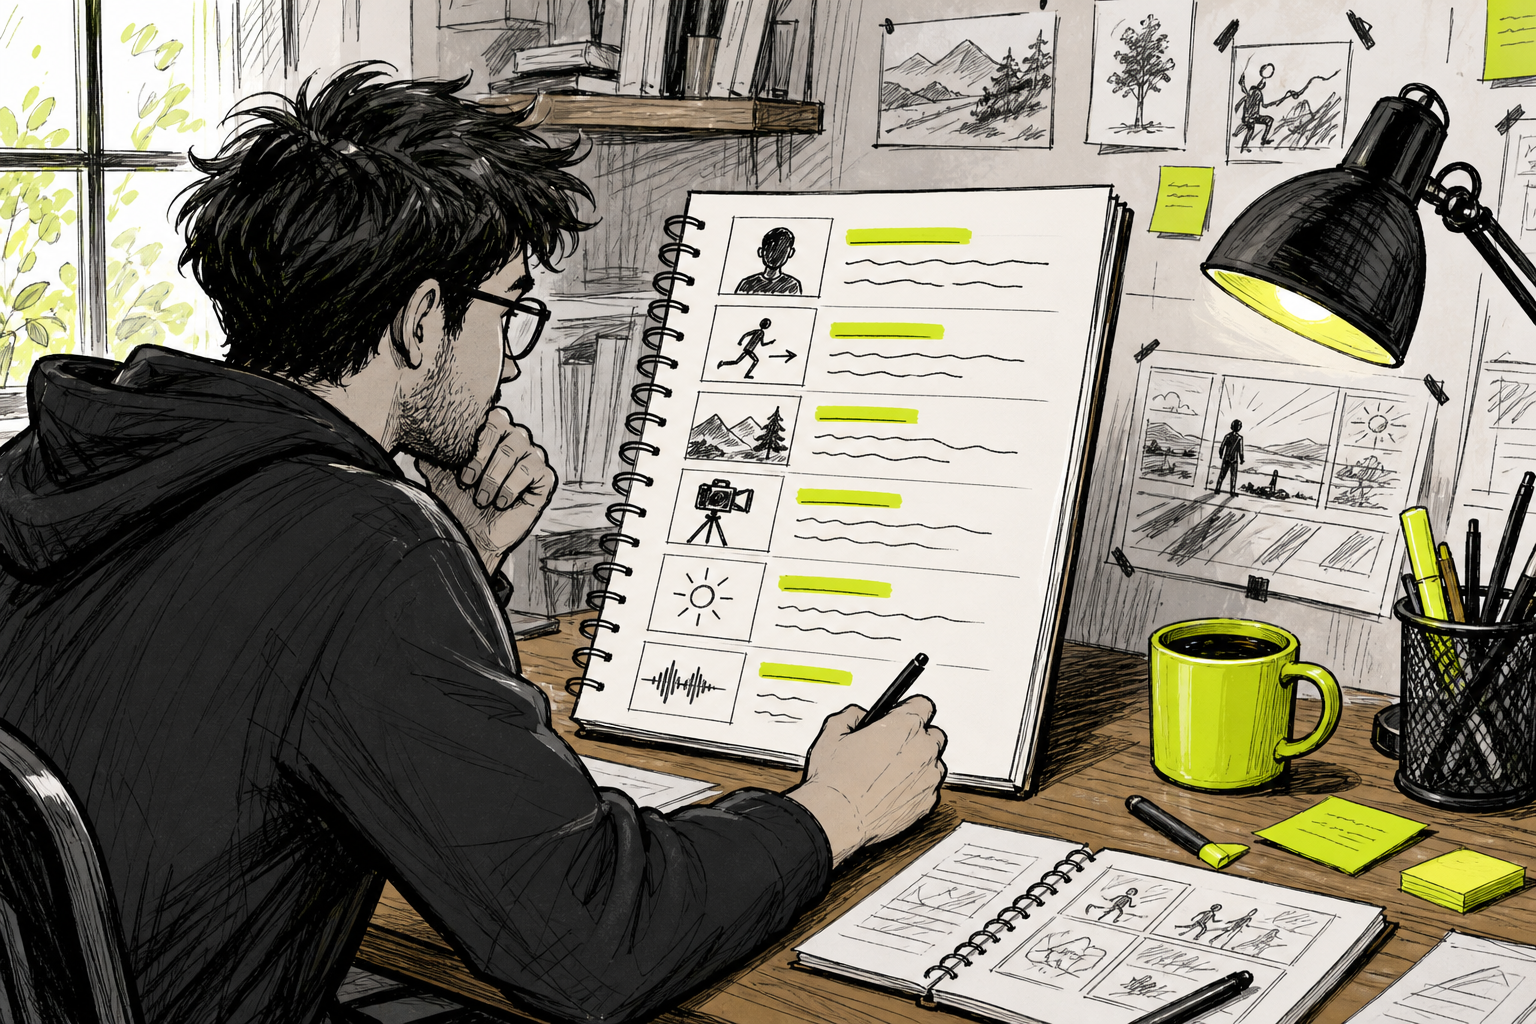
Use only the files that solve a clear problem. A blurry face can make character consistency worse. A busy room can confuse the model about what belongs in the scene. Name each reference in your notes, such as [Image1] for the main subject and [Clip1] for the camera motion.
Seedance Studio accepts prompts plus reference images, video clips, and audio. You can use the same character reference across several shots, which helps when you're building a short story or a product sequence.
Keep a copy of each prompt. Change one major detail at a time. If you change the subject, lighting, camera, and length in one attempt, you won't know which change fixed the result.
Prepare the idea, add references, set the format, then generate. For more on Seedance 2.0, see the setup guide. That order keeps your test clean.
Step 3: Generate Your First AI Video
Now you can generate the first draft. Don't treat this render as the final video. Treat it as a test of your idea and prompt.
Open your chosen generator in a browser. In Seedance Studio, you can type a prompt or upload your reference files without downloading software. Set the aspect ratio, length, and resolution before you press Generate.
Start with a lower resolution if your plan allows it. This makes early tests more sensible because you're checking the action and camera first. Save the highest setting for a shot that already works.
Keep the first prompt focused. For example:
“A small paper boat moves down a rain-filled city gutter at night. Reflections from shop lights ripple in the water. Low tracking camera beside the boat, gentle rain, cinematic blue light, natural water sound, no people, no text.”
That prompt gives the model a subject, movement, place, camera angle, light, sound, and a limit. It doesn't ask for a whole film in one render.
Native sound can save a later editing step when the scene needs simple effects or spoken words. Still, listen closely. AI voices may stress a word in the wrong place. Sound can also make a visual mistake feel more obvious.
Watch the full clip before you judge the first frame. Look for the action you asked for. Does the boat move forward? Does the camera stay beside it? Does the subject remain the same size?
Seedance Studio is useful here because it handles text-to-video and image-to-video in the same browser workspace. It also supports camera direction, reference consistency, and native audio. You can test a simple idea on the free tier, then move to a paid plan when you need cleaner exports or more generations.
If the output feels close but wrong, don't throw away the whole prompt. Keep the parts that worked and revise one weak instruction in the next pass.
Step 4: Review the Result and Improve the Prompt
Reviewing the first render is where most of the quality gain happens. A good review turns “this looks weird” into one clear fix.
Watch the clip twice. On the first pass, focus on motion and timing. On the second pass, inspect faces, hands, object edges, text, and sound sync.
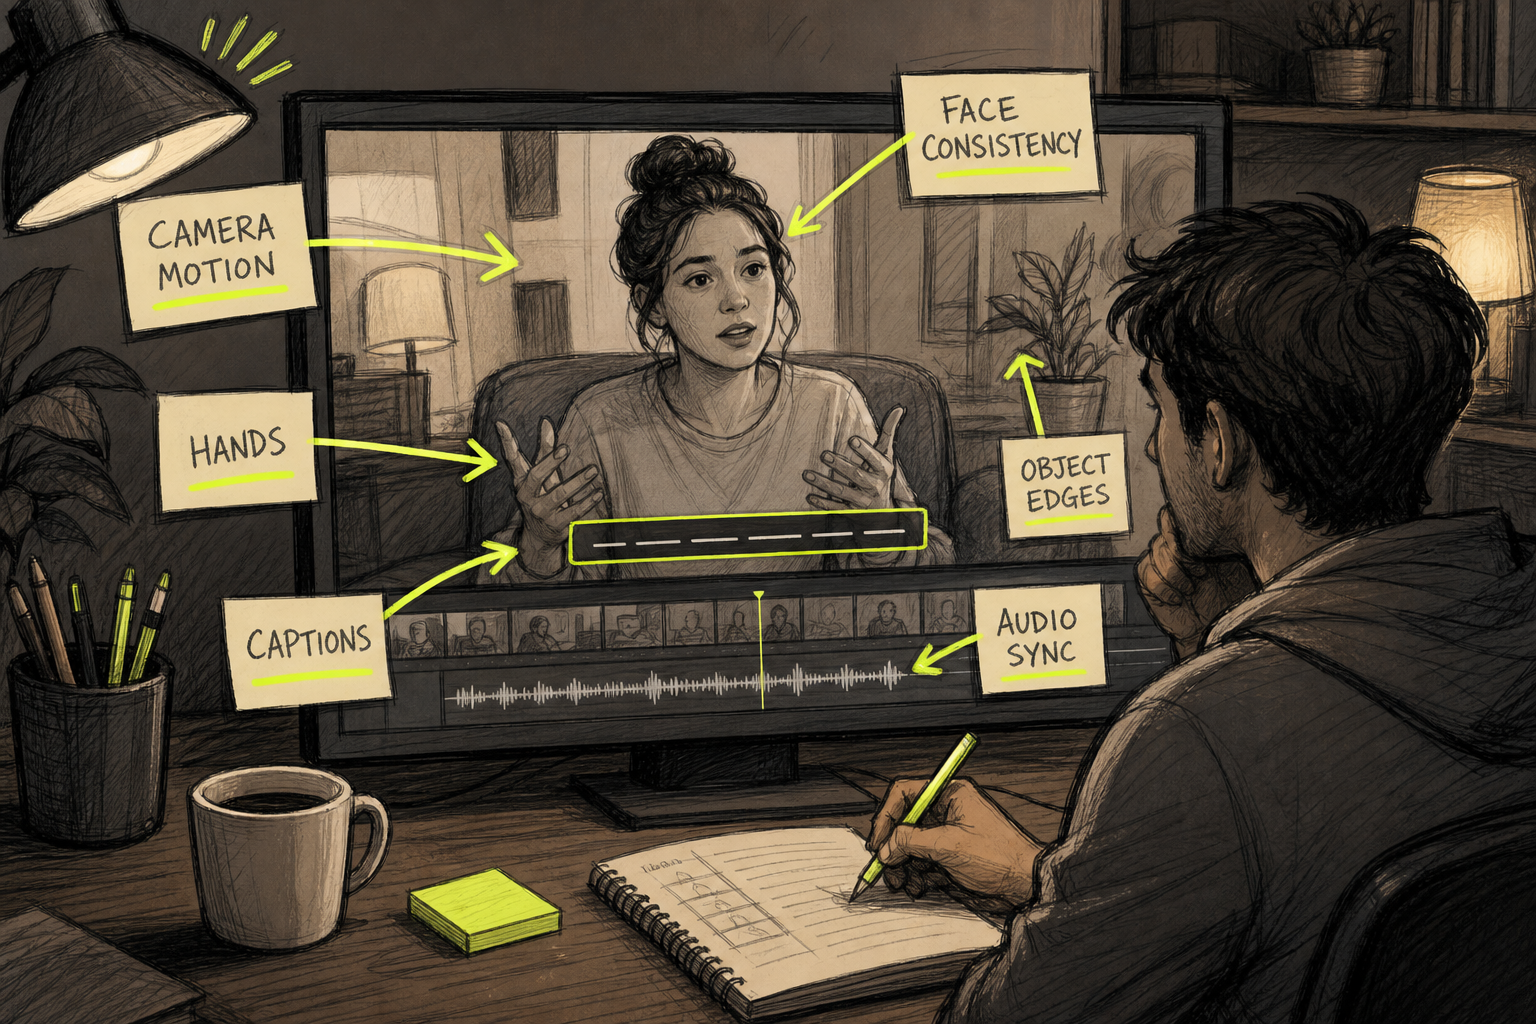
Use this review order:
- Action: Does the main subject do the right thing?
- Camera: Does the shot move as requested?
- Consistency: Does the face, product, or outfit stay stable?
- Physics: Do objects touch, bend, and fall in a believable way?
- Sound: Does speech match the speaker? Do effects happen at the right time?
- Frame safety: Are faces or key objects cut off?
Change the prompt based on the first clear error. If the camera spins too fast, write “slow, steady push in” instead of only saying “cinematic.” If a person changes clothes, repeat the exact clothing detail and attach the same reference image.
Be specific about what must stay fixed. “Keep the same woman, red jacket, short dark hair, and silver earrings throughout the shot” gives stronger guidance than “keep the character consistent.”
Don't add ten new instructions after every failed render. More words don't always mean more control. The model may lose the main action inside a long block of detail.
You can compare your review habits with the AI video review example on YouTube, then build your own short checklist. The goal isn't to accept every strange detail as a creative choice. Some errors need a new render.
Keep versions such as prompt-v1, prompt-v2, and final. This is useful when a marketer needs to explain why a shot changed or return to an earlier idea.
Step 5: Edit, Export, and Publish Your AI Video
AI generation gives you the raw clip. Editing gives it a place in your content plan.
Trim the first and last frames if the motion takes time to start or stop. Remove any pause that doesn't help the viewer. Short-form video needs a clear first moment, so begin with the action when possible.
Add captions when people may watch without sound. Keep each caption short enough to read on a phone. Check that text doesn't cover a face, product, or key movement.
Use a separate editor when you need several clips, a longer soundtrack, or brand overlays. Place the clips in the order of your shot plan. Then add one main audio track if the clips contain separate sounds that don't line up.
Before export, check the frame size again. A vertical clip may look fine in a desktop preview but feel cramped on a phone. Open the exported file on the device your audience uses most.
Use MP4 when your target platform accepts it. Check the platform's current upload rules before a large campaign. Export a clean version without accidental draft labels, blank frames, or unwanted text.
Make a second cut when the idea has more than one useful opening. Change the first two seconds, not the whole video. This gives you a fair test of the hook while keeping the main shot the same.
Seedance Studio supports 9:16, 16:9, and 1:1 output, with paid plans reaching higher resolution options. That native format control can reduce the need for extra conversion tools. Free access can also matter when you're testing a new workflow.
Plan hooks, captions, and platform fit with the short-form video publishing guide. Then publish one version and watch the early response before making five more.
Save the source prompt, reference files, and final export in one project folder. That small habit makes the next version much faster.
FAQ
How to make AI videos for TikTok?
To make AI videos for TikTok, choose a 9:16 vertical format and build one clear action into a short clip. Write a prompt with the subject, movement, setting, and camera direction. Review the first seconds on a phone. Add readable captions, then export an MP4 that keeps the main action inside the vertical frame.
Can I make an AI video from a photo?
Yes, you can make an AI video from a photo by using a free image-to-video generator, uploading the image as a reference, and describing the motion you want. Say what should move, how fast it should move, and what the camera should do. A clean image with one clear subject usually gives the model better guidance than a crowded photo.
What should I include in an AI video prompt?
An AI video prompt should include the subject, action, setting, camera move, light, style, and any sound or dialogue. Keep the main action easy to spot. Add limits such as “no text” or “keep the same outfit” when they matter. Revise one weak detail at a time after each render.
Can AI videos have sound?
Yes, some AI video tools can add native sound, dialogue, or effects during generation. Seedance Studio supports audio input and native sound in its video workflow. Listen for timing errors after each render. If the sound must stay consistent across several clips, add a master track during the edit.
Are AI videos free to make?
Some tools have free tiers, but limits may apply to resolution, watermarks, credits, or clip length. Seedance Studio has a free tier for testing, while paid plans start at $14 per month. Check the export terms before publishing client work, especially when you need commercial use or a high-resolution file.
Conclusion
Start with one simple shot, one clear prompt, and one format. Generate a draft, inspect the exact error, then make a focused revision. Seedance Studio is a sensible place to test this workflow because it works in the browser, accepts reference files, and has a free tier. Create a free account and follow the Seedance Studio setup steps for your first clip.


