
A product video has one job: help the right person take the next step. You can shoot one with a phone, build it with AI, or mix both methods. The workflow stays the same: set a goal, write a tight story, make clear footage, then cut it for the place where people will watch.
Here’s how to make a product video that feels clear, holds attention, and gives viewers a reason to act.
Step 1: Define the Product Video’s Goal and Audience
Before you make a product video, decide what the viewer should do after watching it. Pick one main goal, such as learning how the product works, visiting a page, signing up, or buying.
A video with three goals usually has none. Write one sentence that fills this gap: “After watching, [audience] should [action] because [product benefit].” That sentence will guide the script, shot choice, and call to action.
Next, choose one main audience. Be specific about their problem. A small business owner who needs quick social clips has a different need than a product manager who wants a detailed demo for a sales call.
Pick one main channel for the first version. Reels, TikTok, and YouTube Shorts reward different viewing habits. Reels often works well for shares and saves. TikTok leans toward discovery. Shorts can keep getting views through search.
Platform fit matters when choosing a main channel. Choose a main platform first, then adapt the same idea for other channels.
Set a simple success measure before you film. For an awareness video, track reach and watch time. For a product demo, watch completion rate and page visits. For a sales video, connect the clip to clicks, sign-ups, or purchases when your analytics setup allows it.
Write a short creative brief with these details:
- Audience and problem
- One product promise
- Main proof or demonstration
- Desired viewer action
- Target platform and format
- Video length range
Now you have a decision filter. If a scene does not support the goal, cut it before production.
Step 2: Write a Short Script and Storyboard
To make a product video people finish, write the spoken copy before you think about effects. The first one or two seconds need a clear hook. Open with the problem, the result, or a visual change that earns attention.
Use a simple structure:
- Hook: name the problem or show the result.
- Proof: show the product solving that problem.
- Action: tell viewers what to do next.
Keep one idea per line. Read the script aloud and remove any phrase that sounds like an email. A short clip needs room for pauses, product shots, and on-screen text.
For a 15-second video, aim for a short voice track. Leave space for the opening hook and the final action. If the script feels crowded, remove extra claims before you speed up the voice.
Turn each script line into a scene. A storyboard can be a sketch, a slide deck, or a plain document with four columns:
- Voiceover or dialogue
- What appears on screen
- Camera position or movement
- Text, sound, or transition
For example, a software video might open with a messy task list. The next scene shows one clean workflow. The last frame shows the product name beside a clear sign-up prompt.
Keep the product visible when the claim is made. If you say a tool saves time, show the action that saves time. If you claim a product is easy to use, show the few steps needed to get started.
You can also turn the storyboard into a visual prompt. Name the subject, action, setting, camera move, lighting, and mood. That level of detail gives an AI video model a better brief than “make a product ad.”
Mark the parts that need proof. Product screens may need a real capture. A physical item may need a close-up. A claim about speed may need a before-and-after sequence.
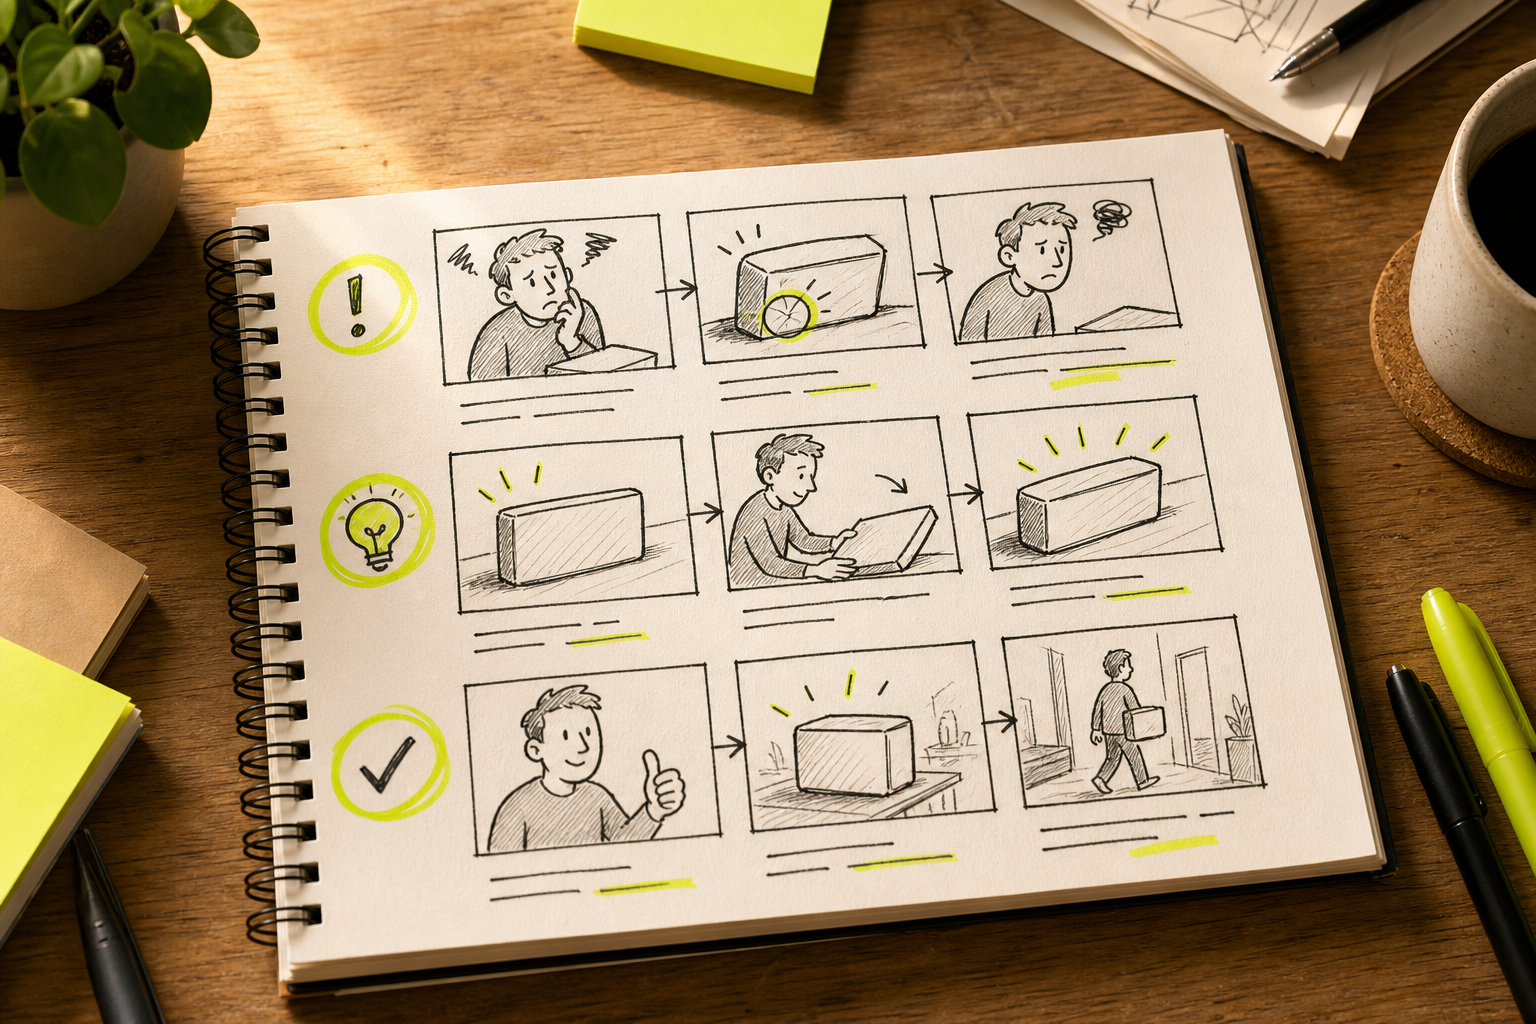
End the storyboard with a review question: can someone understand the product without sound? Captions and strong visuals matter because many social viewers watch in quiet places.
Step 3: Prepare Product Assets, Shots, and Sound
Good preparation makes it easier to make a product video without wasting takes. Gather every file before you film or generate a scene.
For a physical product, collect clean photos from several angles. Add a close-up of the key part. Include a shot that shows scale, such as a hand using the item or the product placed in its normal setting.
For software, capture the main workflow. Hide private data first. Use a large enough screen view so small controls remain clear on a phone.
Build a shot list from the storyboard. Add these fields:
- Scene number
- Shot type
- Action
- Asset needed
- Audio or text cue
- Approval status
When filming with a camera or phone, stabilize the shot. Add light from the front or side. Keep movement slow unless speed is part of the message. A shaky frame can make a good product look hard to use.
Record more than one take of the key action. Leave a few seconds before and after the movement. Those extra frames give you room to cut without losing the start or end of the action.
Sound needs its own plan. Record a clean voice track in a quiet room, or write the exact dialogue you want an AI model to produce. Keep music low enough for speech to stay clear. Add sound effects only when they support the action.
If your video needs a beat, voice style, or natural dialogue, prepare the audio file early. Audio can help shape the timing of a generated clip instead of being added as an afterthought. Learn more about audio.
Store files with plain names such as [ProductFront], [DemoClose], and [VoiceTake1]. This small step helps when you revise the video or hand it to another person.
Do one asset check before production. A missing logo file, blurry reference, or clipped audio track can force a full rework later.
Step 4: Create the Video with a Camera or Seedance Studio
Now make the footage. You can film the product yourself, generate a scene with Seedance Studio, or use both in one edit.
For a camera workflow, follow the shot list in order. Film the wide view first, then the key action, then close-ups. Check focus and exposure before each take. Watch one clip on a phone before you leave the setup.
AI can help when a scene is costly, hard to film, or better shown as a concept. Seedance Studio runs in a browser, so you can type a prompt or upload reference images, video clips, and audio without downloading an app.
We built Seedance Studio for short-form work. It can make clips up to 15 seconds from a prompt and up to 12 reference assets. Those assets can anchor a product look, a scene, a character, or a sound direction.
Start with the product and the action. Then add the setting, camera move, light, and sound. A useful prompt might read: “Close-up tracking shot of [Product], rotating slowly on a kitchen counter, morning light from the left, clean modern room, soft click as the lid opens, keep the shape and color consistent.”
Keep prompts plain. The model does not need a long story if the scene is simple. It does need to know what must stay fixed.
Upload a strong reference image when the product must look the same across shots. Add a short video reference when you want a certain camera move. Attach audio when rhythm or dialogue matters.
Seedance Studio can return native sound and lip-synced dialogue with the generated footage. That can reduce the work needed to line up speech and action, though you should still watch every clip before using it.
Visit the Seedance Studio video generator when you’re ready to test a prompt. The free tier lets you start without a waitlist, while paid plans are available with pricing that varies by plan.
Generate a draft first. Check four things in order:
- Does the product stay consistent?
- Does the camera follow the prompt?
- Does the action look physically believable?
- Does the sound match the scene?
If one part fails, change one instruction at a time. A full prompt rewrite makes it hard to learn what fixed the problem.
Use the best take in the edit, not the first take that looks acceptable. AI footage may show a warped edge, a changing label, or a hand that moves oddly for one frame. Cut around the flaw or regenerate that scene.
For more control over reference images and motion, the Seedance Studio setup guide explains how to tag assets and keep the same subject terms across prompts.
At this stage, you should have a usable set of clips, a voice track, or both. The next job is to make them feel like one message.
Step 5: Edit, Format, and Publish the Product Video
Editing turns separate clips into a product video with a clear pace. Start with the hook. Place the strongest visual in the first seconds, then cut any pause that does not add meaning.
Put the main proof near the middle. End with one action. “See the full demo” is clearer than asking viewers to follow, comment, visit a site, and buy at once.
Use captions for spoken words. Keep each line short and place it where it does not cover the product. Check the video on a phone before export. Text that looks small on a monitor may be unreadable in a feed.
Make the main cut in the format you chose at the planning stage. Then adapt it for other channels instead of posting the same file everywhere.
- Use 9:16 for vertical short-form feeds.
- Use 16:9 for standard YouTube or web pages.
- Use 1:1 when a square feed placement needs it.
A vertical export can use 30 frames per second and compatible video, audio, and file settings. Platform settings can differ for bitrate, sound level, and file limits.
Keep the product and text inside the safe center area. Buttons and captions can cover the lower part of a vertical clip. Move key details away from the edges.
Review the final file in three passes. First, watch for story and pace. Next, check captions, spelling, and sound. Last, watch without sound to see if the visual message still works.
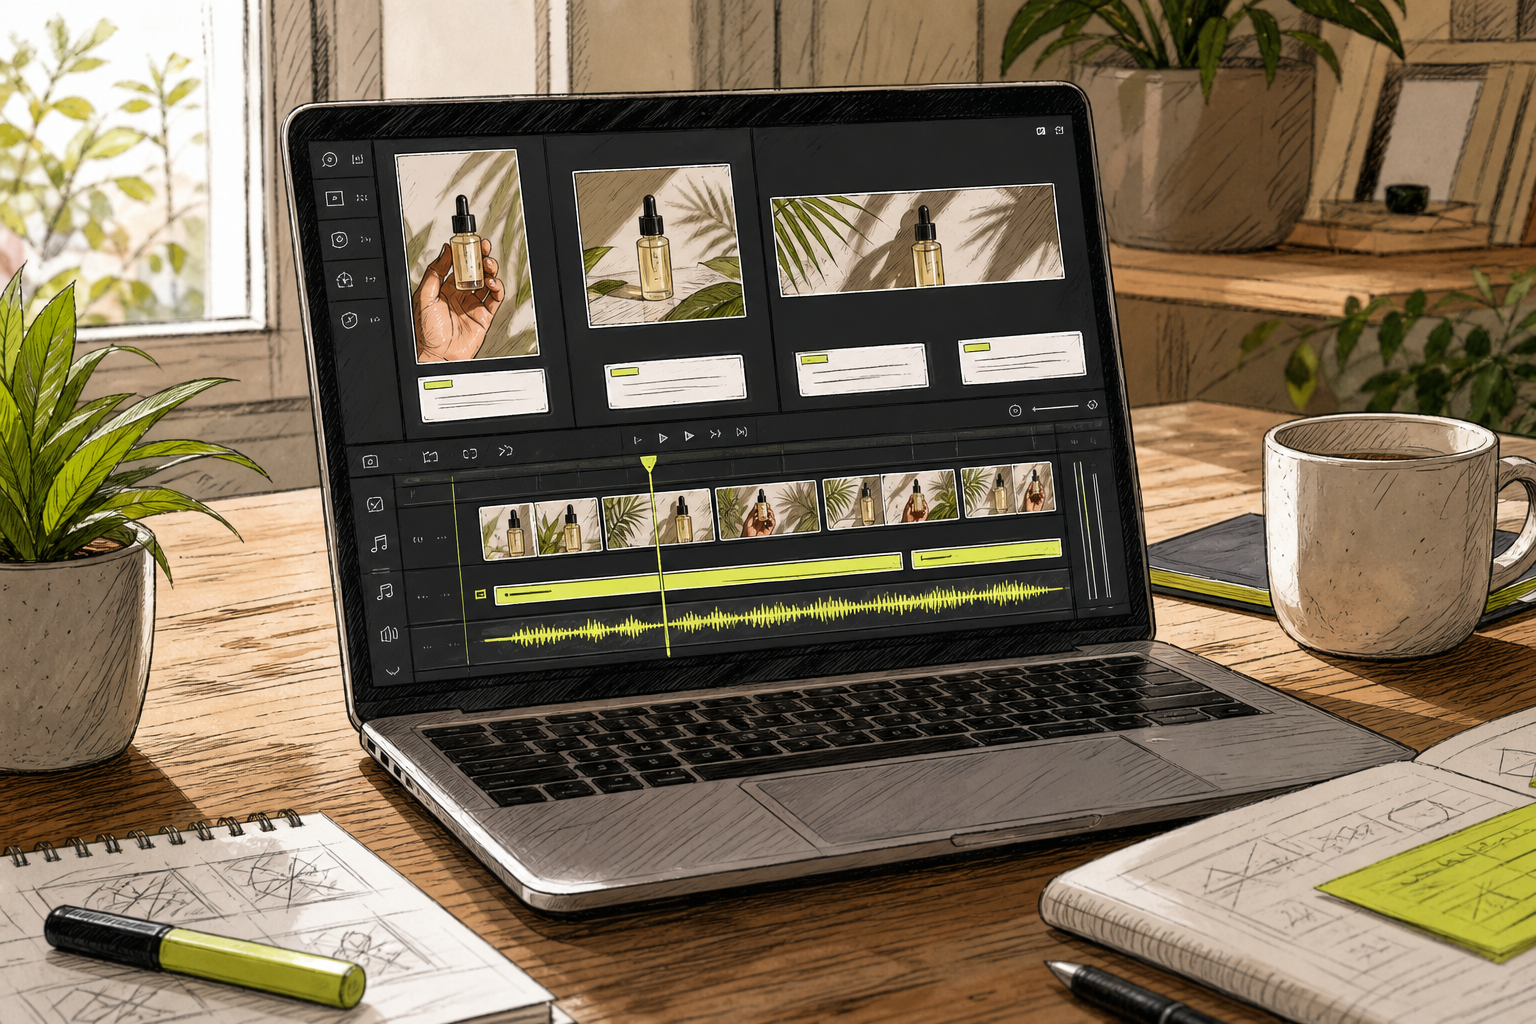
Export a clean master before adding platform-specific text or music. Keep the project file and source clips in a shared folder. This makes it easy to cut a new hook when the first version gets weak retention.
Publish one main version first. Give it enough time to collect useful signals, then test a different opening, length, or call to action. Track the metric tied to your goal rather than chasing views alone.
That last check matters. A high view count cannot tell you if people understood the product or took the next step.
FAQ
How long should a product video be?
A product video should be as long as it needs to prove one point, but short clips often work best for social feeds. Start with 15 to 45 seconds when the goal is discovery. Cut repeated setup. If the product needs a full demo, make a longer version for a product page and use a short cut to lead viewers there.
Can I make a product video without a camera?
Yes, you can make a product video without filming by using AI-generated footage, product photos, screen captures, or animation. Seedance Studio lets you type a prompt and upload reference images, clips, or audio. You should still review every frame and confirm that the generated result matches the real product before publishing.
What should a product video include?
A strong product video should include a clear problem, one product benefit, proof through a demo or visual, and one next action. Show the product when you make the main claim. Add captions so the message works without sound. Avoid packing several unrelated benefits into one short clip.
What format is best for product videos on social media?
Use 9:16 for TikTok, Reels, and YouTube Shorts because those feeds are built for vertical viewing. Use 16:9 for standard YouTube videos or web pages. A square 1:1 cut can fit some feed placements. Choose the format before production so the frame supports the product and text.
How do I make an AI product video look consistent?
Use clear reference assets and repeat the same product description in each prompt. Keep the subject, color, shape, and setting details stable. Change one instruction at a time when you revise a clip. Watch for warped edges, shifting text, or changing product parts before you download the final version.
Conclusion
Start with one audience, one promise, and one action. Then build a short storyboard before you film or generate anything. If you need fast concept footage, try Seedance Studio with a clean reference image and a specific camera prompt. Make a free account, produce one draft, and review it on your phone before you post.


