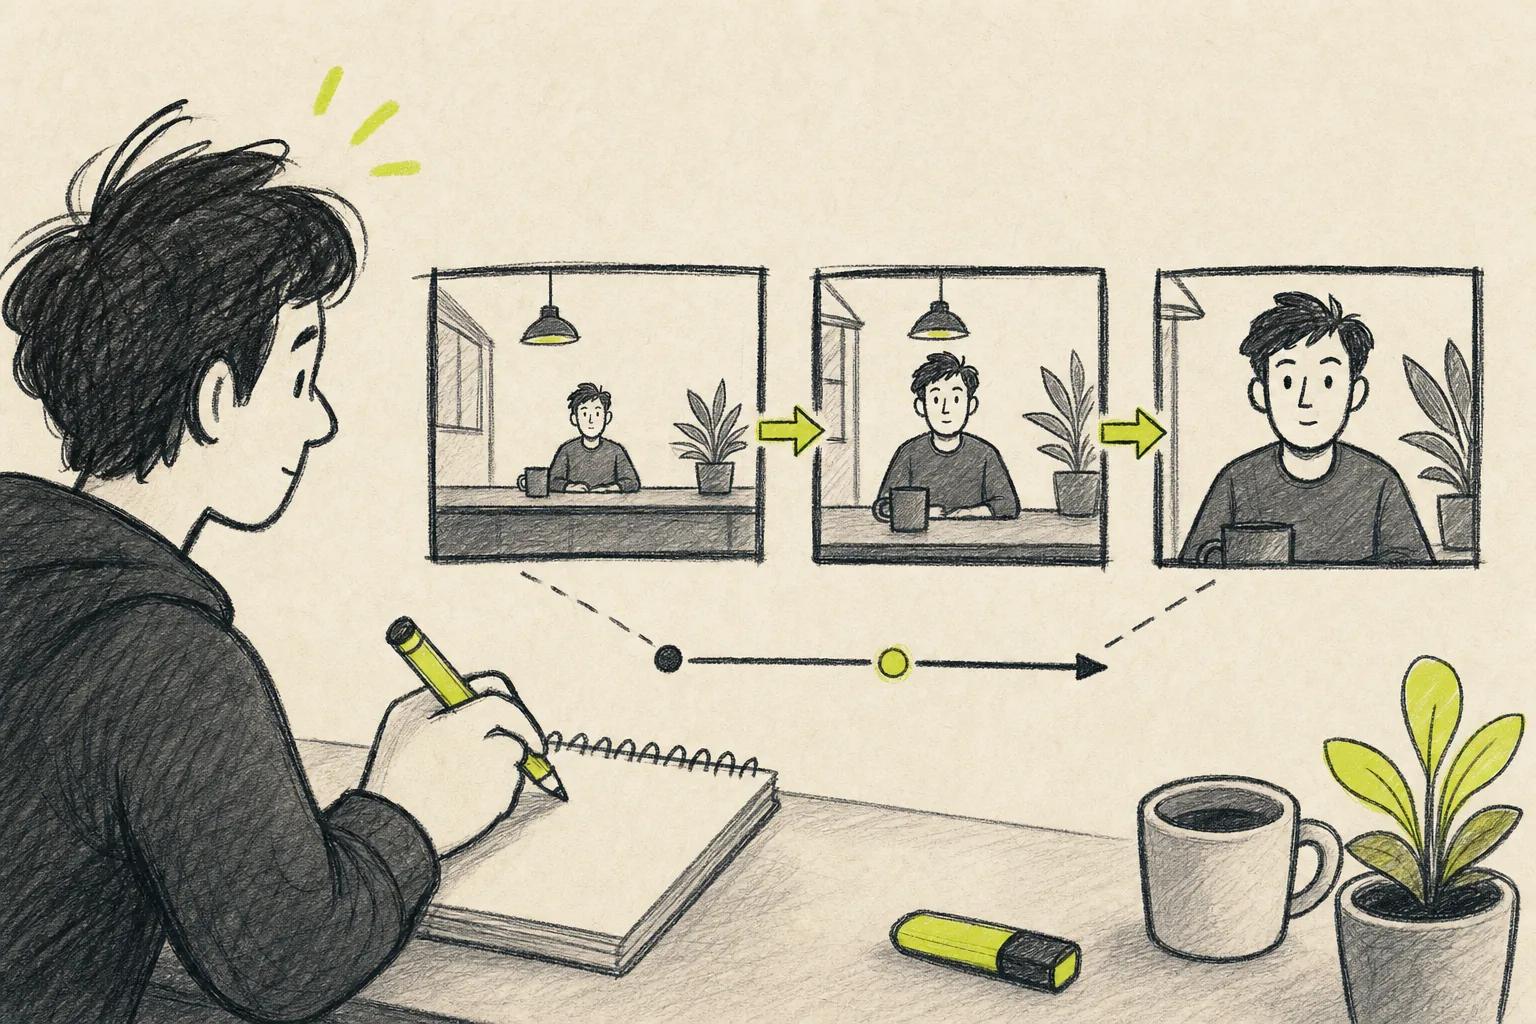
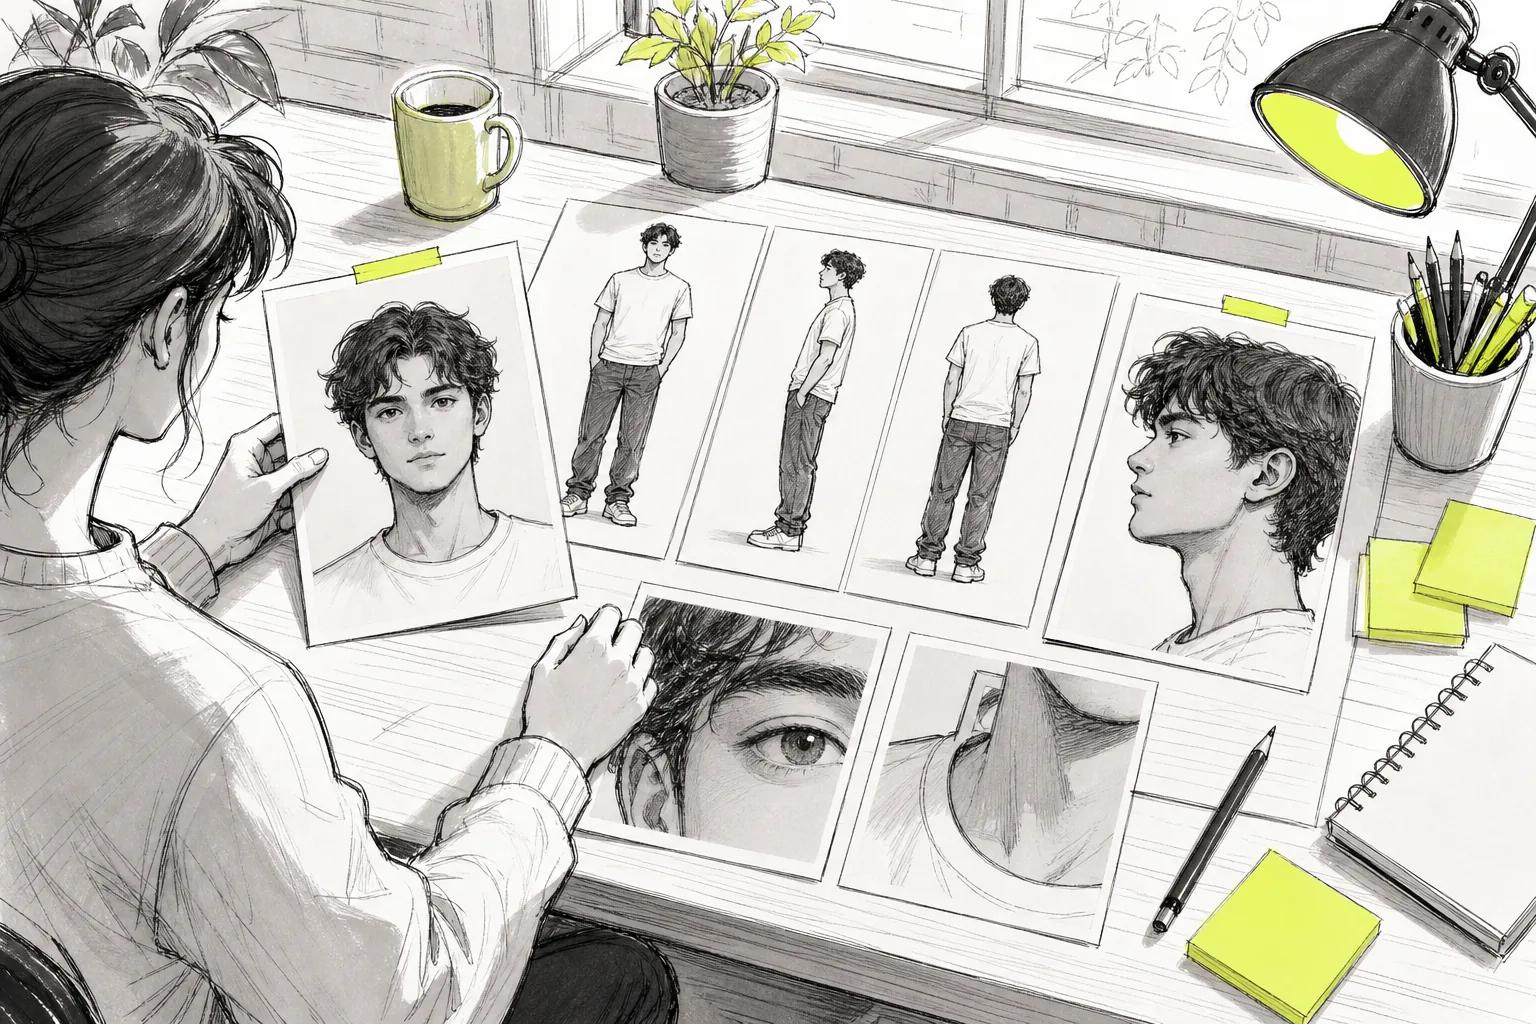
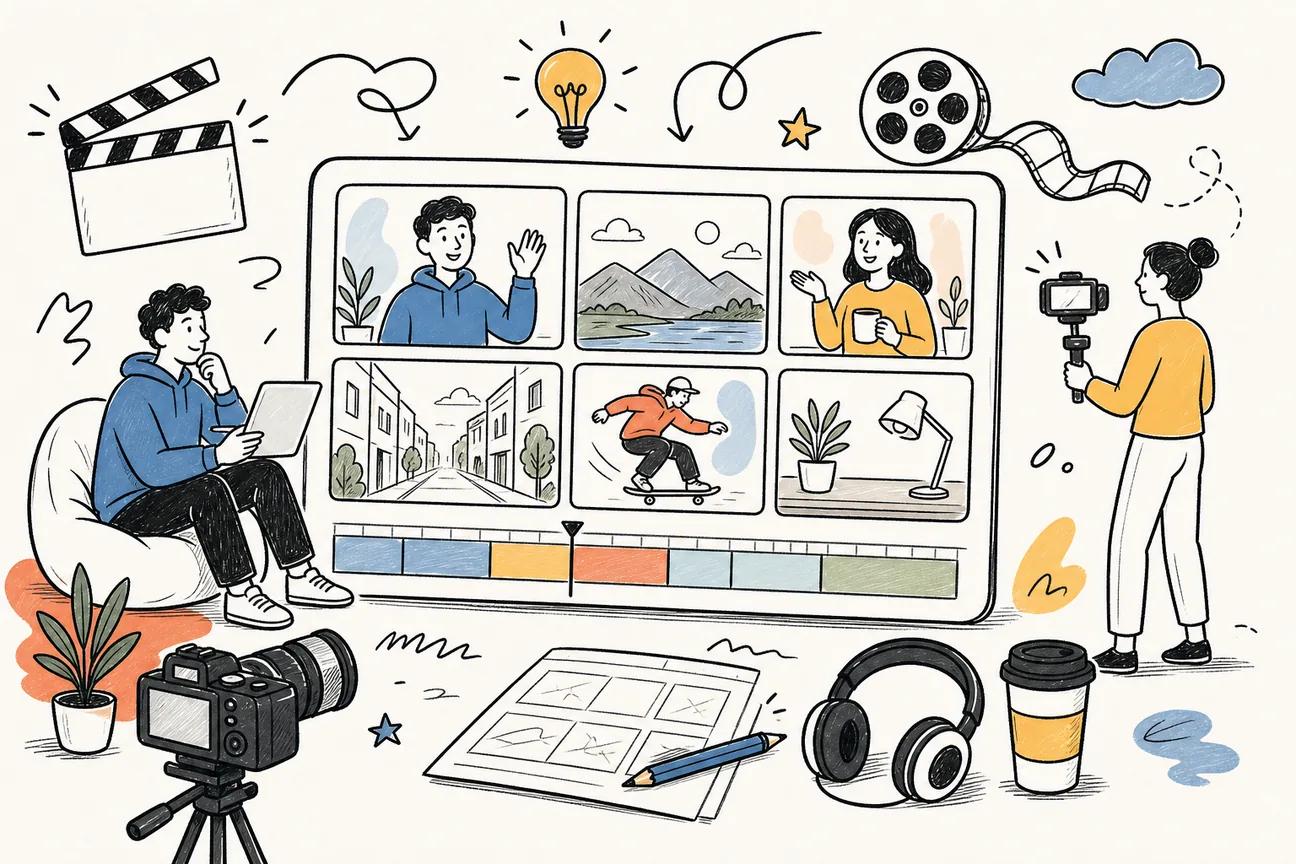
Most videos look like videos. Cinematic videos look like films. The difference isn't expensive gear , it's intentional choices at every stage, from the first idea to the final export. This guide walks you through exactly how to make a cinematic video, whether you're shooting real footage or generating it with AI.
Step 1: Plan Your Cinematic Vision
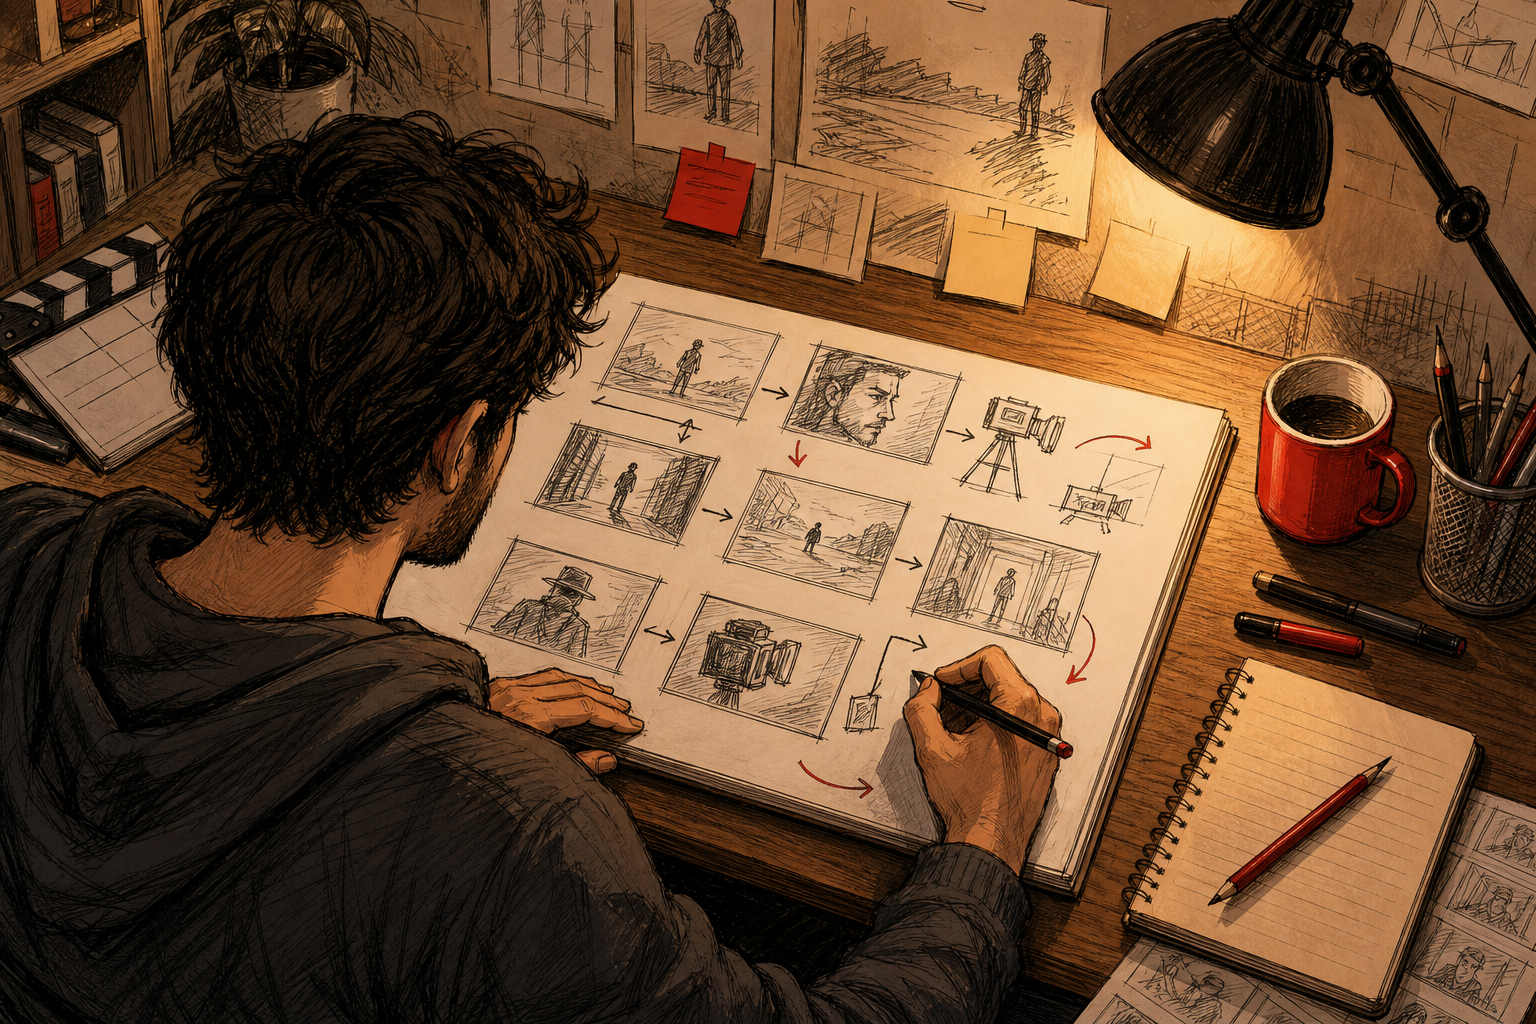
Before you generate or film a single frame, you need a clear vision. Cinematic content has a specific look: deliberate camera angles, controlled lighting, and a visual story that moves with intention. Vague ideas produce vague results.
Start by answering three questions. What is the video about? Who is watching it? And what feeling should they walk away with? A product launch video feels different from a short film, and both feel different from a social media clip. Knowing the answer shapes every decision that follows.
Once you know the purpose, decide on the visual style. Think about mood words. "Gritty and urban" suggests low contrast, desaturated tones, and handheld camera movement. "Warm and cinematic" points toward golden hour lighting, shallow depth of field, and slow dolly shots. Write these words down. They become your creative brief, and they translate directly into prompts when you move to AI generation.
Next, think about format. Where will this video live? TikTok and Reels want 9:16 vertical. YouTube needs 16:9. A square 1:1 works for feed posts. Pick the format before you do anything else, because it changes how you frame every shot. One hidden limitation worth knowing: most AI video tools don't publish their supported aspect ratios upfront, so you may discover format restrictions only after you start generating. Factor that into your planning.
Finally, make a rough shot list. Even three to five shots written in plain language is enough. "Wide establishing shot of a city street at dusk. Close-up of hands typing on a keyboard. Slow dolly toward a glowing screen." That list is your roadmap. By the end of this step, you should have a mood direction, a target format, and a basic shot list on paper.
Step 2: Write a Script and Storyboard
A script is not just dialogue. For a cinematic video, the script describes what the camera sees, what the subject does, and what the audience hears. Even a 15-second clip benefits from a written script because it forces you to think in shots rather than in abstract ideas.
Keep the script tight. A 15-second video needs roughly 30 to 40 words of spoken copy if there's dialogue. A 30-second video needs 60 to 80. Write the way you'd say it out loud, not the way you'd write an email. Short sentences. Active verbs. One idea per line.
For each line of dialogue or action, note the corresponding visual. This is the beginning of your storyboard. You don't need to be an artist. Simple boxes with stick figures and arrows work fine. The goal is to map the visual sequence so you know what shot comes after what. A scene that lands has a shape: setup, turn, payoff. Give your storyboard those three beats, and the finished video will feel authored rather than accidental.
If you're using AI to generate the video, your script and storyboard translate directly into a numbered shot list. Shot 1 becomes Prompt 1. Shot 2 becomes Prompt 2. This structure makes the generation process faster and the output more consistent, because each prompt has a clear, single purpose.
One rule worth following: one beat per shot. If a shot description has two "and then" moments in it, split it into two shots. Trying to pack multiple actions into a single clip is the most common reason AI-generated scenes look chaotic. Keep each shot focused on one movement, one emotion, or one reveal.
By the end of this step, you should have a script with visual notes and a rough storyboard that maps each beat to a specific shot. That document is your production plan for everything that follows. If you're also planning to turn an AI script into video, having this structure already in place saves significant time during generation.
Step 3: Choose the Right AI Video Tool
The tool you pick determines what cinematic control you actually have. Most AI video generators produce motion. Fewer produce directed motion with consistent characters and native sound. That gap matters a lot when you're trying to make something that looks like a film rather than a slideshow.
We built Seedance Studio specifically for this. It runs on Seedance 2.0, currently ranked number one for text-to-video and image-to-video. You type a prompt or upload reference images, and the model returns a finished clip with camera direction, consistent characters, and audio already mixed in. No download, no waitlist. The free tier gets you started, and paid plans begin at $14 per month.
What separates Seedance Studio from most alternatives is audio sync. In a survey of five AI video tools, Seedance Studio was the only one confirmed to have native audio sync built in. The other four tools had no verified audio sync at all. For cinematic content, that matters. Sound is half the film experience, and having to manually layer audio in a separate editor after generation adds time and often produces sync drift.
Two other tools are worth knowing about for context.LTX Studiohas camera movement controls, keyframe-based motion definition, and preset cinematic visual styles, plus a free tier. It's a solid option if you want granular keyframe control.SoraandVeoare capable models but have limited public access or require subscriptions to other platforms. Neither publishes pricing or aspect ratio support transparently, which makes planning harder.
Speaking of aspect ratios: none of the five tools surveyed list their supported aspect ratios publicly. That's a real planning gap. Seedance Studio supports 9:16, 16:9, 1:1, 21:9, 4:3, and 3:4, which covers every major platform format. Knowing that before you generate means you're not discovering limitations mid-project.
For most creators making cinematic content for TikTok, Reels, or YouTube, Seedance Studio is the clearest starting point. The free tier removes the financial risk, and the full cinematic feature set means you're not working around missing tools. You can also read the full comparison of AI video generator tools if you want to see how different options stack up across more criteria.
Step 4: Craft Prompts for Cinematic Results
A vague prompt produces a vague video. "A woman walking in a city" gives the model almost nothing to work with. "A young woman in a yellow jacket walking briskly through a rainy Tokyo street at dusk, puddles reflecting neon signs, slow push-in camera move" gives it a shot.
The formula that works for cinematic prompts has seven parts: Subject, Action, Setting, Camera, Lighting or Style, Dialogue or Sound, and Constraints. You don't need all seven in every prompt, but the more of them you include, the more directed the output becomes.
Camera direction is where most people underinvest. Terms like "cinematic" or "beautiful" are wishes, not instructions. Real camera language is instructions. Try "low-angle dolly-in," "slow orbit," "handheld follow," or "static wide." Seedance Studio reads these terms directly and executes them as named moves. The Seedance 2.0 prompt guide breaks down exactly how to structure prompts for camera control, including 21 ready-to-use examples.
For lighting and style, one or two strong descriptors beat a stack of adjectives. "Neon rim light" does more work than "beautiful, stunning, cinematic, gorgeous." Pick the one detail that defines the mood and write that.
If your video has dialogue, put the line in quotation marks and name the speaker. That's the whole mechanism. "The detective lowers her badge and says, 'I already know what you did.'" The model generates that line as spoken dialogue with matching lip movement on the character's face. Keep lines short, one or two sentences per clip, because lip sync is strongest on natural-length speech.
For multi-shot scenes, use a numbered shot list in your prompt. Number each shot, state the total duration upfront, and give each shot one clear action. First, the wide establishing shot. Then the close-up. Then the reaction. That sequencing tells the model the arc of the scene, not just the individual frames. One rule of thumb worth memorizing: words set the look, references set the motion. If something must look exactly right, upload it as a reference image and tag it in the prompt rather than trying to describe it in text.
Step 5: Refine and Export Your Cinematic Video
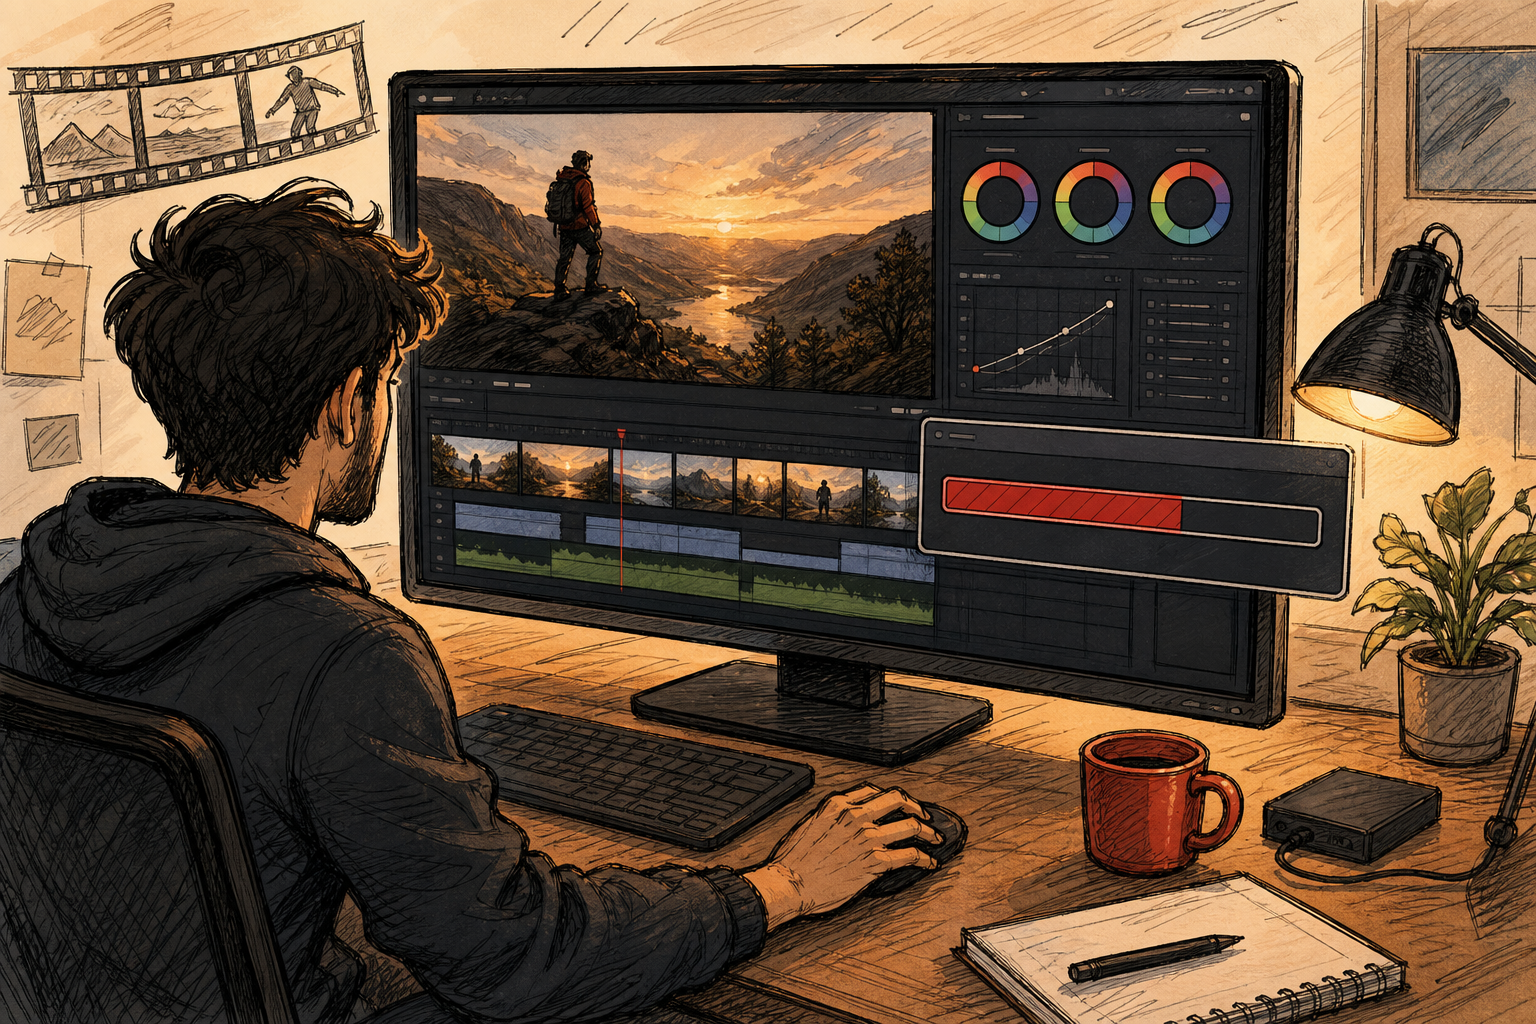
Your first generation is a draft. Expect that. Most good creators run two to three generations per clip before they have something post-ready. Watch the output all the way through before you do anything else.
Check four things in order. First, did the camera do what you asked? Second, is the character consistent with any reference you uploaded? Third, does the audio sync to the action? Fourth, are there obvious errors like extra hands, a distorted face mid-motion, or objects that blink in and out? If something is off, adjust the prompt and regenerate rather than rewriting everything at once. Change one element per iteration. That keeps you from losing what was already working.
When you have a clip you're happy with, think about resolution. Iterate at lower resolution to save credits and generation time. Run the final render at 1080p or 4K. Seedance Studio offers 480p on the free plan, with 720p, 1080p, and 4K available on paid plans. Starting at 1080p for your final export gives you a buffer against the re-compression that every social platform applies to uploaded video.
For multi-clip projects, bring your finished clips into a basic video editor. Drop them in sequence, replace the individual audio tracks with your master audio file so the full soundtrack plays uninterrupted, and trim any dead frames at the start or end of each clip. If you're making a music video or beat-sync content, the AI music video workflow covers how to match clip timing to audio chunks efficiently.
Before you export the final file, watch the assembled video twice. First pass for visual continuity , does the character look consistent across clips, does the lighting feel like the same world? Second pass for audio , do the cuts land on the beat, does the lip sync hold up, does the energy of the visuals match the pacing of the sound? Fix what you catch here, because it's much faster to regenerate one clip now than to notice the problem after you've posted.
Export as MP4. That's the format every major platform accepts. Check the file on your phone before posting. What looks sharp on a desktop monitor can look washed out or too dark on a mobile screen, and most of your audience is watching on mobile. If you're producing videos with native sound, verify the audio levels on headphones too , platform compression can clip peaks that sounded fine in your editor.
Planning a trip while you work on your content calendar? Timing matters in both , just like knowing when to book flights can save you real money, knowing when to post your cinematic content (within the trend window, before the moment dies) can be the difference between a clip that takes off and one that sits unplayed.
FAQ
What makes a video look cinematic?
A cinematic video has intentional camera movement, controlled lighting, and a visual story with a clear arc. Specific camera moves like dolly-ins or slow orbits, deliberate color grading, and matched audio all contribute. It's less about the equipment and more about the decisions made at every stage, from the shot list to the export settings.
Do I need a camera to make a cinematic video?
No. AI video generators like Seedance Studio let you produce cinematic content entirely from text prompts and reference images in a browser. You type a shot description with a named camera move, and the model generates the clip with motion, lighting, and native audio already mixed in. No camera, no filming, no editing software required for basic output.
How long should a cinematic video be?
For social media, 15 to 30 seconds is the sweet spot for TikTok and Reels. YouTube can support longer formats, but cinematic short films often run 60 to 90 seconds. For AI-generated clips, individual shots are typically 4 to 15 seconds, which you then stitch together into a longer sequence in a video editor.
What is the best AI tool for making cinematic videos?
Seedance Studio is the strongest option for cinematic AI video right now. It supports real camera direction language, consistent characters across shots, native audio sync, and multiple aspect ratios including 9:16 and 16:9. It has a free tier and paid plans starting at $14 per month, with no download or waitlist required.
How do I write a good prompt for a cinematic AI video?
Use the Subject, Action, Setting, Camera, Lighting, Dialogue, Constraints structure. Name the actual camera move (dolly-in, slow orbit, handheld follow) rather than using vague words like "cinematic." One strong lighting descriptor beats five stacked adjectives. For dialogue, put the line in quotation marks and name the speaker. For multi-shot scenes, number each shot and state the total duration upfront.
Can I add sound to an AI-generated cinematic video?
Yes, and the method depends on your tool. Seedance Studio generates native audio alongside the video, including sound effects and lip-synced dialogue, so no separate audio step is needed for basic sound. If you want a specific music track, you can upload an audio reference and the model syncs visuals to it. Most other AI video tools require you to add audio manually in a separate editor after generation.
Conclusion
Cinematic quality comes from planning before you generate, directing the camera with specific language, and iterating until the output matches your vision. The tools are genuinely capable now. Start with a free account at Seedance Studio, write one prompt with a named camera move, and generate your first shot today.