
You have a script. Now you want a video. The good news: you don't need a camera, a studio, or any editing experience. Modern AI tools can improve your words and produce a finished clip with a talking avatar, background music, and captions in the time it takes to brew coffee. Here's exactly how to do it, step by step.
Step 1: Write or Paste Your Script
Your script is the foundation. Everything the AI builds flows from the words you give it, so spending five minutes here saves you ten rounds of regeneration later.
Keep it structured. Break your content into clear paragraphs, one idea shows, the AI reads paragraph breaks as scene boundaries. A single wall of text produces a single scene. Short paragraphs produce a well-paced video with natural cuts.
Plain language works better than formal writing. Write the way you'd say it out loud. Short sentences. Active verbs. If you'd pause when reading it aloud, add a line break there.
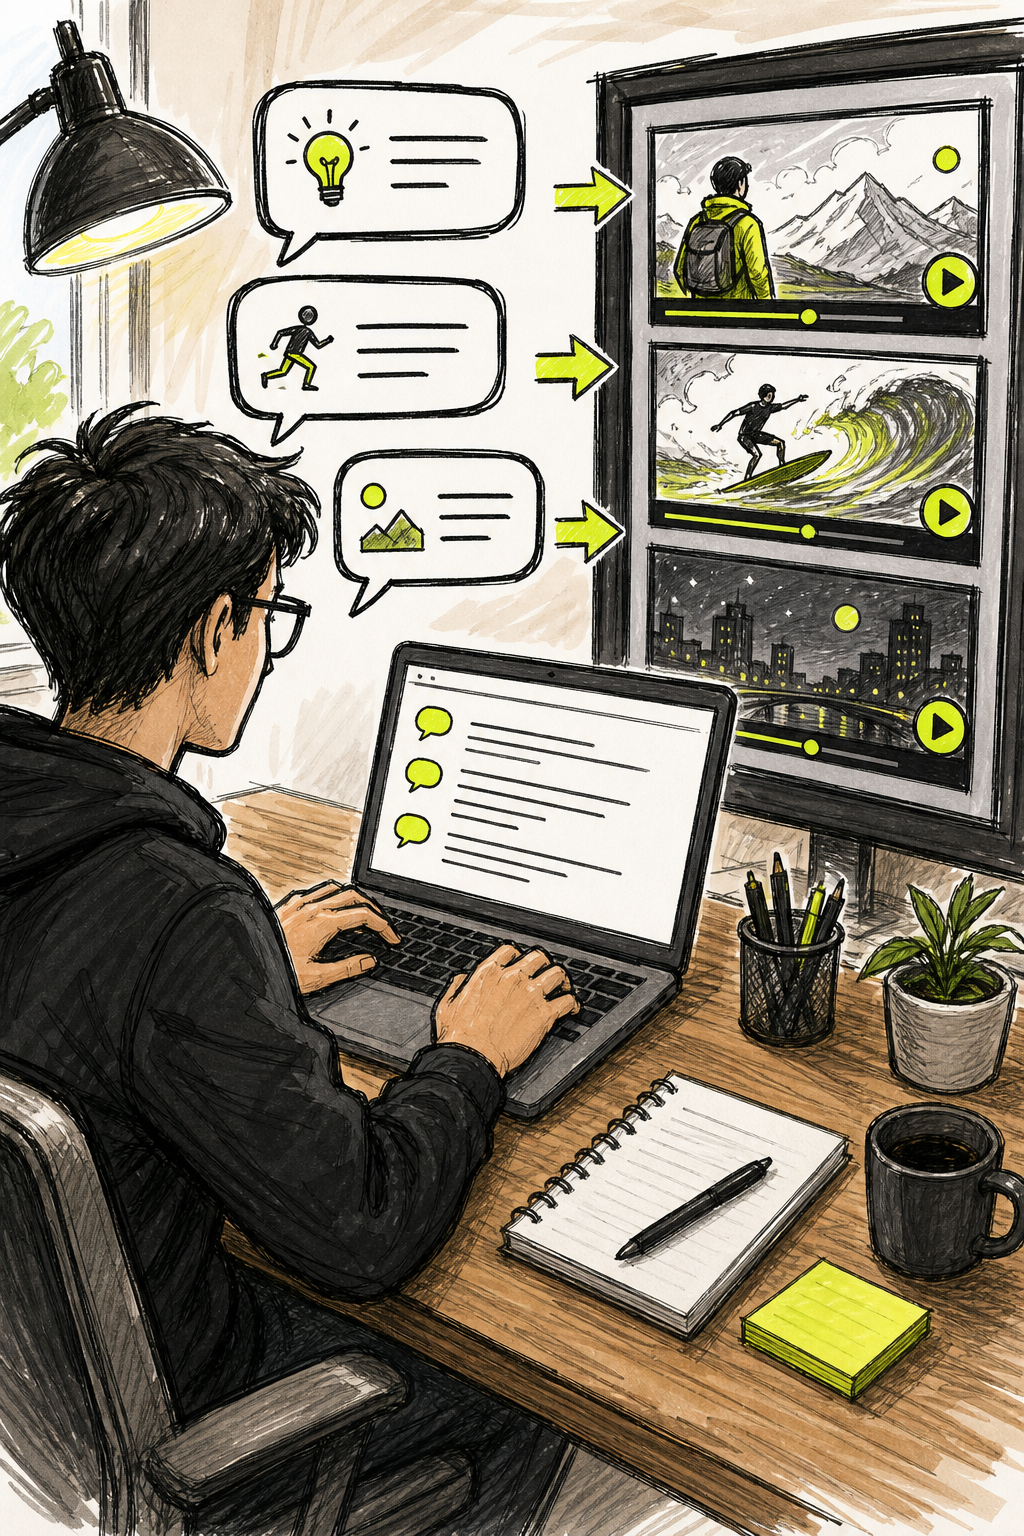
If you're starting from scratch, use a writing tool or AI assistant to draft your first version, then read it back at your real speaking pace. A 60-second video needs roughly 130 to 150 spoken words. A 30-second clip needs about 65. Knowing this before you paste saves you from a video that runs too long or cuts off mid-sentence.
One thing many creators skip: add a note at the top of your script describing the visual mood you want. Something like "upbeat, professional, office setting" gives the AI a style cue it can act on when it auto-generates scenes. Modern systems increasingly use text context beyond just dialogue to select visual assets, so this extra line pays off.
By the end of this step, you should have a script split into clear paragraphs with a rough visual tone described at the top. That's all you need to move forward.
Step 2: Choose Your AI Video Tool
Picking the right tool matters more than most people realize. The tool you choose determines what you can actually output: resolution, avatar quality, aspect ratio support, and whether audio is native or bolted on afterward.
Our pick for most creators is Seedance Studio's free plan, which runs on the Seedance 2.0 model, ranked number one for text-to-video and image-to-video. There's no waitlist, no download, and no credit card required to start. Paid plans begin at $14 per month, which is below the market average of $19.15 across the tools we analyzed. That combination of a free tier and a below-average paid price is rare.
That said, different creators have different needs. Here's how the main options compare:
| Tool | Best For | Free Tier | Starting Price |
|---|---|---|---|
| Seedance Studio | Short-form creators, TikTok/Reels/Shorts, prompt-to-video with native sound | Yes, no card needed | $14/month |
| HeyGen | Business video, 175+ language lip-sync, team workflows | 3 videos/month | $29/month |
| Synthesia | Training and L&D content, large avatar library | Limited testing access | $29/month |
| Runway | Advanced creative control, cinematic visuals | 125 one-time credits | $15/month |
| Kling AI | Photorealistic humans, smooth camera movement | Daily login credits | $10/month |
| Luma Dream Machine | Fast cinematic results on a budget | 8 draft-mode videos | $9.99/month |
One important note about free tiers: 83% of AI video platforms offer them, but only a fraction give you genuinely unrestricted access. Most add watermarks or cap your minutes. Seedance Studio's free tier is designed to let you actually test ideas and iterate before committing to a paid plan.
If your main goal is making short-form content for TikTok, Reels, or YouTube Shorts, Seedance Studio is where we'd point you first. If you're building corporate training videos at scale and need 140+ avatars with SCORM export, HeyGen or Synthesia fit better. Match the tool to your actual output, not just the feature list.
Step 3: Pick a Visual Style and Avatar
Once you're inside your tool, you'll choose a visual style and an avatar. These two decisions shape how viewers feel about your video before they process a single word.
Start with style. Most platforms give you categories like photorealistic, animated, cinematic, or social-media-optimized. Pick the one that matches your content type. A product walkthrough usually calls for clean and professional. A TikTok explainer can lean into a faster, louder style. If you're unsure, photorealistic tends to hold attention well across formats.
Then pick your avatar. This is the on-screen host who delivers your script. Modern libraries have hundreds of options. Many tools, including Synthesia, let you customize an avatar's outfit, location, and even actions within a scene using a simple text prompt. You describe what you want and the AI generates it. No recording required.
If you need a consistent face across multiple videos , for a brand channel or a recurring series , look for tools that support reference-image uploads. Seedance Studio lets you attach up to 12 reference inputs per generation, so you can lock in a character's appearance and carry it across every clip. That kind of consistency matters when you're building audience recognition. For more on how reference-driven generation works end to end, see how it applies to making AI-generated ads with a consistent spokesperson.
Voice selection comes next. Most platforms offer a library of AI voices, and many support 25 or more languages. Pick a voice that matches the energy of your script. A fast-paced listicle needs a different voice than a calm tutorial. You can usually preview voices before committing, so do that before you generate the full video.
Some creators go further and use a dedicated voice tool to record a custom voiceover first, then upload the audio file to the video platform. This gives you more control over pacing and emotion, especially for longer or more personal content.
Step 4: Let the AI Match Visuals and Music
This is where the tool does most of the heavy lifting. Once your script is loaded and your avatar is set, the AI analyzes what you've written and starts assigning visual assets to each section.
Modern AI video tools read your transcript to identify key themes and moments, then pull relevant B-roll footage and sync it to your narration. The result is a video where the visuals actually match what's being said, without you manually hunting through stock libraries or dragging clips onto a timeline.
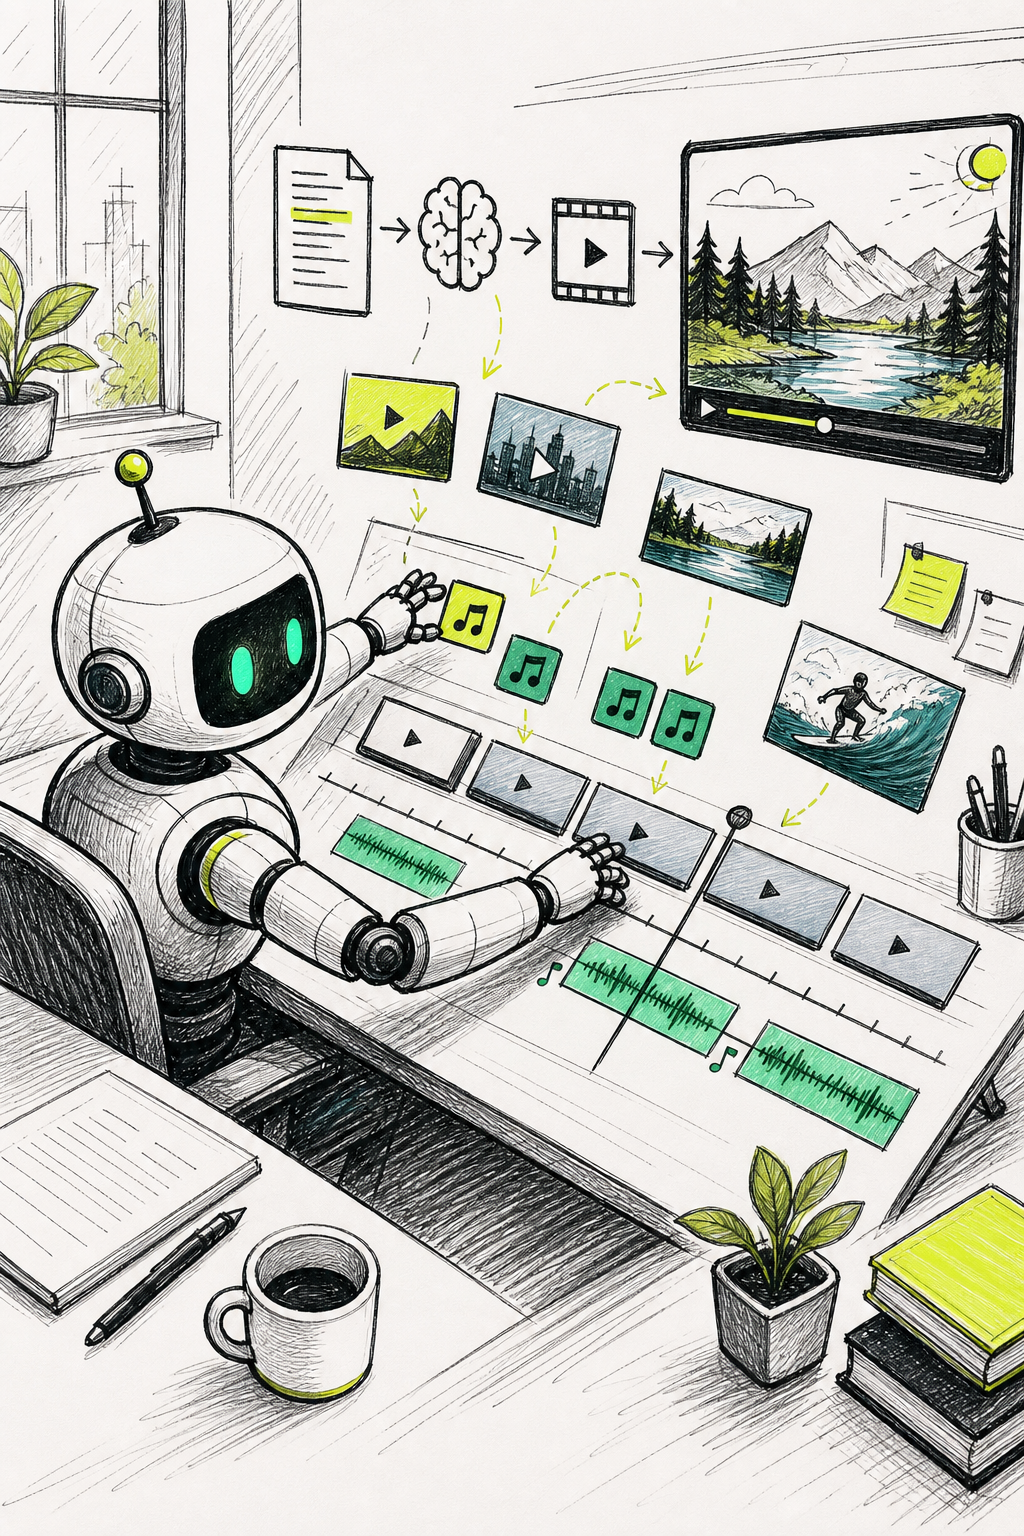
Background music is added the same way. The AI picks a track based on the mood of your script and video style. If you described your tone as "upbeat and energetic" in Step 1, it will lean toward faster, brighter tracks. If your script is calm and instructional, it pulls something more ambient. You can swap tracks manually if the first choice doesn't fit, but the auto-selection is usually a reasonable starting point.
For creators who want more control over their audio, some tools connect to external music libraries or let you upload your own royalty-free tracks. Make sure any music you add is either AI-generated (where you own the output) or properly licensed. Using copyrighted music without a license in commercial video content carries real legal risk, even for short clips.
Take a moment here to watch the full preview before moving to editing. Note which scenes feel off. Maybe the B-roll shows an office when your script is about fitness. Maybe the music is too slow for a fast-cut social clip. Flagging those now makes the next step faster.
Founders who use AI video to pitch their startups on investor matchmaking platforms often find this automated visual pass does 80% of the work. The remaining 20% is refinement, which is what Step 5 covers.
Step 5: Edit Scenes, Captions, and Branding
The AI gave you a first draft. Now you make it yours.
Start with scenes. Most editors show you a panel on the left with each scene listed. Click any scene to open it. You can reorder scenes, swap B-roll clips, change the avatar's position, or replace the background. This is also where you fix anything the AI got wrong in Step 4. If a scene's visual doesn't match your script, swap it here.
Captions come next. Add them. A significant portion of viewers watch video without sound, especially on mobile, and on-screen text keeps them engaged through the whole clip. Most AI video tools generate captions automatically from your voiceover transcript. Review them for accuracy, particularly for product names, technical terms, or anything the AI might have misheard.
Aspect ratio matters more than most first-time creators expect. TikTok and Instagram Reels want 9:16. YouTube pre-roll runs 16:9. LinkedIn feed posts perform well at 1:1. If you're building one video for multiple platforms, check whether your tool lets you export different aspect ratios from the same project. Tools like Seedance Studio handle this natively, which saves you from re-editing the same video three times.
Then add your branding. Upload your logo and place it in a corner. Set your brand colors for text overlays and caption backgrounds. If you're making a series, save this as a template so every future video starts with your branding already in place. Consistency across episodes builds recognition fast.
One refinement loop worth knowing: most AI video editors have an in-editor assistant where you can type a change in plain language. "Add light background music" or "change the avatar's outfit to casual" and the assistant applies it. This is much faster than hunting through menus when you're new to a tool. If a scene still isn't right after one round of edits, re-prompt the AI with more specific instructions rather than accepting a mediocre shot.
Some newer AI video tools go further with frame-local editing, so you can circle a single detail in a frame and redraw just that element without re-rolling the entire clip. That kind of precision is useful when one small thing is off but everything else in the scene is exactly right.
Step 6: Export and Share Your Video
You're at the finish line. Before you hit export, run one final check:
- Watch the full video at normal speed. Don't skim.
- Check captions for errors, especially proper nouns.
- Confirm the aspect ratio matches your target platform.
- Verify your logo and brand colors appear as expected.
When you're happy, export as MP4 in H.264 at 1080p minimum. Most major platforms accept up to 4K, but 1080p is the usable floor for anything going live at scale. TikTok's ad manager caps uploads at 500MB, so keep an eye on file size if you're running a longer clip.
On the sharing side, most AI video platforms give you two options: a direct download or a shareable link. The shareable link is useful for quick internal reviews. The download is what you'll upload to TikTok, Instagram, YouTube Shorts, or wherever your audience is. If you're on Seedance Studio's paid plan, your export has no watermark and includes a commercial license, so you can use the video in ads without restrictions.
One thing to know about watermarks: many free tiers add them automatically. If you're testing on a free plan and your first export has a watermark, upgrade before publishing or use the export specifically to review pacing and timing rather than as a final deliverable.
Post before the trend dies. The whole point of AI script-to-video workflows is speed. If you've followed these steps, you should be able to go from a finished script to a published video in under an hour. That's the real advantage over traditional video production.
For creators building a volume of content , multiple product videos, recurring series, or programmatic campaigns , an API integration for AI video generation lets you submit generation jobs directly from your own code, so you can automate the whole pipeline without touching the studio interface each time.
FAQ
Can I really go from script to finished video with no video editing experience?
Yes. That's the whole point of AI script-to-video tools. You paste your script, pick an avatar and style, and the AI handles scenes, pacing, music, and captions automatically. You'll do light editing after the first pass, but nothing that requires technical skills. Most creators produce their first video within an hour of signing up, including time spent refining the script.
How long can my script be for an AI video?
It depends on the tool. Most platforms today handle scripts long enough for 1 to 4 minutes of video. Tools like Seedance Studio produce clips up to 15 seconds per generation on the current model, which you can chain together for longer content. Always check the platform's clip-length limits before you start, since this varies widely and directly affects how you structure your script.
What's the difference between text-to-video and script-to-video?
Text-to-video usually describes generating a short clip from a single prompt or description, like a scene or a visual moment. Script-to-video is broader: you feed in a structured narration, and the tool creates a multi-scene video with a speaking avatar, background music, and captions timed to the dialogue. Script-to-video tools are designed for longer, story-driven content rather than single visual clips.
Do AI-generated videos have watermarks on free plans?
Most do. Of the major platforms, the majority of free tiers include a watermark on exported videos. Upgrading to a paid plan typically removes it and adds a commercial license. Seedance Studio's free tier lets you generate and preview videos without a credit card, and watermark-free exports are available on paid plans starting at $14 per month.
Can I use these AI videos commercially, like for ads?
It depends on the platform's terms. Some free plans restrict commercial use entirely. Paid plans almost always include a commercial license. Before you run an AI-generated video as a paid ad, confirm that your plan covers commercial use. Seedance Studio's paid plans include a commercial license. Also check whether any music the AI added is royalty-free or if you need to swap it for a track you own the rights to.
How do I make the avatar look consistent across multiple videos?
Use reference images. Upload a photo or visual reference of the character you want, and tag it in your prompt. Tools that support multi-reference generation, like Seedance Studio with up to 12 references per generation, will carry that character's appearance across clips. For even tighter consistency, save a generation preset with your character reference locked in and reuse it every time you start a new video.
Conclusion
The workflow is straightforward: write a clear, paragraph-structured script, choose a tool that matches your output format, set your avatar and style, let the AI generate your first draft with matched visuals and music, refine scenes and captions in the editor, then export and publish. If you're ready to try it now, see how Seedance Studio compares to the other leading AI video generators, or create a free account at tryseedance.ai and run your first script through the studio today.


