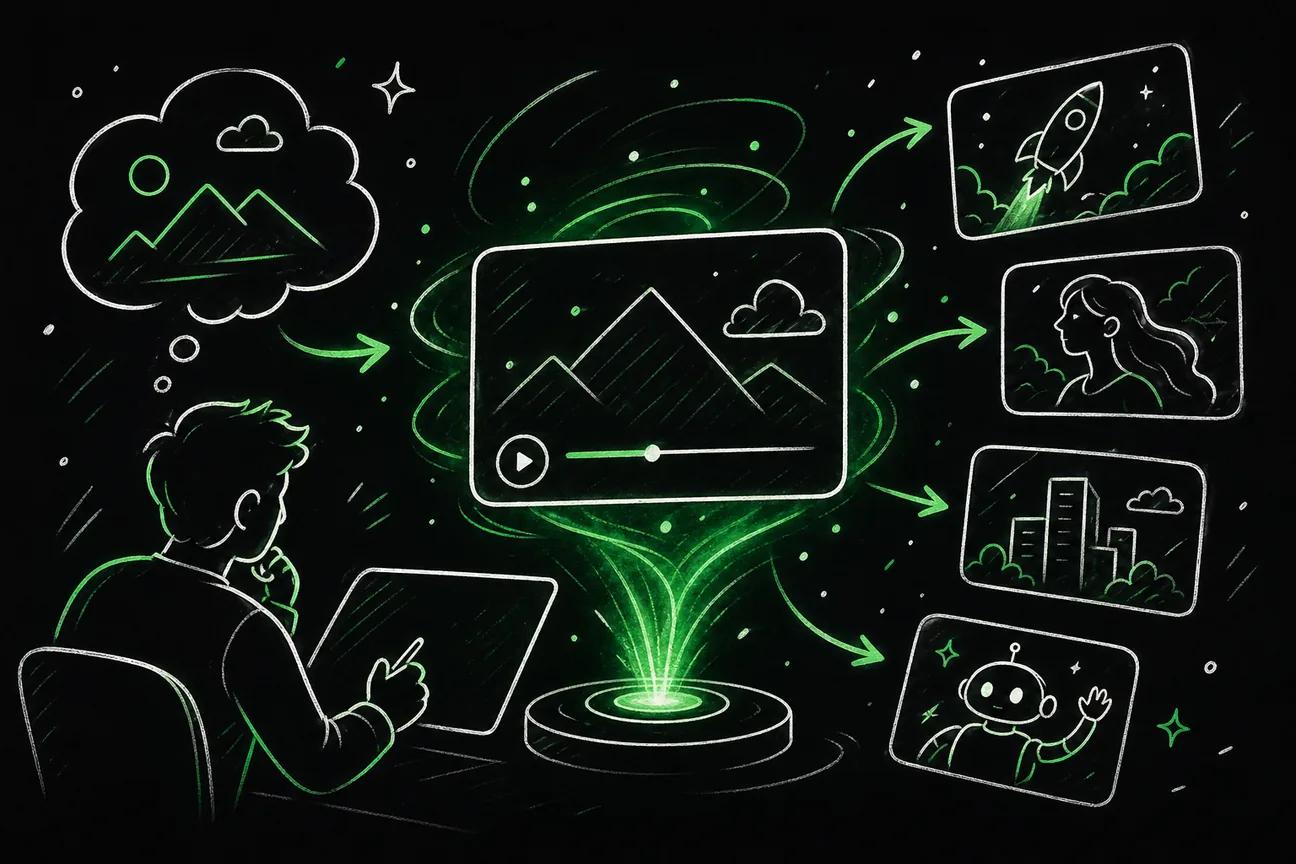
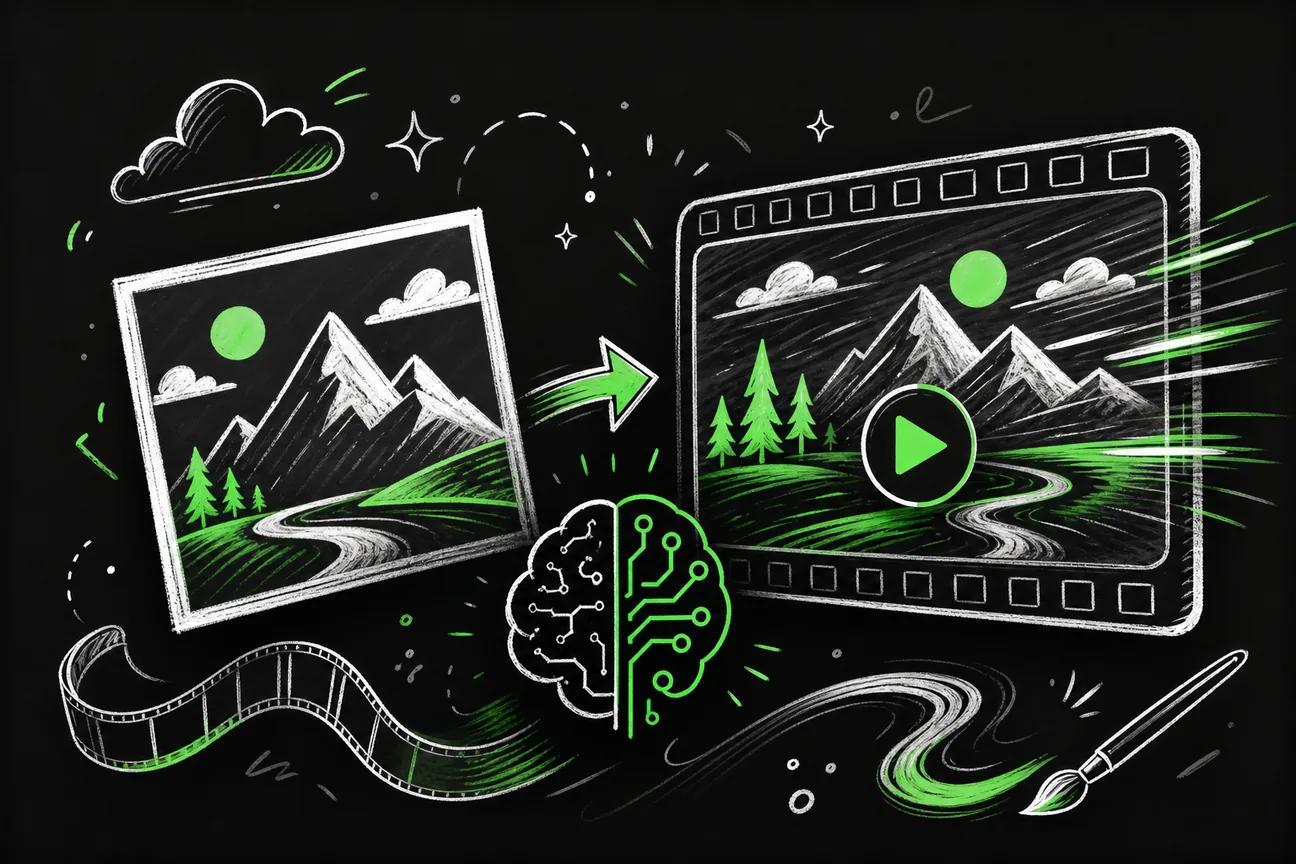
Want to make a still photo move without losing its detail? You can create a 4K, 15-second video from a photo by preparing the image, describing one clear motion, then checking the render before export.
We analyzed 40 YouTube comments about creating short videos from photos and found that 20% mentioned watermarks.
Use the steps below for a product shot, portrait, landscape, or social post. Seedance Studio is one browser-based option, with a free tier for trying video generation.
Step 1: Choose and Prepare a Photo
Goal: Give the video model a sharp image with one clear subject and enough room for motion.
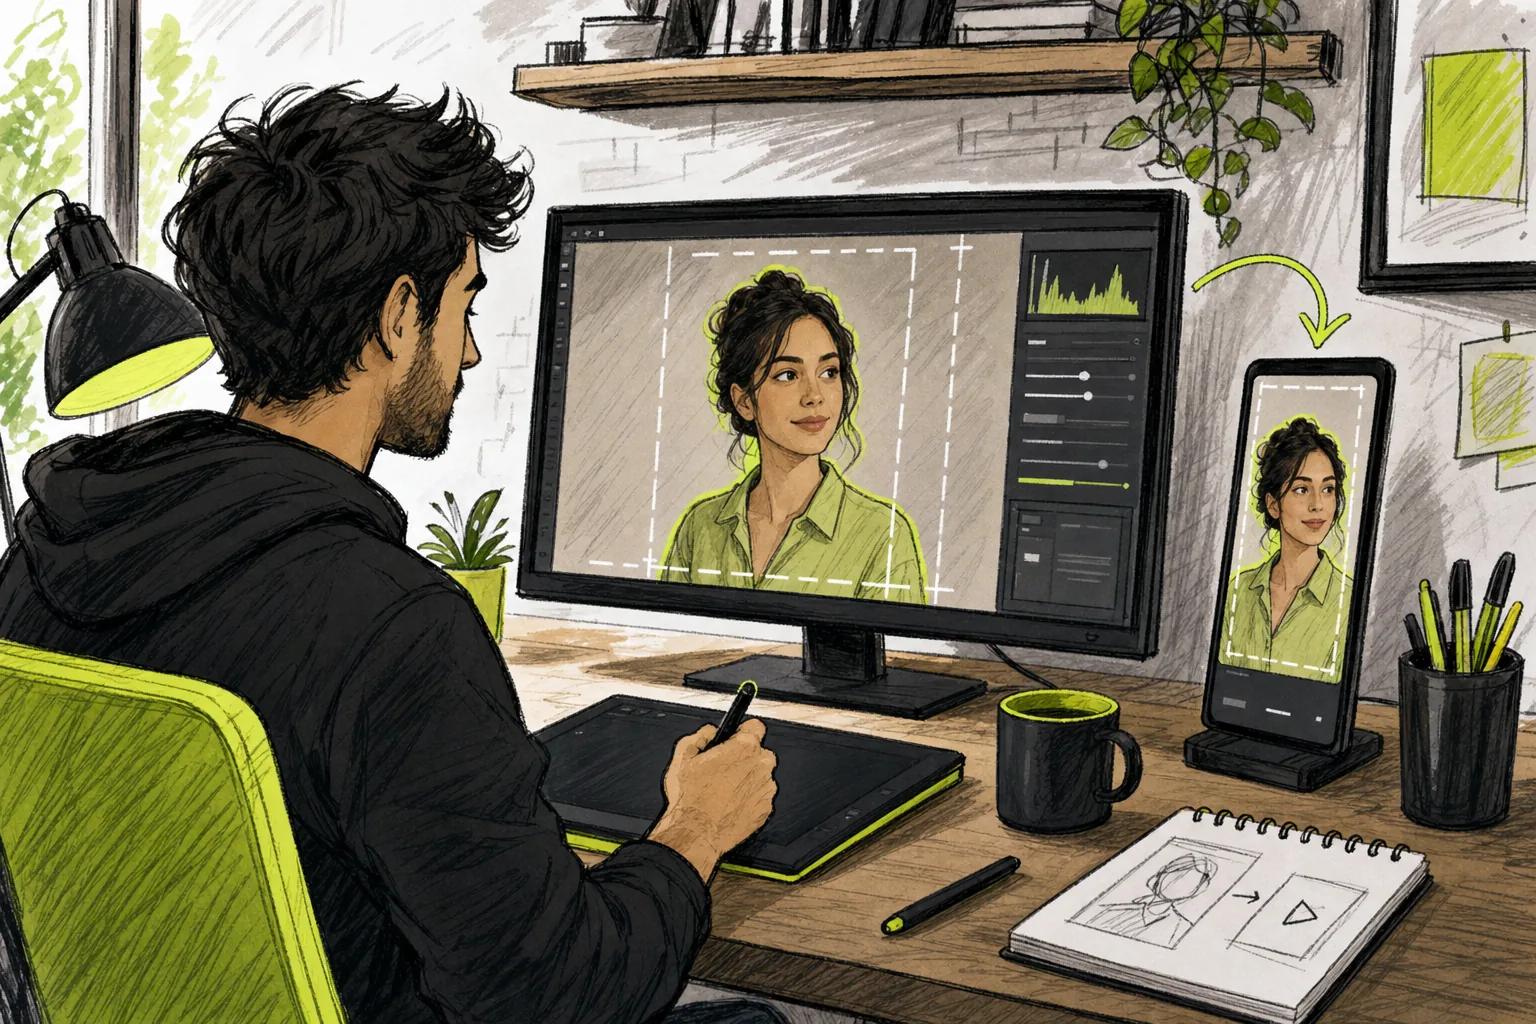
Start with the photo you want viewers to remember. A single person, product, or landscape is easier to animate than a crowded scene. Look for clear light and a subject that stands apart from the background.
Use the highest-quality original file you have. A compressed image saved from a social app may contain blocky edges or soft detail. Those flaws can become more noticeable once the model generates movement. A clean PNG or high-quality JPEG is a good starting point.
Check the short edge of the image. A higher-resolution source can give many image-to-video models more detail to work with. For a 4K result, start with as much source detail as you can, but remember that an AI render can’t recover detail that isn’t in the original photo.
Next, choose the frame shape before you crop. Vertical 9:16 works for TikTok, Reels, and Shorts. A wider 16:9 frame suits standard YouTube video. A square 1:1 crop can fit a feed post. These numbers describe the width-to-height relationship, also called the image aspect ratio.
Leave some breathing room around the subject. If a face, shoe, or bottle touches the edge, the generated camera move may push it out of frame. A modest crop can help, but don’t cut off a hand, label, or key feature that needs to stay visible.
Remove text overlays before upload when you can. AI motion may bend or blur words that are baked into an image. Add captions and product copy later in an editor, where you can place and time them yourself.
One photo can still have useful depth. A portrait against a distant background or a product set on a textured surface gives the model visual layers to work with. A plain, flat image can animate too, but the motion may feel more like a zoom than a camera move through space.
If you’re animating a face, keep the first attempt restrained. A slight blink or gentle head turn is less likely to change facial features than a large turn. The same rule helps with product images: preserve the shape first, then add a small move.
For more ideas on turning still images into motion, see our guide to animating a photo with AI. Use it to plan the effect, then return to the image and crop you’ve chosen.
By now you should have: a clean original image, a chosen aspect ratio, and safe space around the subject.
Step 2: Write a Prompt That Describes the Motion
Goal: Tell the model what should move, how the camera should move, and what must stay the same.
Your photo already shows the subject. Don’t spend most of your prompt describing what’s in the frame. Focus on what changes. A useful prompt can be one or two plain sentences.
Try this pattern: “The subject does one small action. The camera makes one slow move. Keep the scene and subject’s appearance consistent.” Then add a mood or light detail only if it helps the result.
For a portrait, you might write: “She blinks once and smiles gently. The camera slowly pushes in. Keep her face and clothing unchanged, with soft evening light.” The action is small, the camera direction is clear, and the instruction to preserve the subject sets a boundary.
For a product image, try: “The camera slowly orbits the bottle from left to right. A soft highlight moves across the glass. Keep the label sharp and the bottle shape unchanged.” If the label matters, say so directly. Don’t ask the model to rewrite or invent text.
For a landscape, name a motion the image can support: “Clouds drift slowly while the camera makes a gentle pull-back. Keep the mountain line fixed.” That gives the model a moving element and a camera path without asking the whole scene to change.
Keep each prompt focused on one main action and one camera move. “Zoom in, pan left, turn the person, change the lighting, and add flying objects” gives the model too many separate jobs. You may get an energetic clip, but it can drift away from the original image.
Use simple camera words. A “push-in” moves closer to the subject. A “pull-back” moves away. A “pan” shifts across the scene. An “orbit” moves around the subject. If a term feels too technical, describe it in everyday language: “The camera slowly moves closer to the cup.”
Add limits when an important detail needs protection. Examples include “no extra objects,” “keep the logo shape unchanged,” or “no sudden camera shake.” Avoid stacking a long list of restrictions. Pick the one or two details that would make the clip unusable if they changed.
Sound is a separate choice. If you want generated sound, describe its role in a short phrase, such as “quiet wind and soft leaves.” If you plan to add music later, ask for a silent clip or turn sound off when that option is available. That makes it easier to control the final track.
Write the prompt before opening the generator. A short shot brief helps you reuse the idea for another crop or photo. Our guide to making AI videos has more prompt-planning advice if you want to build a repeatable workflow.
By now you should have: one clear subject action, one camera move, and a note about what must remain stable.
Step 3: Upload Your Photo and Set the Video Options
Goal: Match the input image, length, frame shape, sound, and resolution to the place you’ll post the clip.
Open an image-to-video generator in your browser and upload the prepared file. Seedance Studio runs in a browser, with no download or waitlist required. It runs the Seedance 2.5 model, and you can add reference images, clips, and audio as inputs.
Keep the first test simple. Start with one photo and your prompt. If the result needs a specific location or sound cue, add a reference that solves that problem. Extra inputs can help guide a scene, but they can also make it harder to tell which instruction changed the output.
Set the clip length to 15 seconds if your generator provides that control. A shorter target is often easier to review because there’s less time for motion to drift. If the tool gives you a different set of lengths, choose the nearest option and trim the finished clip in an editor.
Choose the aspect ratio to match the destination before you generate. For a vertical social post, set 9:16. For a standard horizontal video, use 16:9. If the source photo has a different shape, check the preview for awkward crop marks or a subject placed too close to an edge.
Choose 4K for the final output if it’s available in your plan and the clip needs that level of detail. Seedance Studio’s paid plans include every resolution and watermark‑free exports, and every plan includes a commercial licence. Its free plan includes a couple of videos a month with a watermark and no card required. Check the Seedance Studio plan details before choosing a plan for a specific job.
If the tool has a lower-resolution draft setting, use that to test the motion first. You’ll learn whether the prompt works before spending time on a higher-quality render. Then switch to 4K for the take you plan to publish.
Decide what to do with sound before you submit. Seedance Studio can generate a finished video with native sound. You can also keep the clip silent and add a music track or sound effect later, which gives you more control over timing and volume.
Review the cost or credit estimate shown before generation, if the interface provides one. Higher resolution and longer output can use more of a service’s allowance. Don’t assume that every tool handles its limits in the same way.
Seedance Studio can suit creators who want to try the workflow in a browser before paying. Make a low-risk test first, then decide whether the paid output options fit the project and publishing needs.
By now you should have: the image uploaded, a 15-second target selected, the correct frame shape set, and a clear choice for resolution and sound.
Step 4: Generate a Draft and Adjust the Motion
Goal: Test the shot, then change one prompt detail at a time until the movement feels right.
Submit the first version as a draft when you can. Don’t expect the first render to be the final cut. Watch the whole clip once without pausing. Notice whether the main action happens, whether the camera move is easy to see, and whether the subject still looks like the source photo.
On the second watch, focus on one issue at a time. Is the face changing? Does a product edge bend? Does the camera start too fast? Make a short note. That note becomes your next prompt edit.
Change only one major instruction per new render. If the subject moves too much, reduce or remove that action. If the camera is static, make the camera direction more direct. If the background shifts when it should not, ask for a stable background. Keeping the rest of the prompt fixed makes the cause of each change easier to judge.
For a portrait, a result that feels strange may need less movement rather than more detail in the prompt. Try a slow blink instead of a large head turn. For a product, ask for a gentle push-in instead of a full orbit if the shape or label begins to warp.
Check the first and last moments. Some renders take a beat to begin moving, or they end with a sudden stop. If your generator offers first-frame or last-frame controls, use them to set the opening or end state. If not, trim the clip in your video editor.
Seedance Studio is built for browser-based video generation, with camera direction and consistent characters in its outputs. The model still needs clear input. A prompt that asks for one controlled move gives you a better basis for judging whether the generated motion matches your intent.
Some tools support lower-resolution drafts before a final render. Use that option for testing, then make the approved take at 4K. If a render fails, first check that the file finished uploading and that your chosen settings fit the tool’s limits. Retry once before changing several settings at once.
Use a simple review order: motion first, subject consistency second, then image edges and sound. This keeps small visual flaws from distracting you before you know whether the main action works.
If you want more examples of this workflow, our overview of an AI video generator from an image explains how a still can guide the generated clip.
By now you should have: a draft that keeps the subject recognizable and uses motion that suits the original image.
Step 5: Review the Clip and Fix Common Problems
Goal: Catch visual and audio faults before you spend time on final polish.
Watch the clip at its full size, not only in a small preview. Pause on moments where a face, hand, product edge, or piece of text looks different. A moving image can hide a flaw at first glance, especially when the camera is also moving.
Fix a warped edge or changing shape
If a person’s hand or a product’s outline bends, simplify the motion. Reduce the camera move or remove a second action. A tighter crop may hide edge distortion, but make sure it doesn’t cut off a key part of the subject.
When an object must remain accurate, say which feature is fixed. For example: “The camera moves closer while the package shape and label stay unchanged.” Don’t ask for a dramatic spin if the model needs to preserve small print.
Fix a face that drifts
If the person looks different later in the clip, ask for a smaller action. A slow blink or slight smile puts less strain on facial consistency than a large turn. You can also use a shorter section of the render if the first few seconds look natural and the later frames do not.
Fix pixelation or soft detail
Check the source file first. If it’s small, blurry, or heavily compressed, use a better original before changing the prompt. Then check the output setting. A lower-resolution draft may look soft by design, so judge the final render at its selected resolution.
A 4K export won’t make a blurry source sharp by magic. It gives the output more pixels, but the model still has to infer missing details. Keep labels and small text out of the animated image when possible, then add clean text in your editor.
Fix sound that feels out of sync
Listen with the video playing from start to end. If speech or an effect happens at the wrong moment, trim the clip or move the sound track in your editor. For a photo animation without dialogue, a light music bed or a single sound effect may be easier to time than a busy track.
Check that the music doesn’t drown out speech or the sound you want people to notice. If the model generated sound you don’t need, use a silent export or mute the track in an editor.
Fix a render that stalls
Wait for the upload to finish before submitting. Keep the browser tab open while the service works. If the render stops, try the same settings once more. If that fails, lower the draft resolution or shorten the clip to find out whether a setting is causing the problem.
For a batch of photos, test one image first. Once the prompt and format work, reuse them for the remaining images and change only the subject-specific details. Keep the original photo and final export in separate folders so you don’t mistake a draft for the approved file.
By now you should have: a clip with stable subject details, clean edges, and sound that fits the action.
Step 6: Export and Prepare the Video for Social Media
Goal: Export a clean file in the right shape, then check it on the screen where people will watch.
Select 4K for the final render when the option is available and the project needs it. Choose MP4 if your generator or editor provides that format and your publishing workflow accepts it. Save the final file with a name that separates it from drafts, such as “portrait-final-vertical.”
Match the frame shape to the post. Use 9:16 for a vertical short, 16:9 for a horizontal video, or 1:1 for a square feed placement. Keep key details away from the outer edges. Social apps may place buttons and captions over parts of the screen.
Watch the exported file after it finishes. Check the opening frame, the last frame, image clarity, and sound level. A preview inside the generator may not show the exported file exactly as it plays in your editor or on a phone.
For captions, add them in your editor rather than baking them into the source image. Keep each line short enough to read on a phone. Place text where it won’t cover a face, product label, or the action people came to see.
Add background music or a sound effect only if it supports the clip. A slow product shot may need a soft cue, while a portrait with a clear natural moment may work better without music. Listen once with headphones, then once through the device speaker you expect viewers to use.
If you’re making a slideshow from several photos, animate each photo as its own short clip first. Put the clips in order in an editor, then add transitions only where they help the story. Export the combined video after checking that the crops and pacing feel consistent.
Seedance Studio plans include a commercial licence, and paid plans add 4K output. Check the applicable plan terms before using a video in an ad or other paid work. Also make sure you have permission to use the source photo, music, and any visible brand marks.
Our tips for making short videos with AI for free can help if you’re testing a quick social post before committing to a larger workflow.
Keep a copy of the prompt beside the final file. That small habit helps when you need a second format or want to make a matching clip later.
By now you should have: a 15-second clip exported in the right format, checked at full size, and ready for its intended channel.
FAQ
Can I make a 4K video from one photo?
Yes, you can use an image-to-video generator to turn one photo into a 4K clip when the tool and plan support that output. Start with a sharp source image, then describe one clear motion. A 4K setting raises the output resolution, but it can’t restore detail missing from a small or blurry original.
How do I make the video exactly 15 seconds long?
Choose 15 seconds in the generator if that length is available. If the tool offers a different duration, generate the closest suitable clip and trim it to 15 seconds in a video editor. Check the final runtime after export, since an opening pause or extra end frame can affect the finished length.
What photo works best for image-to-video AI?
A sharp, well-lit photo with one clear subject is a strong starting point. Leave some space around the subject so a camera move doesn’t cut into the frame. Photos with a clear foreground and background can support a more noticeable sense of depth than a flat, crowded image.
Can I add music after generating the clip?
Yes, you can add music or sound effects in a video editor after generation. This gives you control over timing and volume. Watch the clip with the audio before posting, and make sure music doesn’t cover speech or an important sound cue.
Can I create a 4K video from a photo for free?
Some generators have a free tier, but the available resolution and export rules depend on the service. Seedance Studio’s free plan includes a couple of videos per month with a watermark and no card required. 4K output comes with the paid plans, so check the current plan details before you start.
Conclusion
For a clean result, start with a sharp photo and ask for one controlled motion. Generate a draft, fix only what’s wrong, then export and watch the final file before posting.