
Making an AI movie used to mean stitching together dozens of disconnected clips and hoping the characters looked the same from shot to shot. With Seedance Studio, you write a prompt, upload a few reference images, and get back a finished clip with consistent characters, real camera direction, and native sound baked in. Here's exactly how to do it, start to finish.
Step 1: Brainstorm Your Movie Concept
Before you open any tool, spend five minutes on paper. AI video works best when you know what you want before you ask for it. A vague idea produces a vague result.
Start with the simplest version of your story. One character. One location. One thing that changes. That's a movie. You can add complexity later, but if you can't summarize your concept in two sentences, the model won't know what to build.
Ask yourself three questions. Who is the main character? What do they do in this scene? Where does it happen? Once you can answer all three in a single sentence, you have a workable concept.
Think about format early. Are you making a 15-second short for TikTok or a longer narrative piece for YouTube? The answer changes your aspect ratio, your shot count, and how much story you can fit. Vertical 9:16 clips work for Reels and Shorts. Horizontal 16:9 is right for YouTube or any cinematic look.
Also decide on tone. Is this dramatic, funny, documentary-style, or surreal? Tone shapes every prompt you write later. A horror concept needs different lighting instructions than a product ad. Get this clear now and your prompts will be faster to write.
If you're planning multiple scenes, sketch a simple shot list. Number each shot, write one sentence describing what happens, and note any camera move you want. Three to five shots is enough for a compelling short film. More than that and you'll want to plan your character references carefully so the same face appears across every clip. The Seedance 2.0 prompt guide has a useful formula for building shot lists that escalate: calm, shift, payoff.
By the end of this step, you should have a two-sentence concept, a format decision, a tone, and a rough shot list. That's your production brief.
Step 2: Craft Your AI Video Prompt
A good prompt reads like a director's instruction, not a description of a painting. The model needs to know who is in the shot, what they're doing, where the camera is, and how the light falls. Give it those four things and it has enough to work with.
The formula that works is: Subject → Action → Setting → Camera move → Lighting or style → Dialogue or sound → Constraints. You don't need all seven parts in every prompt, but the more specific you are, the closer the output lands to what you imagined.
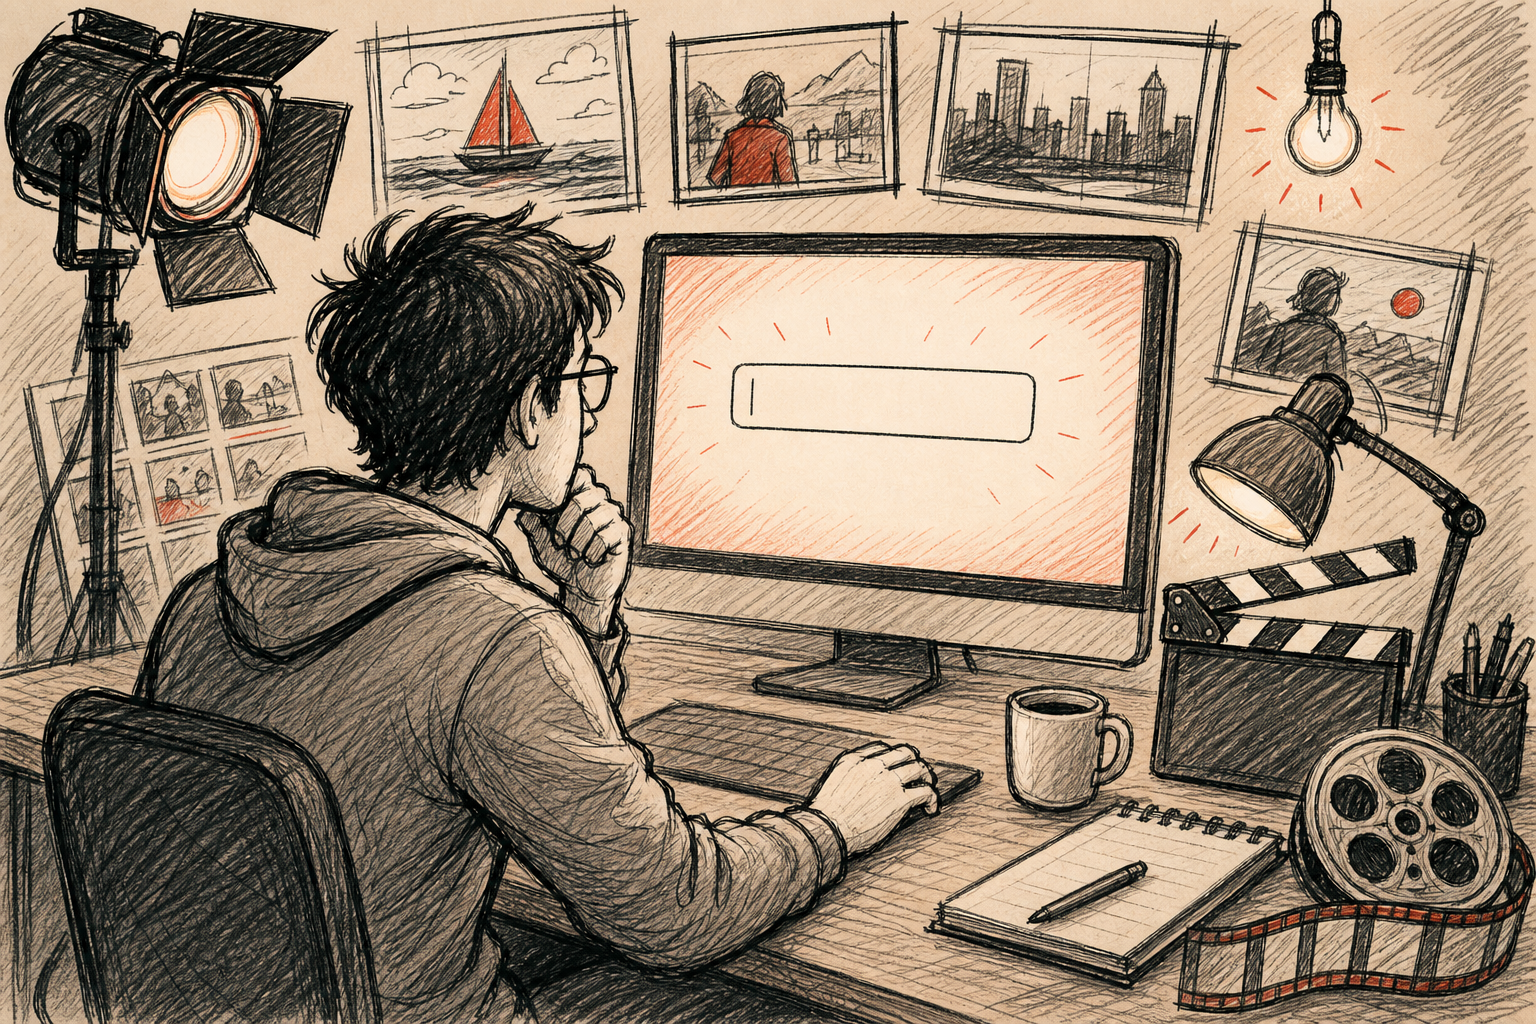
Here's a weak prompt: "A woman walking in a city." Here's a stronger one: "A young woman in a yellow raincoat walks briskly through a rain-soaked Tokyo alley at night, puddles reflecting neon signs, slow dolly-in from behind, sparse piano score enters mid-shot." Same subject. Completely different result.
For dialogue, put the line in quotes inside the prompt. Seedance 2.0 generates lip-synced speech from quoted text, so you don't need a separate voiceover tool for basic dialogue. Keep lines short. One or two sentences per clip is the right length.
If you're building a multi-shot movie, use timeline prompting. Add timestamps to your prompt so the model knows when each action or camera change should happen. For example: "0:00 static wide shot of the empty kitchen, 0:05 slow push-in toward the stove as steam rises, 0:10 close-up of hands stirring." That kind of structure gives you a mini-scene in a single generation.
One rule that applies to every prompt: put the subject and action first. The model weights the beginning of your prompt more heavily. Style, lighting, and mood come after the core instruction, not before it.
Step 3: Upload Reference Images and Clips
Text describes what you want. References lock it in. This is the step most people skip, and it's why their characters look different from shot to shot.
Seedance 2.0 accepts up to 12 references per generation: up to 9 images, 3 video clips, and 3 audio tracks. For a short AI movie, a usable working set is one clear character image, one location image, and your audio file if you have one. That covers the three most important consistency anchors.
For character images, use a well-lit, front-facing photo. Avoid busy backgrounds. The model reads your character's face from this image and carries it across shots. If the source photo is blurry or cluttered, the output will be too.
For location images, one establishing shot showing the full environment is usually enough. The model picks up lighting, color, and spatial layout from it. You don't need a dozen photos of the same room.
Video clips work well as motion references. If you want a specific camera move or piece of choreography replicated, upload a short clip showing it and describe what you want borrowed from it in your prompt. Keep clips short, a few seconds each.
Tag every reference in your prompt using @ notation. Write @image1, @image2, @video1 exactly where they're relevant. For example: "@image1 walks toward @image2 across the rooftop, handheld follow shot, golden hour." The model assigns each reference the role you give it in the sentence.
After uploading, check each asset's eligibility status. Not every image passes the model's reference check on the first try. If one comes back ineligible, swap in a cleaner version and try again. This is normal, especially with low-resolution or heavily filtered photos.
The full Seedance Studio walkthrough recommends keeping your total asset count to four or five line, even though the technical cap is higher. More references don't always mean better results. Clean, clearly tagged references beat a pile of loosely related images every time.
Step 4: Set Camera Direction and Style
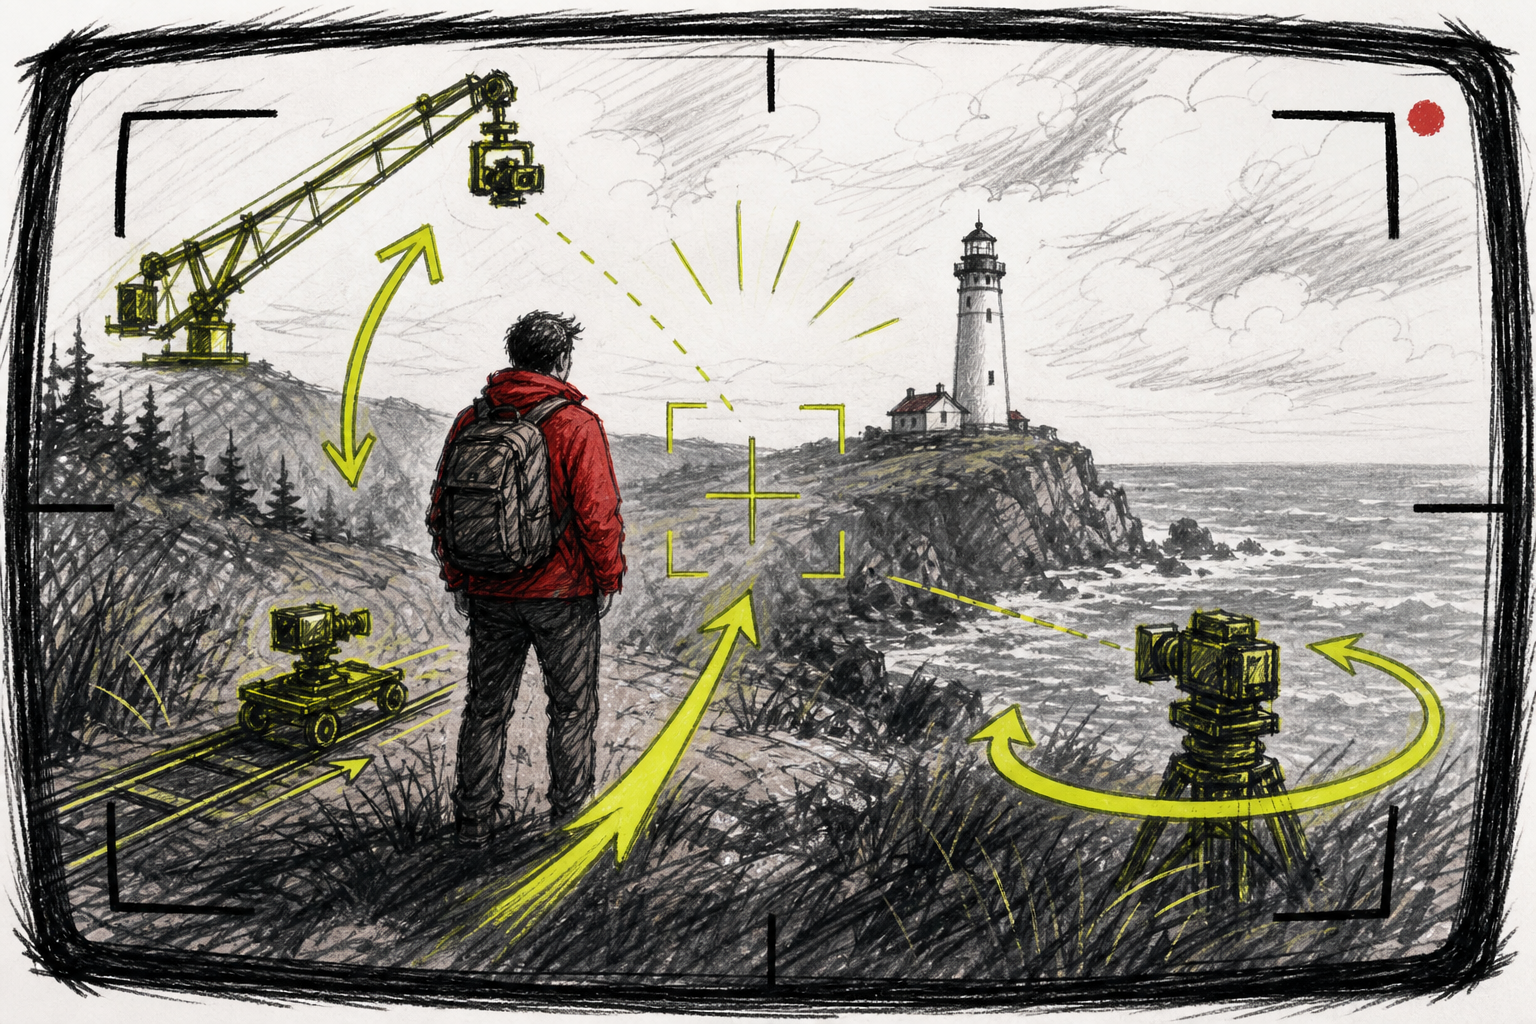
Camera direction is where AI movie-making starts to feel like real filmmaking. Seedance 2.0 understands actual cinematography language. Vague style words like "cinematic" don't give the model much to work with. Named moves do.
Use terms like dolly-in, push-in, whip pan, slow orbit, handheld follow, static wide, or crane up. These are real instructions the model can execute. "Low-angle dolly-in" tells the model exactly where the camera starts, how it moves, and what angle it shoots from. That's an instruction, not a wish.
Lighting works the same way. One or two strong choices beat five stacked adjectives. "Neon rim light" does more than "dramatic colorful cinematic moody night lighting." Be specific about the quality and direction of light, not just the vibe.
For style, think about the visual language of the film you're making. A documentary aesthetic needs different framing than a music video. A horror short uses different color grading cues than a product ad. You can reference real cinematographic styles directly in your prompt. The model responds to those references well.
If you're building multiple shots that need to feel like one continuous film, keep your camera language consistent across prompts. If shot one uses a static wide, shot two might use a slow push-in, and shot three a close-up. That's a natural escalation. What you want to avoid is random camera moves that don't build toward anything.
According to Wikipedia's overview of cinematography, camera movement is one of the primary tools directors use to control emotional pacing in a scene. The same principle applies when you're directing an AI model: the camera move you choose tells the viewer how to feel about what they're watching.
One more thing: set your aspect ratio before you write your final prompt. A 9:16 vertical frame and a 16:9 horizontal frame require different compositional thinking. A close-up that works in portrait may feel cramped in landscape. Lock the format first, then write the shot.
Step 5: Enhance with Audio
Seedance 2.0 generates native sound alongside the video in a single pass. That means music, ambient sound, and dialogue all come out of the same generation, already mixed. For many short films, that's enough.
But if you want precise control over the audio, upload your own track. The model accepts MP3 or WAV files between 2 and 15 seconds per clip. Upload your audio as a reference, tag it in the prompt, and describe how it should relate to the visuals. "@audio1 plays throughout, sparse piano, fades on the final frame" gives the model a clear instruction.
For music videos or beat-synced content, cut your audio into 15-second chunks before you generate anything. Label them sequentially so you know which visual clip each audio segment belongs to. Each chunk becomes one generation. You'll stitch them together in editing later.
Dialogue is handled differently. You don't need to upload an audio file for spoken lines. Just put the dialogue in quotes inside your prompt and anchor it to a character. "She says, 'I knew you'd come back.'" The model generates lip-synced speech from that line. Pair it with a character reference image tagged in the prompt and the lip sync lands on the right face.
Keep spoken lines short. One or two sentences per clip. Longer lines get cut off or lose sync. If a character needs to deliver a longer speech, split it across two clips and cut between them in editing.
Audio is often the difference between a clip that feels like a demo and one that feels like a real film. Even a subtle ambient sound bed, footsteps on gravel, wind through trees, a distant crowd, pulls the viewer into the scene in a way that silence never does. Direct the sound the same way you direct the camera: specifically and intentionally.
Step 6: Generate and Export Your AI Movie
Before you hit generate, run through three settings. First, check your duration. If your timeline prompt is built for 12 seconds, the slider needs to match. Second, confirm your aspect ratio matches the platform you're posting to. Third, set resolution: 720p is fine for drafts, but save 1080p or 4K for your final render.
Hit generate. Rendering takes a short while, long enough to step away briefly. When the clip loads, watch it all the way through before you do anything else. Check whether the camera did what you asked. Check whether the character matches your reference. Check whether the audio syncs to the action. Look for obvious errors: extra hands, a face that distorts mid-motion, objects that blink in and out.
If something's off, don't rewrite the whole prompt. Adjust the specific part that caused the problem. Changed the camera move and the character drifted? Add a constraint: "character face consistent with @image1 throughout." Got the wrong lighting? Replace the lighting instruction with a more specific one. Isolating the variable that changed the output is how you learn the model fast.
Generate two or three versions of each clip before you commit. Some renders will miss the mark. That's normal. Pick the best version of each shot and move on. The Seedance model tier guide recommends drafting on Mini to test prompts cheaply, then re-rendering on standard Seedance 2.0 for the final output. That two-stage loop saves credits without sacrificing quality on the shots that matter.
Once you have all your clips, bring them into a video editor. CapCut, DaVinci Resolve, or any basic timeline editor works. Drop the clips in sequence. If you generated audio separately, replace the individual clip audio tracks with your master audio file so the full score plays uninterrupted. Then trim, cut, and export as an MP4.
For export specs: TikTok accepts uploads up to 1GB, Instagram Reels up to 4GB, and YouTube Shorts up to 256MB for mobile uploads. A 15-second 1080p clip sits well inside all of those. Download at the highest quality your plan allows. Social platforms re-compress uploaded video, so starting with the best file you can get gives you a buffer against that quality loss.
Free plan exports from Seedance Studio's free tier come out at 480p with a watermark. Paid plans remove the watermark, unlock higher resolutions up to 4K, and include a commercial license for anything you publish. Plans start at $14 per month.
The step-by-step Seedance 2.0 tutorial puts it well: write the prompt like a director, use references to lock your characters, and treat each generation as a draft. Most good creators run two to three generations per clip before they have something post-ready. That's not a sign the tool is failing. That's just how filmmaking works, AI or otherwise.
The film editing process, even in traditional production, involves assembling a rough cut from multiple takes and refining from there. The AI workflow is the same shape: generate, review, adjust, and assemble.
FAQs
Can I make a full AI movie with consistent characters across multiple scenes?
Yes. The key is using the same reference image for your character in every generation and tagging it in each prompt. Seedance 2.0 accepts up to 12 references per generation, so you can anchor your character's face, location, and audio style across every clip. Keep your character description identical in every prompt, word for word, and the consistency holds across scenes.
How long can an AI movie be?
Each individual clip can be up to 15 seconds. For a longer film, you generate multiple clips and stitch them together in a video editor. There's no hard limit on the total assembled length. Most creators working on short AI films produce 3 to 8 clips per project and assemble them into a 30-second to 2-minute final cut. Seedance 2.5, launching July 2026, doubles the per-clip runtime to 30 seconds.
Do I need filmmaking experience to make an AI movie?
No prior experience is needed. Plain language works fine for basic prompts. That said, learning a few real camera terms like dolly-in, static wide, or handheld follow gives the model much more precise instructions and dramatically improves results. You don't need to know how to operate a camera. You just need to know what you want the shot to look like.
What's the best format for an AI movie on social media?
Use 9:16 vertical for TikTok, Instagram Reels, and YouTube Shorts. Use 16:9 horizontal for YouTube or any widescreen context. Set the aspect ratio before you write your prompt, because the crop affects how the model frames the composition. Changing it after the fact usually means regenerating the clip from scratch.
Is Seedance Studio free to use?
Seedance Studio has a free tier with no credit card required and no waitlist. Free plan exports are 480p with a watermark. Paid plans start at $14 per month and unlock higher resolutions up to 4K, watermark-free exports, and a commercial license. You can generate your first AI movie clip on the free plan before deciding whether to upgrade.
Can I add my own music to an AI movie?
Yes. Upload an MP3 or WAV file as a reference and tag it in your prompt. Keep audio clips between 2 and 15 seconds each. For longer tracks, cut the audio into segments that match your clip lengths, then reassemble everything in a video editor with the full master track playing underneath. Seedance 2.0 also generates native ambient sound and music automatically if you don't upload your own.
Conclusion
Making an AI movie comes down to three habits: write prompts that direct a scene rather than describe one, use reference images to lock your characters across every shot, and treat each generation as a draft you refine rather than a final you accept. If you're ready to start, create a free Seedance Studio account at tryseedance.ai, write one sentence with a named camera move, and generate your first clip today.


