
Most people open an AI cinematic video generator, type a vague sentence, and get something that looks like a screensaver. The gap between a generic AI clip and something that actually feels cinematic is almost never the tool. It's the process. Follow these five steps and you'll get footage that looks directed, not generated.
Step 1: Define Your Cinematic Vision and Write a Script
Before you type a single word into a generator, decide what the shot needs to do. A cinematic video isn't just moving pictures. It has a point of view, a mood, and a camera that moves with intention. Without that clarity upfront, every generation is a guess.
Start with one sentence that names your subject, their action, and the emotional tone. "A lone astronaut walks across a red desert at golden hour, camera pulling back slowly" is a direction. "A cool space video" is a wish.
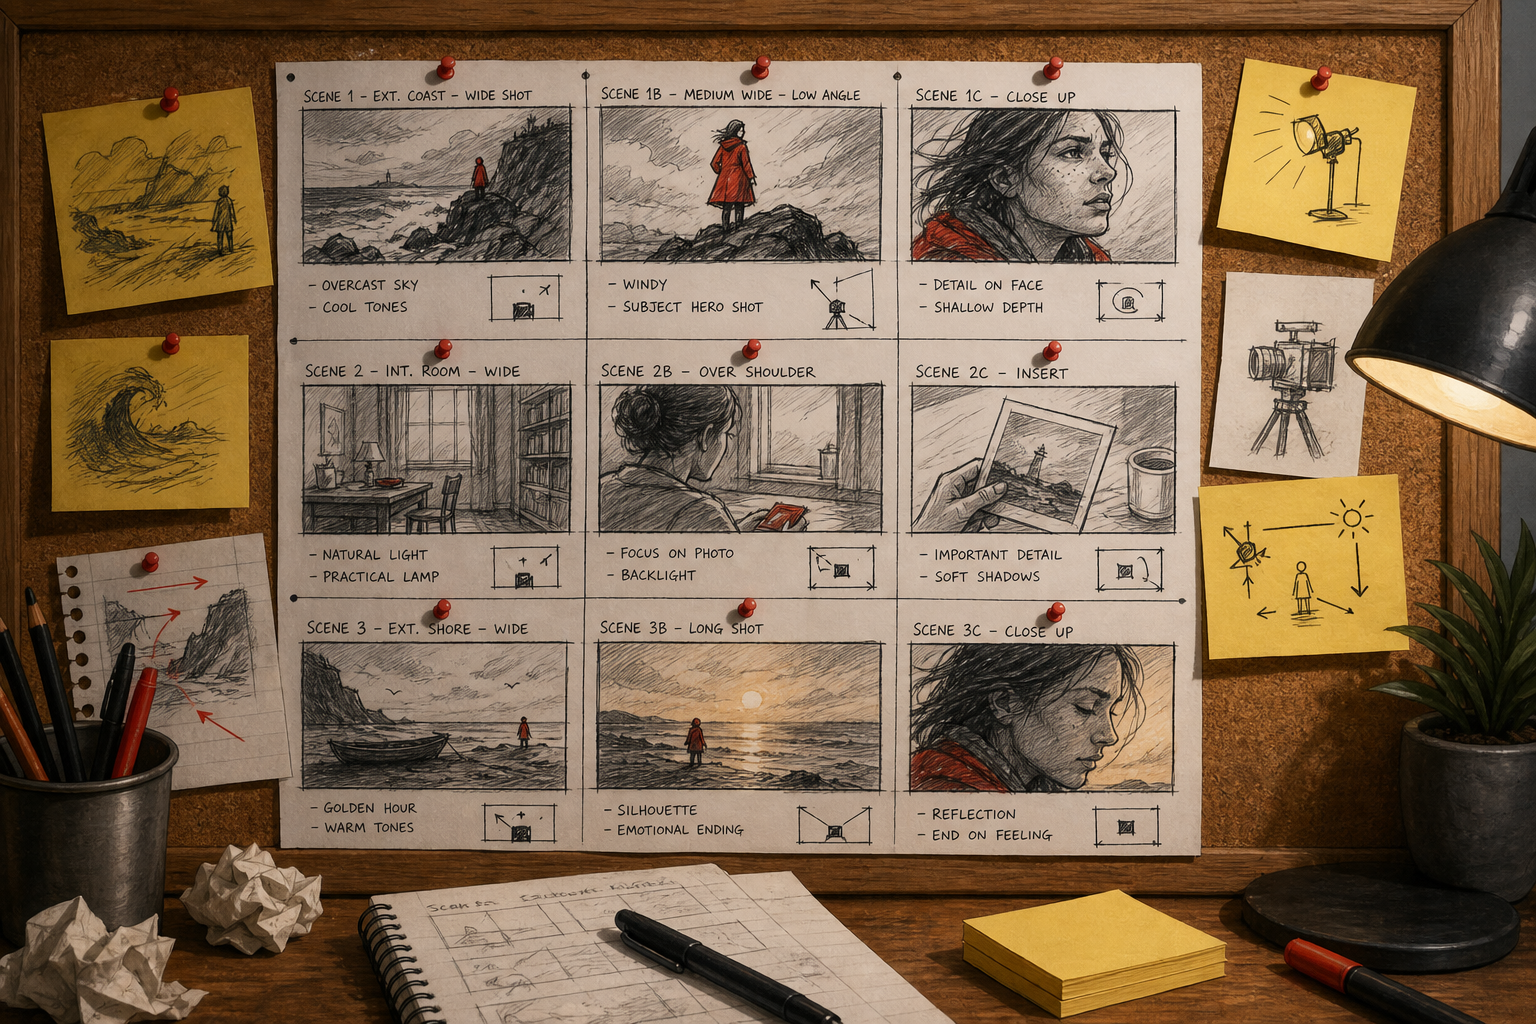
Once you have that sentence, build a short script around it. For a 10-15 second clip, you only need two or three beats: an opening frame, a key action, and a closing image. Write them out in plain language. Think about what the camera sees at each beat, not just what the character does.
Pay attention to genre and lighting. A thriller needs hard shadows and tight framing. A product reveal needs soft, diffused light and a slow push-in. Naming these in your script means you'll carry them directly into your prompt in the next step, rather than trying to remember them mid-generation.
If you're making a series of clips, write a short "visual bible" for your project: one character description, one lighting style, one color palette. Keeping that document open while you work is the fastest way to stay consistent across multiple generations. For creators who want to go further with turning an AI script into finished video, this upfront writing stage is where the real work happens.
Step 2: Craft a Detail-Rich AI Prompt for Cinematic Output
Your prompt is your director's slate. The AI reads it the way a cinematographer reads a shot list. Vague language produces vague footage. Specific language produces specific footage.
A strong cinematic prompt has seven parts, in this order: subject, action, setting, camera move, lighting style, sound or mood, and any hard constraints. You don't need all seven every time, but the more you include, the less the model has to guess.
Here's what that looks like in practice. Instead of "a woman running through a forest," write: "A woman in a worn leather jacket sprints through a fog-filled pine forest at dawn, handheld camera tracking close behind her, dappled light breaking through the canopy, footsteps and ragged breath audible, no text or logos." That second version gives the model a scene to execute, not a concept to interpret.
Name the camera move explicitly. Dolly-in, crane shot, whip pan, tracking shot, Dutch angle, POV. These terms map directly to how modern AI video models interpret motion. According to Wikipedia's overview of cinematography, camera movement is one of the primary tools directors use to shape emotional response. The same principle applies when you're directing an AI.
Seedance Studio responds well to this kind of film-language prompting because the underlying Seedance 2.0 model was built to handle camera direction natively. You can reference the Seedance 2.0 prompt guide for a tested formula with 21 ready-to-use examples. The core idea: fill each slot (subject, action, setting, camera, light, sound, constraints) and write it as one or two natural sentences, not a keyword list.
One constraint worth adding to almost every cinematic prompt: "no jump cuts, continuous motion." AI models sometimes insert micro-pauses or stutters if they're not told to keep motion fluid. Stating it explicitly costs nothing and saves a regeneration.
Step 3: Configure Settings for Cinematic Quality
A great prompt running at the wrong settings still produces a mediocre clip. Before you hit generate, check four things: aspect ratio, resolution, duration, and model selection.
Aspect ratio first. Use 16:9 for YouTube and horizontal content. Use 9:16 for TikTok, Instagram Reels, and YouTube Shorts. Use 1:1 for feed posts. Choosing the wrong ratio means your cinematic wide shot gets cropped into a portrait frame, killing the composition you wrote the prompt for.
Resolution is a two-pass decision. Generate your first draft at 480p or 720p. This is faster and costs fewer credits. Once you're happy with the composition and camera move, regenerate the keeper at 1080p or 4K. Don't burn high-resolution credits on exploratory drafts.
Duration matters more than most people realize. Cinematic movement needs time to breathe. A slow crane shot in 4 seconds looks rushed. The same shot in 10-12 seconds feels intentional. Set your duration to match the camera move, not the other way around.
On Seedance Studio, you also choose between model variants. Seedance 2.0 is the default and currently ranks #1 for both text-to-video and image-to-video on the independent Artificial Analysis arena. Seedance 2.0 Fast trades some detail for speed, which is useful when you're testing prompt variations quickly. For final cinematic output, stick with the full Seedance 2.0 model.
If you're uploading reference images, this is also where you attach them. One image of your main character, one of the location, and an audio file if you want native sound. Seedance 2.0 supports up to 12 reference inputs per generation. Using references on every generation is the single most effective way to keep character appearance and environment consistent across a multi-clip project.
Step 4: Generate Your Video and Refine with Iterations
Your first generation is a draft, not a final. Watch it once all the way through before you change anything. Note what's working before you note what isn't. This sounds obvious, but most people immediately focus on the flaw and over-correct in the next prompt, losing what was good.
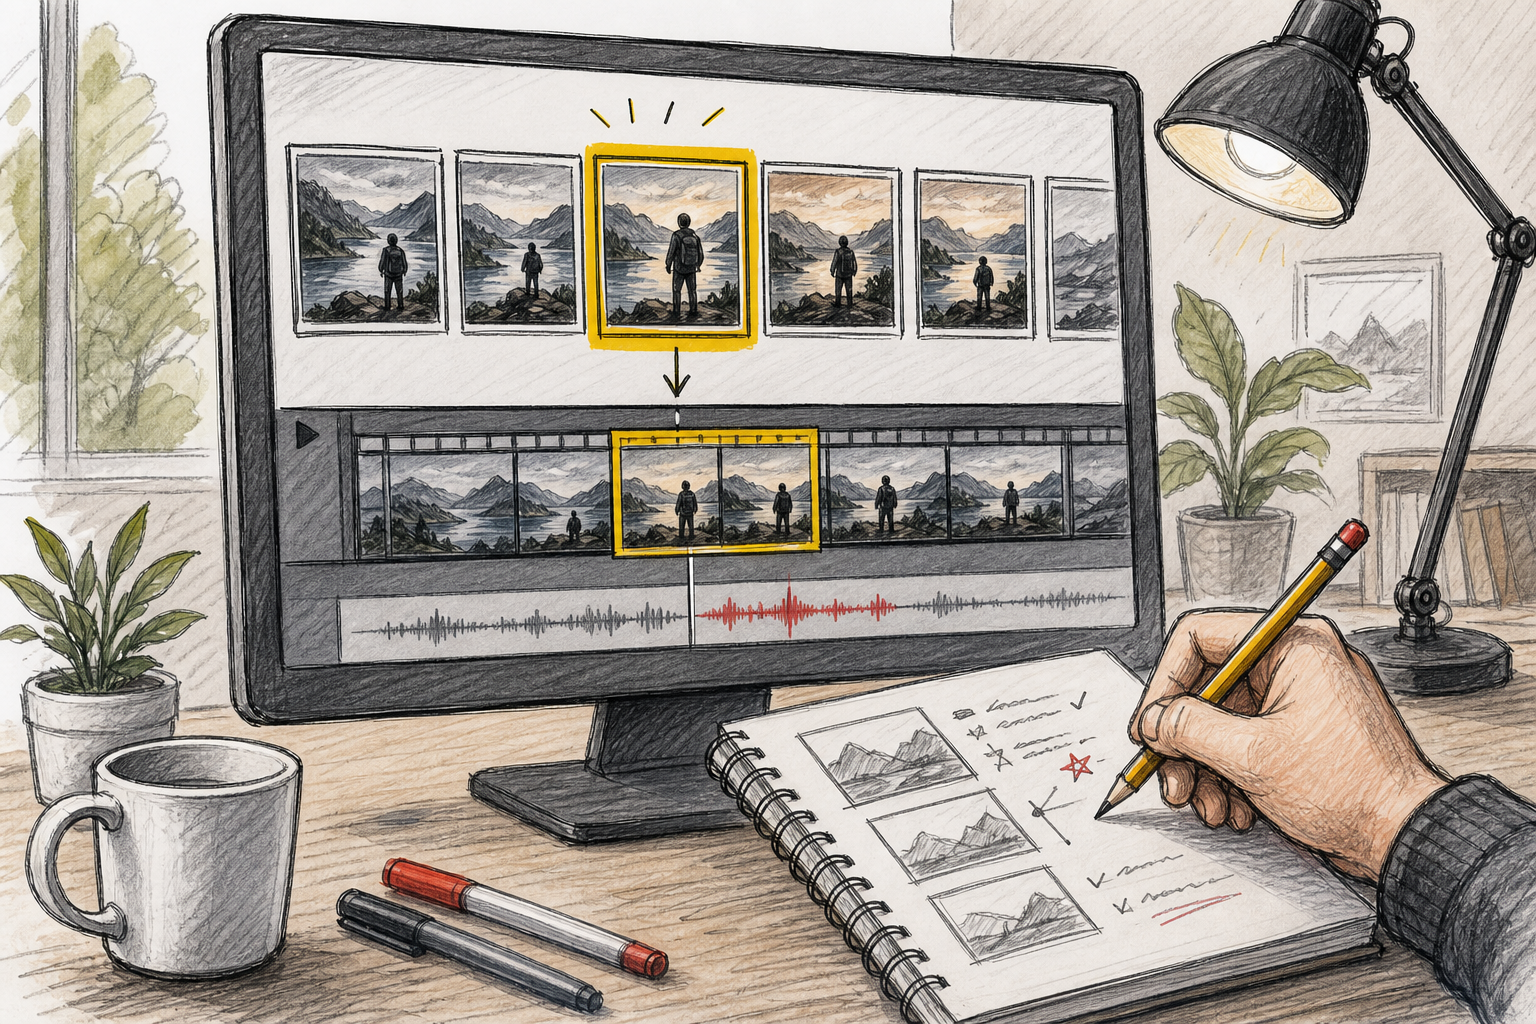
After that first watch, ask three questions. Did the camera move land the way you described? Does the character's appearance match the reference or description? Is the lighting consistent with the mood you named? If two of three are right, you're close. Adjust only the element that's off, not the whole prompt.
Small prompt edits produce smaller, more predictable changes. If the lighting is too flat, add "high-contrast side lighting, deep shadows" to the existing prompt. Don't rewrite the whole thing. Rewriting the whole prompt often fixes one thing and breaks two others.
Generate two or three versions of each important shot. The variance between generations is real. One version might nail the camera move but drift on the character's face. Another might have perfect character consistency but a slightly awkward motion path. Pick the best version of each shot rather than trying to get one perfect generation.
For multi-shot projects, keep a "character DNA" block: a short, hyper-specific description you paste into every prompt. Hair color, eye color, exact clothing with specific details (not "jacket" but "oversized olive canvas jacket with brass buttons"), any distinctive feature. Pair it with the same reference image on every generation. This two-layer approach, written description plus visual reference, is the most reliable way to hold character consistency across a full cinematic sequence. Creators building longer projects can see how this works in practice with AI-generated music video production, where multi-clip consistency is the central challenge.
Once you have a set of clips you're happy with, download them all before moving to the next step. Keep the originals. You may want to go back to a raw generation after you've started editing.
Step 5: Add Audio, Edit, and Export Your Cinematic Video
Audio is half of cinematic. A beautifully shot clip with weak or mismatched audio reads as amateur. Get this right and the whole piece lifts.
If you used Seedance Studio with an audio reference, your clips already have native sound mixed in. That's a real advantage. But even with native audio, you'll likely want to adjust levels, add a music bed underneath, or layer in specific sound effects for impact. For a deeper look at getting sound right from the generation stage, the guide on using an AI video generator with sound covers the full workflow.
For editing, you don't need a professional suite. Clipchamp's browser-based video editor handles trimming, transitions, color correction, and audio mixing without a download, and it exports in 1080p HD on the free plan. It's a usable choice when you want to move fast and stay in the browser.
When you bring your clips into the editor, do this in order. First, arrange your clips on the timeline and check the overall flow without audio. Then drop in your music bed at a low level. Then add any sound effects or dialogue layers on top. Mixing in this sequence lets you hear each layer in context before committing to levels.
Color grading is where cinematic style gets locked in. Even a subtle grade, pulling highlights slightly warm and shadows slightly cool, creates the "film look" that separates cinematic content from raw AI output. Most browser editors have basic color tools that are enough for social-ready content.
For export, use MP4 in H.264 at 1080p minimum. Check the finished file on your phone before posting. What looks correct on a desktop monitor can appear too dark or washed out on a mobile screen, which is where most of your audience will watch it. Match the aspect ratio to the platform spec before you upload.
If you're building a library of cinematic content for TikTok, Reels, or YouTube Shorts, keeping a consistent export preset saves time. Set it once and apply it to every project. Consistency in export quality is as important as consistency in visual style when you're building a channel or brand identity.
Frequently Asked Questions
What makes a video look cinematic versus just AI-generated?
Cinematic video has intentional camera movement, consistent lighting, and audio that matches the mood. AI-generated clips that lack these feel random. The difference is almost always in the prompt: naming a specific camera move (dolly, crane, tracking shot) and a lighting style (golden hour, hard side light) gives the model something to execute rather than invent. Seedance 2.0 responds directly to this kind of film language.
How long should my prompts be for cinematic AI video?
Long enough to cover subject, action, setting, camera move, and lighting. That's usually two to three sentences. Shorter prompts leave too much to the model's defaults. Longer prompts with conflicting instructions confuse the output. The goal is precision, not length. A 40-word prompt that names every key element beats a 200-word prompt that repeats the same idea in different words.
Can I keep the same character across multiple AI video clips?
Yes. Use a reference image of your character on every generation, and include the same written character description (hair, clothing, distinguishing features) in every prompt. Seedance 2.0 supports up to 12 reference inputs per generation. Using both a visual reference and a written description gives the model two anchors, which produces much better consistency than either approach alone.
What resolution should I use for cinematic AI video?
Generate test drafts at 480p or 720p to save credits and speed up iteration. Once you have a clip you want to keep, regenerate at 1080p or 4K for the final version. For TikTok and Reels, 1080p is sufficient. For YouTube or any content displayed on large screens, 4K is worth the extra render time if your plan supports it.
Do I need editing software after generating an AI cinematic video?
For most social content, a basic browser editor is enough. You'll want to trim clips, adjust audio levels, add a music bed, and apply a simple color grade. Clipchamp handles all of this in-browser with no download required. For longer-form projects or more detailed grading, a dedicated editor gives you more control, but it's not necessary for short-form cinematic content.
Is Seedance Studio free to use?
Seedance Studio has a free tier that lets you generate clips on the Seedance 2.0 model without a credit card. The free plan runs at 480p. Paid plans start at $14 per month and unlock higher resolutions including 1080p and 4K, longer durations, and more monthly credits. There's no waitlist and no download required since it runs entirely in the browser.
Conclusion
The process is the product here. Write a clear visual script, build a prompt that reads like a director's note, configure your settings for the platform you're publishing to, iterate in low resolution before committing to a final render, then finish with audio and a quick color grade. If you want to try this right now, start a free Seedance Studio account and run your first cinematic generation in under five minutes. No download, no waitlist.


