
An image to video API can turn one still frame into a short clip with motion, camera direction, and sometimes sound. But the market is less clear than the demos suggest. A review of 41 APIs found that only 20 disclosed automation features, while input and output details were often missing. Use the steps below to test a tool before you build around it.
Step 1: Prepare Your Image, Prompt, and Video Goal
Your first image to video API request should have one clear job. Decide what the clip must show, where it will appear, and what success looks like.
Start with the source image. Use the sharpest version you have. A soft face, messy edge, or strange hand in the still image can become worse once the model adds motion. Keep the main subject easy to see. A busy background gives the model more objects to track.
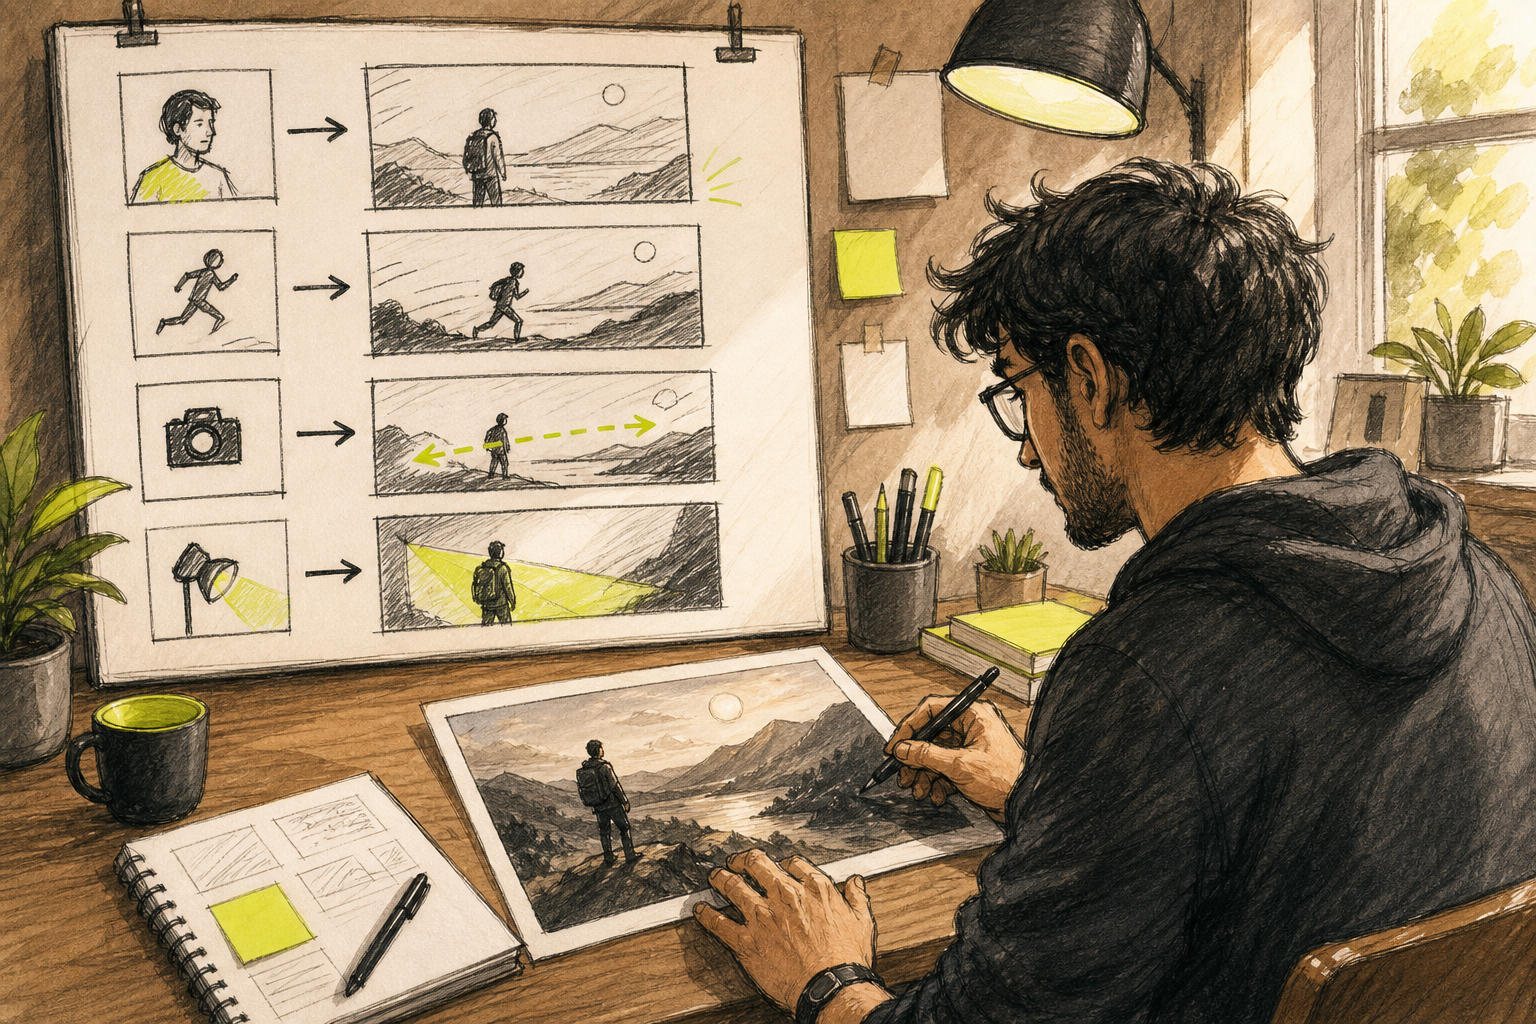
Next, write a motion prompt. Don't describe every object that already appears in the image. Tell the model what should move and how the camera should behave.
A useful order is subject, action, setting, camera move, then light or style. For example: “A ginger cat slowly turns toward the window as dust moves through warm sunlight, slow push-in, locked eye-level view.” One main action is usually better than five competing actions.
Use active verbs. “The subject walks three steps and turns toward the door” gives the model more direction than “a person near a door.” Add timing when it matters. You might ask for a pause before the subject reaches for an object.
Set the output goal before you generate. Choose vertical 9:16 for TikTok, Reels, or Shorts. Pick 16:9 for a standard YouTube scene. A square frame may suit a feed post. Also choose a target duration. A short first test saves credits and makes it easier to spot a bad prompt.
Keep a copy of the source image and prompt. You’ll need both when you compare a second generation. Seedance Studio is useful at this stage because you can upload a reference image, type a plain-English prompt, and test the same idea in a browser without installing software. Its free tier gives you a low-risk place to learn the process.
For more prompt ideas, compare your draft with this guide to AI video generators from an image. The goal is simple: one image, one main movement, and one clear camera choice.
Step 2: Choose an Image to Video API and Check Its Capabilities
Choosing an image to video API is a technical decision, not a beauty contest. Check the input rules, output size, audio support, job flow, price, and free access before you write code.
Research across 41 services found starting prices between $0.04 and $0.62 per second. The average was $0.17, while the median was $0.11. That sounds cheap until you count retries. A five-second draft may need several attempts before it is worth posting.
Transparency is the bigger issue. Only 20 of the 41 APIs disclosed automation features. Just 16 listed supported image types or size limits, and 17 listed output resolutions. If a vendor hides those details, treat the first call as a test rather than a production choice.
| Check | Ask before coding | Why it affects your workflow |
|---|---|---|
| Input | Can it accept a URL, base64 data, or both? | Your upload and storage design depends on this. |
| Motion | Can you control the camera or motion strength? | A product demo needs steadier movement than a music clip. |
| Sound | Does the API generate native audio or return silent video? | You may need a second audio step if the output is silent. |
| Output | Which resolutions and aspect ratios are supported? | The wrong frame shape can force a crop or a new render. |
| Job status | Does the request return a job ID, webhook, or finished file? | Video jobs often need polling or an async queue. |
| Cost | Is billing per second, per image, or by credits? | Retries can change the cost of one usable clip. |
Model choice should follow the shot and its audio needs. If sound is central to the project, compare an AI video generator with sound before choosing an API. Runway Gen-4.5 is a fit for Hollywood-quality generation from an image. Dream Machine targets a cinematic look. Grok Imagine Video supports several aspect ratios at 480p and 720p, while Veo 3.1 reaches up to 4K with native audio and lip-synced dialogue.
Seedance 2.0 supports images, audio, and video references. It also lists 480p, 720p, and 1080p output. In the supplied API comparison, Seedance 2 is priced at $0.3034 per second at 720p. Seedance Studio gives you a browser layer around that model, with no waitlist or download required, plus paid plans starting at $14 per month.
Read the API contract closely. The official image-to-video documentation from xAI states that a source image can be sent as a URL, base64 string, or several binary formats. That kind of detail is what prevents a failed upload after you’ve built the rest of the flow.
If you want to run the model from your own app, review the Seedance API for AI video generation. It uses a REST request, returns a job ID, and supports polling or a webhook for the finished file. That is a better fit for a product workflow than manually downloading every clip.
Pick the provider with the clearest contract for your use case. A slightly higher per-second rate may cost less than repeated failed jobs.
Step 3: Send the Image-to-Video Request
Your image to video API call should send four things: the source image, the motion prompt, the output settings, and a way to track the job.
First, validate the file before sending it. Check that the file exists, the type is allowed, and the image meets the vendor’s size rules. Store the original asset outside the render service so you can retry without asking the user to upload it again.
Then build the request body. Keep the first payload small. Use one image and one prompt before you add extra references. A simple request makes it easier to tell whether a problem comes from the file, the prompt, or the model.
POST /video/generations
{ "image": "https://example.com/source.jpg", "prompt": "Slow camera push toward the subject, gentle movement, natural light", "duration": 5, "aspect_ratio": "9:16", "resolution": "720p"
}
The exact field names differ by provider, so treat this as a shape rather than a copy-paste contract. Some APIs accept a public image URL. Others also accept base64 or binary data. Keep your integration layer flexible enough to map your internal fields to each provider’s request format.
Most video generation calls are asynchronous. Submit the job, save its ID, and show a pending state. Poll the status endpoint at a sensible interval, or use a webhook if the provider supports one. Set a timeout and a retry limit. Never leave users staring at an endless spinner.
Use separate states for queued, running, complete, failed, and blocked. Save the prompt beside the job ID. Also save the chosen model, aspect ratio, duration, and resolution. When a creator says, “Make the camera slower,” you should be able to revise the last request instead of starting from a blank screen.
Before you expose the call to users, add basic rights and safety checks. Ask whether the uploader owns the image or has permission to use it. Flag requests that involve fake endorsements, private people, or claims that need review.
For a small creator workflow, Seedance Studio removes much of this setup. Upload the image, add the prompt, select the frame shape, and generate. For a product team, the API route gives you more control over queues, storage, and approval steps.
By now you should have a tracked job with a saved input, a clear status, and a defined failure path.
Step 4: Review the Result and Fix Common Generation Problems
Review every generated clip before you publish it. An image to video API can make a striking first impression while still failing on a face, hand, edge, or camera move.
Watch the clip twice. On the first pass, judge the main action. Did the subject move as requested? Did the camera hold its path? On the second pass, watch small areas such as fingers, eyes, text, reflections, and object edges.
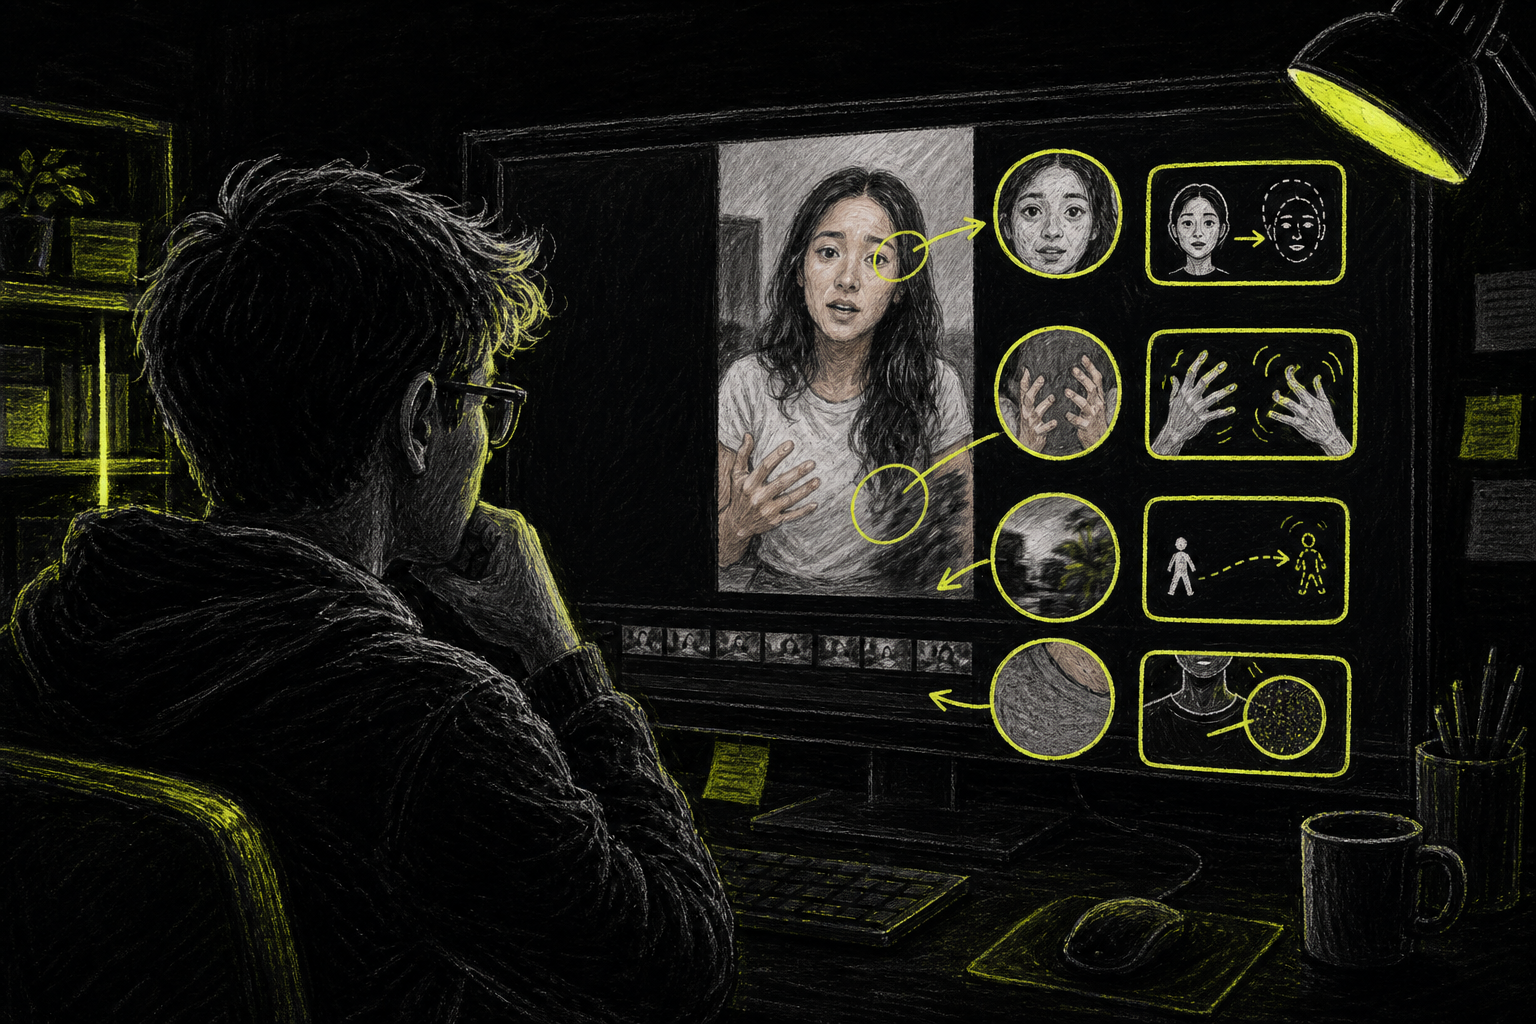
| Problem | Likely cause | First fix to try |
|---|---|---|
| Blurry details | Low-quality input or fast mode | Use a cleaner source image or a higher quality setting. |
| Warped hands or faces | Too much motion or a complex action | Simplify the action and reduce motion strength. |
| Character drift | The model loses identity during movement | Reuse the same reference and repeat key identity details. |
| Unwanted camera move | The prompt leaves camera direction open | Ask for a locked tripod shot or fixed perspective. |
| Weak movement | The prompt lacks a clear active verb | Name the exact subject movement and its direction. |
| Scene changes | Too many actions or details compete | Put the main subject and action first, then remove extras. |
Keep the first revision narrow. If the face is stable but the camera is wrong, change only the camera instruction. If you rewrite the whole prompt, you may lose the part that already worked.
For realistic motion, describe weight and direction in plain terms. “The coat follows the turn” gives the model a useful physical cue. For a static product shot, say “locked-down tripod shot” and “zero camera movement.”
High-density scenes need more care. Crowds, water, smoke, and fast action can still cause shifts. Generate separate short beats when one long take keeps breaking.
Don't trust a desktop preview alone. Download the file and watch it on a phone. Small glitches can look worse after social platforms compress the clip. Keep the failed versions, too. They show which prompt changes helped.
A clean workflow treats generation as a test loop: inspect one problem, change one control, then render again.
Step 5: Connect the Output to Your Content Workflow
The final image to video API step is the handoff. A finished clip needs a file name, status, review path, export setting, and place in your content plan.
Start with one narrow use case. For example, generate three vertical product-ad drafts from one product image. Do not begin with a blank “make anything” tool. A narrow flow gives you clear inputs and makes failures easier to trace.
Use a job record with fields such as:
- Source image ID
- Prompt version
- Model and resolution
- Aspect ratio and duration
- Job status
- Output file location
- Review result
Store the output in durable storage before the provider’s download link expires. Keep the prompt and settings with the file. That lets a marketer find the approved version later and lets a developer reproduce the request.
Separate drafts from final renders. Drafts can use a lower resolution or shorter duration. Final clips need a rights check, brand review, caption review, and the right export format.
Costs can rise through retries. Show users what each generation consumes before they submit it. Add a low-cost preview step where possible. Cache repeated reference assets so the same image does not need to be uploaded again.
REST access is common in this market, but plug-and-play connections are less common. The research review found integration details for 19 of 41 APIs, and no API in the sample listed Zapier or CMS plugins. Plan for your own queue and status layer.
Workflow automation tools can help connect ideation, rendering, review, and notification steps. A short-form workflow may send a finished clip to a review channel instead of publishing it at once. That small pause protects your brand when a model produces a strange frame.
Seedance Studio fits the lighter version of this process. You can generate a clip in the browser, review it, and export it for social use. If your team needs repeatable app-based generation, move the tested prompt and settings into the Seedance API.
For free testing, you can also use Seedance 2.0 on the free plan before you commit to a paid workflow. Start with one content type, measure failed renders, then add more formats once the first path works.
FAQ
What is an image to video API?
An image to video API is a software endpoint that turns a still image into a video clip. You send an image and usually a motion prompt. The service returns a job ID or video file. Depending on the model, the result may include camera movement, native sound, lip sync, or a chosen aspect ratio.
How do I write a prompt for image to video?
Write the subject first, then state one clear action and one camera move. Add the setting or lighting only when it affects the shot. “The runner turns left as the camera tracks beside them” is better than “make this image cinematic.” Keep the first prompt short so you can see which instruction changed the result.
How much does an image to video API cost?
Pricing varies by model, resolution, and billing unit. Rates are available on request. Your true cost will also include failed attempts, longer clips, and high-resolution renders, so test the retry rate before setting a budget.
Can an image to video API generate sound?
Some image to video APIs generate sound in the same pass, but many do not clearly disclose that feature. Models in the research include native audio or lip-synced dialogue, while other services list no automation details. Check the API response and documentation before you build a workflow that depends on sound.
What is the easiest way to try image to video?
The easiest route is a browser tool such as Seedance Studio. Upload one clear image, write a short motion prompt, choose the aspect ratio, and generate a brief test. Review the clip on both desktop and mobile. Once the prompt works, move the same settings into an API workflow if you need automation.
Conclusion
Start with one clean image, one motion goal, and a short test clip. Choose an API that clearly documents inputs, outputs, job status, and cost. For a fast browser test, create a free Seedance Studio account, generate one vertical clip, and keep the prompt that gives you the best motion.


