
You don't need a camera, a crew, or editing software to put videos on YouTube. AI video generators have changed the whole workflow. This guide walks you through every step, from picking the right tool to exporting a finished clip ready to upload.
Step 1: Pick the Right AI Video Tool for YouTube
Not every AI video tool is built for YouTube. Some are great for still images. Others generate short clips but cap you at 480p or slap a watermark on every export. Before you type a single prompt, you need a tool that actually fits the job.
Here's what matters for YouTube specifically:
- Aspect ratio support:YouTube uses 16:9 for standard videos and 9:16 for Shorts. Your tool needs both.
- Resolution:1080p is the floor. Anything lower looks soft on a TV or a big monitor.
- Audio:YouTube rewards videos with good sound. A tool that bakes native audio into the clip saves you a separate editing step.
- Free tier or low starting price:Most tools that advertise "free" plans actually limit resolution, clip length, or generation count in ways that make them unusable for real publishing.
We built Seedance Studio specifically for this workflow. It delivers high-quality text-to-video and image-to-video generation. You get a genuine free tier, paid plans starting at $14/month, and support for 16:9, 9:16, and 1:1 aspect ratios out of the box. No download. No waitlist.
Other tools worth knowing about: Runway has strong motion control for cinematic shots. Pika Labs has a free tier with limitations on resolution and generation count. Luma AI does well with photorealistic scenes. But none of them combine a real free tier, end-to-end automation, and native short-form aspect ratio support the way Seedance Studio does.
If you want a broader comparison before committing, the best AI video generator tools breakdown covers the key differences in depth.
Step 2: Write a Prompt That Gets Great Results
Your prompt is the script. The more specific it is, the better the output. Vague prompts produce generic clips. Specific prompts produce clips that look like you planned them.
A prompt structure that works consistently:
- Subject:Who or what is in the shot, described in specific physical detail
- Action:What they're doing
- Setting:Where the scene takes place, including time of day
- Camera move:Slow push in, wide establishing shot, handheld close-up
- Lighting or mood:Warm afternoon light, flat animation style, high contrast
Here's a weak prompt: "a woman in a city." Here's a strong one: "a young woman in a yellow jacket walks through a rainy Tokyo street at night, neon signs reflected in puddles, slow push-in from behind, cinematic grain."
The second prompt gives the model a subject, an action, a setting, a camera move, and a visual style. Every element you add reduces the model's guesswork and steers the output toward what you actually want.
A few things to avoid. Don't describe emotions abstractly ("happy," "sad"). Instead, describe the physical behavior that shows the emotion ("laughs and covers her mouth," "stares at the floor, shoulders dropped"). Don't stack too many competing ideas in one prompt. One scene, one camera move, one mood.
Plain language works fine. You don't need cinematic jargon. "Camera slowly moves closer" is just as readable by the model as "dolly in." What matters is specificity, not vocabulary.
If you're making a music video or an animated clip, the step-by-step guide to animated AI videos has prompt templates built for those formats.
Step 3: Generate Your Video with Seedance Studio
Once your prompt is ready, the actual generation is fast. Here's the exact sequence in Seedance Studio.
Go to tryseedance.ai and sign in. The free plan doesn't require a credit card. Once you're in, you'll see the prompt box front and center. Paste your prompt there.
Before you hit generate, set three things:
- Aspect ratio:16:9 for standard YouTube videos. 9:16 for Shorts.
- Duration:4 to 15 seconds. For testing a prompt, 5 seconds is enough. For a finished clip, 8 to 12 seconds is the sweet spot.
- Resolution:Free plan gives you 480p. Paid plans go up to 4K. Iterate at lower resolution first, then render your final keeper at high.
Hit generate. Rendering takes a minute or two. Long enough to refine your next prompt, not long enough to lose focus. The finished clip lands in your media gallery with audio already mixed in.
Watch the full clip before you do anything else. Check four things in order. First, did the camera do what you asked? Second, is the motion smooth? Third, does the audio fit the scene? Fourth, are there any weird artifacts on faces or edges?
If something's off, tweak the prompt and regenerate. Most creators get a usable clip in two or three attempts. The first AI video in 5 steps walkthrough goes deeper on what to adjust when the first output misses the mark.
By now you should have a generated clip in your gallery. If it's close but not perfect, that's normal. The next two steps show you how to sharpen the output using reference images and camera controls.
Step 4: Use Images or Clips as a Starting Point
Text prompts describe. Reference inputs lock. That's the real difference between a generic AI clip and one that looks like you made a deliberate creative choice.
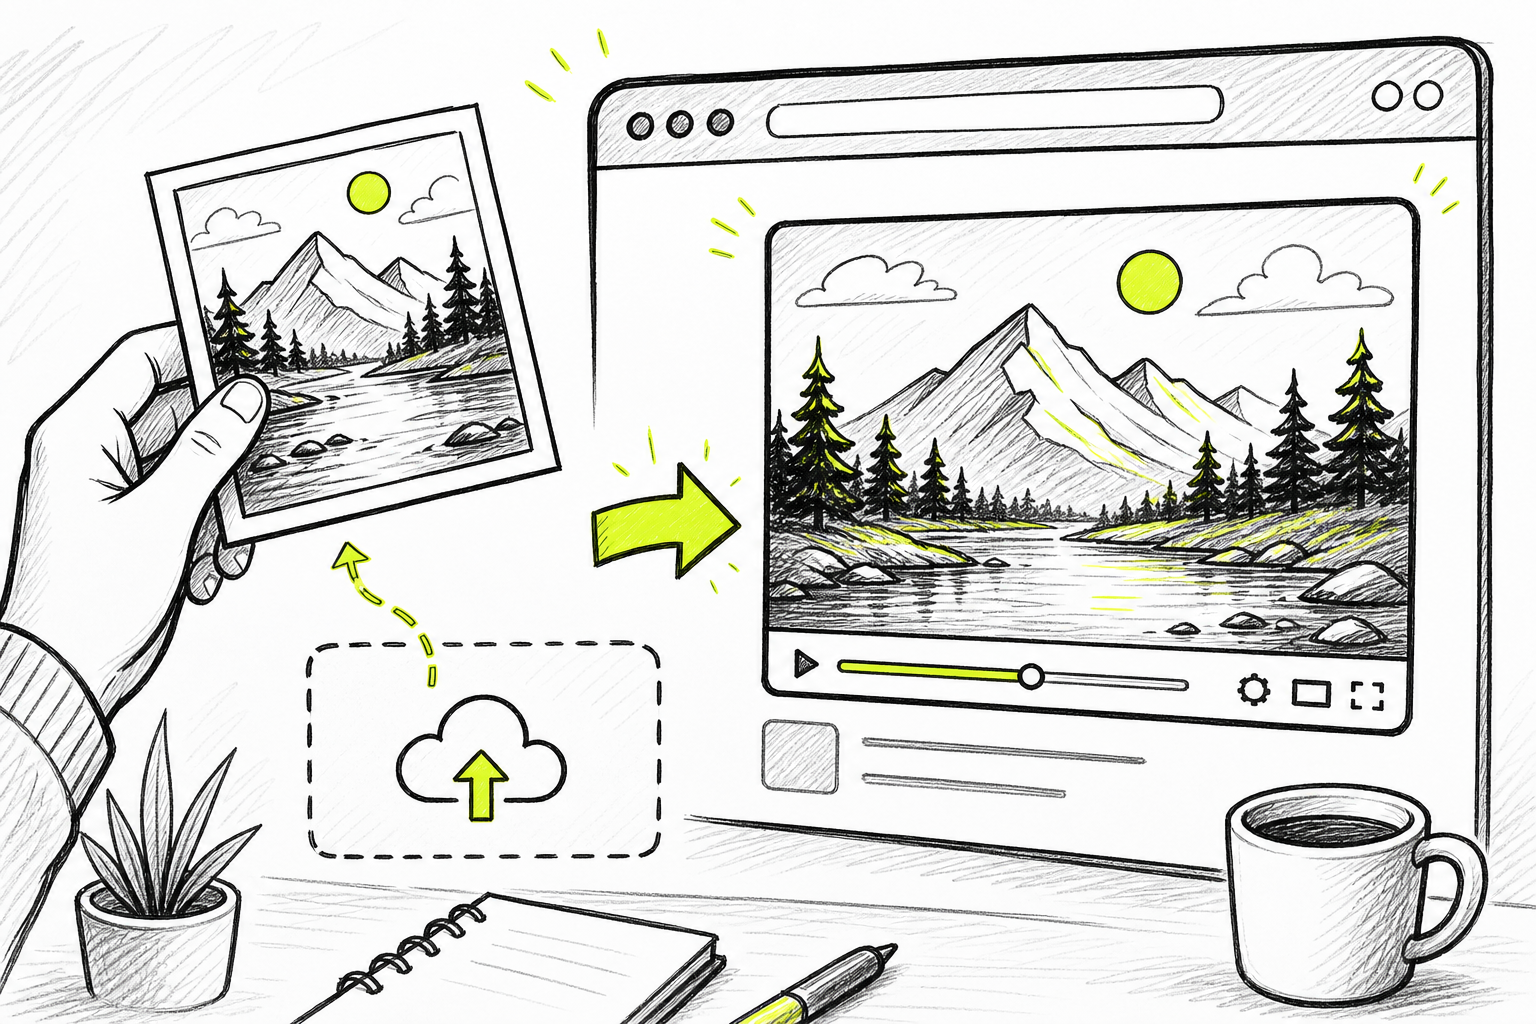
Seedance Studio lets you attach up to 12 reference files per generation. That includes photos, short video clips, and audio tracks. You can use a photo of a real person to keep their face consistent across multiple clips. You can upload a product image so it appears in the scene exactly as it looks in real life. You can drop in a short clip to show the model a specific camera move you want replicated.
The workflow is straightforward. Upload your reference file into the references area. Then mention it in your prompt using an @ tag so the model knows which element the file belongs to. If you upload a photo of a character and call it @Maya, every prompt that includes @Maya will use that face.
A few things that improve reference quality:
- Use clear, well-lit photos for character references. Front-facing shots work best. Avoid busy backgrounds.
- For location references, one establishing shot that shows the full environment is usually enough.
- For motion references, keep the clip short. A few seconds showing the specific move you want is more useful than a long clip with multiple actions.
This image-to-video capability is especially useful for YouTube creators who want consistent characters across a series of videos. You build the character once, save the reference image, and call it in every future generation. The free image-to-video generator guide covers the full upload and prompt workflow if you want to go deeper on this step.
Step 5: Fine-Tune Camera Movement and Characters
Camera movement is what separates a clip that looks AI-generated from one that looks intentional. Most people skip this step. Don't.
In your prompt, name the camera move explicitly. "Slow push in toward the subject's face" is specific enough for the model to execute. "Overhead shot looking down at a busy kitchen" tells the model both the angle and the scene. "Pan left across a mountain range at sunrise" gives it direction, subject, and time of day in one line.
Common camera moves that work well in Seedance Studio:
- Slow push in:Good for emotional moments or product reveals
- Static wide shot:Good for establishing a scene
- Handheld close-up:Good for a documentary or vlog feel
- Overhead/bird's eye:Good for food, maps, or crowd scenes
- Tracking shot:Good for following a subject in motion
For character consistency across multiple clips, the reference system described in Step 4 does most of the work. But your prompt language matters too. Use the same physical description every time you reference that character. "Tall woman with short silver hair in a red coat" should appear in every prompt where she appears, alongside the @reference tag. Changing the description between clips will drift the character's appearance even with the same reference image attached.
Seedance Studio also supports spoken dialogue. Put a line of dialogue in quotes inside your prompt and the character on screen will say it, with lip sync generated in the same pass as the video. This is useful for YouTube explainer content where a character needs to deliver a line directly to camera.
YouTube videos with clear visual structure and consistent subjects tend to perform better in search. Consistent characters and deliberate camera moves aren't just aesthetic choices — they affect how watchable and re-watchable a video is, which feeds directly into watch time metrics.
Step 6: Export and Optimize for YouTube
Once your clip looks right, download it from your Seedance Studio media gallery as an MP4. That's the format YouTube accepts for every upload type.
Before you upload, check these specs against your target format:
- Standard YouTube video:16:9, 1920x1080px minimum, MP4 (H.264)
- YouTube Shorts:9:16, 1080x1920px, MP4, under 60 seconds
Resolution matters more than file size for YouTube. The platform re-encodes everything you upload, so start with the highest resolution your plan allows. On Seedance Studio's paid plans, that goes up to 4K. On the free plan, 480p is the ceiling, which is fine for testing but not for publishing.
Watch the exported file on your phone before you upload it. What looks sharp on a desktop monitor can appear washed out or too dark on a mobile screen. Most YouTube viewers are on mobile, so this check catches problems before they go live.
For YouTube Shorts specifically, keep the clip under 60 seconds and make sure the action starts in the first two seconds. The algorithm surfaces Shorts based on completion rate, so a slow opening kills distribution. If you're generating multiple clips for a longer video, the Seedance Studio full workflow guide covers how to chain clips and manage a multi-shot project without losing character consistency.
Add captions before you publish. YouTube's auto-captions are imperfect. Uploading your own SRT file gives you control and improves accessibility. It also helps with search, since YouTube indexes caption text when ranking videos for queries.
FAQ
Can I make YouTube videos with AI for free?
Yes. Seedance Studio has a genuine free tier that lets you generate clips without a credit card. The free plan outputs at 480p, which is good for testing prompts and iterating on ideas. For publishable 1080p or 4K clips, the paid plan starts at $14/month. Most other tools that advertise free access limit resolution or add watermarks that make the output unusable.
How long does it take to generate an AI video?
Typical generation time in Seedance Studio is one to three minutes per clip, depending on duration and resolution. A 5-second clip at 480p renders faster than a 15-second clip at 1080p. You can queue multiple generations and come back to them. For a full YouTube Short made of several clips stitched together, expect to spend 20 to 40 minutes on generation across the whole project.
What's the best aspect ratio for AI YouTube videos?
Use 16:9 for standard YouTube uploads and 9:16 for YouTube Shorts. Set the aspect ratio in Seedance Studio before you generate, not after. Cropping a 16:9 clip to 9:16 in post loses quality and often cuts off the subject. Seedance Studio supports both formats natively, along with 1:1 for feed posts on other platforms.
Do I need editing skills to make AI videos for YouTube?
No. Seedance Studio handles camera direction, motion, and audio in a single generation pass. You type a prompt, set your format, and download a finished MP4. If you want to stitch multiple clips into a longer video, a free editor like CapCut works well. But for YouTube Shorts, a single 10-15 second AI-generated clip is often all you need.
Can AI-generated videos rank on YouTube?
Yes. YouTube doesn't penalize AI-generated content as a category. What matters is watch time, click-through rate, and viewer satisfaction. A well-prompted AI video with clear visuals, good audio, and a strong hook in the first two seconds competes on the same terms as any other video. Consistent characters and deliberate camera moves improve watchability, which feeds the algorithm.
Conclusion
The whole process comes down to six steps: pick a tool that actually supports your format, write a specific prompt, generate your clip, add reference inputs for consistency, dial in camera movement, and export at the right spec. Seedance Studio handles the technical heavy lifting so you can focus on the creative side. Start with a free account and get your first clip done today.


