AI can take a Reel from a rough idea to a usable video in minutes. The hard part is giving it a clear brief, a strong hook, and enough direction to avoid bland results. Use this five-step workflow to plan, generate, polish, and publish your next Reel with Seedance Studio.
Step 1: Choose Your Reel Idea, Format, and Hook
Before you learn how to make reels with AI, decide what the viewer should get from the video. Pick one audience, one idea, and one action you want viewers to take.
Start with a simple format. A short tutorial works well for a service business. A product demo fits a shop. A myth-versus-fact Reel suits an account that teaches. Behind-the-scenes clips can make a brand feel more human.
Next, choose the format before you generate anything. Use vertical 9:16 for Instagram Reels. That same file can also fit TikTok and YouTube Shorts. Seedance Studio supports 9:16, 16:9, 1:1, and other aspect ratios, so you can pick the right frame at the start.
Your hook belongs in the first one or two seconds. Skip greetings and long setup. Lead with the result, a sharp question, a surprising claim, or a strong visual action.
- “Three small changes can fix your slow landing page.”
- “This is why your product demo feels flat.”
- “Stop filming every clip from eye level.”
Keep most first drafts between 15 and 60 seconds. A shorter Reel is easier to finish, review, and remake. If the topic needs more time, split it into a series instead of cramming every point into one post.
Write one clear call to action. Ask people to save the tip, follow for the next part, or visit your profile. One action gives the ending a job.
For more planning ideas, visit this planning resource. Consider how format, volume, and output needs affect your setup. Pick the idea first. The prompt comes after.
Step 2: Write a Short Script and Shot List
Good AI Reels need a script that sounds spoken, not a blog post read aloud. Keep the words short and make each line move the viewer toward the payoff.
Use this prompt as your starting point:
“Write a 25-second Instagram Reel script for [audience] about [topic]. Start with a bold hook. Give two useful points. Use short spoken sentences. Add one clear call to action. Put suggested screen text in brackets.”
Read the result out loud. Cut any line that feels stiff. Replace broad claims with a detail the viewer can picture. “Improve your content” is weak. “Show the finished result in the first shot” gives the viewer something to use.
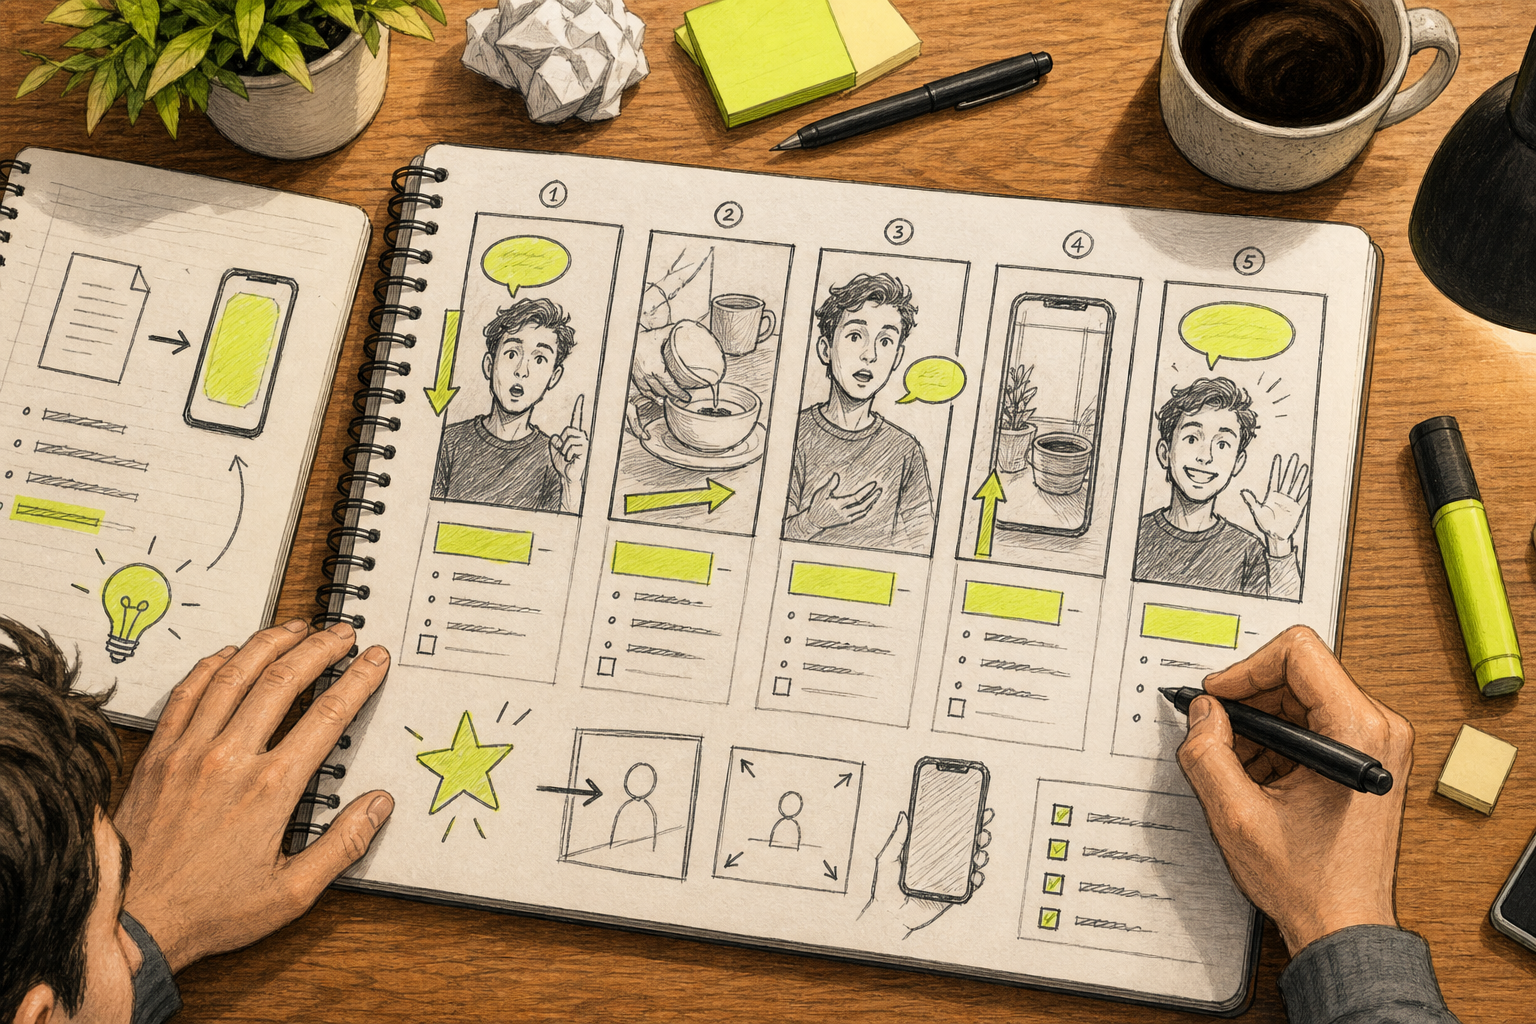
Then turn the script into a shot list. Give every line a matching visual. That keeps the video from becoming a stream of unrelated images.
- Shot 1, 0 to 2 seconds:Show the problem or final result. Put the hook on screen.
- Shot 2, 2 to 7 seconds:Show the first action or example.
- Shot 3, 7 to 14 seconds:Add the second point with a change in angle.
- Shot 4, 14 to 21 seconds:Show the payoff or before-and-after moment.
- Shot 5, final seconds:Display the call to action.
For each shot, write the subject, action, setting, camera move, mood, and screen text. Keep screen text under six words when possible. Viewers should understand it at a glance.
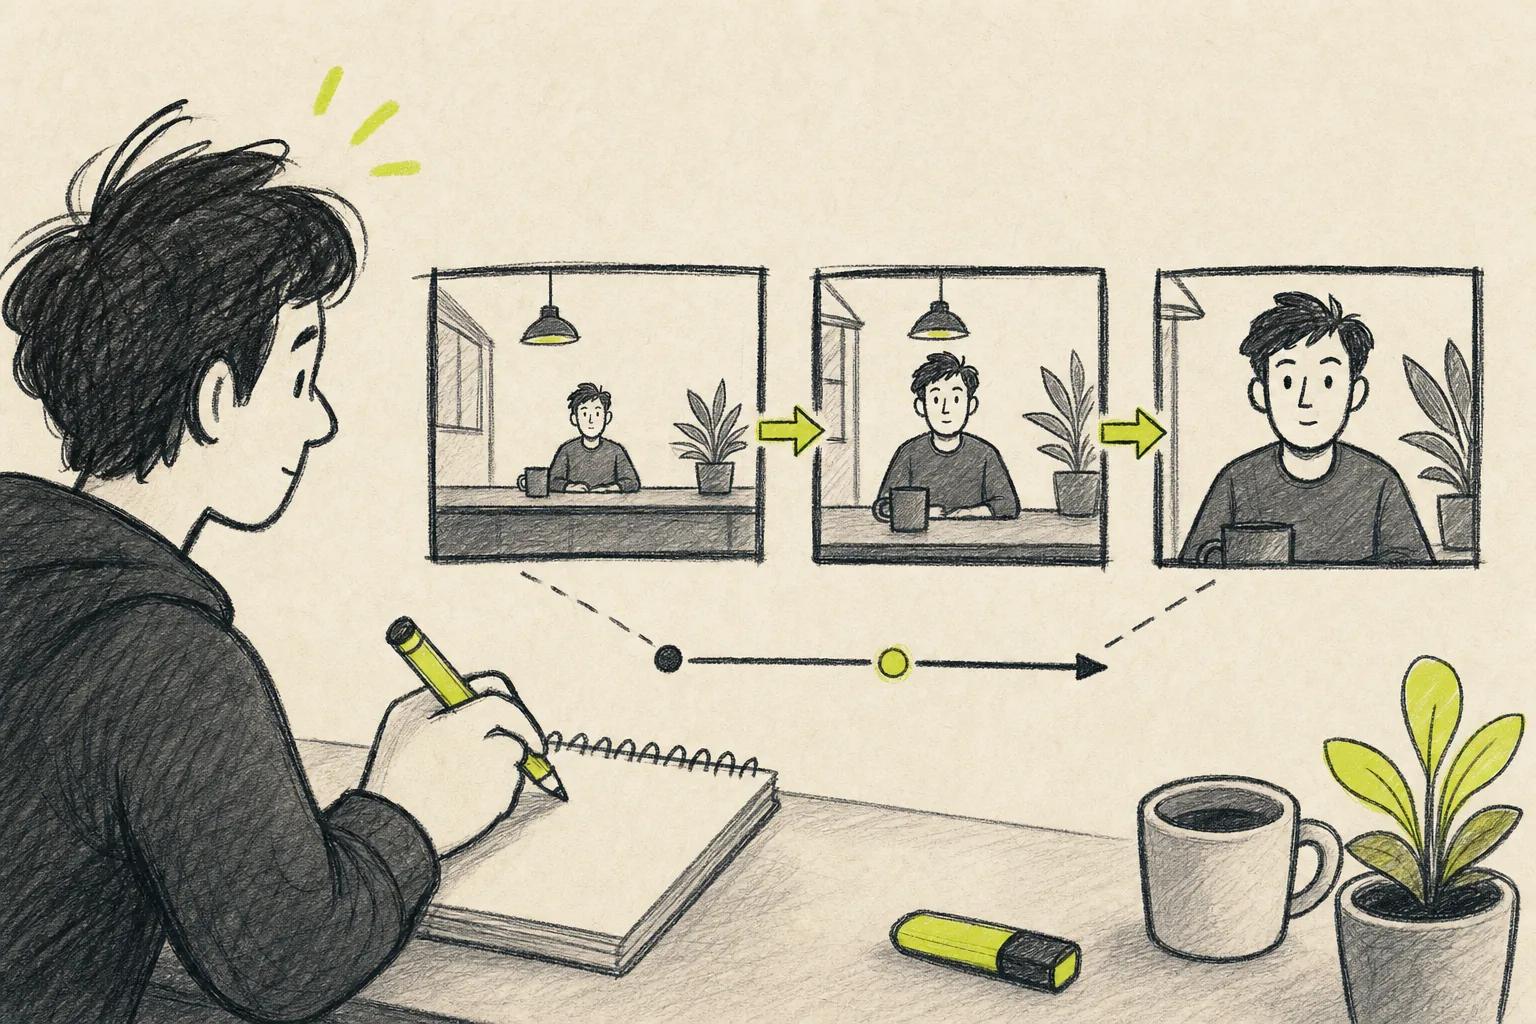
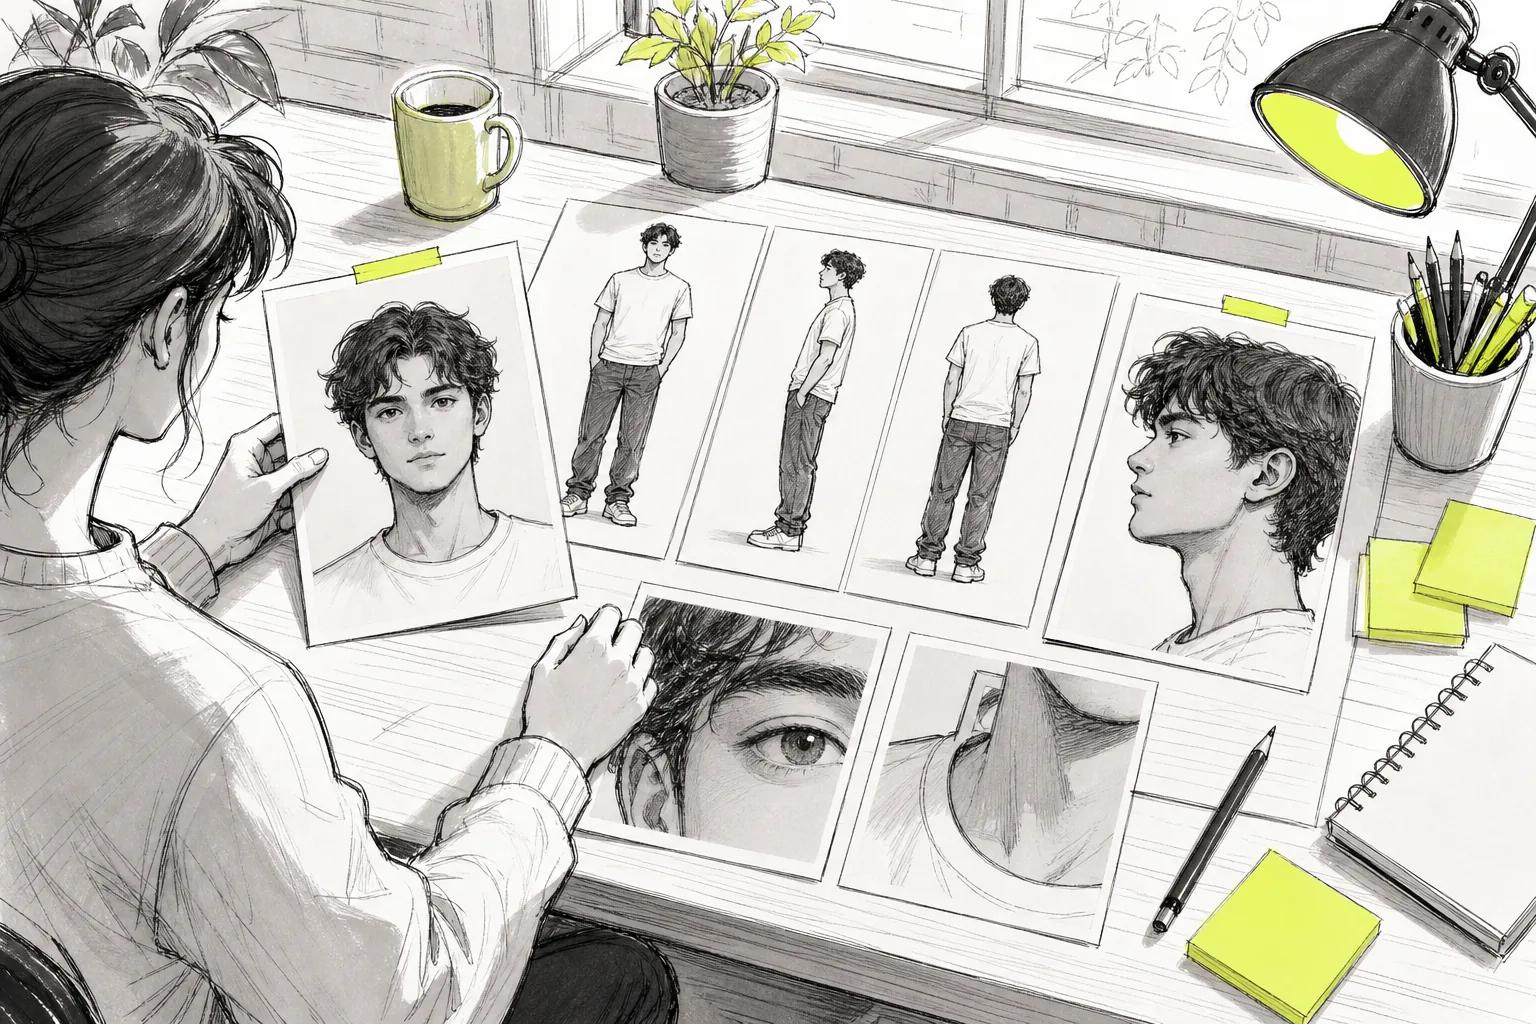
If a person or product appears in several shots, define it the same way each time. Use one name for the subject. Add a clear reference image when the look needs to stay stable. A clean photo with a simple background gives the model a better anchor than a dark, busy image.
See the Seedance 2.0 setup guide.
Leave room for human judgment. AI can suggest the script and shots, but you decide if the idea sounds like your brand. If the voice would never use a phrase, remove it before generation.
Step 3: Generate Your Reel With Seedance Studio
Now you can make the first video draft in Seedance Studio. We built the browser-based app for prompt-led video work, so you don't need to download an editor or wait for an invite.
Open Seedance Studio and start with a text prompt. You can also upload reference images, video clips, or audio when the scene needs more control. Use references for a product, a recurring character, a location, or a specific movement.
A useful prompt follows this order:
- Subject: who or what appears.
- Action: what the subject does.
- Setting: where the scene takes place.
- Camera: how the camera moves.
- Light and mood: how the shot should feel.
- Sound or dialogue: what the viewer hears.
- Limits: what the model should avoid.
Try a prompt like this:
“A barista places a bright ceramic cup on a wood counter in a sunny café. Slow push-in toward the cup. Warm morning light. Natural hand movement. Upbeat but calm mood. Add a soft café sound bed. Vertical 9:16 Reel framing. No readable labels.”
Plain language works. You don't need film-school terms, but camera words help when the shot needs a clear point of view. Say “slow pan left” instead of “make it cinematic.”
Set 9:16 for a Reel. Choose a short duration for the first test. A short clip lets you check the subject, camera move, face, hands, and sound before you spend more time on a longer sequence.
Generate a draft and watch it all the way through. Look for a face that changes, an object that disappears, odd hand motion, or a camera move that misses the subject. Fix one issue at a time. Change the prompt only when you know what went wrong.
Seedance Studio uses Seedance 2.0 for text-to-video and image-to-video work. The official Seedance Studio site describes support for camera direction, consistent characters, native sound, and high-resolution output. Those controls matter when several clips need to feel like one Reel.
Save prompts that work. A small prompt library can help you build a repeatable series instead of starting from a blank screen each time.
Step 4: Add Voiceover, Captions, Music, and Fast Cuts
AI video generation gives you the visual base. This step makes the Reel easier to follow with sound on or off.
Start with the voiceover. Use a voice that fits the subject. A product demo may need a calm, clear read. A trend-led creator clip may suit more energy. Ask for short pauses after the hook and each main point.
Keep the script in front of you while you review the voice. Listen for words that sound rushed. If a sentence has too many ideas, rewrite it instead of speeding up the voice.
Add captions that support the spoken words. Use large type with strong contrast. Keep key text away from the bottom and right edges, where app controls can cover it. Check the captions on a phone, not only on a wide desktop screen.
Music should sit behind the message. Lower it when the voice begins. If the track pulls attention from the words, choose a simpler sound or remove it. Add trending audio inside Instagram when that helps the post, since trends can change faster than an AI model can know.
Then tighten the cuts. A new visual every few seconds can keep a static topic moving, but don't add cuts just to look busy. Change the shot when the idea changes.
Watch the Reel twice. First, listen for clarity. Next, watch with the sound off. The hook, key points, and call to action should still make sense.
For a useful visual reference, explore this AI UGC video workflow.
Keep the final edit clean. A viewer should notice the idea, not the number of effects. If the Reel feels slow, cut words before adding transitions.
Step 5: Export, Optimize, and Publish Your AI Reel
The last step in making Reels with AI is a quality check. A good render can still lose people if the frame is wrong, the caption is vague, or the first line takes too long.
Export in vertical 9:16 for Instagram. Review the file on your phone before you post. Look at faces, hands, small text, dark areas, and the space around the app controls. Compression can soften a video, so start with the highest output your plan supports.
Write a caption that adds context instead of copying the full script. Put the main phrase in the first line. Add one useful detail, then ask one specific question or give one action.
For example, a Reel about product photography might use this caption:
“Your first product shot doesn't need a studio. Start with window light, a clean background, and one clear angle. Save this before your next shoot.”
Use a few relevant hashtags if they help people understand the topic. Don't bury the caption under a long block of broad tags. Topic words in plain language are often more useful than a pile of disconnected labels.
Choose a cover frame that explains the Reel without sound. Put the main promise near the center, where it stays visible in the profile grid. Avoid tiny text and busy backgrounds.
Post while the topic is still useful. If a trend fits your audience, speed matters. But don't force a trend that makes the message unclear. A clear evergreen tip can keep earning saves after the trend passes.
After publishing, check retention and saves when the data is available. A sharp drop in the first seconds points to a weak hook or a slow opening. A strong start followed by a drop in the middle usually means the value arrives too late.
Keep a simple test log. Record the topic, hook, length, format, and result. After several posts, repeat the structures that hold attention. Change one major variable at a time so you can tell what helped.
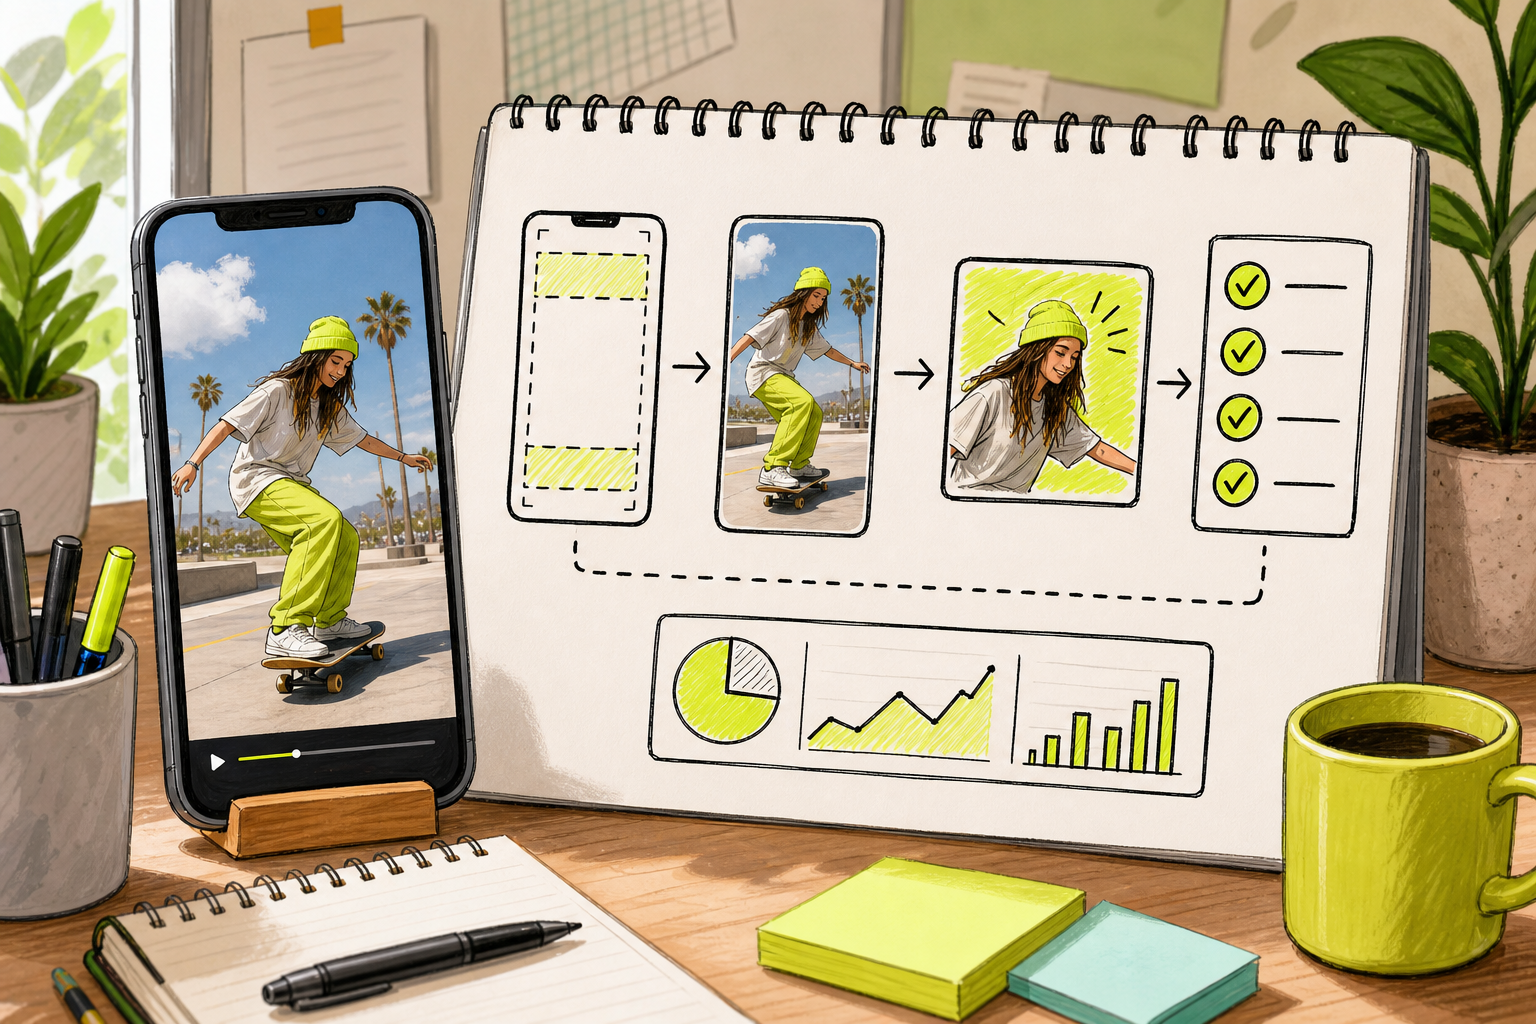
If you want to reuse one idea across platforms, keep the core 9:16 file and adjust the caption or audio for each app. Don't post a version with another platform's watermark. Small platform-specific edits make the clip feel native.
FAQ: Making Reels With AI
Can AI make a whole Instagram Reel?
Yes, AI can help make the script, visuals, voiceover, captions, and sound for an Instagram Reel. You still need to review the result before posting. Check the hook, subject consistency, spoken words, captions, and call to action. Seedance Studio can generate video from a prompt or reference files, then you can refine the draft.
What is the best AI format for Reels?
The best format for Reels is vertical 9:16 because it fills a phone screen. Set the aspect ratio before generation instead of cropping a horizontal clip later. Keep important faces and text near the center. This also gives you a usable base for TikTok and YouTube Shorts.
How long should an AI Reel be?
An AI Reel often works well at 15 to 60 seconds, depending on the idea. Use less time for one tip or a visual reveal. Give a process more room only when every line earns its place. If a draft feels crowded, split it into a short series.
How do I make AI Reels look less fake?
To make AI Reels look less fake, use a specific prompt and clean reference images. Describe one clear action instead of packing several actions into one shot. Keep lighting and subject details consistent across clips. Then remove odd frames during review. A human edit still matters more than adding extra effects.
Can I make AI Reels for free?
You can start making AI Reels with a free tier, but output limits depend on the tool and plan. Check the allowed resolution, watermark rules, credits, and commercial-use terms before you build a campaign. Seedance Studio has a free starting option, with paid plans available when you need more output or higher resolution.
Conclusion
Start with one clear hook, build a short shot list, and generate a small draft before polishing it. Seedance Studio is a strong fit when you want prompt-based video with references, camera direction, consistent subjects, and native sound in one browser workflow. Create a free Seedance Studio account, make one 9:16 test Reel today, and save the prompt if the format works.