A camera move can make a short clip feel planned, but vague directions often lead to drifting motion or a subject that changes shape. Use one clear move at a time, then check the framing before you export.
Here’s a six-step workflow for planning, prompting, generating, and polishing an automated camera move for short videos.
We read 8 top-ranking guides on AI camera movement prompts, including Runway, Kling, and LetsEnhance. We checked each for platform framing advice, a motion-review step, and export guidance. Only 1 of the 8 addressed aspect ratio for vertical platforms, and it just listed supported ratios rather than framing tips. None of the 8 covered a motion-review step or a publish-ready export check before posting to TikTok, Reels, or Shorts.
Step 1: Pick One Camera Move and Plan the Shot
Start by choosing what the camera should do and what the viewer should notice. A camera move automated for short videos works best when the model has one main motion to follow.
Match the move to the job of the shot:
- Push-in: Move closer to a product or face to draw attention to a detail.
- Pull-back: Move away to show more of the setting or reveal scale.
- Pan: Turn left or right from a fixed position to show a wider scene.
- Tilt: Aim up or down to reveal height, such as a full outfit or tall building.
- Orbit: Curve around a subject for a product or character reveal.
- Tracking shot: Follow a subject as it moves through the frame.
These words describe different actions. A pan turns the view while the camera stays in place. A truck or tracking move shifts the camera through space, which can make the foreground and background move at different rates.
Now decide what the shot needs to communicate. For a product detail, a slow push-in can lead the eye toward a feature. To show a person’s outfit, a tilt can travel from shoes to face. For a quick reveal, a pull-back can expose the scene around the subject.
Keep the plan small. Choose one camera move and one subject action. If the camera circles while the person turns, walks, and reaches for an object, the model has several movements to solve at once. Split that idea into separate shots instead.
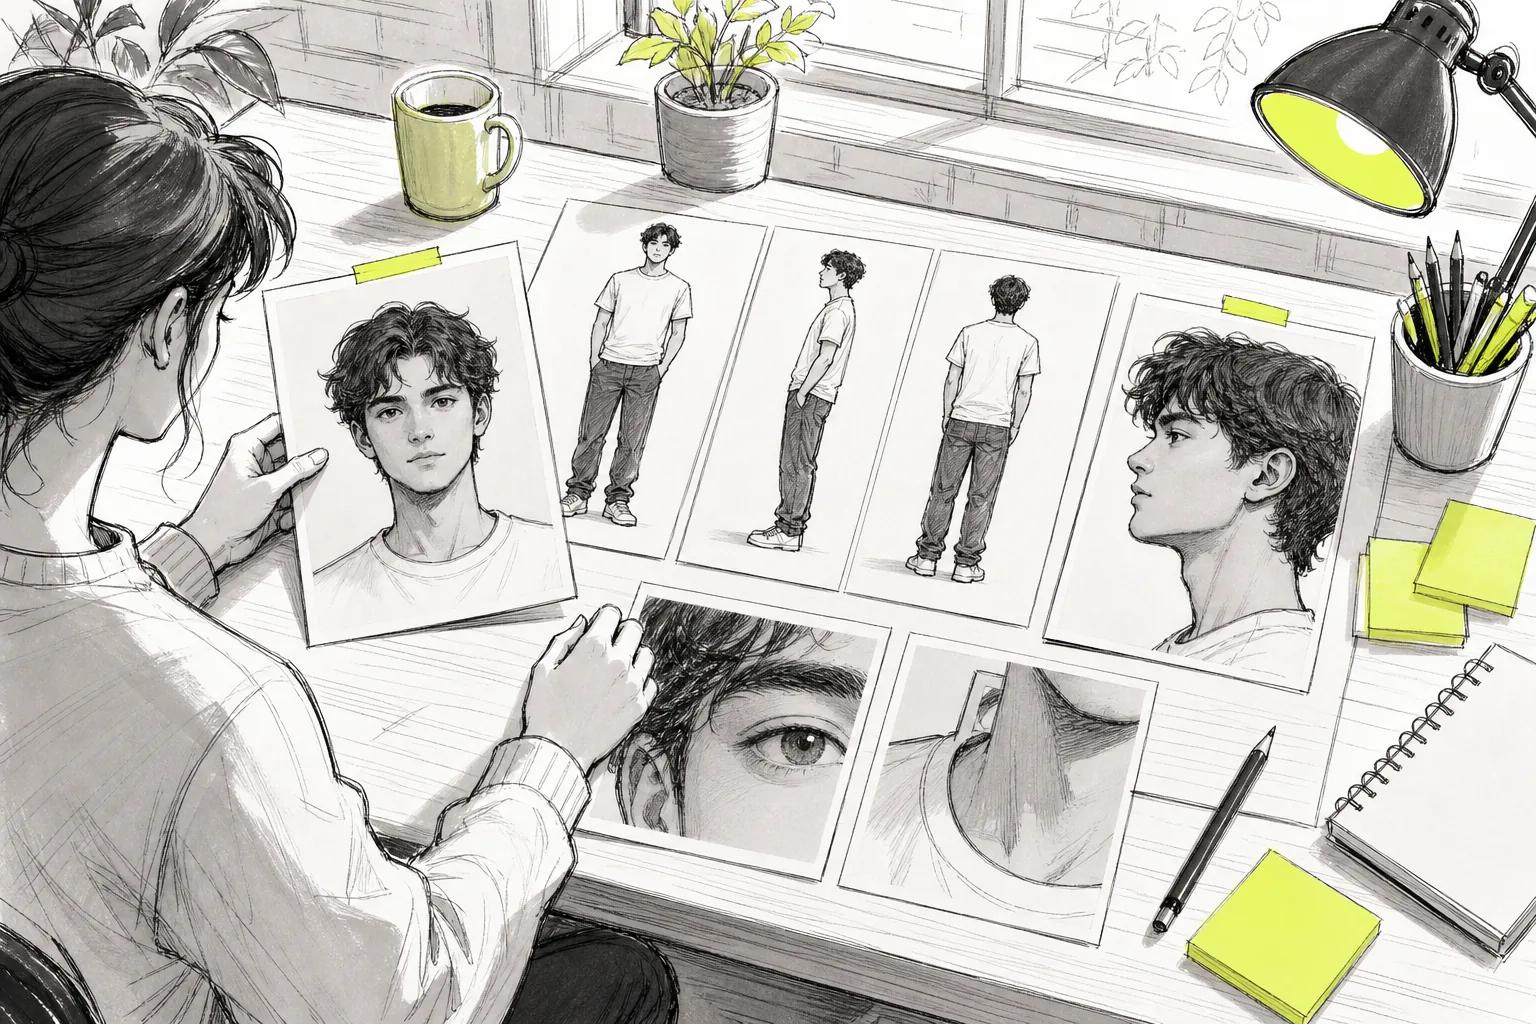
Check your source image before you generate. Leave open space in the direction the camera will travel. A clear foreground and background can help show depth during a sideways move. Keep the subject easy to see in the first frame, especially when the clip will play on a small phone screen.
Write a one-line shot plan before opening a generator: “A slow push-in toward the watch as the hand turns it toward the light.” You can also use this production guide as a reference when planning your workflow.
By now you should have a single move, a clear subject, and a simple action. That’s enough to guide your first prompt.
Step 2: Write a Prompt That Describes the Camera Motion
A clear prompt tells the video model how the camera moves, how fast it moves, and where the shot should end. For a camera move automated for short videos, plain language is fine. Name the move instead of relying on words like “cinematic” or “dynamic.”
Build the prompt in this order: subject, action, setting, camera move, then any limits that matter. For example: “A ceramic cup on a kitchen table. Steam rises as the camera makes a slow push-in toward the rim. Keep the cup’s shape steady. End on a close view of the steam.”
The subject and setting establish what appears in the shot. The camera sentence tells the model what should change over time. In image-to-video work, your uploaded image already shows the subject and scene, so spend more words on movement than on repeating details the image makes clear.
Add a pace and direction. “Slow pan left” is clearer than “move across the scene.” “A gentle clockwise orbit around the bag” gives a direction and a path. Then name the end frame, such as “finish with the label facing forward” or “end with the full doorway in view.”
Be careful with instructions that fight each other. “Keep the camera locked while pushing in” asks for two different camera actions. “Orbit while panning and zooming” gives the model several paths to combine. If you want a static shot, say so. If you want a moving shot, state that move on its own.
Add limits when a detail must stay stable. You might write, “Keep the bottle shape and cap unchanged,” or “Keep the person’s face consistent as the camera moves.” These directions can help focus the task, though they can’t guarantee a perfect result. Fast movement and a crowded frame may still cause warping.
Try this reusable pattern: “A [subject] [action] in [setting]. The camera [one move and pace]. Keep [important detail] consistent. End with [final view].” Keep the camera line concise; prompt wording can stay simple rather than turning the prompt into a long block of text.
For example, a clothing clip might read: “A person stands in a sunlit hall. The camera slowly tilts from their shoes to their face as they turn toward the window. Keep the outfit consistent. End on a medium shot.”
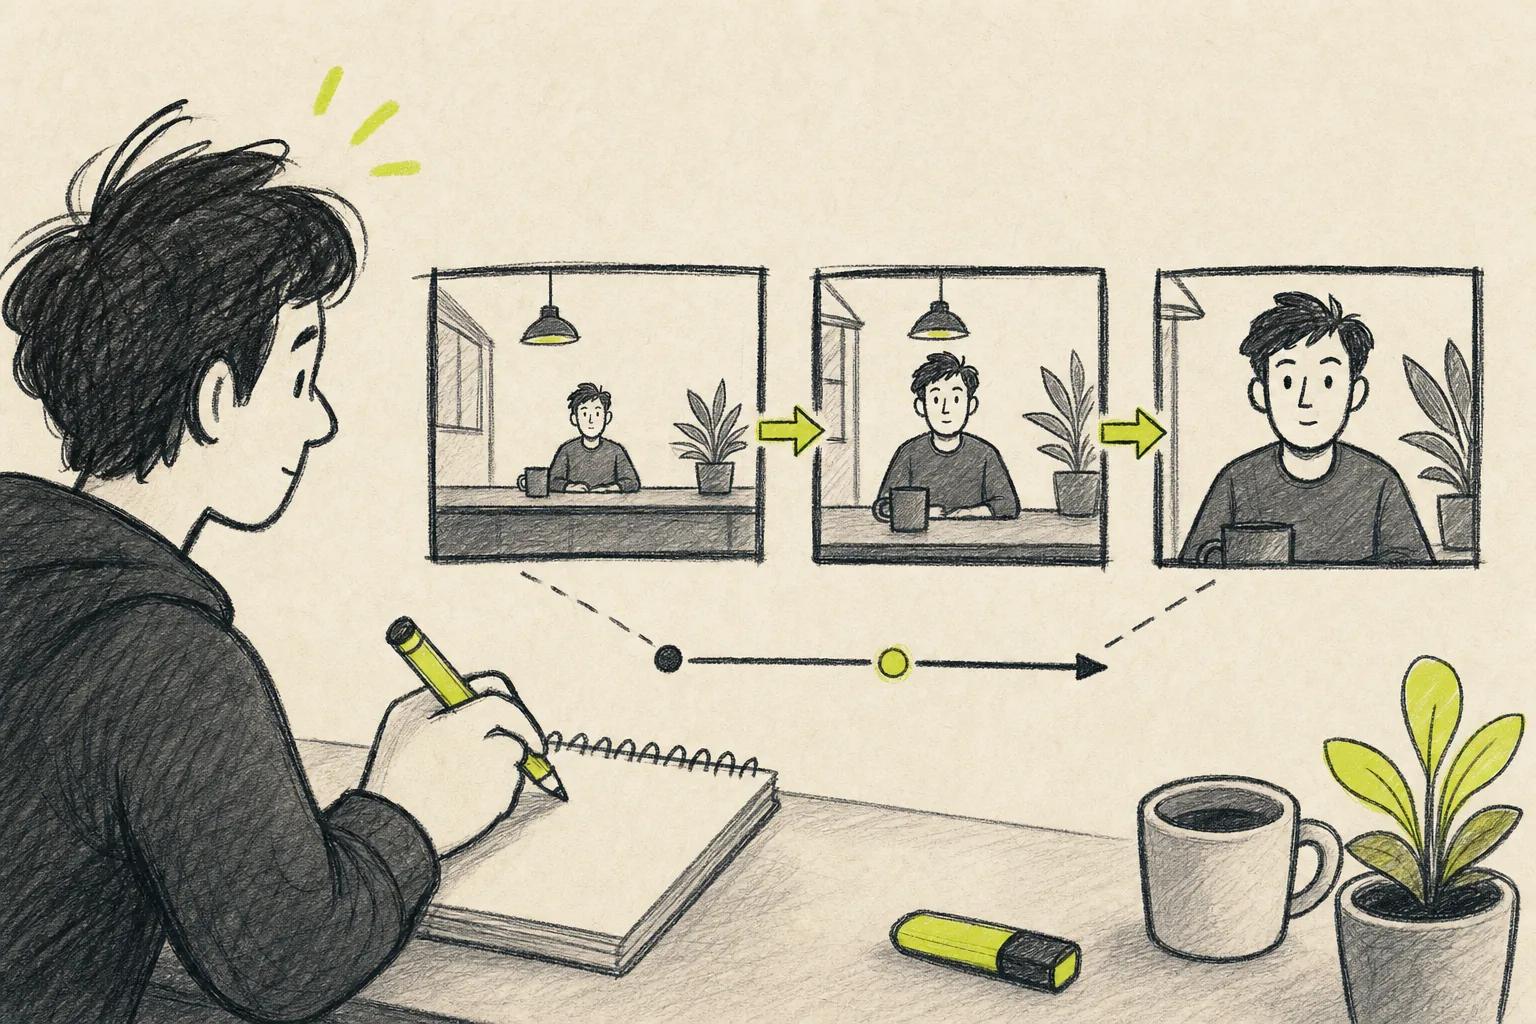
Keep the first version short. Generate a draft, see what the model misunderstood, then add only the instruction needed to fix it.
Step 3: Generate the Clip With an AI Video Tool
Once the shot plan and prompt are ready, generate a short draft. An AI video tool can turn text or an image into moving footage, but the first render is a test of your instructions, not a promise that every detail will land perfectly.
Choose your starting point. Use text-to-video when you want the model to build the scene from your description. Use image-to-video when you already have a photo or frame that sets the subject and look. If you add references, make sure each one has a clear job. A subject photo can guide appearance; a motion clip can show the kind of camera path you want.
Pick the aspect ratio before you generate. For a vertical social post, choose 9:16 if the tool supports it. This gives the model a vertical frame to compose for, rather than asking it to make a wide scene that you’ll crop later. Seedance Studio supports 9:16 alongside 16:9 and 1:1, which helps when the same campaign needs vertical and square versions.
Seedance Studio runs in a browser, so you can type a prompt or add reference material without downloading a separate app. The model is built for text-to-video and image-to-video generation, with camera direction and sound handled in the generation workflow. See the Seedance Studio model page for the product details and current access options.
Before you press Generate, confirm the basics:
- Your prompt has one main camera move.
- The subject is visible in the opening frame.
- The aspect ratio matches the planned post.
- Your reference image is clear enough to guide the subject.
- The action can fit the clip length you selected.
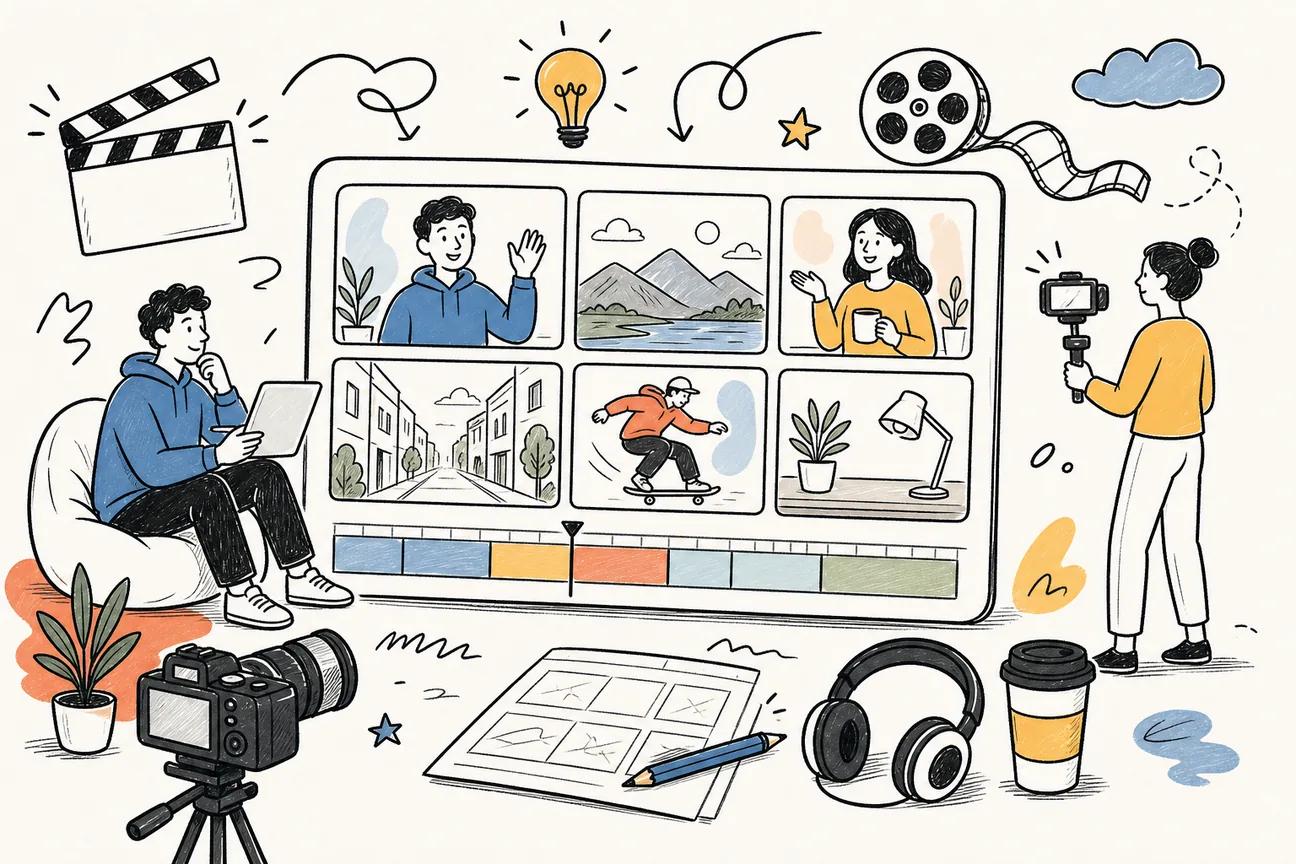
Keep the first generation focused. Don’t ask a short clip to tell a full story with several scene changes. A single product reveal or one action is easier to judge. If you’re making a series, generate each distinct shot separately so you can replace a weak take without rebuilding the whole sequence.
We built Seedance Studio for creators who need a quick way to test a shot in the browser. The free plan lets you try a couple of videos each month, with a watermark and no card required. Paid plans start at $14 per month. Check the current plan details before you build a high-volume workflow around any free tier.
When the render is ready, save the draft and watch it once before changing anything. You need to see what the model actually did before you know which part of the prompt needs work.
Step 4: Review the Motion and Refine the Result
Review the clip for the move you asked for, not just whether the image looks polished. An automated camera move for short videos can look smooth at first glance while missing the direction or reveal you planned.
Watch the whole clip once at normal speed. Ask three questions: Did the camera move in the right direction? Did the subject stay recognizable? Did the final frame show what you wanted? Write down the first clear problem before making another version.
Then watch again for motion flaws. Look for a face that changes, a product that bends, a background that swims, or a camera that drifts in an unintended direction. On a product shot, check edges and proportions as the camera moves. On a person, check the face and clothing from the start through the end.
Make one change at a time. If the camera moves too fast, change only the pace: replace “push-in” with “slow push-in.” If the subject warps, reduce the movement or shorten the action. If the camera wanders, remove extra motion words and restate the physical path in plain terms, such as “move straight toward the subject.”
Don’t pile on more adjectives when the result misses. “More cinematic, more dramatic, more energetic” doesn’t tell the model what to do differently. A direct adjustment does: “Keep the camera centered and move forward slowly. Do not orbit.”
If your tool supports reference images or video, use a reference only when it helps solve a specific issue. A clean source image can anchor a product’s look. A short motion reference can show a path you want to imitate. But adding several references with unclear roles may make the prompt harder to interpret.
Seedance Studio accepts reference images, clips, and audio in the creation flow, so you can use a visual reference when text alone doesn’t explain the shot. For broader first-run guidance, see our guide.
Compare each new take with the last one. Keep the version that has the clearest camera path and the steadiest subject, even if a different take has more dramatic motion. For short social content, a readable move usually beats a complicated one.
Step 5: Set the Framing for TikTok, Reels, or Shorts
Set the frame for the platform before exporting. A vertical camera move for short videos needs room for the subject to move without leaving the crop.
Use 9:16 for a full-height vertical post when the platform and tool support it. Keep the main subject near the center unless the action needs room on one side. If the subject enters from the left, leave space there. If a person lifts an object, leave enough room above it so the motion doesn’t hit the top edge.
Check the opening and final frames inside the chosen aspect ratio. A wide source image may look fine in landscape but lose important details when framed vertically. If the tool offers a ratio setting, choose it before generating. If you need to crop later, inspect every key moment rather than judging only the first frame.
Think about platform overlays. Captions and interface controls can cover parts of a vertical post, so don’t place small text or the main subject at the very edge. Keep important visual details in a safe central area. If a hand or product moves near the border, preview the full clip at phone size.
For horizontal footage that you’re repurposing, check how the vertical crop follows the action. Face tracking can help keep a speaker in view, but it won’t fix a source shot where the person moves out of frame or shares space with another key subject. Review the crop through the full clip and adjust it if attention shifts.
Seedance Studio supports 16:9, 9:16, and 1:1 formats. That gives you a clear starting point for vertical feeds, widescreen video, or square placements. Aspect-ratio support still varies across video tools, so check the available formats before spending time on a prompt. For a related guide, see the image-based short video workflow.
Keep the purpose of each version clear. A 9:16 edit for a phone feed may need a closer crop than a 16:9 version for a site or video channel. Don’t assume one crop will suit every placement. When you need more than one, generate or edit each version with its own framing in mind.
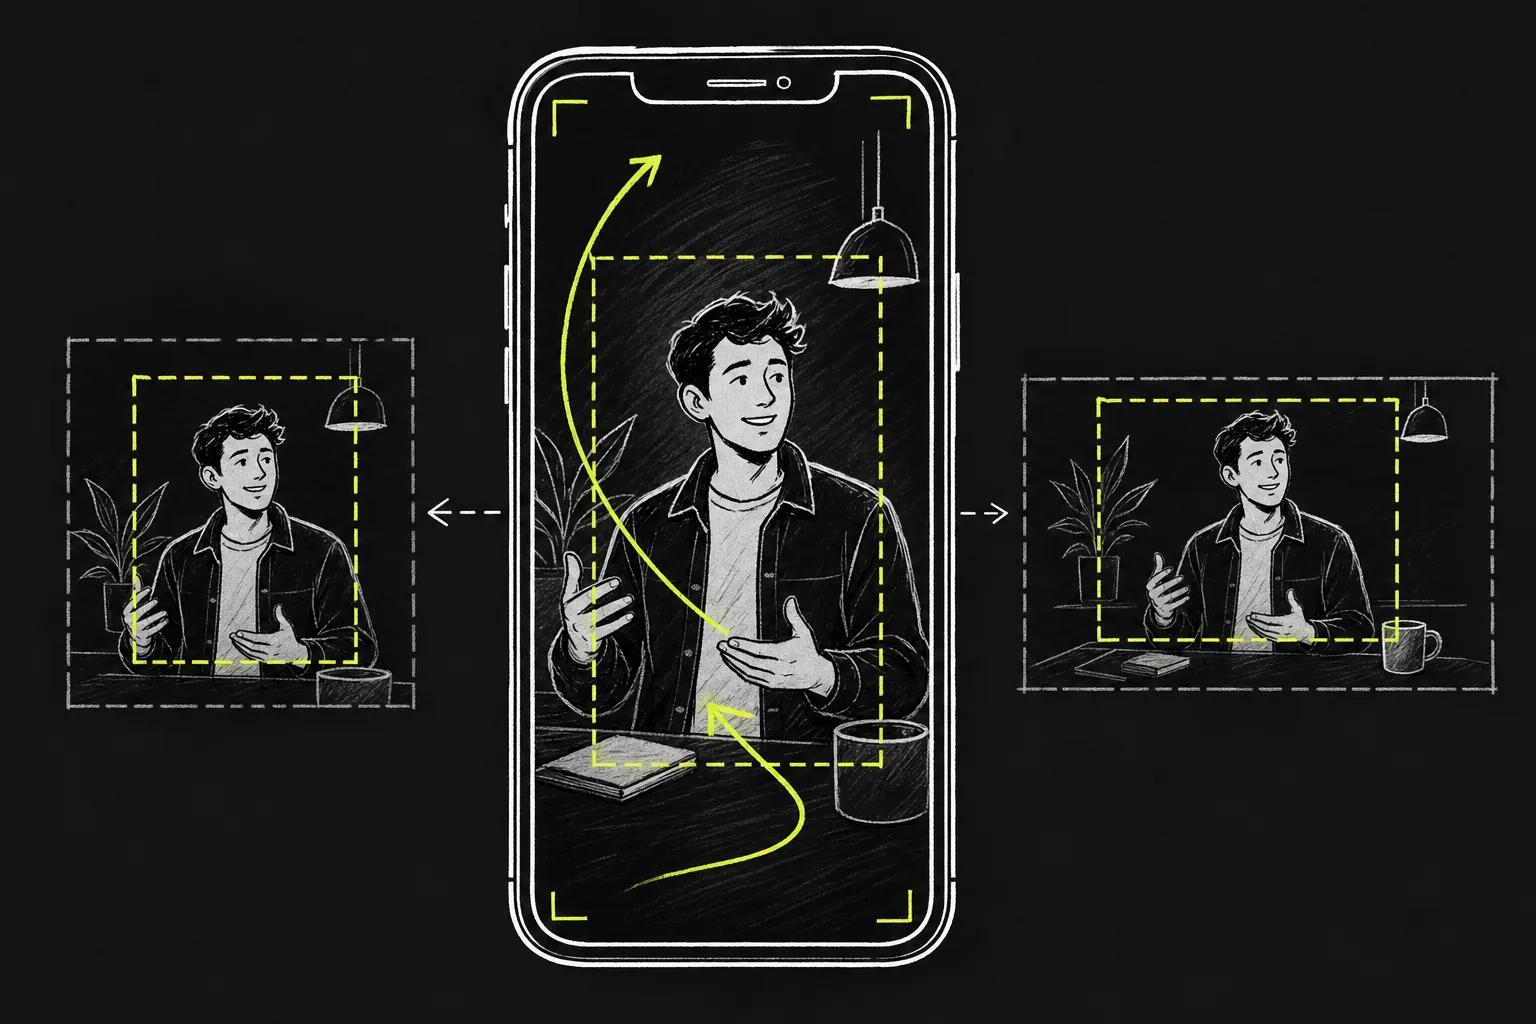
Watch the clip in its final ratio before moving on. If a key feature gets clipped, fix the frame now rather than hoping viewers will infer what’s missing.
Step 6: Check the Clip and Export a Publish-Ready Version
Before you export, check the full clip with sound and without it. A camera move can feel right in a preview but still reveal a missed detail, a rough transition, or an audio issue that stands out once the video is ready to post.
First, watch the clip from beginning to end at normal speed. Check the camera direction, subject shape, framing, and end frame. Then review it once more at a slower pace if you need to inspect a face, hand, product edge, or other detail that changes during the move.
If the clip has sound, listen for timing and clarity. Check that spoken words match the action. Make sure music or effects don’t cover an important line. If you plan to add sound during editing, confirm that the silent clip still makes sense on its own.
Check any text or captions separately. AI-generated text inside a scene can be hard to read or may change between frames. If words must be exact, add them during editing instead of relying on a moving generated label. Keep captions away from key visual details.
Export at a resolution and ratio that match your plan. Use the highest setting you need for the final post, but don’t spend time rendering a polished version while the camera move is still wrong. Save a clean draft first. Once the motion and crop work, export the version you’ll publish.
Keep your files organized by shot and version. A simple name such as “product-pushin-vertical-v2” makes it easier to find the take you approved. Save the final export separately from the drafts, and keep the prompt with it if you may need to recreate the shot later.
Before posting, confirm that the file opens and plays as expected. Watch the exported file, not only the generator preview. Check the first second on a phone screen; the opening should make the subject and action clear without a long setup.
Use a short checklist before you publish:
- The requested camera move is clear and steady.
- The subject remains recognizable through the full shot.
- The crop fits the intended platform.
- Sound and captions are checked.
- The exported file matches the version you approved.
If one item fails, return to the smallest fix. Adjust the crop if framing is the issue. Rewrite the camera sentence if the move is wrong. Regenerate only the shot that needs work, rather than starting over on clips that already pass.
Frequently Asked Questions
How do I automate a camera move for a short video?
Choose one camera action, describe its direction and pace, then generate a short draft. A camera move automated for short videos is easier to control when the prompt says what the camera does and where the shot ends. Review the result for subject changes or drift, then revise one instruction at a time.
What camera move works best for a short product video?
A slow push-in is a useful first choice for a product detail because it draws attention toward one feature. An orbit can work when the product has a clear shape and enough space around it. Keep the camera move automated for short videos simple, and check that the product’s proportions stay steady during the shot.
How do I stop an AI camera move from looking shaky?
Ask for one slow, steady move and remove competing directions from the prompt. If the camera drifts, state its path more plainly, such as “move straight toward the subject.” If the subject warps, shorten the action or reduce the motion. Generate another take after changing one instruction.
What aspect ratio should I use for TikTok, Reels, or Shorts?
Use 9:16 for a vertical post when your generator supports that format. Choose the ratio before generating so the subject can be framed for a phone screen. Review the full clip in that crop, since a subject or object can move toward the edge after the opening frame.
Can I make a camera move from a still image?
Yes. An image-to-video tool can animate a still image using a motion prompt. Describe what the camera should do, then name any small subject action if needed. The source image sets the starting composition, so choose one with a clear subject and enough visual space for the planned movement.
Conclusion
Start with one slow camera move and a short prompt, then generate a draft and check the crop before you polish it. Seedance Studio is one browser-based option for testing camera direction across vertical, square, and widescreen formats. Create a free account and try one simple shot first.