AI video API pricing can look cheap until retries, failed jobs, and long clips hit your bill. Most listed APIs cost under $1 per generated second, yet one high-priced outlier pushes the average to $4.36. Comparing AI video generation API options for creators by usable output helps answer the better question: what will one usable clip cost you?
Use the steps below to compare pricing models, estimate each generation, test an endpoint, and set limits before you ship.
Step 1: Choose the Right AI Video API Pricing Model
The right AI video API pricing model depends on how often you generate and how much control you need. Start by writing down your expected clips per week, target length, output quality, and likely retry rate.
Most providers use one of four billing units:
- Per second: You pay for the length of the generated video. This is easy to forecast when clips have a fixed duration.
- Per minute: The provider bills in larger blocks. Check whether a short clip rounds up to a full minute.
- Per request: Each generation has a set price. This can work well for short clips, but limits may apply.
- Credits: You buy credits, then spend them based on model, resolution, or duration.
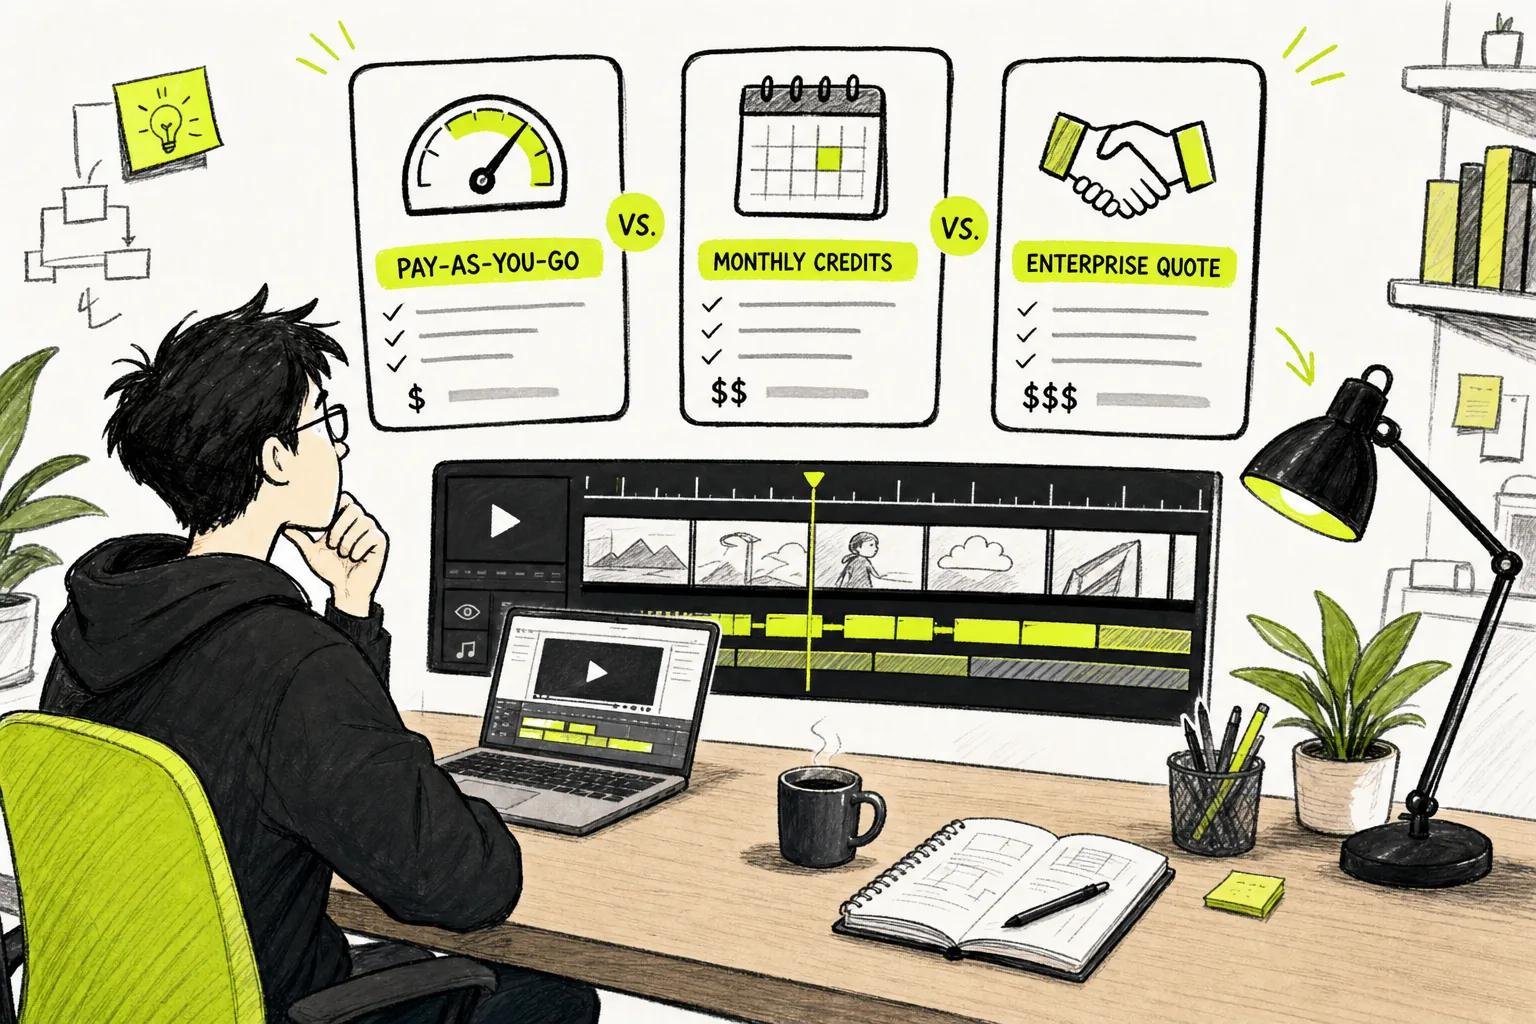
Pay-as-you-go plans suit teams with uneven demand. A monthly subscription can cost less when you produce content every day. Enterprise plans usually use a custom quote, with rate limits, support, and contract terms set during sales talks.
Research across 19 offerings found a median starting rate of $0.11 per second. The average reached $4.36 because of a single $50-per-minute outlier. Don't budget from the average. Use the provider's rate for your chosen model and output setting.
For creators who want a browser workflow instead of a custom build, Seedance API for AI Video Generation uses plan credits and bills by generated second. API access is included with paid plans, starting at $14 per month, with no per-seat fee or minimum stated on the product page. You can review the current Seedance pricing and plans before estimating your monthly spend.
Check the cap before you compare rates. Listed limits range from five to 20 seconds per generation. A low per-second rate is less useful if your campaign needs many separate jobs.
Step 2: Calculate the Cost of Each Video Generation
Accurate AI video API pricing starts with a small cost model. Don't multiply the advertised rate by clip length and stop there. Count every input that can trigger a charge.
For a per-second API, use this formula:
Generation cost = price per second × requested seconds
Then add the cost of expected retries:
Expected clip cost = generation cost × average attempts per usable clip
Imagine an API priced at $0.10 per second. One eight-second attempt costs $0.80. If your team needs multiple attempts before finding one publishable clip, the usable result costs more than a single attempt before storage or editing.
Credits need a second calculation. Divide the plan price by its included credits. Next, find how many credits one video uses at the chosen model and resolution. Do this for a short draft and a final render. They may not consume the same amount.
Token pricing usually applies to text or prompt processing rather than the video frames alone. Ask whether the provider charges for prompt tokens, image inputs, audio inputs, video duration, or output files. A “per request” price can still vary when you add references or select a higher-quality mode.
Resolution also doesn't tell the whole cost story. Veo3 is listed at $0.10 per second for 1080p, while Runway Gen-4 is listed at $0.35 per second with 4K output. Model access and licensing can matter more than pixel count.
Track three numbers during testing:
- Cost per attempt.
- Cost per accepted clip.
- Cost per finished asset after editing.
The third number is the one your finance team needs. A cheap draft that needs heavy repair may beat a premium render only on paper. For more detail on the inputs behind an image-based workflow, see image to video API costs.
Run at least a small batch before setting a monthly budget. One lucky generation tells you very little about failure rates.
Step 3: Set Up API Authentication and Test Video Endpoints
Authentication protects your account and lets your app call the video endpoint. Keep the API key on your server, not inside browser code or a public repository.
Start with a test project. Create a key with the smallest permissions that support your test. Store it as an environment variable, such asVIDEO_API_KEY. Add a separate key for production later, so a leaked test key can't expose your live budget.
A typical video request has four parts:
- A model ID.
- A prompt or reference input.
- Output settings such as duration, aspect ratio, and resolution.
- An authentication header.
Most video jobs run in the background. Your first request may return a task ID instead of a video file. Your app then checks a status endpoint or receives a webhook when the render finishes. The official video API guide from OpenAI is a useful example of this job-based pattern.
Test the full flow with one short, low-resolution clip first. Confirm that your server can submit the task, save the task ID, read the status, handle an error, and download the final file. Don't start with a batch job. One broken status handler can multiply spend fast.
Some gateways support webhooks. A webhook sends a completion message to your server, so you don't need to poll every few seconds. If you use polling, set a sensible interval and stop after a clear timeout. A stuck job should become an error, not an endless stream of requests.
For image-to-video calls, send the image in the format the endpoint accepts. Check file size, aspect ratio, and content rules before the request. For text-to-video, keep the first test prompt short. Once the endpoint works, add references and camera instructions one at a time.
Log the model ID, duration, resolution, request status, and returned job ID. Never log the full API key or private media URL. If a vendor provides an SDK, compare its request shape with the raw REST call before you build deeper abstractions.
Creators who don't need to write this server layer can use Seedance Studio in the browser. We let you type a prompt or upload reference images, clips, and audio, then get a finished video with camera direction, character consistency, and native sound.
Step 4: Control Billing, Usage Limits, and Overage Fees
Billing controls turn AI video API pricing from a surprise into a known operating cost. Set them before your first team-wide test.
First, set a monthly spend limit. Then add a request limit for each user or project. A spend cap protects the account, while a request cap stops one bad loop from consuming the whole balance.
Watch for these common billing triggers:
- A retry after a timeout.
- A failed moderation check that still consumes credits.
- A higher resolution selected by default.
- A clip that runs to the maximum allowed duration.
- Automatic credit reloads.
Prepaid credit plans can stop requests when the balance reaches zero. Postpaid plans may charge at the end of a cycle or after an assigned spend cap. Usage tiers and caps can apply at the billing-account level.
Use separate budgets for development and production. Give developers a small test balance. Give production its own project and key. This split makes it easier to trace a jump in spend to a code change, campaign, or user group.
Rate limits matter as much as money. A provider may allow only a set number of requests per minute. Your queue should slow down before the vendor rejects jobs. Read the provider's rate-limit response and retry only when the error says retrying is safe.
Review usage at least once each week during launch. Compare requested seconds with delivered seconds. If those figures differ, find out whether the vendor bills failed jobs, partial outputs, or queued tasks.
Step 5: Lower Your AI Video API Costs Without Sacrificing Quality
Lower AI video API pricing without lowering quality by cutting waste first. The best savings usually come from fewer failed attempts, not from chasing the cheapest model.
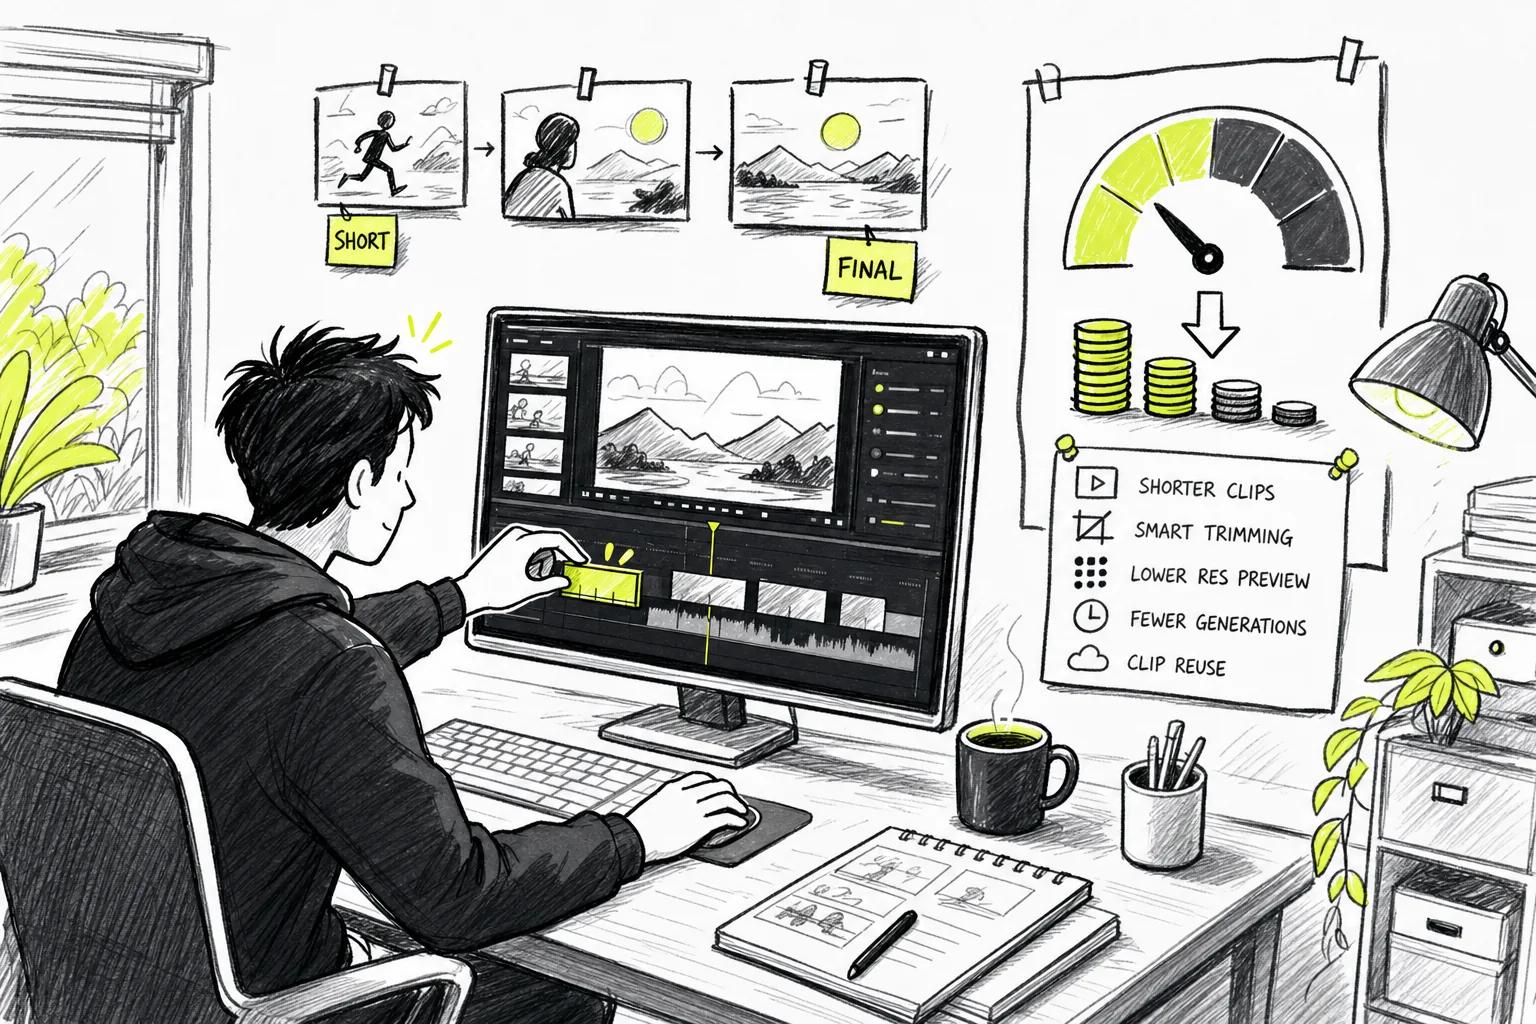
Use a two-pass workflow. Generate short drafts at a lower setting. Once the motion and framing work, render only the approved idea at the final setting. This keeps expensive output away from weak concepts.
Keep each shot focused on one action. Add a clean reference image when the subject must stay the same. Separate camera direction from subject motion in the prompt. These steps can reduce random results and lower the number of retries.
Compare providers by cost per kept clip, not cost per attempt. Verify the current vendor terms before you lock a budget.
| Cost lever | Test first | Keep when | Risk to watch |
|---|---|---|---|
| Shorter drafts | Use the shortest useful clip | The shot still shows the full action | The edit needs extra transition work |
| Lower resolution for previews | Review motion before final render | The subject and camera hold up | Fine detail changes after upscaling |
| Reference images | Use one clear source image | Product or character fidelity improves | Extra input charges apply |
| Bulk credits | Compare expiry and unit cost | Your demand is steady | Unused credits expire or lock cash |
| Self-hosting | Price GPU time and upkeep | You have steady high volume | Setup and maintenance cost more than calls |
Self-hosting can cut subscription fees when you have technical staff and predictable volume. It also shifts the work to GPU rental, model setup, storage, updates, and security. For a small content team, a managed API may still cost less overall.
Seedance Studio gives creators another route. We include API access on paid plans, while the browser app supports text-to-video and image-to-video without a download or waitlist. Paid plans start at $14 per month, so you can test the workflow before building a larger system.
Choose the model that matches the shot. Kling AI is listed for budget short clips. Runway Gen-4 suits professional work. Veo3 fits quality-focused output.
Measure acceptance rate for each model. Then set a rule such as “stop after three failed attempts.” A clear stop rule protects the budget while keeping the team moving.
FAQ
How much does an AI video API cost?
AI video API pricing often falls below $1 per generated second, but rates vary by model and billing unit. The supplied 19-provider sample has a median starting rate of $0.11 per second. Your final cost also depends on duration, resolution, retries, references, and failed jobs.
What is the cheapest AI video API?
The cheapest AI video API depends on your usable output, not only the listed rate. Kling AI is listed at $0.05 per second for short clips, while other providers use credits or custom quotes. Test several attempts and compare cost per accepted clip before choosing a low-cost route.
Do AI video APIs have free tiers?
Free access is uncommon among the services in the pricing sample. Only two of 19 listed APIs had a free tier, equal to 11 percent. Trials may also limit exports, duration, resolution, or commercial use. Read the trial rules before treating free generations as part of a production plan.
How are AI video API requests billed?
AI video API requests may be billed per second, minute, request, token, or credit. A request can also trigger extra charges for output length, resolution, or input files. Ask the vendor what happens when a job fails, times out, gets rejected, or is retried.
How do I avoid AI video API overage fees?
Set project-level spend caps, request limits, and billing alerts before launch. Keep test and production keys separate. Also disable automatic reloads during early tests. Review failed jobs and retry loops each week so a small code error doesn't become a large bill.
Conclusion
Build your estimate around cost per usable clip, then test one short job before committing to a plan. If you want a simpler path, start with Seedance Studio's free tier, move to a paid plan when you need more volume, and create a free account before your next campaign.