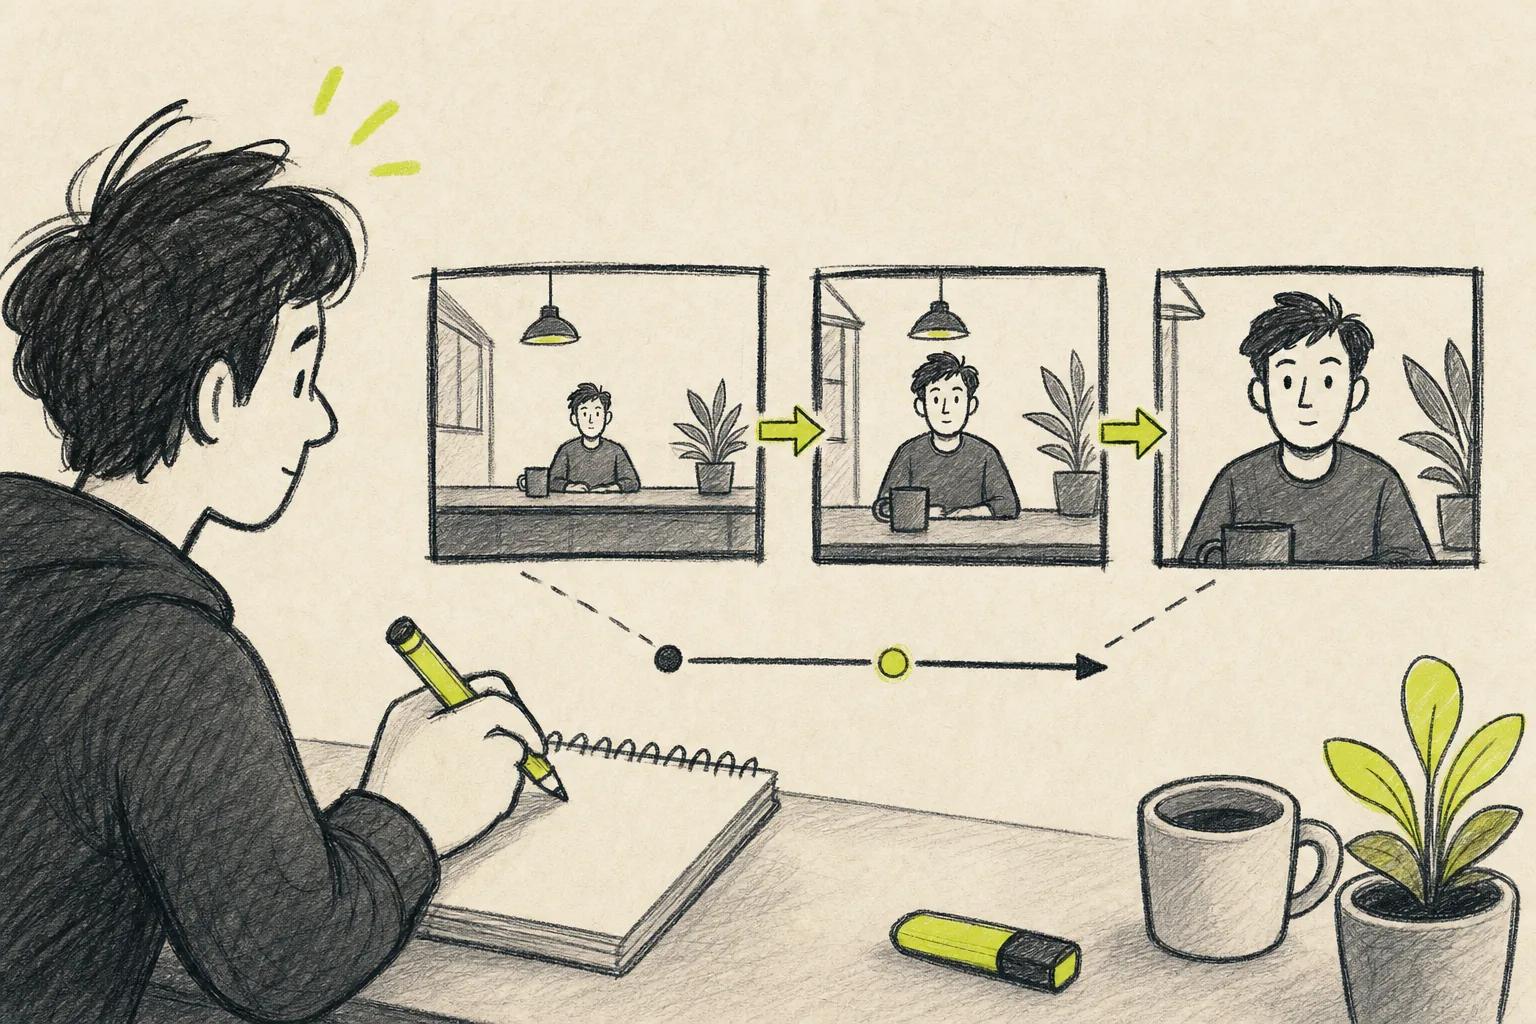
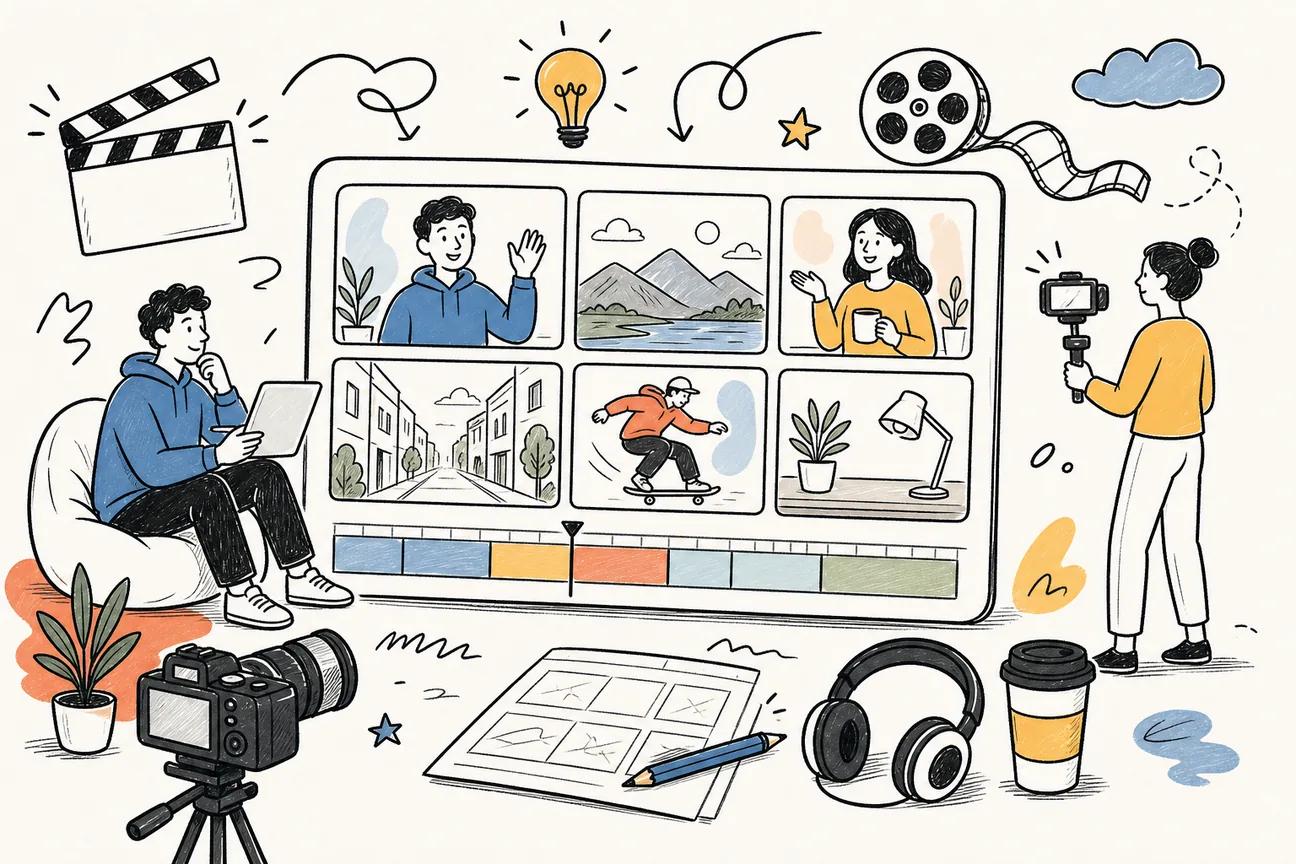
AI voice can cut hours from video work, but the voice still has to sound human. The cleanest workflow starts with a short script, then builds the visuals around the spoken words. Follow these steps to make a video with AI voice for TikTok, Reels, Shorts, or YouTube.
Step 1: Choose Your Video Format and Plan the Story
Before you make videos with AI voice, choose the screen shape and the type of story you want to tell. Your format sets the pace, shot size, caption space, and final export.
Use 9:16 for TikTok, Instagram Reels, and YouTube Shorts. Choose 16:9 for standard YouTube videos or a landscape ad. A square frame can work for feed posts, but vertical video is often the safer first test for short social content.
Next, pick one format for the story. A narrated montage works well for facts, product tips, and list-style content. A screen tutorial fits software demos. An animated story suits a short plot or lesson. A product scene needs strong reference images if the object must stay the same across shots.
Keep the first video small. Aim for one idea in 20 to 45 seconds. Give the opening line the first few seconds. Then show the proof or steps. End with one clear action, such as asking viewers to save the post.
Write a quick scene plan before you open a generator:
- Scene 1 states the hook.
- Scene 2 shows the problem or first point.
- Scene 3 adds the proof or next action.
- Scene 4 gives the result and close.
For more planning ideas, to making faceless videos with AI. It uses the same basic rule: one short sentence per scene.
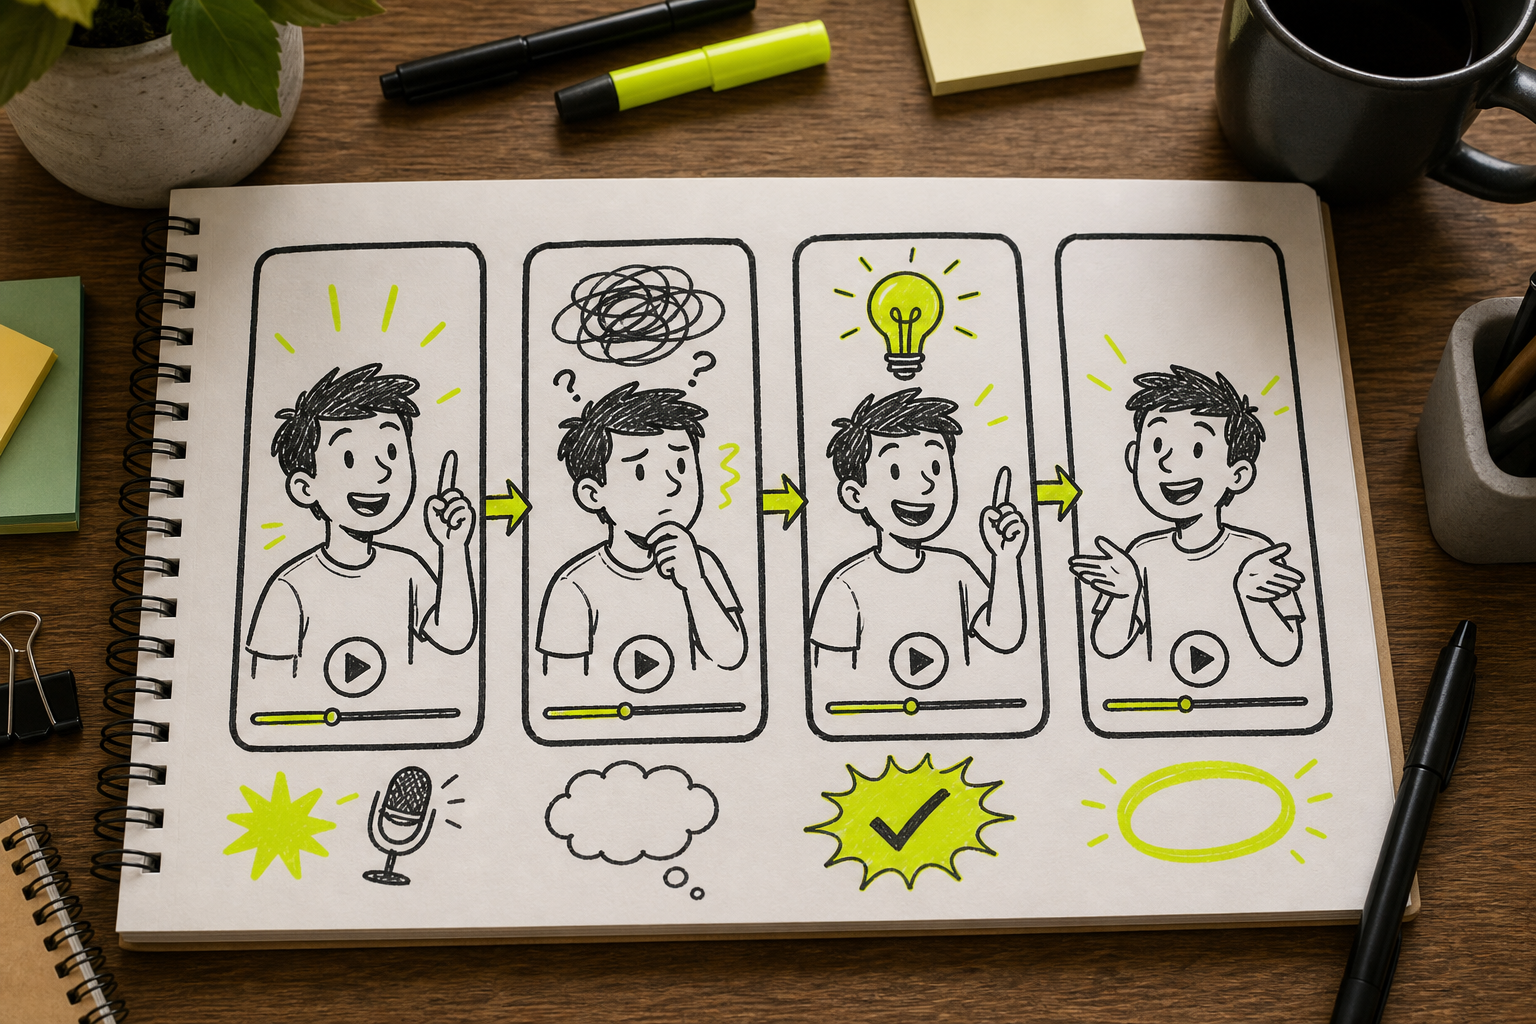
By now you should have a platform, a frame shape, and a four-scene outline. That small plan will keep the voice from racing ahead of the visuals.
Step 2: Write a Natural Script for AI Narration
A good script makes it easier to make videos with AI voice because the narration gives every shot a clear job. Write for the ear, not the page.
Use short sentences. Put one thought on each line. Remove words that look fine in an article but sound stiff when spoken. Read the script aloud once. If you need to take a breath halfway through a sentence, split it.
For a 30-second video, start with a direct hook. Say what the viewer will learn or see. Then move through two or three useful points. Finish with a simple next step.
Here is a basic script shape:
- Hook: “Your next short can work without a talking head.”
- Point: “Start with one narrow idea.”
- Proof: “Show each step while the voice explains it.”
- Close: “Save this format for your next post.”
Write the visual cue beside each spoken line. For example, the line “Start with one narrow idea” could show a crowded topic list shrinking to one card. The visual should add meaning. It should not repeat the voice word for word.
Use names and numbers with care. AI voices may misread abbreviations, dates, symbols, or brand terms. Spell out a word when the tool says it wrong. Add punctuation where you want a pause. A comma can slow a phrase. A short sentence can create a clean beat.
For character dialogue, put the exact spoken line in quotation marks. State who says it. Keep the line short when you need lip sync. Seedance Studio can pair a character voice with generated dialogue inside the video workflow, so you can start with a prompt instead of building the sound layer in a separate tool. You can also review the Seedance 2.0 prompt formula for a clear order: subject, action, setting, camera, style, sound, and limits.
Keep a clean master script in a separate document. You may need it later for captions, a voice redo, or a second cut for another platform. By now you should have spoken lines that match your scene plan and sound natural when read aloud.
Step 3: Generate and Review the AI Voice
Generate the AI voice after the script is stable. The goal is a voice that fits the topic, holds a steady pace, and leaves room for the visuals.
Choose a voice with the audience in mind. A calm voice can fit a product explainer. A bright, quick voice may suit a short trend clip. Don't pick a dramatic voice for a quiet lesson just because it sounds impressive in a sample.
Generate a short test first. Ten seconds is enough to catch many problems. Listen for words that sound wrong. Check names, pauses, emphasis, and the end of each sentence.
Don't judge the voice while looking at the preview. Close your eyes for one pass. Does the narrator sound like a person speaking to one viewer? Does the tone change when the sentence asks a question? Does the pause land before the visual changes?
AI voice options remain uneven across video tools. In a review of 65 workflow items, 56 entries, or 86%, explicitly had no voice option. Only nine entries mentioned any AI voice feature, and none described a way to pick a specific voice style. That means you should test the actual output instead of trusting a broad feature claim.
Seedance Studio takes a shorter path for creators who want voice and video in one pass. Type the dialogue into the prompt, attach a character reference when needed, and review the generated clip with its native sound. We still recommend checking every line. A built-in voice saves a handoff, but it doesn't remove the need for a listening pass.
Text-to-speech means turning written words into spoken audio. The basic idea is simple, but clear pronunciation depends on the text you give the system. Learn more about speech synthesis.
If the voice sounds flat, rewrite the line before you add music. More punctuation, shorter phrases, and stronger verbs often help more than a louder background track.
Step 4: Create the Video in Seedance Studio
Seedance Studio lets you make an AI voice video in a browser by combining a prompt with optional reference media. You don't need to download an app or wait for an invite.
Start with a free account at Seedance Studio. The free tier gives you a way to test the workflow before you commit. Paid plans are available; check current pricing before you commit.
Open the workspace and write the scene as a direction, not a vague idea. Name the subject first. Then state the action. Add the setting, camera move, light, mood, and spoken line.
For example:
“A friendly barista stands in a warm cafe, holds one coffee cup toward the camera, and says, ‘Here is the fastest way to improve your morning brew.’ Slow push-in camera, soft window light, natural American English voice, vertical 9:16 video.”
Plain language works. Specific details work better. “Something cool about coffee” gives the model too much room. A subject, one action, and one camera move give it a clear target.
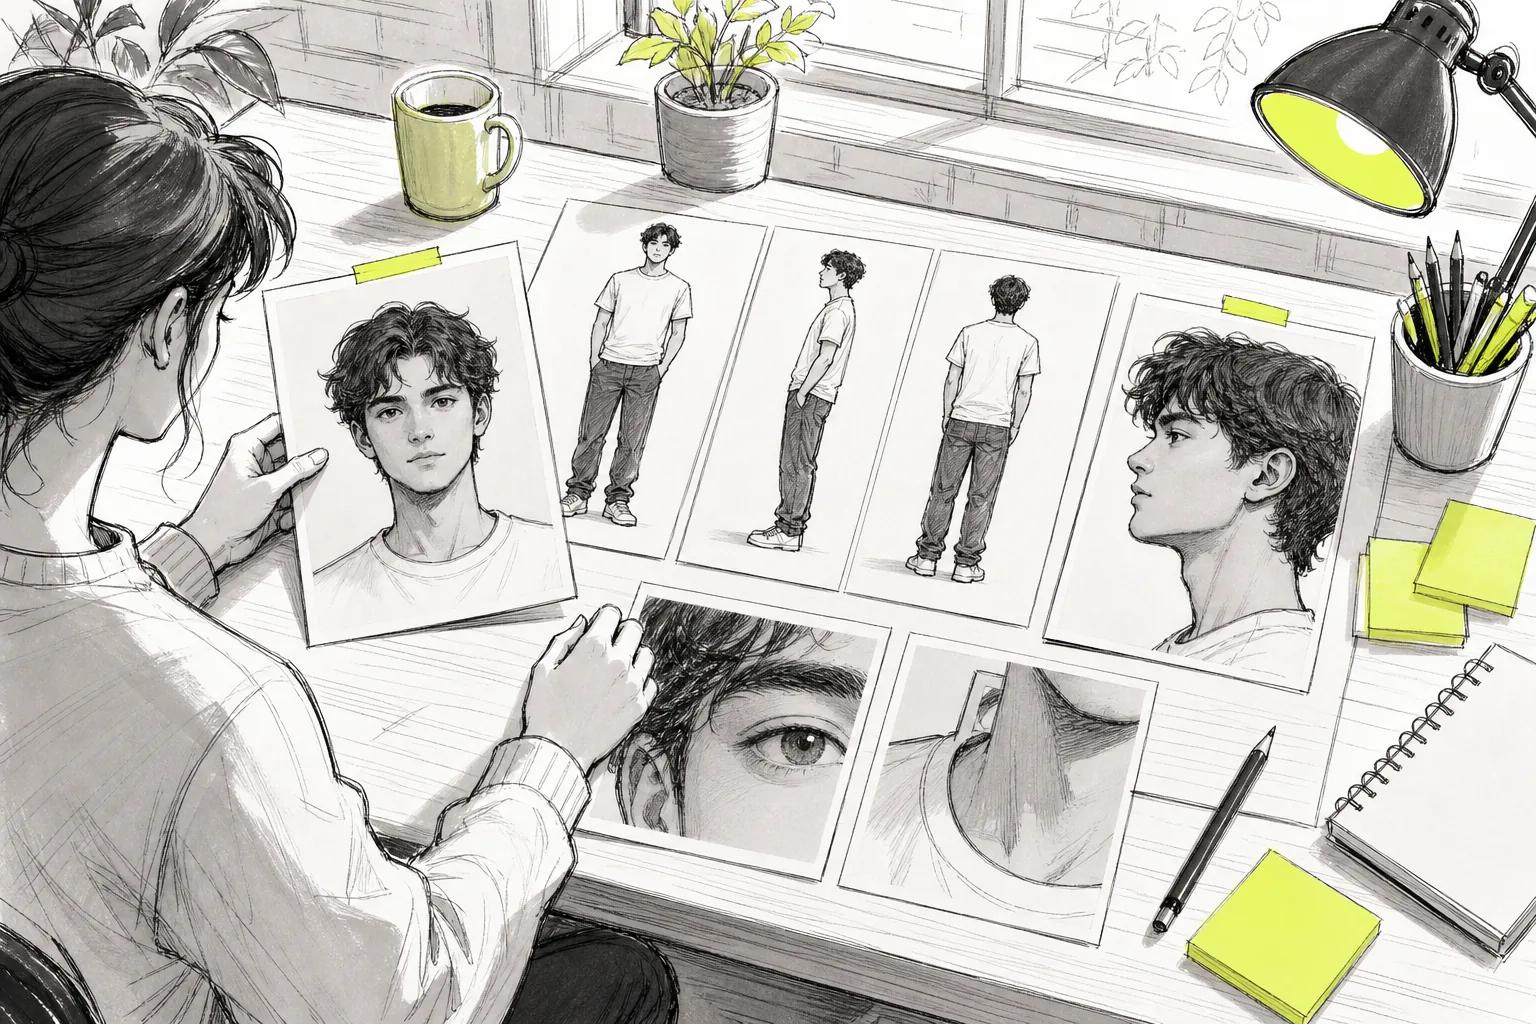
Upload a reference image when the character or product needs to stay consistent. Use a clear photo with good light. A front-facing character image can help the model keep the face steady. Add a short video reference when you want a particular camera move or piece of motion. Add an audio file when the scene needs a beat or mood reference, but keep a visual reference with it.
Set the format before you generate. Use 9:16 for mobile shorts. Pick 16:9 for a normal YouTube frame. Start with a lower resolution while you test the prompt, then use a higher setting for the final version if your plan supports it.
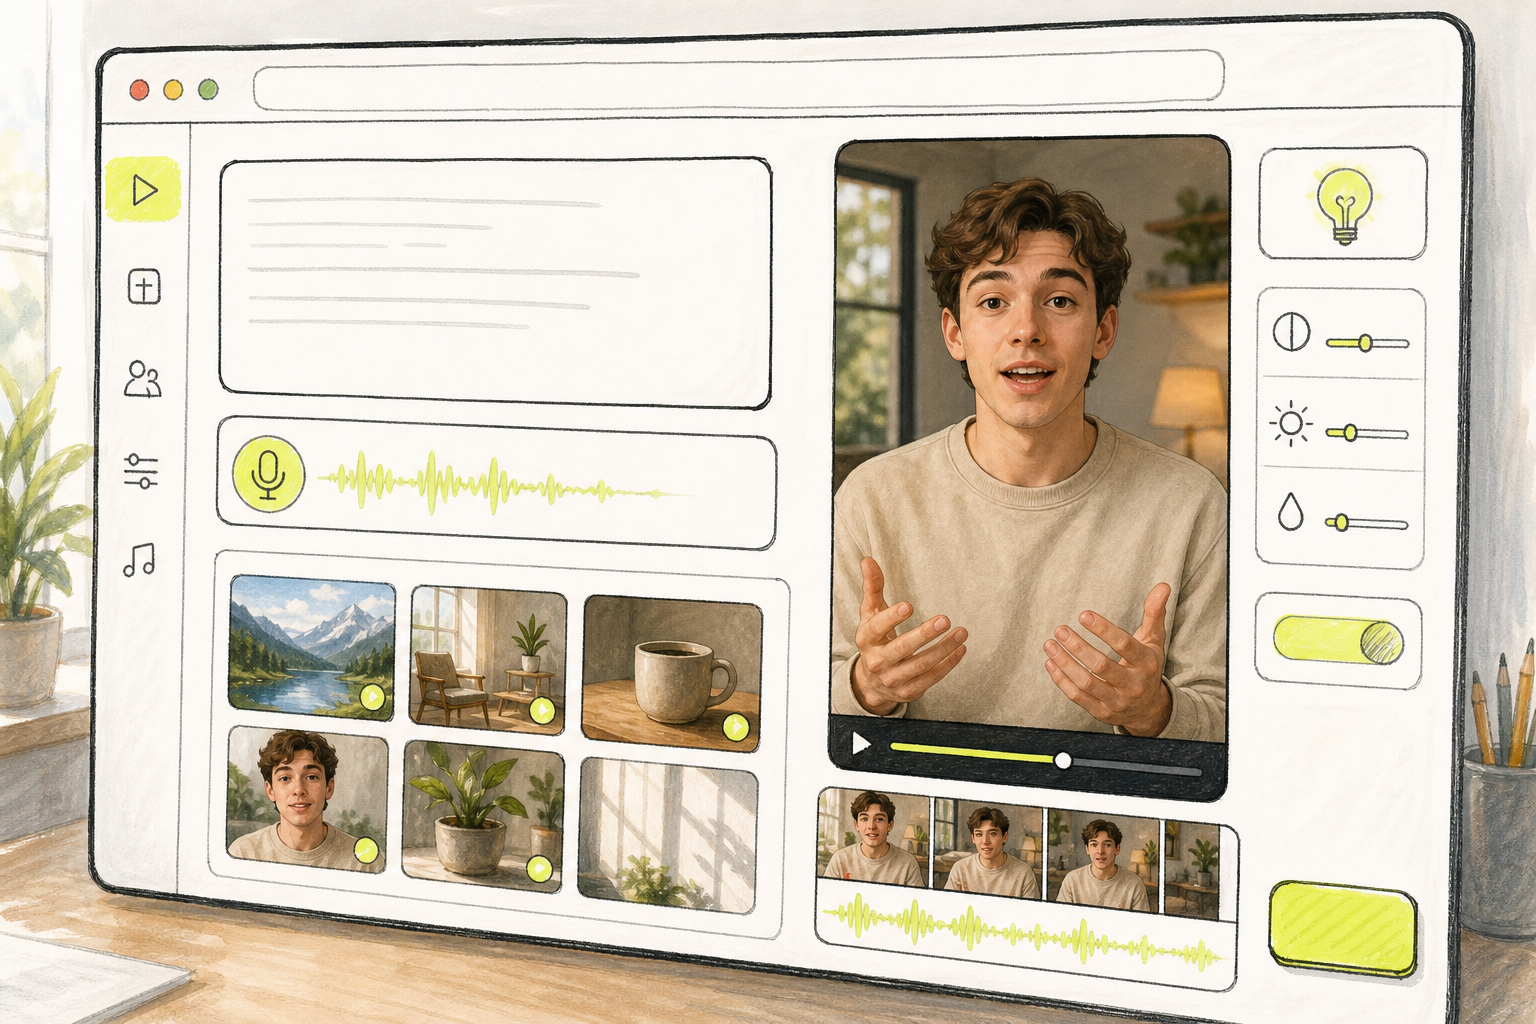
Seedance Studio can generate a finished clip with camera direction, character consistency, dialogue timing, and native sound. It is a useful fit when you want the voice inside the first video render rather than as a separate file.
Run one test scene before you build the full set. Look at the face, hands, text, motion, and voice. Fix the weakest part in the prompt. If the character changes, use the same reference and the same subject name in each new prompt.
Step 5: Sync the Voice, Edit the Video, and Export
The first render is a draft. To finish a video with AI voice, review the sound and picture together before you export.
Watch the clip once for the story. Then watch it again with the sound off. The second pass shows whether the action still makes sense and whether the captions carry the key point.
Check the voice against the frame:
- Does the first spoken word start after the opening visual?
- Does the mouth match the line when a character speaks?
- Does each scene change near a pause or sentence break?
- Does the final line leave enough time for the viewer to act?
If the timing feels wrong, shorten the line before you cut the picture apart. A crowded sentence can force the voice to run too fast. A shorter line gives the viewer time to see the action.
Add captions for mobile viewing. Keep each caption block short. Place it where it won't cover a face or the key object. Use high contrast, but don't cover the whole frame with text.
Music should sit below the voice. Lower it during speech, then let it rise in gaps if the scene needs energy. Sound effects can mark a cut or movement, but too many effects make a short clip feel noisy.
Export for the platform, not for your own camera roll. Choose the right aspect ratio first. Then check resolution, file type, frame rate, and caption placement. Output details are often missing from AI video tool pages, so check the export panel before you promise a client a specific file.
For a workflow that keeps sound with the visuals, see how to use an AI video generator with sound. Seedance Studio can also let you regenerate a weak scene instead of forcing a bad clip through a long edit.
Save the final video with a clear file name. Keep the script and prompt beside it. That small habit makes the next version faster, especially when you adapt a 9:16 clip into a 16:9 cut.
FAQ: Making Videos with AI Voice
How do I make a video with an AI voice?
To make a video with an AI voice, write a short script, choose a format, generate the narration, add visuals, then review the timing. A browser tool such as Seedance Studio can combine the prompt, character dialogue, visuals, and native sound in one generation. Always listen to the result before adding captions or music.
Can AI generate a video and voice at the same time?
Yes, some AI video tools can generate visuals and voice in the same pass. The voice may be tied to a character's dialogue and mouth movement. Other tools make you generate the voice separately, then place the audio over the video. Check the actual workflow before you plan a fast production schedule.
What should I say in an AI voice video?
Say one clear idea in short sentences. Start with a useful hook, explain the point, and finish with one action. Write each line beside the scene that should appear with it. This keeps the narration tied to the picture and helps the AI voice sound less rushed.
How long should an AI voice video be?
An AI voice video can be any length your platform supports, but a first short is easier to review at 20 to 45 seconds. Keep each scene focused on one line or action. Short clips also make it easier to spot bad lip sync, odd motion, or a word the voice reads incorrectly.
How can I make an AI voice sound more natural?
Make an AI voice sound more natural by writing short spoken lines and adding punctuation for pauses. Read the script aloud before generation. Replace hard-to-pronounce abbreviations with plain words. If one line still sounds stiff, rewrite that line instead of trying to fix the whole video with music.
Conclusion
The best workflow is simple: write a tight script, generate a short test, then build the visuals around the voice. Seedance Studio is a strong choice when you want a browser-based video with built-in character dialogue and sound. Create a free account, test one 20-second scene, and refine the prompt before you make the full set.