A product demo video has one job: help the right viewer see how your product solves a real problem. The best ones show the outcome early, keep the message tight, and make the next step clear. Use the process below to plan, script, generate, edit, and publish a demo that feels useful instead of salesy.
Step 1: Define the Product Demo’s Goal and Audience
Before you learn how to make product demo video content, decide what the video must help someone do. A demo for a landing page needs more context than a 20-second social ad. A sales follow-up can focus on one feature that came up in a call.
Write one sentence that names the viewer, the action, and the outcome:
This video shows [audience] how to [product action] so they can [clear result].
For example: “This video shows online shop owners how to turn one product photo into a short social clip so they can test more ad ideas.” That sentence keeps the project from becoming a random tour of every feature.
Next, choose the demo type. An introductory demo gives a fast overview. A walkthrough explains a full workflow. A custom demo answers one buyer’s specific concern. Breaking the workflow into main use cases can help keep the explanation clear.
Set a single goal. You might want viewers to start a free trial, visit a product page, book a call, or understand one key workflow. Pick one. Multiple calls to action make a short video feel crowded.
Then list the viewer’s problem in plain words. Ask:
- What task takes too long?
- What part of the product feels hard to understand?
- What proof would reduce doubt?
- What should the viewer do after watching?
Keep the first version short. A 30 to 60-second demo works well for social feeds. A longer version can live on a product page when each extra section answers a real question.
Step 2: Write a Short Product Demo Video Script
A strong script makes it easier to learn how to make product demo video content without drifting into feature talk. Start with the viewer’s problem. Then show the product solving it.
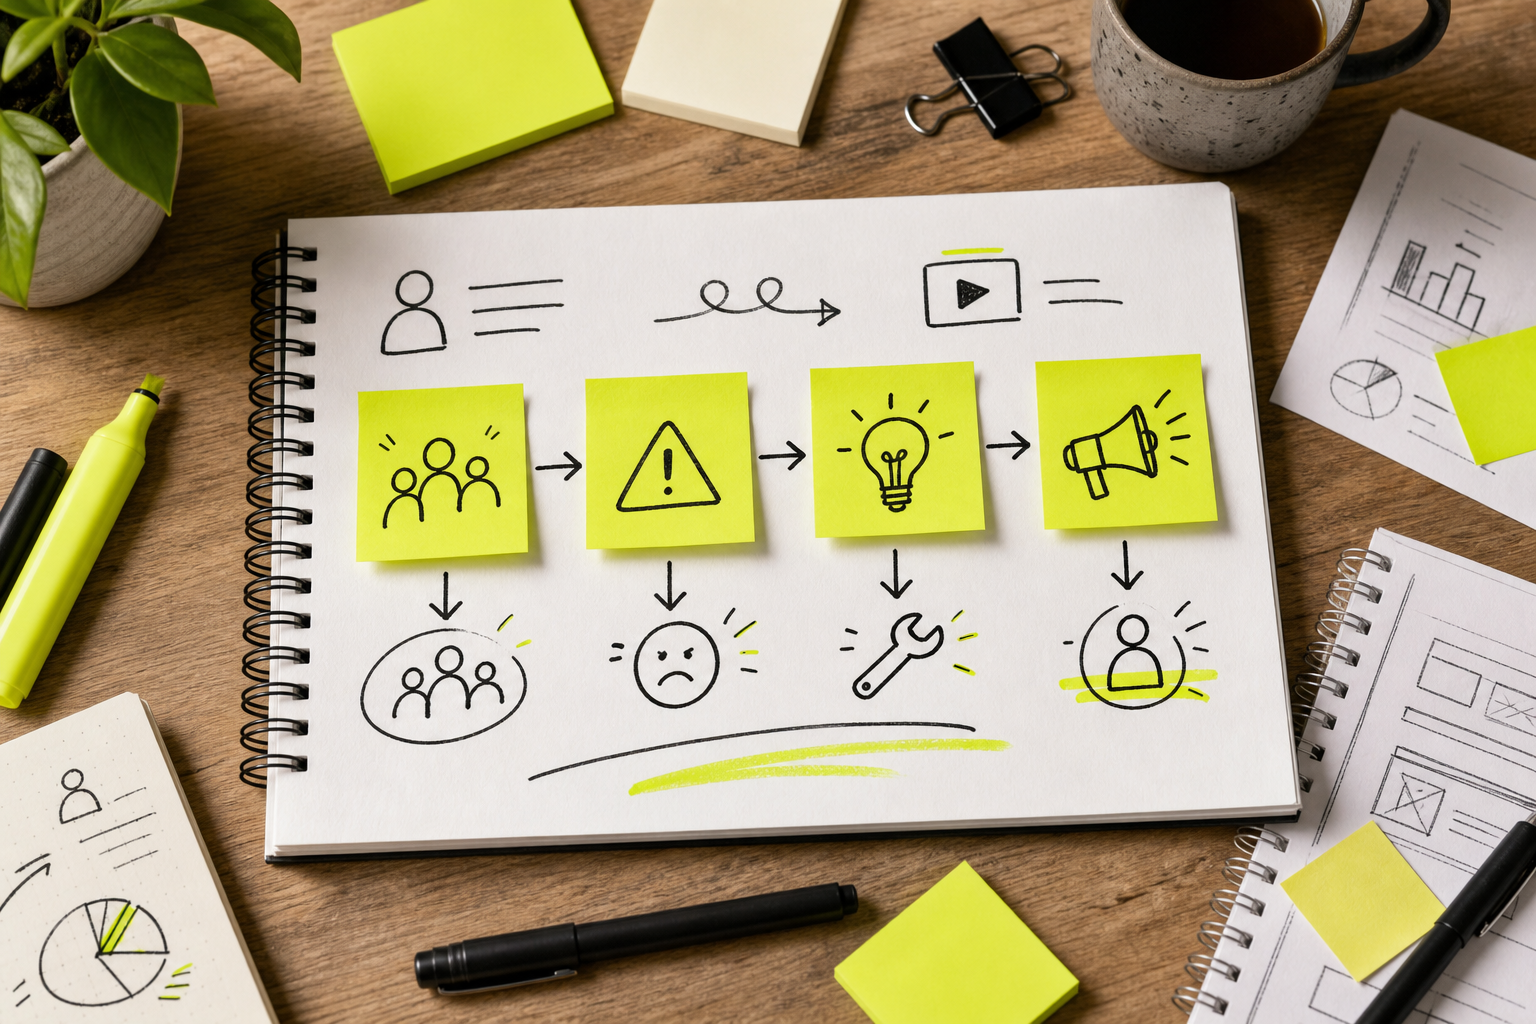
Use this simple structure:
- Hook:Name the pain in one sharp line.
- Problem:Show what the pain costs in time, effort, or missed results.
- Solution:Introduce your product as the answer.
- Demo:Show two to five features in use.
- Outcome:State what changes for the viewer.
- Call to action:Give one next step.
Here’s a sample opening for an AI video tool: “You have a product photo, but no time for a full shoot. Upload the image, describe the motion, and get a short clip ready for your next social test.” It starts with a need. The tool enters after the viewer understands the problem.
Write for the ear, not the page. Short sentences are easier to voice and easier to caption. Cut words that don’t change the meaning. If a feature needs a technical term, explain it right away.
Turn each feature into a benefit. “Native sound” tells people what the tool has. “The clip comes back with sound already matched to the action” explains why that helps.
Keep claims tied to what viewers can see. If you say a product saves time, show the old step and the new step. If you say it keeps a subject consistent, use the same reference across two scenes.
Read the script aloud and time it. If the video feels rushed, remove a middle detail before cutting the hook or the call to action. A script and storyboard workflow can help when your demo needs more structure than a single scene.
End with a useful action. “Create a free account and test one product shot” is clearer than “Learn more.” The viewer should know what happens next.
Step 3: Plan the Shots, Screen Flow, and Voiceover
To make a product demo video that feels clear, map every spoken line to something the viewer can see. A script tells you what to say. A shot list tells you what proof must appear on screen.
Make a simple three-column plan:
- Time:When the shot appears.
- Voice:The line spoken or shown as text.
- Visual:The product action, screen, close-up, or supporting scene.
Give each shot one job. It might identify the product, show the main action, answer an objection, prove a benefit, or point to the next step. If a shot does none of these, cut it.
For software, use real screenshots or a reviewed screen recording for the core action. AI-generated interface scenes can change button labels, numbers, or layouts. That makes a polished video teach the wrong thing.
Use generated footage for context. A creator at a desk can introduce the problem. A close-up of a phone can add pace. The actual product screen should handle the teaching.
Plan your camera direction in plain words. Try “slow push toward the product,” “top-down view as the image uploads,” or “close-up on the final result.” Avoid vague prompts such as “make it cinematic.”
Keep text large enough for a phone screen. Dense dashboards and tiny labels fail when the viewer is scrolling. Use a close-up when a detail matters.
Plan voiceover after the visual beats are set. The voice should explain what the viewer can’t infer. It shouldn’t repeat every word on screen.
Watch the video below for a visual reference before you build your own shot plan.
Before generating, check the plan on a phone-sized frame. If the product appears too late, move the reveal closer to the opening. If the call to action sits near the bottom, leave room for platform controls.
For product shots, a useful prompt structure is subject, action, setting, camera, lighting, sound, and constraints. The last part matters. Tell the model what to protect, such as a sharp label, natural hands, or one fixed product shape.
Step 4: Create the Product Demo Video with Seedance Studio
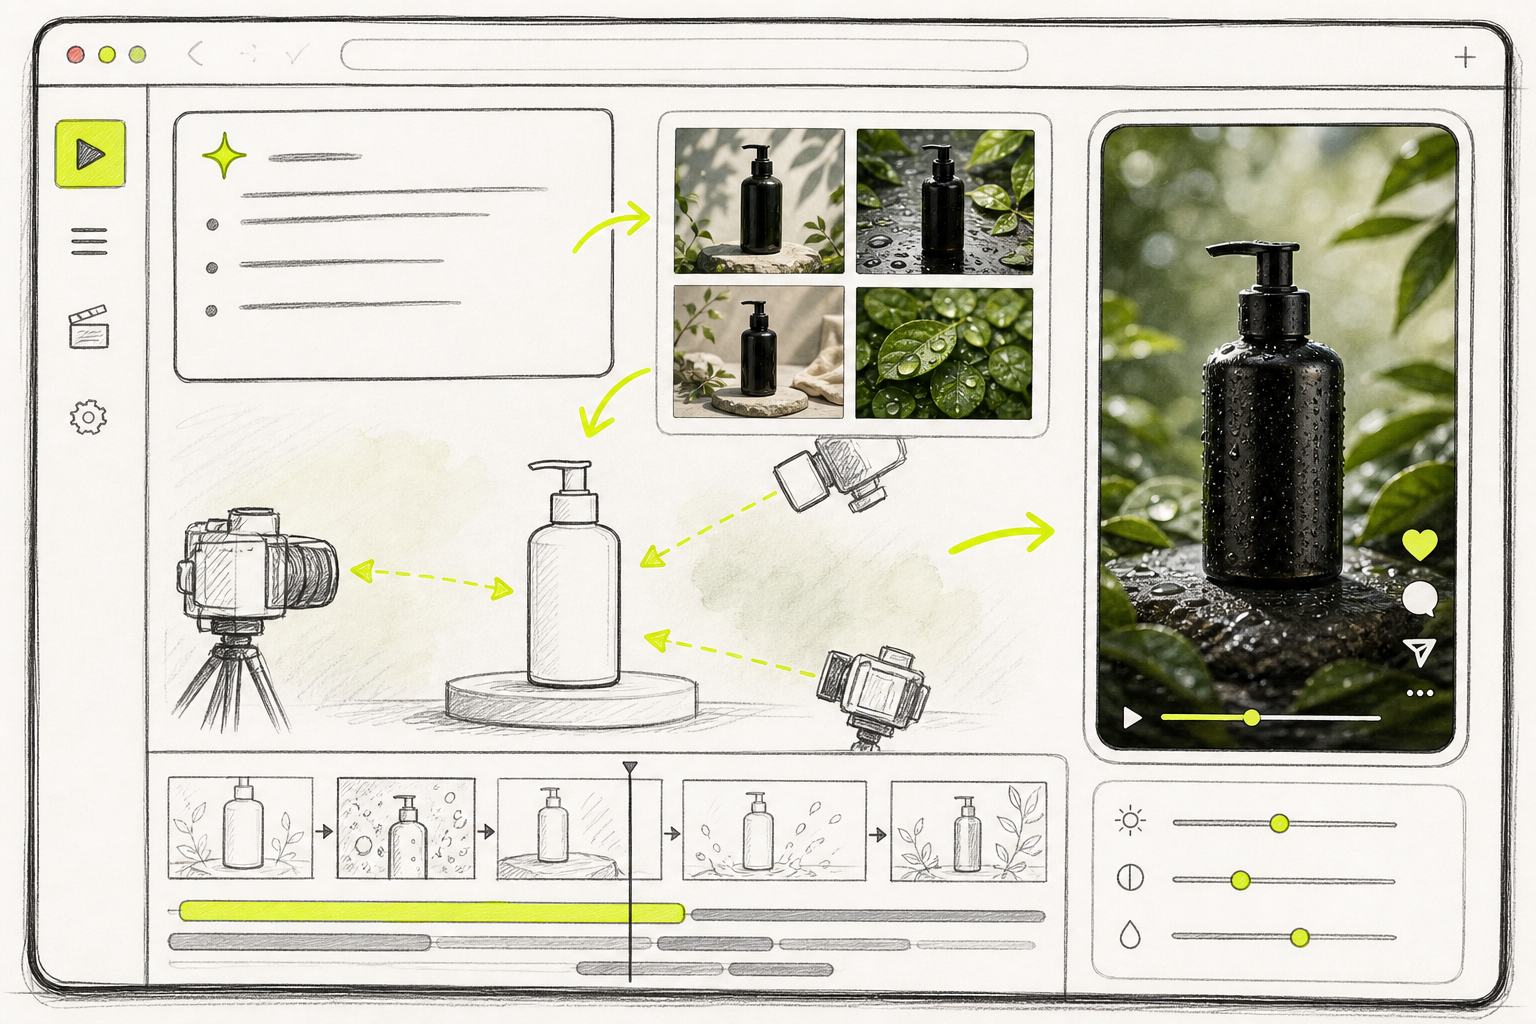
Seedance Studio gives you a browser-based way to make product demo video clips from a prompt or reference files. You don’t need a download or a waitlist. We built it for creators and marketing teams that need short clips for TikTok, Reels, and YouTube Shorts.
Start with one scene. Open Seedance Studio, choose the format, then write a prompt that matches your shot list. A useful prompt might read:
“A close-up of [Image1], a matte black desk device, rotating slowly on a warm wood table. The camera makes a gentle push-in. Soft morning light. Show the main control clearly. Keep the product shape and surface details consistent. Add a quiet click when the control turns.”
Upload a clean product image when the product must stay consistent. You can also add reference images, clips, or audio when a scene needs a specific look or sound. Tag each asset in the prompt so the model knows what to follow.
Turn text into a first draft. Then review the whole clip. Check the product shape, motion, text, hands, and sound. If one part fails, change that part of the prompt instead of rewriting everything.
Seedance Studio supports camera direction, consistent characters, and native sound. It also supports text-to-video and image-to-video workflows. The Seedance Studio homepage lists the current generation options and account access.
Draft at a lower setting while you test the idea. Once the shot works, render the keeper at the quality your plan supports. This saves credits when the first prompt needs work.
Make separate clips instead of asking for one long story. A five-second product reveal is easier to fix than a full minute with one broken moment in the middle. You can stitch the best clips together during editing.
For a product demo, use a small set of scene types:
- A problem shot that shows the old task.
- A reveal shot that introduces the product.
- An action shot that shows the main use.
- A detail shot that answers a likely doubt.
- A final frame with the outcome and CTA.
Keep the claims honest. AI footage can make a product look more capable than it is. Replace any invented result with a real screen capture, approved copy, or a clear visual that proves the point.
Seedance Studio has a free tier, while paid plans start at $14 per month. Current plan details can change, so check the Seedance Studio pricing page before you choose a plan.
Step 5: Edit, Add Captions, and Export for Each Platform
The final edit is where separate clips become a product demo video with a clear flow. Put the strongest visual first. Cut pauses that don’t add meaning.
Build the timeline in this order:
- Open with the problem or product action.
- Show the product within the first few seconds.
- Move through the main proof points.
- Repeat the outcome in one short line.
- End with one clear action.
Keep music under the voice. If the viewer has to strain to hear the words, the mix is wrong. Native sound can help a generated scene feel complete, but you can still replace or lower it during the edit.
Add captions and review them by hand. Fix names, numbers, and product terms. Captions should sit inside the safe area, away from buttons and app controls.
Export a separate version for each platform. Use 9:16 for TikTok, Reels, and Shorts. Use 16:9 for a standard YouTube video or a website player. A square version can fit some feed placements.
Don’t stretch a vertical clip into a horizontal frame. Reframe the shot or generate a new version with the correct aspect ratio. The product should stay large enough to understand on a small screen.
Watch the export on your phone before posting. Look for dark scenes, clipped captions, odd cuts, and audio that starts late. Then check the landing page or profile linked by the CTA. The promise in the video must match the next page.
If you’re making an Amazon version, use a separate plan for its page rules and framing. For more on Amazon product videos, visit making product videos for Amazon.
Save the project files and keep the clean master export. You can later make shorter cuts by changing one thing at a time, such as the opening, proof order, or final CTA. That gives you useful tests instead of a pile of unrelated edits.
FAQ
How long should a product demo video be?
A product demo video should be as short as the message allows. For TikTok, Reels, and Shorts, start with 15 to 60 seconds. A product page can support a longer walkthrough when each section answers a buyer question. Cut any scene that repeats a point the viewer already understands.
Can I make a product demo video without filming?
Yes, you can make a product demo video without a camera by using product images, screen recordings, prompts, and AI-generated clips. Use real product assets for claims that need proof. Use generated footage for motion, context, and scene changes. Review every clip before publishing.
What should the first scene show?
The first scene should show the viewer’s problem or the product in action. Don’t spend the opening on a logo animation if the product takes too long to appear. A clear action gives people a reason to keep watching and makes the rest of the demo easier to follow.
Is Seedance Studio good for product demo videos?
Seedance Studio is suited to product demo videos that need prompt-based generation, reference images, camera direction, consistent subjects, and native sound. It runs in a browser and has a free tier. Use real screen captures when the demo must show exact software controls or verified results.
How do I add captions to a demo video?
You can add captions in your video editor or with a caption tool that reads the voice track. Review the text by hand after automatic transcription. Keep each line short, use high contrast, and place captions inside the platform’s safe area so controls don’t cover them.
Conclusion
Start with one viewer, one problem, and one product action. Draft a short script, plan the proof, then use Seedance Studio to generate and test the scenes before you polish the final cut. Create a free account, make one opening clip, and judge it on your phone before you build the rest.