
A good explainer video can do more selling in 60 seconds than a full landing page. The problem is most people don't know where to start, so they either spend weeks on production or end up with something flat and forgettable. These six steps walk you through the whole process, from your first sentence of script to a finished file ready to post.
Step 1: Write a Compelling Script
Your script is the foundation. Get it wrong and nothing else saves the video. Get it right and even simple visuals will land.
Start with one sentence that states the problem your viewer has. Not a general topic, a specific pain. Then explain what you do about it. Then close with what the viewer should do next. That three-part structure works for almost every explainer format: product demos, tutorials, brand introductions.
Keep it short. A 60-second video needs roughly 130 to 150 words of spoken copy. A 90-second video needs around 200. Write the script first, then read it aloud and time it. If it runs long, cut the middle, not the opening or the call to action.
Plain language matters here. According to Wikipedia's overview of plain language, writing at a reading level your audience can scan quickly reduces friction and keeps attention. That principle applies directly to video scripts: short sentences, common words, no jargon unless your audience uses it daily.
One usable trick: write your script as if you're talking to one person, not a crowd. "You're probably spending too much time on X" lands better than "Many businesses struggle with X." The second version feels like a press release. The first feels like a conversation.
If you plan to turn your script directly into video, you can use an AI video generator to carry your copy through to finished visuals without losing the original intent.
By the time you finish this step, you should have a timed script under 200 words with a clear problem, a clear solution, and a clear next action.
Step 2: Storyboard Your Visuals
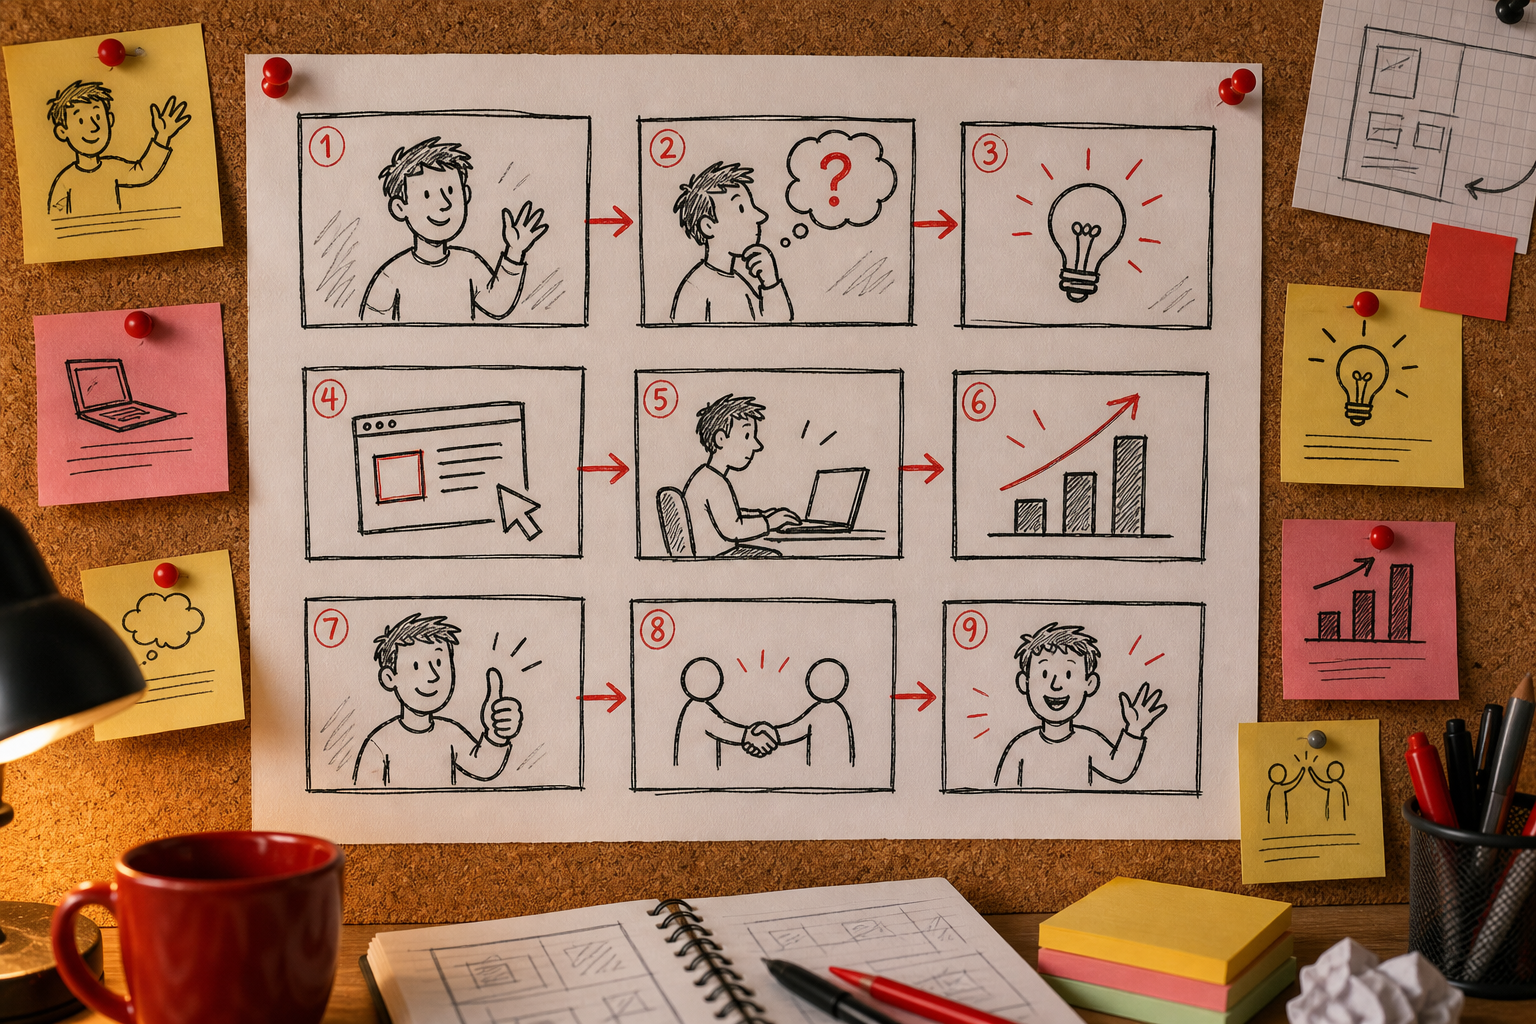
A storyboard is just a visual plan. You don't need to be an artist. Stick figures and rough boxes are enough. The goal is to decide what the viewer sees at each moment in the script before you start generating or recording anything.
Improve your script and break it into chunks, usually one chunk per sentence or idea. For each chunk, sketch or describe one scene. What's on screen? Is it a character, a product, a diagram, an animation? Where does the camera sit? Does it move?
Think about transitions too. A hard cut from a talking head to a product demo can feel jarring. A simple zoom or a cut to a close-up smooths it out. You don't need to plan every frame, just the major shifts.
If you're using an AI video tool, your storyboard doubles as a prompt outline. Each scene description becomes the basis for a text prompt. That's a real time-saver: when you sit down to generate, you're not staring at a blank prompt box wondering what to type. You already have a scene-by-scene brief.
Color and style consistency also starts here. Decide whether your video will feel warm or cool, minimal or busy, animated or realistic. Locking that in at the storyboard stage means you won't end up with three scenes that look like they came from different videos.
By the end of this step, you should have a rough visual brief for every scene in your script, with a note on what's happening on screen and how the camera behaves.
Step 3: Select an AI Video Tool Like Seedance Studio
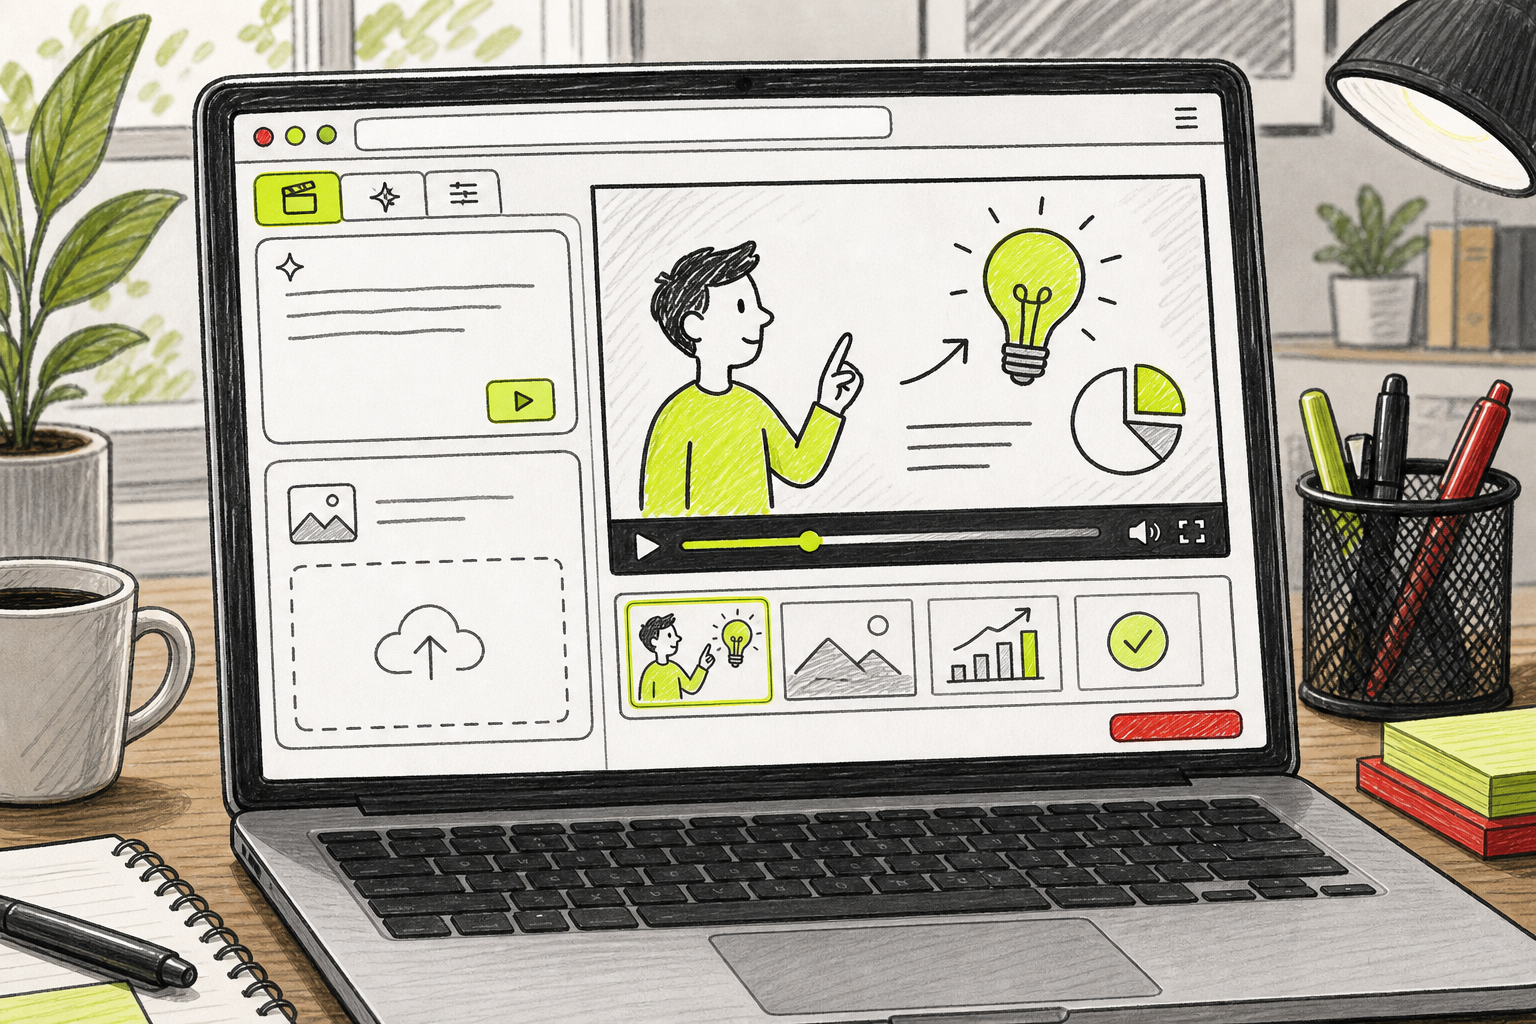
The tool you pick determines what's possible. Not every AI video generator handles character consistency, camera direction, or native audio. Those three things matter a lot for explainer videos, because your viewer needs to follow a story, not just watch disconnected clips.
We built Seedance Studio's AI video generation model on Seedance 2.0, ByteDance Seed's flagship text-to-video model, currently ranked number one for both text-to-video and image-to-video output. You type a prompt or upload reference images and get back a finished clip with automatic camera moves, consistent characters, and native sound already mixed in. No download, no waitlist. It runs entirely in the browser and has a free tier to start.
Paid plans start at $14 per month. That's a modest premium over some alternatives, but the automation gap is real. DeepAI, for example, starts at $9.99 per month and offers a free tier as well. But there's no reported automation for camera direction or character consistency, which means more manual editing work after generation.
For explainer videos specifically, character consistency is the feature that saves the most time. If your main character looks different from scene to scene, the video feels low-quality even if the individual frames look fine. Seedance Studio's reference system lets you lock a character to a specific image and call it by name in every prompt you write for that project.
One thing worth checking before you commit to any tool: export format and resolution. Neither Seedance Studio nor DeepAI publicly lists every supported format, so confirm your required output specs directly with the platform before you start a big project.
If you want to see what the generation workflow actually looks like before you sign up, the free Seedance 2.0 plan requires no card and lets you generate your first clip in a few minutes.
Step 4: Generate Your Video
Open your tool and start with your first scene. Paste the scene description from your storyboard into the prompt box. Then add the cinematography details: camera angle, movement, lighting, and mood. The more specific you are, the closer the output will be to what you planned.
Here's a prompt structure that works well for explainer video scenes:
- Subject: who or what is on screen
- Action: what they're doing
- Setting: where the scene takes place
- Camera: static, slow push in, pan left, overhead
- Lighting or style: warm morning light, clean corporate look, flat animation style
In Seedance Studio, you can attach up to 12 reference images, video clips, or audio tracks per generation. Tag each one in the prompt using the @ symbol. This is how you keep your character consistent across scenes: upload a clear front-facing photo, name it, and reference it every time that character appears.
Generate at lower resolution first. A 720p draft costs fewer credits and gets you a fast read on whether the shot composition is working. Once the framing and character look right, regenerate at higher resolution for your final export. Burning high-resolution credits on a prompt that isn't dialed in yet adds up fast.
Watch every clip all the way through before you move on. Check four things: did the camera do what you asked, is the character consistent with your reference, does the audio sync correctly, and are there any obvious errors like extra hands or a distorted face mid-motion? If one thing is off but everything else is right, adjust only that part of the prompt and regenerate. Don't scrap the whole thing.
Work scene by scene through your storyboard. Generate each 10 to 15 second segment separately rather than trying to fit everything into one long generation. Shorter clips are easier to fix when something goes wrong, and they give you more control over pacing in the edit.
Step 5: Add Voiceover and Music
Audio is where most explainer videos either pull ahead or fall apart. Viewers will tolerate average visuals with great audio. They won't stick around for great visuals with bad or missing audio.
You have two main paths for voiceover. The first is native dialogue generation, where the AI model generates lip-synced speech directly from your script. Seedance Studio supports this natively, so the voice is already mixed into the clip when it comes back. The second path is recording or generating a voiceover separately and syncing it in a video editor.
If you go the separate route, a browser-based text-to-speech tool lets you paste your script, pick a voice, and export an MP3 in minutes. Then bring it into a simple editor, drop your video clips onto the timeline, and lay the audio underneath. Adjust timing so the key claim lands in the first three seconds. That's when scroll behavior is decided on most platforms.
For background music, stick to royalty-free tracks or AI-generated audio where you own the output. Sync the music to the pacing of your cuts. A slow ambient track under a fast-cut product demo usually kills the energy. A driving beat under a slow, explanatory walkthrough feels out of place. Match the tempo to the mood you set in your storyboard.
Keep music low in the mix. It should support the voiceover, not compete with it. A good rule: if you can hear the music clearly while the voiceover is playing, it's too loud. Pull it down until the voice sits clearly on top.
Syncing music and voiceover, including how to handle sound effects for product demos, is an important detail to refine.
By the end of this step, your clips should have a voiceover that tracks your script and background music that supports the pacing without drowning the dialogue.
Step 6: Polish and Export
Polish is the difference between a video that looks finished and one that looks like a draft someone posted by accident. It doesn't take long, but it requires a deliberate pass.
Watch the full video once without stopping. Then watch it again and note specific problems: a scene that runs a second too long, a cut that feels abrupt, a moment where the voiceover and the visual don't match. Fix those before you touch anything else.
Add captions. A significant portion of viewers watch without sound, especially on social platforms. On-screen text keeps them engaged when they're scrolling in a quiet environment. Most AI video tools can generate captions from the voiceover transcript automatically. If yours doesn't, add them manually in your editor before export.
Check your aspect ratio against your target platform. Vertical 9:16 for TikTok and Reels, 16:9 for YouTube, square 1:1 for feed posts. Getting this wrong means the platform crops your video in ways you didn't plan for. If you set the ratio correctly at the generation stage in Seedance Studio, you skip the crop step entirely.
Export as MP4 in H.264 at a high resolution. Download the file and watch it on your phone before you post. What looks clean on a desktop monitor can look washed out or too dark on a mobile screen, and that's where most of your audience will watch it. How video files are structured affects how platforms stream and display them, so starting with a clean, high-quality source file gives you a buffer against platform re-compression.
Once you're happy with the file on mobile, it's ready to publish.
Frequently Asked Questions
How long should an explainer video be?
Most explainer videos perform best between 60 and 90 seconds. That's long enough to explain a concept clearly but short enough to hold attention on social platforms. For TikTok and Reels, aim for 30 to 60 seconds. For YouTube or a product landing page, 90 seconds to two minutes is acceptable if the content earns the time. Cut anything that doesn't move the story forward.
Do I need design skills to make an explainer video?
No. AI video tools like Seedance Studio handle visual generation from a text prompt, so you describe what you want and the model builds it. You need a clear script and a basic sense of what each scene should show. The storyboard can be rough sketches or just written scene descriptions. Design skills help but aren't required to produce a professional-looking result.
How much does it cost to create an explainer video with AI?
AI tools have brought the cost down significantly. Seedance Studio has a free tier and paid plans starting at $14 per month. DeepAI starts at $9.99 per month with a free tier as well. Traditional animation studios typically charge hundreds to thousands of dollars per finished minute. For most creators and small teams, an AI-powered workflow is the usable option right now.
What makes an explainer video script effective?
An effective script opens with the viewer's problem, explains the solution in plain language, and ends with one clear action. It's timed to fit the video length, usually 130 to 150 words per minute of finished video. Every sentence should move the story forward. If a sentence doesn't add information or push the viewer toward the next idea, cut it.
Can I use AI to generate the voiceover as well as the visuals?
Yes. Seedance Studio generates lip-synced dialogue natively, so the voice is already in the clip when it comes back. You can also use a separate text-to-speech tool to generate an MP3 from your script and sync it in a video editor. Both approaches work. Native generation is faster; a separate tool gives you more control over voice tone and pacing.
What's the best format to export an explainer video for social media?
Export as MP4 in H.264 at a resolution that meets your platform’s standards. For aspect ratio: 9:16 for TikTok and Instagram Reels, 16:9 for YouTube, 1:1 for feed posts. Always check the file on a phone screen before posting. Platform re-compression reduces quality, so starting with the highest resolution your plan allows gives you the best result after upload.
Conclusion
The process comes down to a tight script, a clear visual plan, and a tool that handles the heavy lifting automatically. If you want the fastest path to a finished explainer video without hiring a production team, start with Seedance Studio's free tier: write one scene prompt, generate a clip, and see what the model can do before you commit to anything. Follow the step-by-step Seedance 2.0 guide to get your first video done today.


